1. Introduction
This manual provides instructions for the safe and effective use of the HYDROTECHNIK Type 010-300 Portable Water Level Meter. This device is designed for accurate measurement of water levels in various industrial applications, featuring a 300-meter water reel and an integrated whistle lamp for indication. Please read this manual thoroughly before operating the device and retain it for future reference.
2. Safety Information
Observe the following safety precautions to prevent injury and damage to the device:
- Always inspect the device for damage before use. Do not operate if damaged.
- Ensure the measuring probe and cable are clean and free from debris before deployment.
- Avoid exposing the device to extreme temperatures or direct sunlight for prolonged periods.
- Do not immerse the main unit in water. Only the probe and cable are designed for submersion.
- Keep the device away from strong magnetic fields.
- Use only the specified power source or batteries.
- Do not attempt to disassemble or repair the device yourself. Contact qualified service personnel.
- Store the device in a dry, cool place when not in use.
3. Package Contents
Verify that all items are present in the package:
- HYDROTECHNIK Type 010-300 Water Level Meter (main unit with reel)
- Water Level Probe (attached to cable)
- 300-meter Measuring Cable
- User Manual
- Battery (if included, or specify battery type)
4. Product Overview
The HYDROTECHNIK Type 010-300 is a robust and reliable instrument for precise water level measurements. It features a durable reel for easy cable management and a sensitive probe that activates an audible whistle and visual lamp upon contact with water.
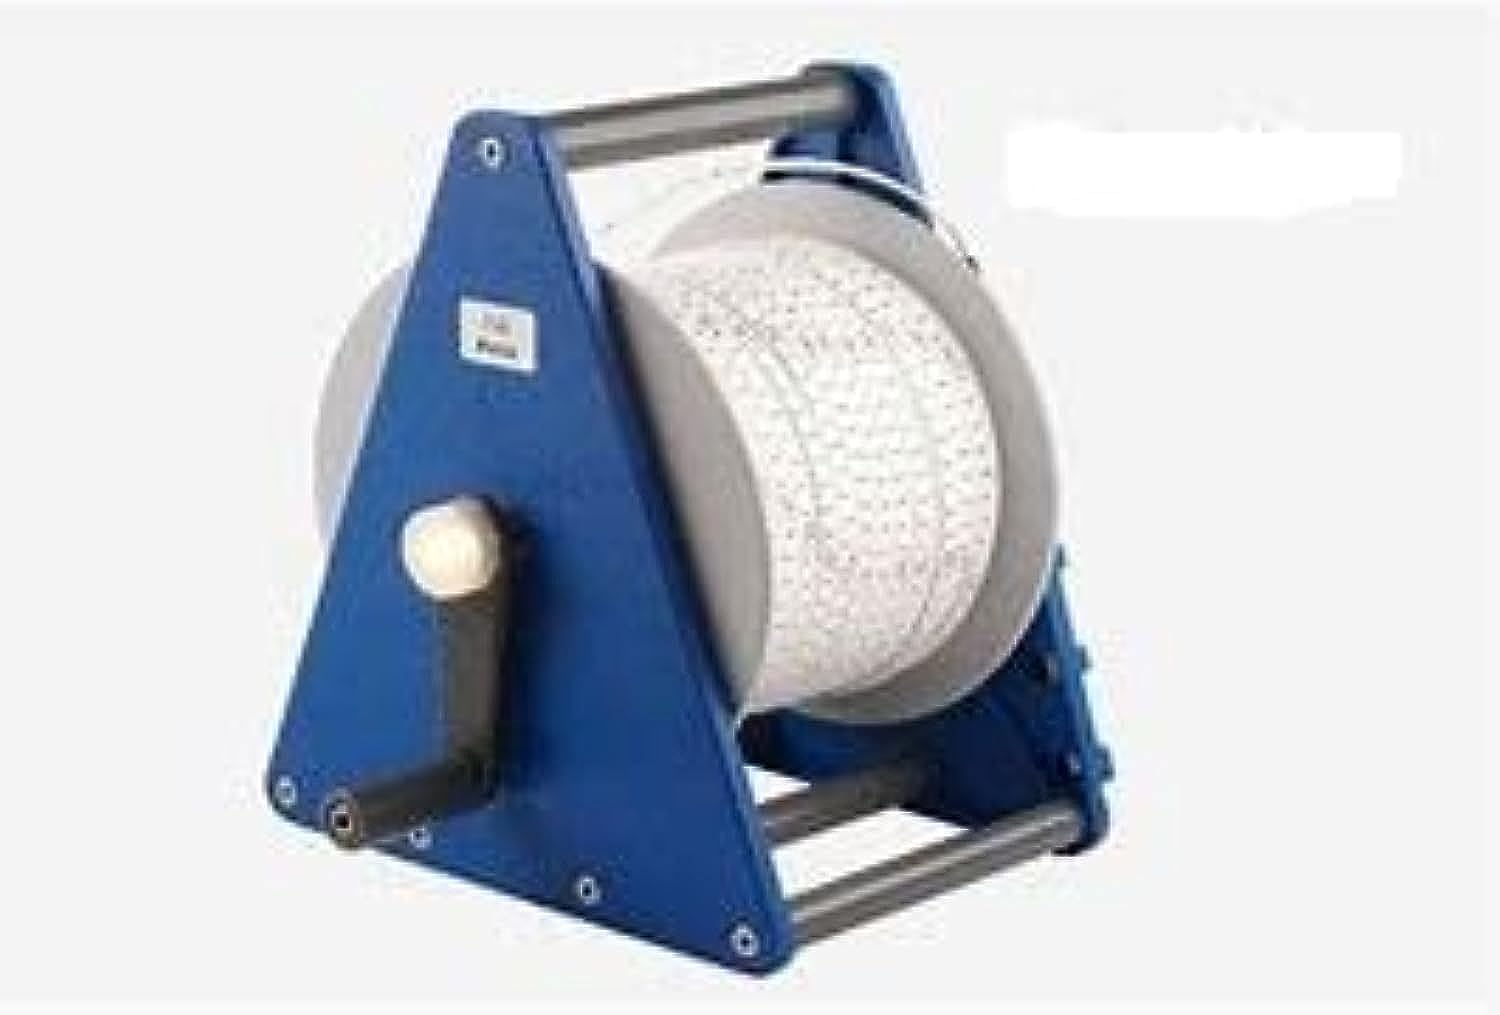
Figure 1: Main unit of the HYDROTECHNIK Type 010-300 Water Level Meter. This image shows the portable reel housing the 300-meter measuring cable, with the water level probe visible at the end of the cable. The control panel and indicator lights are also visible on the main unit.
Key Components:
- Measuring Probe: Detects water contact.
- Measuring Cable: 300-meter length, marked for depth readings.
- Cable Reel: For winding and unwinding the cable.
- Whistle Lamp Indicator: Provides audible and visual alerts upon water contact.
- Battery Compartment: Houses the power source.
- Control Panel: Includes power switch and possibly sensitivity adjustments (if applicable).
5. Setup
- Install Batteries: Open the battery compartment (usually located on the side or back of the main unit) and insert the required batteries, observing correct polarity. Close the compartment securely.
- Inspect Cable and Probe: Unwind a small section of the cable and inspect the probe and cable for any signs of damage or wear. Ensure the probe tip is clean.
- Position the Device: Place the water level meter on a stable, flat surface near the measurement point. Ensure the reel can rotate freely.
6. Operating Instructions
- Power On: Turn on the device using the power switch. A brief indicator light or sound may confirm it is active.
- Lower the Probe: Slowly lower the measuring probe into the well, borehole, or tank. Ensure the cable unwinds smoothly from the reel.
- Detect Water Level: Continue lowering the probe until the whistle sounds and the lamp illuminates, indicating the probe has made contact with water.
- Read Measurement: Carefully note the depth reading from the markings on the cable at the point where it enters the well casing or reference point.
- Retract Probe: Once the measurement is recorded, slowly reel the cable back onto the spool, ensuring it winds evenly.
- Power Off: Turn off the device after use to conserve battery life.
Note: For accurate readings, ensure the cable is taut and the measurement is taken from a consistent reference point.
7. Maintenance
- Cleaning the Probe: After each use, especially in contaminated water, clean the probe with a soft cloth and fresh water. Dry thoroughly before storage.
- Cable Inspection: Regularly inspect the entire length of the cable for cuts, abrasions, or kinks. Replace if significant damage is found.
- Battery Replacement: Replace batteries when the indicator light dims or the whistle becomes weak. Always use the recommended battery type.
- Storage: Store the device in its original packaging or a protective case in a dry, dust-free environment.
8. Troubleshooting
| Problem | Possible Cause | Solution |
|---|---|---|
| No whistle/lamp activation upon water contact. | Dead or low batteries; dirty probe; faulty connection. | Replace batteries; clean probe tip; check cable connections. |
| Intermittent whistle/lamp activation. | Loose connection; partially dirty probe; low battery. | Check connections; thoroughly clean probe; replace batteries. |
| Cable does not unwind/rewind smoothly. | Cable tangled; reel mechanism obstructed. | Carefully untangle cable; inspect reel for obstructions. |
If the problem persists after attempting these solutions, contact customer support.
9. Specifications
- Brand: HYDROTECHNIK
- Model: Type 010-300
- Connection Type: Bluetooth (for data logging, if applicable, otherwise for general connectivity)
- Cable Length: 300 meters
- Indicator: Whistle and Lamp
- First Available Date: May 31, 2022
- ASIN: B0B2SJFQ98
10. Warranty and Support
Specific warranty information is not provided in the product details. Please refer to the warranty card included with your purchase or contact the manufacturer directly for details regarding warranty coverage and technical support.
For technical assistance or service inquiries, please contact HYDROTECHNIK customer support through their official website or the contact information provided in your product documentation.