1. Introduction
This manual provides essential information for the safe and efficient use of your Haam Electric 14 Place Dishwasher, Model HM14PWDW18. Please read these instructions carefully before installation, operation, or maintenance to ensure optimal performance and longevity of your appliance.
The Haam Electric 14 Place Dishwasher features a durable stainless steel inner surface, flexible adjustable shelves, and a 14 place setting capacity. It includes an LED display, program end notification, child lock, and indicators for rinse aid and salt. Water can be heated up to 70°C, and a delayed washing start and half-load feature are available for convenience. The filter is designed for easy cleaning.
2. Safety Information
Always adhere to the following safety guidelines to prevent injury or damage:
- Ensure the dishwasher is properly grounded before use.
- Do not operate the dishwasher if the power cord is damaged.
- Keep children away from the dishwasher, especially when it is operating or when the door is open. The child lock feature should be utilized.
- Only use detergents and rinse aids specifically designed for automatic dishwashers.
- Avoid touching the heating element during or immediately after operation.
- Do not overload the dishwasher.
- Sharp items should be loaded with points down to prevent injury.
3. Setup and Installation
The Haam Electric 14 Place Dishwasher is designed for freestanding or under-counter installation. Professional installation is recommended.
3.1 Unpacking
Carefully remove all packaging materials. Inspect the dishwasher for any shipping damage. Report any damage to your retailer immediately.
3.2 Positioning
Place the dishwasher on a level, stable surface. Ensure adequate space for door opening and closing. The dimensions are approximately 80 cm (D) x 80 cm (W) x 150 cm (H).
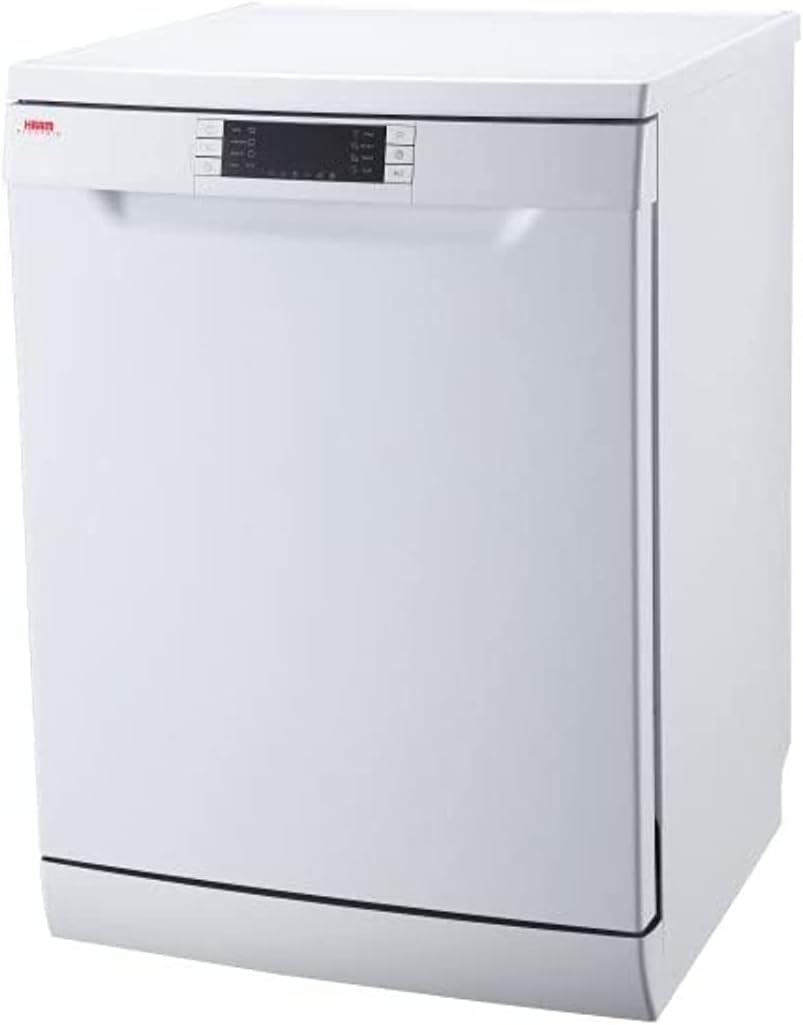
Figure 1: Front view of the Haam Electric 14 Place Dishwasher. This image shows the appliance's exterior, including the control panel and door handle.
3.3 Water Connection
Connect the water inlet hose to a cold water supply with a minimum pressure of 0.04 MPa and a maximum of 1 MPa. Ensure all connections are secure to prevent leaks.
3.4 Drain Connection
Connect the drain hose to a suitable drain pipe. Ensure the hose is not kinked or obstructed, allowing for proper water drainage.
3.5 Electrical Connection
Connect the dishwasher to a grounded 240 Volt electrical outlet. Do not use extension cords or adapters. Refer to local electrical codes for proper installation.
4. Operating Instructions
4.1 Loading the Dishwasher
Proper loading ensures optimal cleaning results. The dishwasher features flexible adjustable shelves and a 14 place setting capacity.
- Scrape off large food particles from dishes before loading.
- Place larger items in the lower rack and smaller items, glasses, and cups in the upper rack.
- Ensure dishes do not block the spray arms.
- Load sharp items with points facing downwards in the cutlery basket.

Figure 2: Interior view of the dishwasher showing the upper, middle, and lower racks. This illustrates the flexible loading options for various dish sizes.

Figure 3: Close-up of the upper rack, highlighting its adjustable nature for accommodating taller items below or above.

Figure 4: Interior view focusing on the lower and middle racks, demonstrating the capacity and layout for various dish types.
4.2 Adding Detergent and Rinse Aid
Fill the detergent dispenser with the appropriate amount of dishwasher detergent. Check the rinse aid indicator on the LED display and refill the rinse aid dispenser if necessary.
4.3 Selecting a Wash Program
The dishwasher offers 14 optional cycles. Use the push-button controls and LED display to select the desired program. Options include:
- Normal Wash: For daily soiled dishes.
- Intensive Wash: For heavily soiled pots and pans.
- Eco Wash: Energy-saving program for normally soiled dishes.
- Quick Wash: For lightly soiled dishes that do not require drying.
- Half Load: For smaller loads to save water and energy.
4.4 Starting a Cycle
Close the dishwasher door firmly. Press the Start button. The LED display will show the program status. A program end notification will sound when the cycle is complete.
4.5 Delayed Start Function
To delay the start of a wash cycle, use the delay start feature. This allows you to set the dishwasher to begin operation at a later time, up to several hours.
4.6 Child Lock
Activate the child lock system to prevent accidental operation or program changes by children. Refer to the control panel instructions for activation and deactivation.
5. Maintenance and Cleaning
Regular maintenance ensures the efficient operation and extends the lifespan of your dishwasher.
5.1 Cleaning the Filter
The dishwasher features an easy-to-clean filter. Regularly remove and clean the filter assembly under running water to prevent blockages and ensure proper drainage. Refer to the diagram in the full manual for filter location and removal instructions.
5.2 Cleaning the Spray Arms
Periodically check the spray arm nozzles for blockages. Remove any debris with a thin wire or toothpick.
5.3 Exterior Cleaning
Wipe the exterior surfaces with a soft, damp cloth. Do not use abrasive cleaners or solvents.
5.4 Salt Addition
The salt addition indicator on the LED display will illuminate when the salt reservoir needs refilling. Use only dishwasher salt to soften water and prevent limescale buildup.
6. Troubleshooting Guide
Before contacting service, review the following common issues and solutions:
| Problem | Possible Cause | Solution |
|---|---|---|
| Dishwasher does not start | Power supply issue, door not closed properly, child lock active. | Check power connection, ensure door is latched, deactivate child lock. |
| Dishes are not clean | Improper loading, clogged spray arms, insufficient detergent, dirty filter. | Reload dishes correctly, clean spray arms, add more detergent, clean filter. |
| Water not draining | Clogged drain hose or filter, drain pump malfunction. | Clean filter, check drain hose for kinks, contact service if pump is faulty. |
| Excessive noise | Dishes interfering with spray arms, foreign object in pump, improper installation. | Rearrange dishes, inspect pump area, ensure dishwasher is level. |
| Rinse aid indicator remains on | Rinse aid dispenser empty. | Refill rinse aid dispenser. |
7. Technical Specifications
- Brand: HAAM
- Model: HM14PWDW18
- Part Number: 1608121020
- Form Factor: Freestanding
- Installation Type: Under Counter
- Capacity: 14 Place Settings
- Product Dimensions (D x W x H): 80 x 80 x 150 cm
- Item Weight: 40 Kilograms
- Voltage: 240 Volts
- Annual Energy Consumption: 240 Watts
- Optional Cycles: 14
- Control Type: Push Button
- Material: Stainless Steel (inner surface)
- Color: White
- Noise Level: 14 dB
- Special Features: Adjustable Rack, Delay Start, LED Display, Child Lock, Program End Notification, Rinse Aid Indicator, Salt Addition Indicator, Half Load Feature, Water heating up to 70°C.
8. Warranty and Support
Your Haam Electric 14 Place Dishwasher is covered by a manufacturer's warranty. Please refer to the warranty card included with your purchase for specific terms and conditions, including warranty duration and coverage details.
For technical assistance, service requests, or to inquire about extended warranty options, please contact Haam customer support or your authorized retailer. Keep your purchase receipt and model number (HM14PWDW18) readily available when contacting support.
Extended warranty and accidental damage protection plans may be available for purchase separately. Consult your retailer for more information.