
Introduction
This manual provides essential information for the installation, operation, and maintenance of your Cutex Looper Cover Complete. This component is designed for specific Juki industrial overlock sewing machine models to ensure proper thread handling and machine function. Please read these instructions carefully before installation and use to ensure optimal performance and longevity of the part.
Product Overview
The Cutex Looper Cover Complete is a replacement assembly for the looper mechanism on compatible Juki industrial overlock sewing machines. It is crucial for the proper formation of stitches by protecting the looper components and guiding the thread. This assembly is suitable for both 3-thread and 4-thread overlock machines.
Compatibility: This looper cover is compatible with the following Juki industrial overlock sewing machine models:
- Juki MO-2304
- Juki MO-2404, MO-2404N
- Juki MO-2412, MO-2412N
- Juki MO-2414, MO-2414N
- Juki MO-2504, MO-2504N
- Juki MO-2512, MO-2512N
- Juki MO-2514, MO-2514N
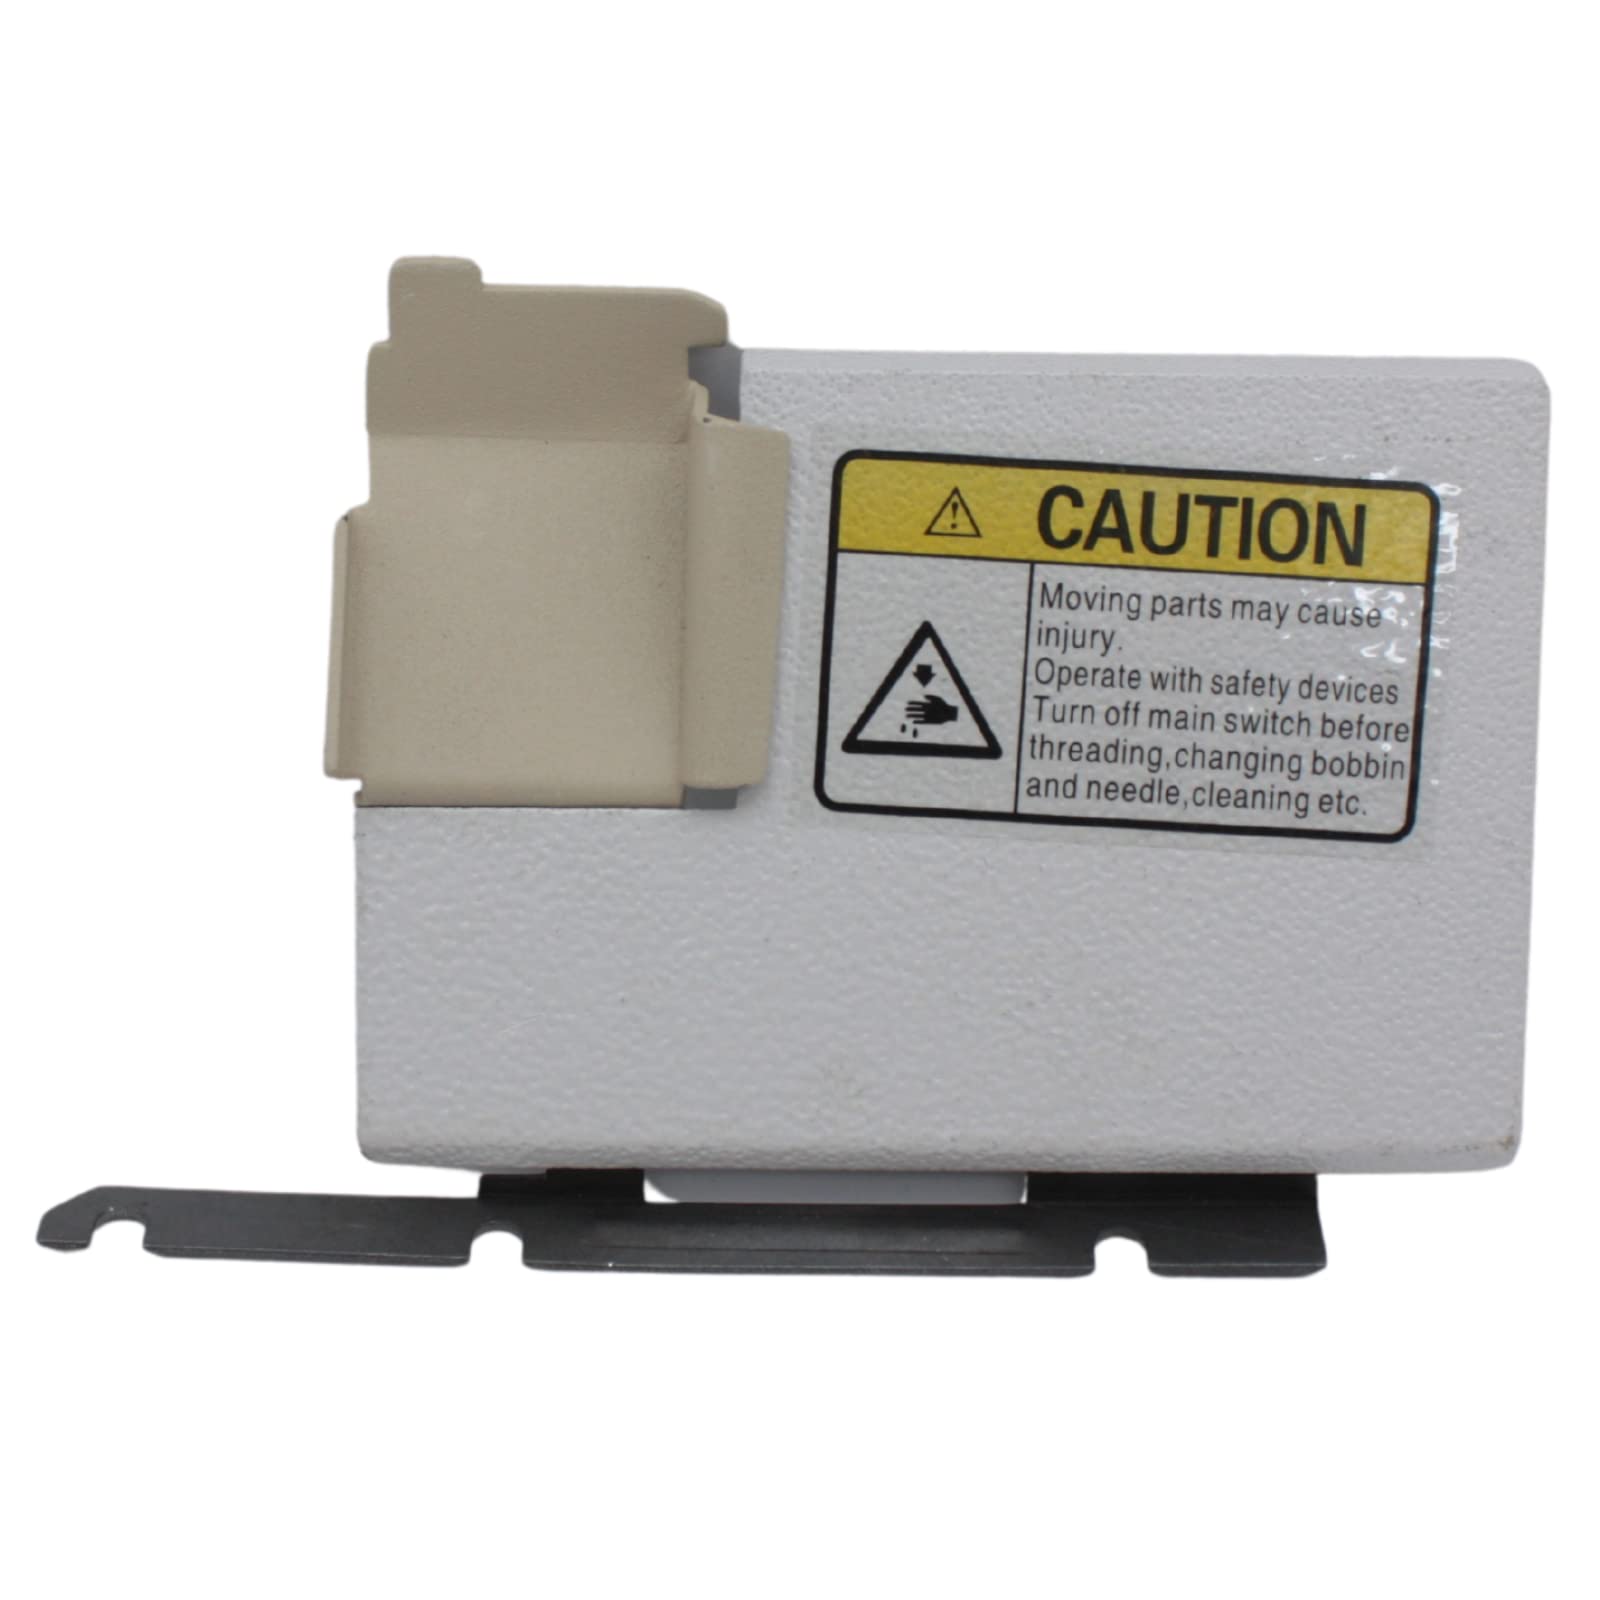
Image: The Cutex Looper Cover Complete assembly, showing its metallic housing and internal spring mechanism. This component is designed to fit specific Juki industrial overlock sewing machines.
Setup and Installation
Installation of the looper cover requires careful handling and familiarity with your sewing machine's internal components. If you are unsure about any step, it is recommended to consult a qualified sewing machine technician.
- Power Off: Ensure the sewing machine is turned off and unplugged from the power source before beginning any installation or maintenance.
- Access Looper Area: Open the necessary covers on your Juki overlock machine to access the looper mechanism. Refer to your machine's specific service manual for detailed instructions on accessing this area.
- Remove Old Looper Cover (if applicable): Carefully unfasten any screws or clips holding the existing looper cover in place. Note the orientation and position of the old cover for reference.
- Position New Looper Cover: Align the Cutex Looper Cover Complete with the mounting points on your machine. Ensure all components, such as springs and levers, are correctly seated and not obstructed.
- Secure Looper Cover: Fasten the new looper cover using the appropriate screws. Do not overtighten. Ensure the cover is securely in place and does not wobble.
- Test Movement: Manually turn the machine's handwheel to observe the looper's movement. Verify that the looper cover does not interfere with the looper's path and that all parts move freely.
- Close Covers: Reattach any machine covers that were removed.
After installation, perform a test stitch on scrap fabric to confirm proper function before resuming regular sewing tasks.
Operating Considerations
Once installed, the looper cover operates as an integral part of your sewing machine's looper system. No specific operational steps are required for the cover itself, beyond ensuring it is correctly installed.
- Proper Threading: Always follow your Juki machine's threading guide carefully, ensuring threads pass through the designated guides on or around the looper cover.
- Regular Inspection: Periodically inspect the looper cover for any signs of wear, damage, or misalignment that could affect stitch quality.
Maintenance
Proper maintenance ensures the longevity and optimal performance of your looper cover and sewing machine.
- Cleaning: Regularly clean lint and thread debris from around the looper cover and the entire looper area using a brush or vacuum. Accumulation of lint can impede movement and affect stitch quality.
- Lubrication: Refer to your Juki sewing machine's manual for specific lubrication points and schedules. Ensure that no oil or lubricant interferes with the thread path or accumulates on the looper cover surface.
- Inspection: Check for any loose screws, bent parts, or signs of wear on the looper cover during routine machine maintenance.
Troubleshooting
If you encounter issues after installing the looper cover, consider the following:
- Skipped Stitches or Poor Stitch Quality:
- Verify the looper cover is securely installed and not loose.
- Check if the machine is correctly threaded, paying close attention to the looper thread path.
- Ensure the needles are correctly inserted and not bent or dull.
- Confirm that the looper itself is not bent or damaged.
- Unusual Noise or Vibration:
- Ensure all screws securing the looper cover are tightened appropriately.
- Check for any foreign objects or lint buildup around the looper mechanism.
- Verify that the looper cover is not rubbing against any moving parts.
- Difficulty in Threading:
- Ensure the looper cover is not obstructing access to threading points.
- Confirm that the thread guides on the cover are clear and undamaged.
For persistent issues, consult your Juki sewing machine's service manual or contact a professional technician.
Specifications
| Brand Name | Cutex |
| Part Number | CTX-118-02808-ASM-4T |
| UPC | 840272408773 |
| ASIN | B0B2LY5LK2 |
| GTIN | 840272408773 |
| Manufacturer | Cutex Sewing Supplies |
| Compatibility | Juki MO-2304, MO-2404, MO-2404N, MO-2412, MO-2412N, MO-2414, MO-2414N, MO-2504, MO-2504N, MO-2512, MO-2512N, MO-2514, MO-2514N |
| Machine Type | 3-thread & 4-thread industrial overlock machines |
Warranty Information
For specific warranty details regarding the Cutex Looper Cover Complete, please refer to the warranty documentation provided with your purchase or contact Cutex Sewing Supplies directly. Warranty terms typically cover manufacturing defects for a specified period from the date of purchase.
Support
If you require technical assistance, have questions about installation, or need to report a defective part, please contact Cutex Sewing Supplies customer support. When contacting support, please have your product model number (CTX-118-02808-ASM-4T) and purchase information readily available.
Manufacturer: Cutex Sewing Supplies
For further assistance, you may visit the Cutex Store on Amazon.