1. Introduction
This manual provides comprehensive instructions for the assembly, setup, operation, and maintenance of your Lumenier QAV-R 2 Deadcat Freestyle Quadcopter Frame. The QAV-R 2 Deadcat is designed for FPV pilots seeking a durable and versatile frame, featuring a "no props in view" design for cinematic footage and compatibility with modern HD FPV systems. This frame is constructed from high-quality carbon fiber, ensuring strength and longevity for various flying applications.
2. Safety Information
Always prioritize safety when working with FPV equipment. This frame is a component of a larger system. Improper assembly or use can lead to injury or damage. Please observe the following:
- Ensure all components are correctly installed and secured before flight.
- Verify all electrical connections are insulated and free from short circuits.
- Use appropriate personal protective equipment (PPE) during assembly and maintenance.
- Operate your completed quadcopter responsibly and in accordance with local regulations.
- Keep hands and loose clothing away from propellers when the quadcopter is powered.
3. Package Contents
Before beginning assembly, verify that all parts are present. The package should contain:
- Lumenier QAV-R 2 Deadcat Carbon Fiber Frame Plates (Top, Bottom, Mid, Camera)
- 4.5mm Carbon Fiber Arms (for 5-inch version)
- Hardware Kit (screws, standoffs, nuts)
- Motor Bumpers
- Battery Strap
- Anti-slip Battery Pad
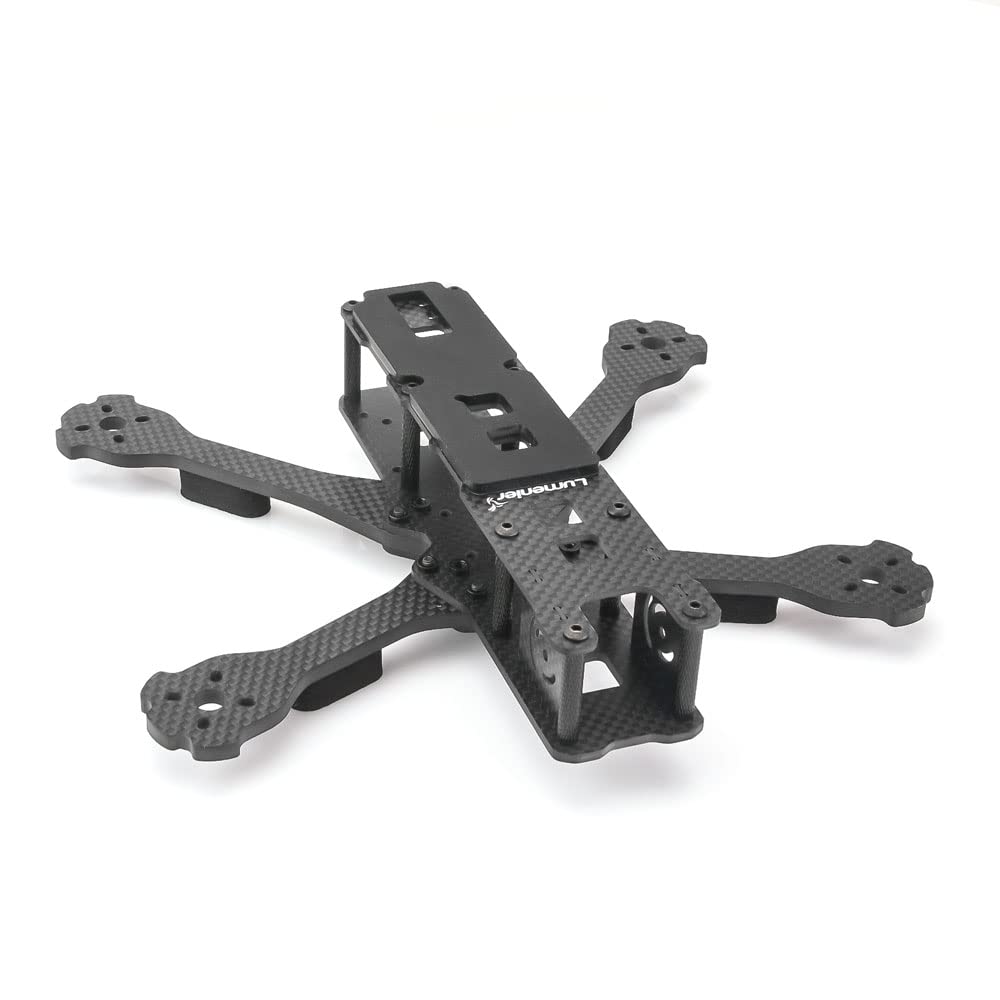
Image 1: Exploded view of the Lumenier QAV-R 2 Deadcat 5-inch frame kit, showing carbon fiber plates, arms, and hardware.
4. Assembly Instructions
Follow these steps to assemble your QAV-R 2 Deadcat frame. It is recommended to lay out all components before starting.
- Attach Arms to Bottom Plate: Secure the four 4.5mm carbon fiber arms to the main bottom plate using the provided screws. Ensure the arms interlock correctly to form a strong base. The "deadcat" design means the front arms sweep back, providing a wider field of view for the camera.
- Install Motor Bumpers: Place the protective motor bumpers at the ends of each arm. These help shield your motors from impact.
- Mount Standoffs: Attach the aluminum standoffs to the bottom plate. These will support the mid and top plates, creating space for your electronics stack.
- Secure Mid Plate: Place the mid plate onto the standoffs and secure it with screws. This plate provides additional mounting options for 20x20 and 30x30 electronics.
- Install Camera Plates: Mount the camera side plates to the front of the frame. These plates will hold your FPV camera.
- Attach Top Plate: Finally, place the top plate onto the remaining standoffs and secure it. This completes the main frame structure.
Note: Do not overtighten screws. Apply a small amount of thread-locking compound (e.g., blue Loctite) to metal-to-metal screws for added security, but avoid using it on carbon fiber.
5. Setup: Electronics Installation
The QAV-R 2 Deadcat is designed for flexible electronics mounting. It supports both 20x20mm and 30x30mm stacks in the center and rear sections.
- Flight Controller (FC) & Electronic Speed Controller (ESC) Stack: Mount your FC and 4-in-1 ESC stack in the designated central area. Ensure proper isolation from the carbon fiber frame using nylon standoffs or rubber grommets.
- FPV Camera: Install your FPV camera between the camera side plates at the front. The frame's design allows for a wide range of camera angles.
- Video Transmitter (VTX) & Receiver (RX): The rear section of the frame offers ample space for mounting your VTX and RX. For HD FPV systems like the Digital HD System or Caddx Vista, there is sufficient room in the rear.
- Motors: Attach your motors to the ends of the arms using the appropriate screws. Ensure motor wires are routed safely and secured to prevent damage from propellers.
- Antennas: Secure your FPV antenna and receiver antennas using the provided mounting points or zip ties. Ensure antennas are positioned for optimal signal reception and transmission, away from propellers.
6. Operating Guidelines
While this manual focuses on the frame, understanding general operating principles for FPV quadcopters is crucial for safe and effective use.
- Pre-Flight Checks: Always perform a thorough pre-flight inspection. Check all screws for tightness, ensure propellers are undamaged and correctly installed, and verify battery is fully charged and secured.
- Flight Environment: Fly in open areas, away from people, animals, and obstacles. Be aware of local airspace regulations.
- "No Props in View" Advantage: The Deadcat design minimizes propellers in your FPV camera's field of view, enhancing cinematic footage. Utilize this feature for smoother, more immersive recordings.
- Post-Flight Inspection: After each flight, inspect the frame for any signs of damage, cracks, or loose components. Address any issues before the next flight.
7. Maintenance
Regular maintenance will extend the lifespan of your QAV-R 2 Deadcat frame.
- Inspect Carbon Fiber: Periodically check all carbon fiber plates and arms for cracks or delamination, especially after crashes. Replace damaged parts immediately.
- Tighten Screws: Over time, vibrations can loosen screws. Regularly check and tighten all frame screws.
- Clean Frame: Use a soft, dry cloth to clean dust and debris from the frame. Avoid harsh chemicals that could damage the carbon fiber or clear coat.
- Arm Replacement: The arms are individually removable. In case of damage, only the affected arm needs to be replaced, simplifying repairs.
8. Troubleshooting
This section addresses common issues related to the frame itself. For electronics-related issues, refer to the respective component manuals.
- Loose Screws: If you notice excessive vibration or instability, check all frame screws and tighten them. Consider using thread-locking compound on metal screws.
- Frame Flex/Wobble: Ensure all arms are properly interlocked and secured to the bottom plate. Verify standoffs are tight and not stripped.
- Damaged Carbon Fiber: If a carbon fiber plate or arm is cracked, it must be replaced to maintain structural integrity and flight performance.
- Camera Jello/Vibration: While the frame is rigid, ensure your camera is securely mounted and isolated from vibrations if necessary. Check for loose motors or propellers.
9. Specifications
| Brand | Lumenier |
| Model Name | QAV-R 2 Deadcat |
| Material | High-Quality Carbon Fiber |
| Arm Thickness (5-inch) | 4.5mm |
| Bottom Plate Thickness | 2.5mm |
| Top Plate Thickness | 2mm |
| Center Carbon Thickness | 7.5mm (combined) |
| Weight | Approximately 0.6 Pounds (frame only) |
| Stack Compatibility | 20x20mm and 30x30mm (center and rear) |
| Design Feature | "Deadcat" for "no props in view" FPV footage |
10. Warranty and Support
For warranty information and technical support, please refer to the official Lumenier website or contact your authorized Lumenier dealer. Keep your proof of purchase for any warranty claims.
Lumenier Official Website: www.lumenier.com