
Argento AR-MO-210005
Argento E-Scooter Active Evo User Manual
Model: AR-MO-210005
1. Introduction
Thank you for choosing the Argento E-Scooter Active Evo. This electric scooter is designed for urban mobility, offering a powerful 350W motor, comfortable 10-inch wheels, and integrated safety features like turn signals and LED lights. This manual provides essential information for the safe operation, maintenance, and troubleshooting of your new e-scooter. Please read it thoroughly before your first ride.

Figure 1.1: Argento E-Scooter Active Evo, side view. This image shows the full scooter from the side, highlighting its sleek design and 10-inch wheels.
2. Safety Information
Your safety is paramount. Always wear a helmet and appropriate protective gear (knee pads, elbow pads) when riding. Adhere to local traffic laws and regulations. Do not ride under the influence of alcohol or drugs. Avoid riding in heavy rain, on slippery surfaces, or at night without proper visibility.
- Always check brakes, tires, and battery level before each ride.
- Maintain a safe distance from other vehicles and pedestrians.
- Do not exceed the maximum weight limit of 100 kg.
- Avoid sudden acceleration or braking.
- Use turn signals to indicate your intentions.
- Be aware of your surroundings and potential hazards.
3. Package Contents
Upon unpacking your Argento E-Scooter Active Evo, please ensure all items are present and in good condition:
- Argento E-Scooter Active Evo
- Multilingual User Manual (including Italian)
- Battery Charger
If any items are missing or damaged, please contact your retailer or Argento customer support immediately.
4. Setup
4.1 Unfolding the Scooter
- Place the scooter on a flat surface.
- Locate the folding mechanism latch near the base of the handlebar stem.
- Release the latch and carefully lift the handlebar stem until it locks into the upright position. Ensure it is securely locked before use.
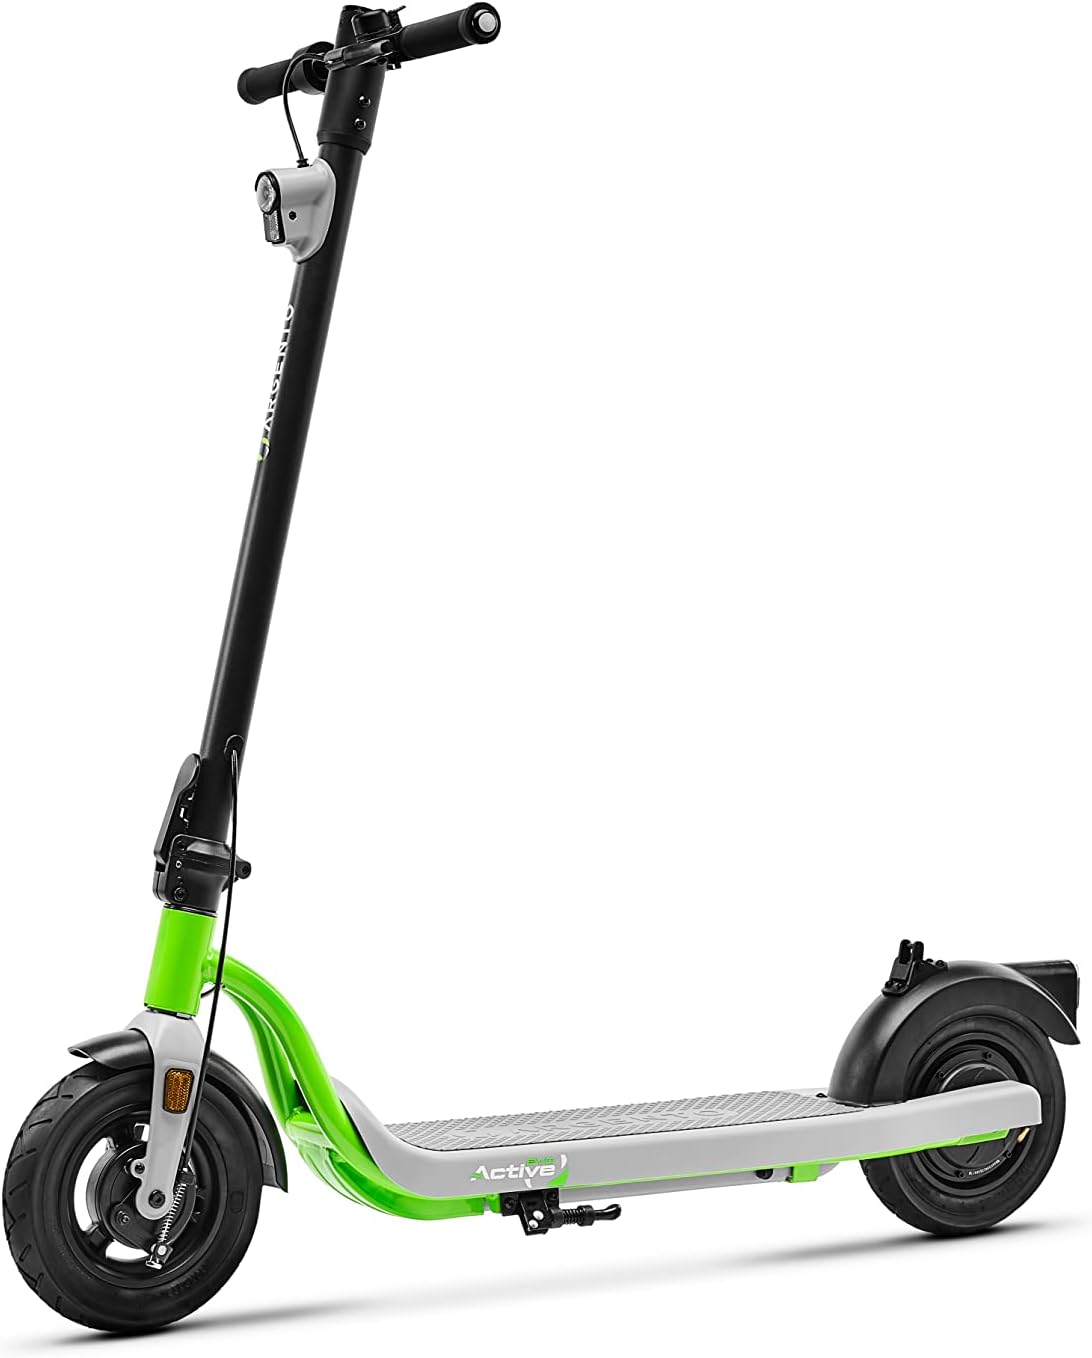
Figure 4.1: Argento E-Scooter Active Evo in folded position. This image illustrates the compact form of the scooter when folded, ready for transport or storage.
4.2 Initial Charging
Before first use, fully charge the scooter's battery. The charging port is typically located on the side of the deck. Connect the charger to the scooter and then to a power outlet. The indicator light on the charger will change (e.g., from red to green) when charging is complete. Charging time is approximately 4-5 hours.
4.3 Tire Inflation
The 10-inch pneumatic tires require proper inflation for optimal performance and safety. Check the tire pressure before each ride. The recommended tire pressure is usually indicated on the tire sidewall or in the specifications section. Use a standard bicycle pump to inflate if necessary.

Figure 4.2: Close-up of the front wheel and suspension. This image details the 10-inch pneumatic tire and the front suspension system, crucial for ride comfort.
4.4 App Pairing (Optional)
Your scooter may support a companion app for additional features like cruise control settings, ride statistics, and firmware updates. Refer to the specific app instructions for pairing via Bluetooth. The app can be used to customize certain settings, such as deactivating cruise control if preferred.
5. Operating Instructions
5.1 Powering On/Off
Press and hold the power button on the handlebar display to turn the scooter on or off. The display will illuminate, showing battery level, speed, and mode.

Figure 5.1: Handlebar display. This image shows the central display unit on the handlebar, indicating speed, battery, and other operational data.
5.2 Riding Modes
The scooter typically features multiple riding modes (e.g., Eco, Drive, Sport) that limit top speed and affect battery consumption. Press the mode button on the display to cycle through available modes. Sport mode allows for maximum speed (up to 25 km/h) but may reduce battery range.
5.3 Acceleration and Braking
To accelerate, gently press the throttle lever. To brake, use the brake levers on the handlebars. The scooter is equipped with brakes on both wheels for effective stopping. It also features regenerative braking, which helps recharge the battery during deceleration.
5.4 Lights and Turn Signals
The scooter has an integrated LED front light and a rear red light for visibility. Activate the lights using the dedicated button on the handlebar. Integrated turn signals are located on the handlebars; press the corresponding button (left or right) to activate. Note that turn signals may be less visible during daylight hours.

Figure 5.2: Front LED light. This image highlights the bright LED headlight, essential for visibility during low-light conditions.

Figure 5.3: Left handlebar with brake lever and turn signal button. This image shows the ergonomic design of the handlebar controls, including the brake lever and the button for activating the left turn signal.
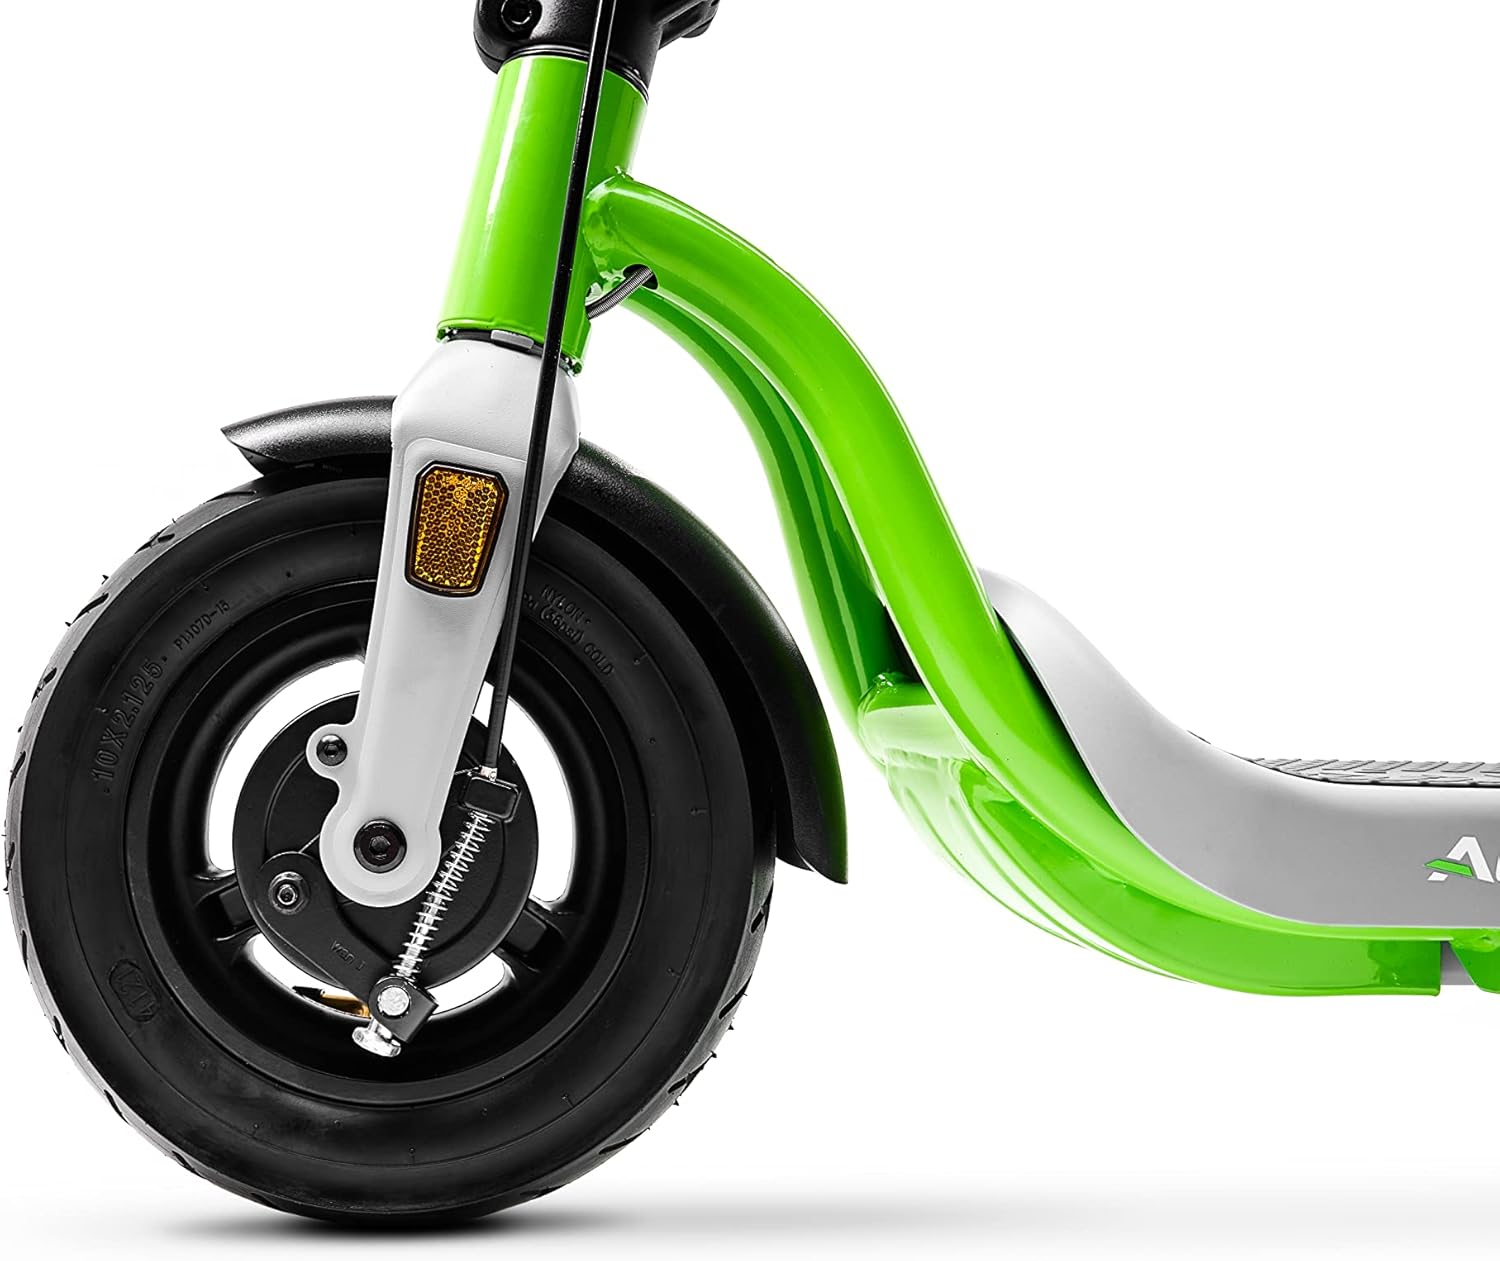
Figure 5.4: Rear wheel and fender with integrated taillight. This image displays the rear wheel, fender, and the red taillight, which also serves as a brake light.
5.5 Folding the Scooter
To fold the scooter for storage or transport, ensure it is powered off. Locate the folding mechanism latch and release it. Carefully fold the handlebar stem downwards until it clicks into place. The scooter's lightweight design (15.7 kg) and easy-folding system make it convenient to carry.
6. Maintenance
6.1 Battery Care
- Charge the battery regularly, even if not in use, to prolong its lifespan.
- Avoid completely draining the battery before recharging.
- Store the scooter in a cool, dry place, away from direct sunlight and extreme temperatures.
6.2 Tire Pressure
Regularly check and maintain the correct tire pressure. Under-inflated tires can affect performance, range, and ride comfort, and increase the risk of punctures.
6.3 Brake Inspection
Periodically inspect the brake levers and cables for proper function and wear. Ensure the brakes engage smoothly and effectively. Adjust if necessary or consult a professional.
6.4 Cleaning
Clean the scooter with a damp cloth. Do not use high-pressure water jets or immerse the scooter in water, as this can damage electronic components.
7. Troubleshooting
| Problem | Possible Cause | Solution |
|---|---|---|
| Scooter does not power on | Low battery; loose connections | Charge the battery; check all cable connections. |
| Reduced range/power | Low tire pressure; heavy load; steep inclines; cold weather; battery degradation | Inflate tires to recommended pressure; reduce load; avoid steep inclines if possible; ensure battery is fully charged. |
| Tire puncture | Sharp object; under-inflation | Inspect tire for damage; repair or replace inner tube/tire. Professional assistance recommended. |
| Turn signals not visible/hard to activate | Daylight conditions; button placement | Use hand signals in addition to turn signals, especially during the day. Familiarize yourself with button location. |
| Handlebar stem feels loose | Folding mechanism not fully engaged; loose screws | Ensure folding mechanism is securely locked. Check and tighten any visible screws on the stem. |
8. Specifications
| Feature | Detail |
|---|---|
| Model Number | AR-MO-210005 |
| Motor Power | 350W Brushless |
| Wheel Size | 10 Inches (Pneumatic) |
| Battery Capacity | 280Wh (Lithium-ion) |
| Max Load Capacity | 100 Kilograms |
| Product Dimensions (Unfolded) | 120.5 x 22 x 52 cm |
| Product Weight | 16.6 Kilograms |
| Frame Material | Aluminum |
| Brake Type | Rear Brakes (Regenerative braking also present) |
| Special Features | Integrated Turn Signals, LED Front/Rear Lights, Easy Folding System |
| Recommended Age | Adults |
9. Warranty and Support
For warranty information, technical support, or spare parts, please refer to the warranty card included with your product or contact Argento customer service. Keep your proof of purchase for any warranty claims.
Ask a question about this manual
Ask about setup, troubleshooting, compatibility, parts, safety, or missing instructions. Manuals+ will review the question and use this page’s manual context to help answer it.