
Welcome
Thank you for choosing the Horoper Bread Slicer. This manual provides detailed instructions for the proper assembly, operation, and maintenance of your new bread slicer. Please read this manual thoroughly before first use to ensure safe and efficient operation.
Product Overview
Key Features
- Precision Slicing: Designed to assist in cutting homemade bread with consistent thickness.
- Adjustable Thickness: Allows for uniform slices of approximately 10mm or 20mm.
- Foldable Design: Folds compactly for convenient storage, saving kitchen space.
- Integrated Crumb Tray: Collects crumbs for easy cleanup and can serve as a display tray.
- Versatile Use: Suitable for slicing various items including bread, bagels, luncheon meat, ham, cheese, vegetables, and fruits.
- Non-Slip Base: Ensures stability during use.
Components
The Horoper Bread Slicer consists of a base, two slicing guide panels, and a back support panel. These components are designed for easy assembly and disassembly.

Image: The Horoper Bread Slicer in its fully assembled state, ready for use.

Image: All individual components of the Horoper Bread Slicer laid out, showing the base, two side guides, and the back support.
Setup and Assembly
The bread slicer is designed for quick and easy assembly. Follow these steps:
- Place the base on a stable, flat, and dry surface.
- Insert the two slicing guide panels into the designated slots on the base. Ensure they are securely seated.
- Insert the back support panel into the corresponding slots on the base and the slicing guide panels. This completes the assembly.
To fold for storage, reverse these steps. The panels can be removed and stored flat within the base structure.
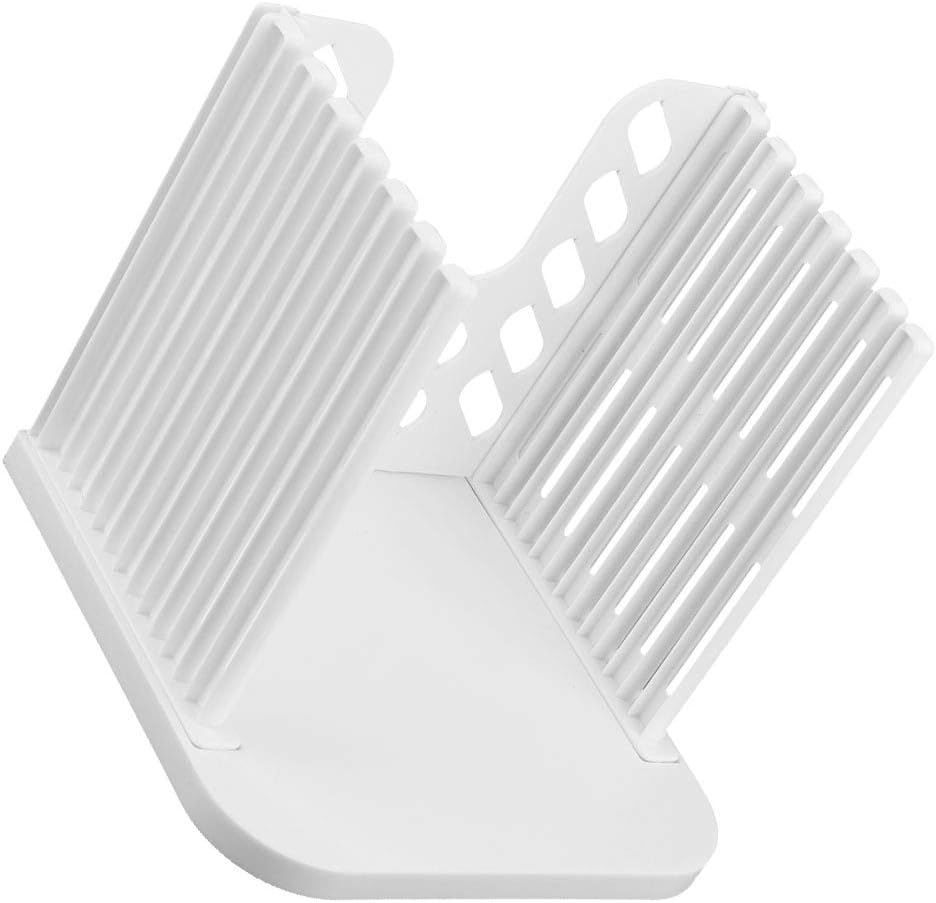
Image: The Horoper Bread Slicer shown in its compact, folded configuration for storage.
Operating Instructions
Slicing Bread
- Ensure the bread slicer is assembled correctly and placed on a stable surface.
- Place the loaf of bread inside the slicer, resting it against the back support panel.
- Using a long, sharp bread knife (not included), carefully slide the knife through the guide slots. Always keep your fingers away from the blade.
- Continue slicing through the loaf, using the guide slots to maintain uniform thickness.
- The crumb tray at the base will collect any fallen crumbs, making cleanup easier.

Image: A user demonstrating the slicing process, holding a knife through the guide slots to cut a loaf of bread.
Adjusting Slice Thickness
The slicer offers two primary slice thickness options: approximately 10mm and 20mm. This is achieved by selecting the appropriate guide slots. For thinner slices, use adjacent slots. For thicker slices, skip a slot to create a wider gap for the knife.
Versatile Use
Beyond homemade bread, this slicer can be used for various food items that require uniform slicing, such as bagels, luncheon meat, ham, cheese, vegetables, and fruits. Ensure the item fits within the slicer's dimensions and is firm enough to be sliced cleanly.
Maintenance and Cleaning
Proper care and cleaning will extend the life of your Horoper Bread Slicer.
- After Each Use: Remove any remaining bread crumbs from the slicer and the crumb tray.
- Cleaning: Wash the slicer components with warm, soapy water. Rinse thoroughly and allow to air dry completely before storing.
- Important: This product is NOT dishwasher safe. Hand washing is recommended to prevent damage to the plastic material.
- Storage: Once dry, disassemble the slicer and fold it into its compact form for storage in a dry place.
Troubleshooting
- Uneven Slices: Ensure the bread loaf is centered and firmly pressed against the back support. Use a long, sharp, and straight bread knife for best results.
- Slicer Instability: Verify that the slicer is placed on a completely flat and dry surface. The non-slip base should provide adequate stability.
- Difficulty Assembling/Disassembling: Ensure all panels are aligned with their respective slots. Do not force components; they should slide in and out smoothly. Refer to the "Setup and Assembly" section.
Specifications
| Attribute | Detail |
|---|---|
| Brand | Horoper |
| Model | Bread Slicer |
| Blade Material (Slicer Guide) | Plastic |
| Handle Material (Slicer Guide) | Acrylonitrile Butadiene Styrene |
| Product Dimensions (Assembled) | 6.3 x 5.91 x 5.71 inches (16 x 15 x 14.5 cm) |
| Item Weight | 7 ounces (198 grams) |
| Dishwasher Safe | No |

Image: Diagram illustrating the key dimensions of the Horoper Bread Slicer.
Warranty and Support
For any questions, concerns, or support regarding your Horoper Bread Slicer, please contact the manufacturer or your retailer. Specific warranty details may vary by region and purchase location. Please retain your proof of purchase for any warranty claims.