1. Product Overview
The Haloview BTC129 is a set of wireless Full HD 1080P side marker cameras designed to enhance visibility and safety for recreational vehicles (RVs). These cameras integrate with Haloview BT7 and BT6 monitor systems, providing clear, wide-angle views of blind spots. Each unit combines a side marker light with a high-definition camera, offering a compact and functional solution for RV owners.
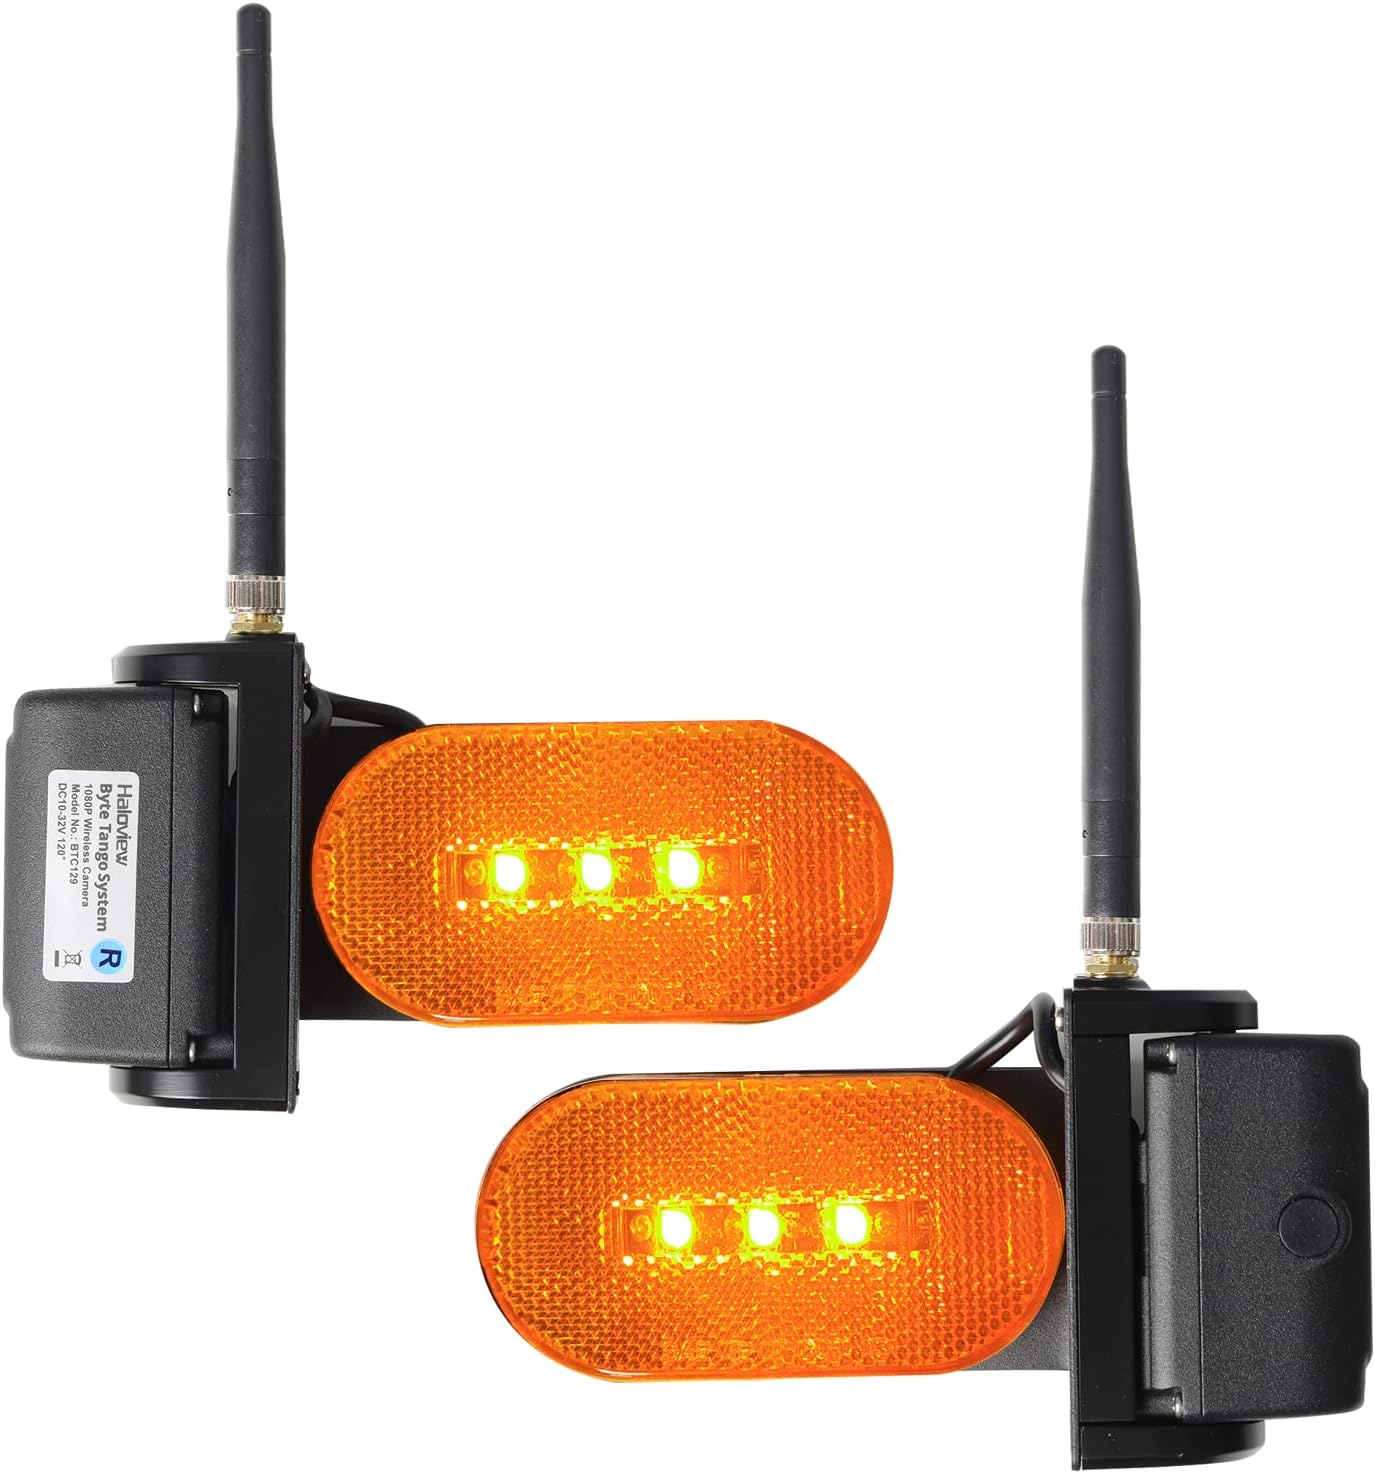
Figure 1: Front view of the Haloview BTC129 Wireless RV Side Marker Cameras.
The system includes both left and right side view cameras, each featuring a 70-degree adjustable lens for optimal positioning. The cameras utilize CCD and CMOS optical sensor technology to deliver 1080P video resolution, ensuring detailed images for improved situational awareness.
2. Package Contents
The Haloview BTC129 package typically includes:
- Left side view camera unit
- Right side view camera unit
- Mounting hardware (screws, gaskets)
- User Manual (this document)
3. Setup and Installation
The BTC129 cameras are designed for surface mount installation and are compatible with Haloview BT7 and BT6 monitor systems. Professional installation is recommended for optimal performance and safety.
3.1 Pre-Installation Checks
- Ensure your Haloview BT7 or BT6 monitor system is already installed and operational.
- Verify the mounting location on your RV for clear line of sight and proper wiring access.
- Confirm the power source for the cameras (typically connected to RV marker lights).
3.2 Mounting the Cameras
The cameras are designed to replace or be installed alongside existing RV side marker lights. The dimensions are approximately 3.94"L x 7.48"W x 5.91"H.

Figure 2: Haloview BTC129 Camera Dimensions.
- Carefully remove any existing side marker lights if replacing.
- Position the BTC129 camera unit, ensuring the camera lens faces the desired viewing area.
- Secure the camera unit to the RV surface using the provided mounting hardware. Ensure a watertight seal to prevent moisture intrusion.
3.3 Wiring Connections
Each camera unit requires power and ground connections. Additionally, a trigger wire is included for integration with turn signals.

Figure 3: Rear view with wiring connections (Power, Ground, Trigger).
- Power Connection: Connect the camera's power wire to a 12V DC power source. It is common to connect this to the RV's marker light circuit, which means the RV's lights must be on for the cameras to operate. Be aware that some vehicle electrical systems (e.g., certain GMC models) may have inconsistent power flow to marker lights when in 'auto' or 'off' daylight modes, potentially affecting camera operation. A dedicated, switched 12V wire may be considered for consistent power.
- Ground Connection: Connect the camera's ground wire to a suitable chassis ground point on the RV.
- Trigger Wire: Connect the trigger wire to the corresponding turn signal circuit (left camera to left turn signal, right camera to right turn signal). This enables the monitor system to automatically switch to the side camera view when the turn signal is activated.
3.4 Pairing with Monitor System
After installation, follow the instructions provided with your Haloview BT7 or BT6 monitor system to pair the new side cameras. This typically involves accessing the monitor's pairing menu and initiating a search for new wireless cameras.
3.5 Adjusting Camera Angle
The camera lens can be adjusted up to 70 degrees to achieve the desired field of view, minimizing blind spots along the side of your RV.

Figure 4: 70 Degrees Adjustable Camera Angle.
4. Operating Instructions
Once installed and paired, the BTC129 cameras operate in conjunction with your Haloview BT7/BT6 monitor system.
- Automatic Switching: When the trigger wires are connected, activating your RV's left or right turn signal will automatically display the corresponding side camera view on your monitor.
- Manual Switching: Refer to your BT7/BT6 monitor manual for instructions on manually cycling through camera views or displaying multiple camera views simultaneously (e.g., split screen).
- Night Vision: The cameras are equipped with full-color night vision capabilities, providing clear images even in low-light conditions.
- Blind Spot Monitoring: Utilize the wide-angle view to monitor adjacent lanes, check blind spots during lane changes, and assist with parking or maneuvering in tight spaces.

Figure 5: Haloview BTC129 Camera mounted on an RV.
5. Maintenance
To ensure longevity and optimal performance of your Haloview BTC129 cameras, follow these maintenance guidelines:
- Cleaning: Regularly clean the camera lenses and marker light covers with a soft, damp cloth. Avoid abrasive cleaners that could scratch the surfaces.
- Connection Checks: Periodically inspect all wiring connections for corrosion or damage, especially after long trips or exposure to harsh weather. Ensure all connections remain secure.
- Mounting Security: Verify that the camera units are securely mounted to the RV and that all screws are tight.
6. Troubleshooting
If you encounter issues with your Haloview BTC129 camera system, refer to the following troubleshooting tips:
| Problem | Possible Cause | Solution |
|---|---|---|
| No image on monitor / Camera not powering on | No power to camera; Loose connection; Faulty camera. | Check power and ground connections. Ensure RV marker lights are on if cameras are wired to them. Verify power consistency (e.g., for GMC vehicles, ensure lights are manually on). Re-check wiring. |
| Poor image quality / Intermittent signal | Interference; Weak signal; Dirty lens. | Clean camera lens. Ensure no obstructions between camera and monitor. Re-pair camera with monitor. Check for other wireless devices causing interference. |
| Trigger function slow or not working | Incorrect trigger wire connection; System delay; Faulty turn signal circuit. | Verify trigger wire connections to the correct turn signal circuits. Some system delays are inherent; adjust driving habits accordingly. Consult a professional if persistent issues with trigger wiring. |
| False triggers or rapid camera switching | Electrical interference; Faulty trigger signal from RV. | Inspect RV wiring for the turn signal circuit for any anomalies. If issues persist, consider disconnecting the trigger wires and using manual camera switching on the monitor. |
| Difficulty getting all cameras to work simultaneously | Pairing issue; Monitor configuration. | Refer to your BT7/BT6 monitor manual for multi-camera setup and pairing instructions. Ensure all cameras are correctly paired and configured for simultaneous display. |
7. Specifications
| Feature | Detail |
|---|---|
| Brand | Haloview |
| Model | BTC129 |
| Compatible Devices | Haloview BT7/BT6 Monitor Systems |
| Installation Type | Surface Mount |
| Video Capture Resolution | 1080p FHD |
| Optical Sensor Technology | CCD, CMOS |
| Lens Type | Wide Angle |
| Real Angle of View | 70 Degrees (Adjustable) |
| Connector Type | Wireless |
| Optical Sensor Size | 1/3 inch |
| Effective Still Resolution | 2.1 MP |
| Product Dimensions (L x W x H) | 3.94" x 7.48" x 5.91" |
| Built-In Media | Left side view camera + Right side view camera |
8. Warranty Information
The Haloview BTC129 Wireless RV Side Marker Camera System comes with a 1-year manufacturer's warranty. This warranty covers defects in materials and workmanship under normal use. Please retain your proof of purchase for warranty claims. The warranty does not cover damage caused by improper installation, misuse, accidents, or unauthorized modifications.
9. Support
For further assistance, technical support, or warranty inquiries, please contact Haloview customer service. Refer to the official Haloview website or your product packaging for the most current contact information.
Haloview Official Website: www.haloview.com