1. Important Safety Instructions
Please read all instructions carefully before using your Dreamiracle Ice Maker Machine. Retain this manual for future reference.
- Ensure the voltage matches the rating label on the appliance.
- Do not immerse the power cord, plug, or any part of the appliance in water or other liquids.
- Unplug the appliance from the outlet when not in use, before cleaning, or during maintenance.
- Do not operate any appliance with a damaged cord or plug, or after the appliance malfunctions or has been damaged in any manner.
- Keep the appliance away from heat sources and direct sunlight.
- Use only potable water in the ice maker.
- This appliance is for household use only.
2. Product Overview
The Dreamiracle DRMUS-IM2200-UL is a countertop ice maker designed for efficient and convenient ice production. It features a high heat conduction evaporator for stable and efficient refrigeration, producing bullet-shaped ice cubes.
Key Features:
- Efficient Ice Production: Produces 9 bullet-shaped ice cubes in approximately 7-10 minutes, with a daily capacity of up to 33 lbs.
- Large Water Tank: Equipped with a 2.8L water tank.
- Energy Saving: Operates at 130W, designed for lower electricity consumption.
- Two Ice Cube Sizes: Offers selectable small and large ice cube sizes.
- Self-Cleaning Function: Simplifies maintenance.
- Infrared Sensor: Automatically stops ice production when the ice basket is full or water needs to be added.
- Durable Construction: Features a stainless steel metal shell with anti-fingerprint properties and a 3-layer foaming technology for insulation.
- Low Noise Operation: Runs at less than 35 dB.
Components:
- Ice Maker Unit
- Removable Ice Basket
- Ice Scoop
- Measuring Cup (not explicitly listed in 'whats_in_the_box' but often included with ice makers)
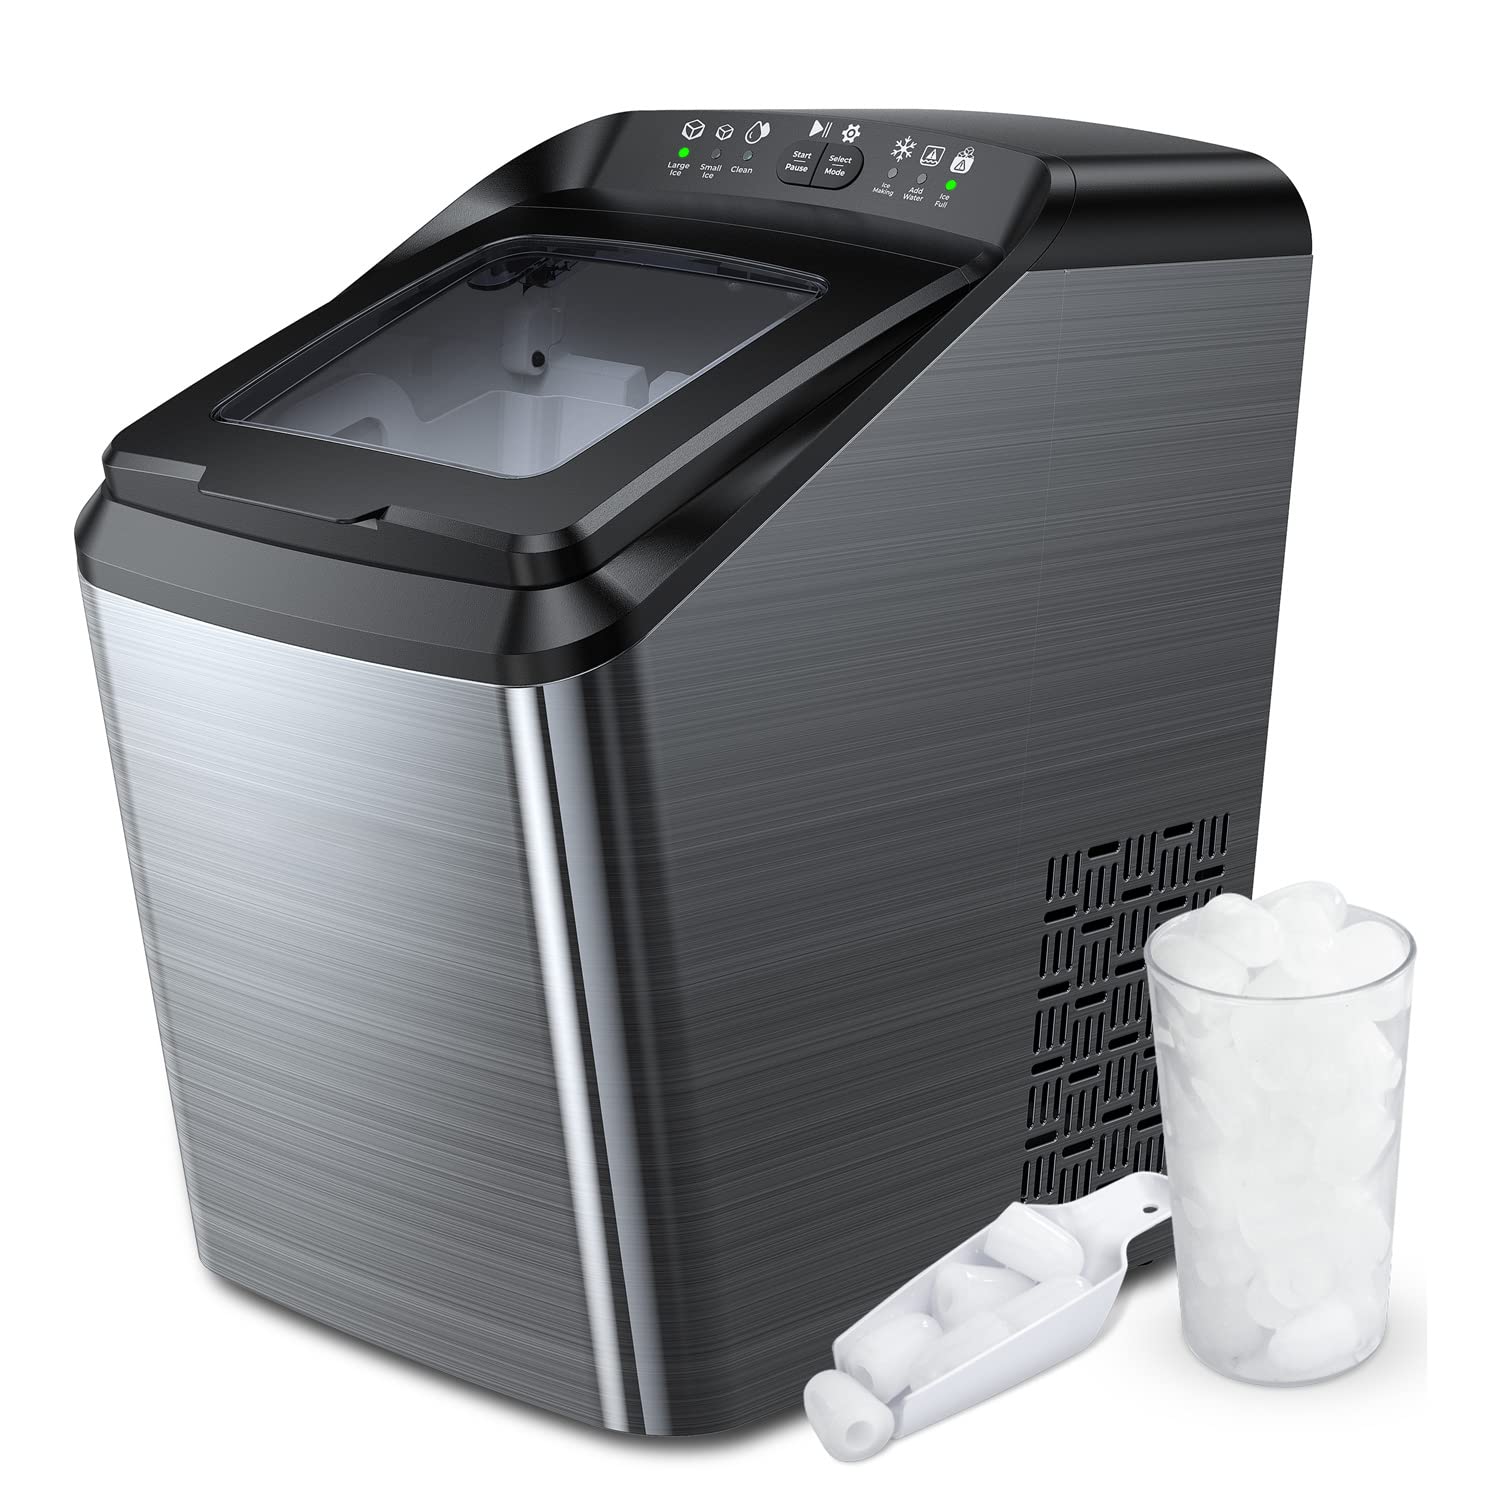
Figure 2.1: Dreamiracle Ice Maker Machine with included accessories.

Figure 2.2: Product dimensions for placement reference.
3. Setup
3.1 Unpacking
- Carefully remove the ice maker from its packaging.
- Remove all packaging materials, including any tape or protective films.
- Check for any damage during transit. If damage is found, do not operate the appliance and contact customer support.
3.2 Placement
- Place the ice maker on a flat, stable surface, away from direct sunlight and heat sources (e.g., ovens, radiators).
- Ensure there is adequate ventilation around the unit, leaving at least 5 inches of space on all sides for proper heat dissipation.
- Do not place the unit in an enclosed cabinet.
3.3 Initial Cleaning
Before first use, it is recommended to clean the ice maker.
- Wipe the interior with a soft cloth and warm water with a mild detergent.
- Rinse thoroughly and drain any remaining water.
- Run a self-cleaning cycle (refer to Section 5.2) or make a few batches of ice and discard them to ensure cleanliness.
4. Operating Instructions
Follow these steps to operate your ice maker:
- Add Water: Open the lid and pour potable water into the water reservoir up to the 'MAX' fill line. Do not overfill.
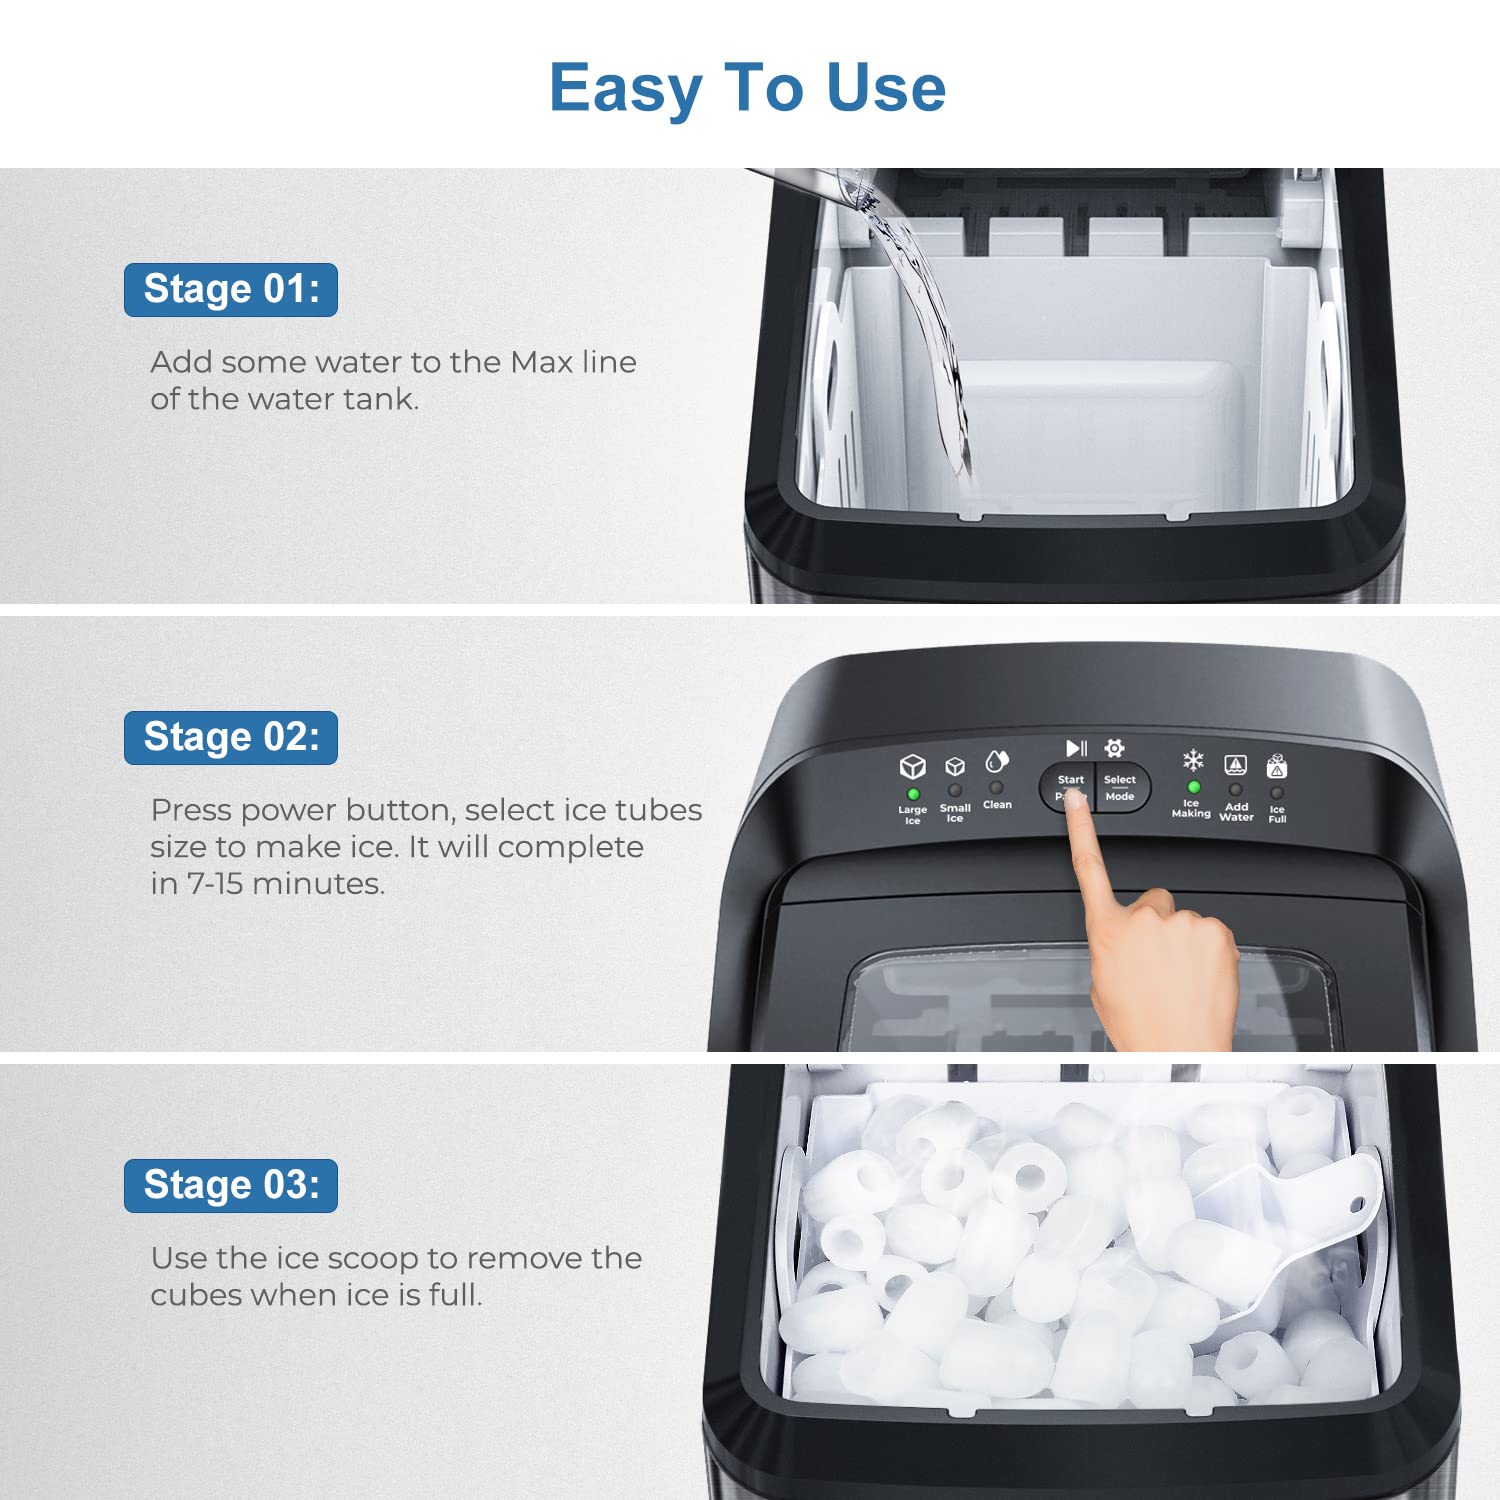
Figure 4.1: Step-by-step guide for operating the ice maker.
- Power On and Select Ice Size: Plug the ice maker into a grounded electrical outlet. Press the 'Start/Pause' button to turn on the machine. Use the 'Select Mode' button to choose between small or large ice cube sizes. The corresponding indicator light will illuminate.

Figure 4.2: Choose between small (0.8 inch) and large (1.0 inch) ice cubes.
- Ice Making Process: The machine will begin the ice-making cycle. The 'Ice Making' indicator light will be on. The first batch of ice will be ready in approximately 7-10 minutes.
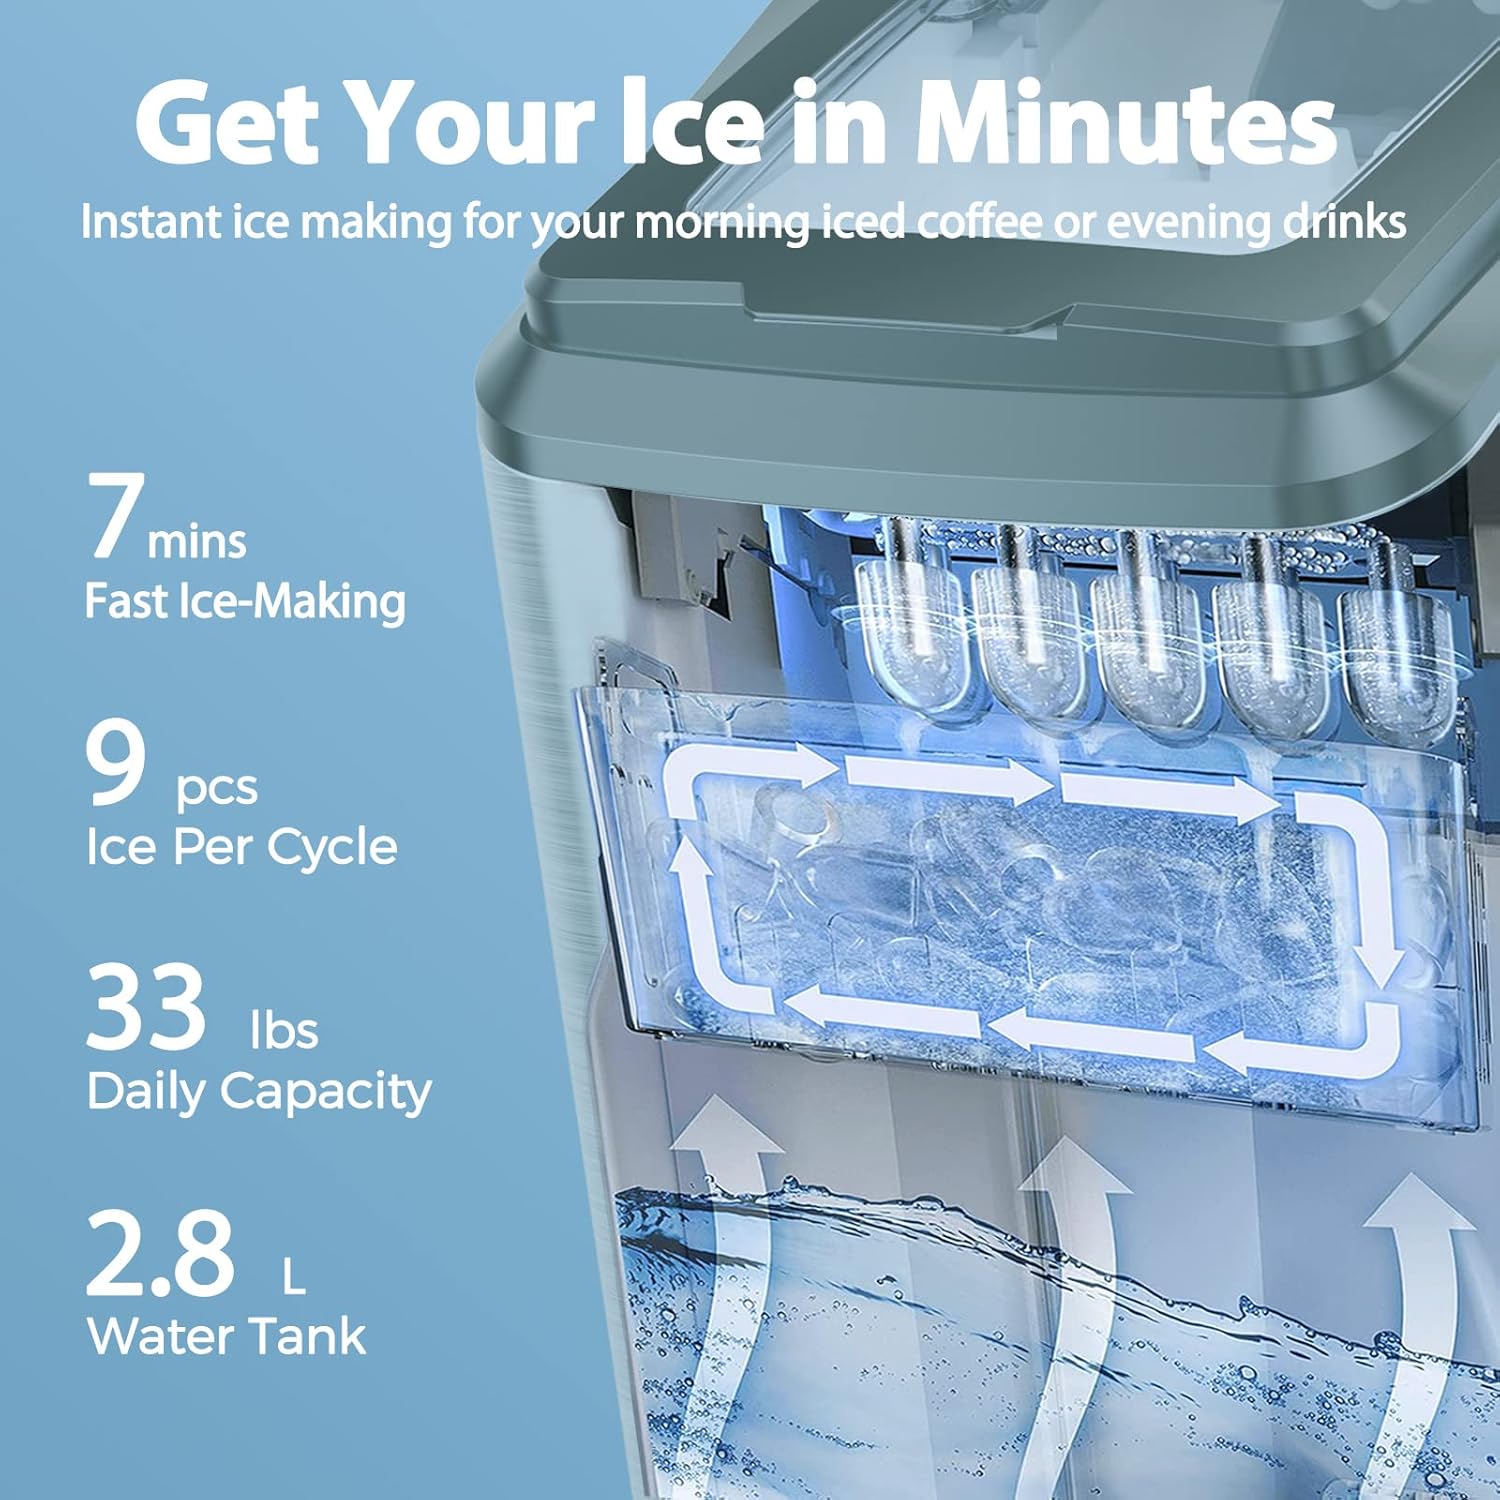
Figure 4.3: The internal mechanism during ice production.
- Ice Collection: Once ice is formed, it will be released into the ice basket. The 'Ice Full' indicator light will illuminate when the basket is full, and the machine will pause operation.
- Remove Ice: Use the provided ice scoop to remove ice from the basket. The machine will resume ice production once ice is removed and the 'Ice Full' sensor is clear.
- Add Water Indicator: If the 'Add Water' indicator light illuminates, the water reservoir is low. Add more water to continue ice production.
- Power Off: Press the 'Start/Pause' button to turn off the machine when not in use.
5. Maintenance and Cleaning
Regular cleaning ensures optimal performance and longevity of your ice maker.
5.1 Daily Cleaning
- After each use, unplug the unit and remove the ice basket.
- Drain any remaining water from the reservoir.
- Wipe the interior and exterior surfaces with a soft cloth and mild detergent. Rinse thoroughly.
- Dry all parts completely before reassembling or storing.
5.2 Self-Cleaning Function
The ice maker is equipped with a self-cleaning function:
- Ensure the water reservoir is filled with clean water.
- Press and hold the 'Clean' button (or refer to specific button on control panel if different) for a few seconds to activate the self-cleaning cycle.
- The machine will run a cleaning cycle, circulating water through its system.
- Once the cycle is complete, drain the water and wipe the interior dry.
5.3 Long-Term Storage
- Perform a thorough cleaning as described above.
- Ensure all parts are completely dry to prevent mold or mildew growth.
- Store the ice maker in a cool, dry place, away from direct sunlight.
6. Troubleshooting
If you encounter issues with your ice maker, refer to the following common problems and solutions:
| Problem | Possible Cause | Solution |
|---|---|---|
| Ice maker not turning on. | No power supply. | Ensure the unit is properly plugged into a working outlet. Check circuit breaker. |
| 'Add Water' indicator light is on. | Water reservoir is empty or low. | Add potable water to the reservoir up to the 'MAX' line. |
| 'Ice Full' indicator light is on. | Ice basket is full. | Remove ice from the basket. The machine will resume operation. |
| Ice is not forming or is too small. | Ambient temperature too high; water temperature too high; insufficient water. | Ensure the unit is in a cool environment. Use cold water. Check water level. |
| Unusual noise during operation. | Unit not level; internal components vibrating. | Ensure the unit is on a flat, stable surface. This is often normal during initial cycles. |
If the problem persists after attempting these solutions, please contact customer support.
7. Specifications
| Feature | Specification |
|---|---|
| Model Number | DRMUS-IM2200-UL |
| Brand | Dreamiracle |
| Daily Ice Capacity | 33 lbs (approx. 15 kg) |
| Ice Cube Production Time | 7-10 minutes per batch (9 cubes) |
| Water Tank Capacity | 2.8 Liters |
| Wattage | 130 watts |
| Refrigerant | R600a |
| Noise Level | Less than 35 dB |
| Package Dimensions | 18.25 x 18 x 11.75 inches |
| Item Weight | 27.3 Pounds |
8. Warranty and Support
Dreamiracle provides a 1-year warranty for this ice maker machine, along with a 45-day return policy.
For technical support, warranty claims, or any questions regarding your product, please contact Dreamiracle customer service through their official website or the retailer where the product was purchased.