1. Introduction
This manual provides essential instructions for the safe operation, maintenance, and troubleshooting of your Makita DLX2289 Cordless Combo Kit. This kit includes the DDF485 Cordless Drill Driver and the DTD153 Cordless Impact Driver, along with two 3.0Ah Lithium-ion batteries and a charger (charger not explicitly listed but implied for a cordless kit). Please read this manual thoroughly before using the tools to ensure proper and safe usage.
2. General Safety Instructions
WARNING: Read all safety warnings, instructions, illustrations, and specifications provided with this power tool. Failure to follow all instructions listed below may result in electric shock, fire, and/or serious injury.
2.1 Work Area Safety
- Keep work area clean and well lit. Cluttered or dark areas invite accidents.
- Do not operate power tools in explosive atmospheres, such as in the presence of flammable liquids, gases, or dust. Power tools create sparks which may ignite the dust or fumes.
- Keep children and bystanders away while operating a power tool. Distractions can cause you to lose control.
2.2 Electrical Safety
- Power tool plugs must match the outlet. Never modify the plug in any way.
- Do not expose power tools to rain or wet conditions. Water entering a power tool will increase the risk of electric shock.
2.3 Personal Safety
- Always wear eye protection. Use safety glasses with side shields.
- Dress properly. Do not wear loose clothing or jewelry. Keep your hair and clothing away from moving parts.
- Stay alert, watch what you are doing, and use common sense when operating a power tool.
3. Package Contents
Your Makita DLX2289 Combo Kit typically includes the following items:
- Makita DDF485 Cordless Drill Driver
- Makita DTD153 Cordless Impact Driver
- 2 x Makita 3.0Ah Lithium-ion Batteries
- Battery Charger (model may vary)
- Carry Case
- Instruction Manuals for each tool
4. Setup
4.1 Charging the Battery
- Connect the charger to a power outlet.
- Slide the battery pack into the charger until it clicks into place.
- The charging indicator light on the charger will show the charging status. Refer to the charger's specific manual for detailed indicator meanings.
- Once fully charged, remove the battery from the charger.
4.2 Installing/Removing the Battery
- To install: Align the battery pack with the battery port on the tool and slide it in until it locks with a click.
- To remove: Press the release button on the battery pack and slide it out of the tool.
4.3 Installing Drill Bits (DDF485 Drill Driver)
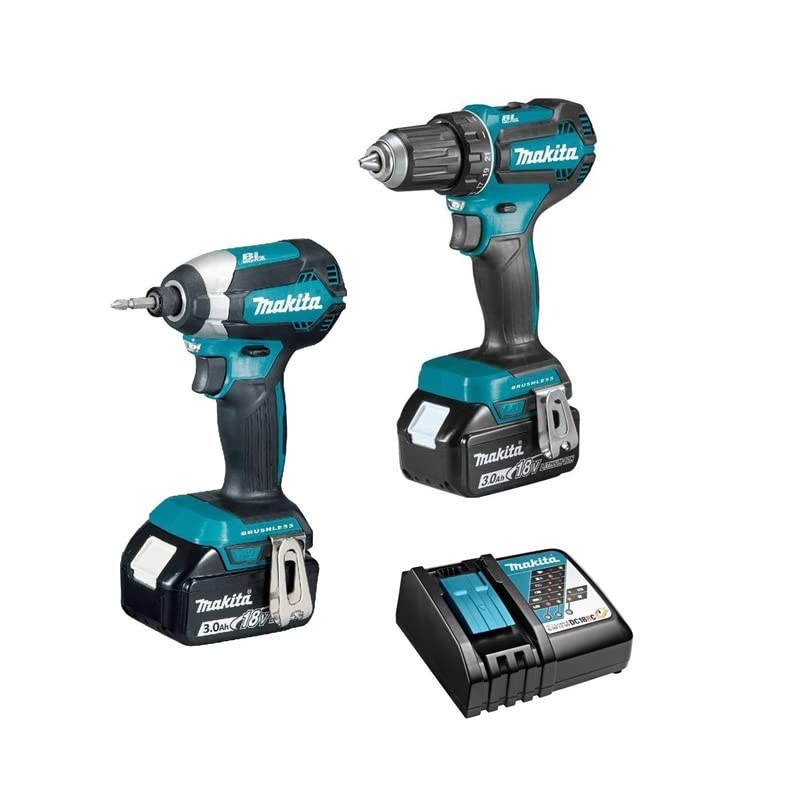
Image: Front view of the Makita DDF485 Cordless Drill Driver with battery attached. This image shows the chuck, clutch settings, and trigger.
- Ensure the tool is switched off and the battery is removed.
- Hold the rear sleeve of the chuck and turn the front sleeve counter-clockwise to open the chuck jaws.
- Insert the drill bit or accessory into the chuck as far as it will go.
- Turn the front sleeve clockwise to tighten the chuck jaws securely around the bit.
- Pull on the bit to ensure it is firmly seated.
4.4 Installing Impact Bits (DTD153 Impact Driver)
The DTD153 uses a 1/4" hex shank bit. Ensure the tool is switched off and the battery is removed.
- Pull the sleeve on the bit holder forward.
- Insert the hex shank bit into the holder.
- Release the sleeve to lock the bit in place. Pull on the bit to ensure it is firmly seated.
5. Operating Instructions
5.1 DDF485 Cordless Drill Driver

Image: Side view of the Makita DDF485 Cordless Drill Driver, showing the model number label and battery.
- Switch Action: To start the tool, pull the trigger. To stop, release the trigger. The tool speed increases with increased trigger pressure.
- Reversing Switch: The reversing switch changes the direction of rotation. Position it for forward (clockwise) or reverse (counter-clockwise) operation. Ensure the switch is fully engaged before operating.
- Speed Selection: The DDF485 has two mechanical speed settings. Use the speed change lever on top of the tool. Position '1' is for low speed/high torque (e.g., driving screws), and '2' is for high speed/low torque (e.g., drilling).
- Clutch Settings: The clutch ring allows you to select the desired torque setting for screw driving. The numbers correspond to increasing torque. The drill symbol bypasses the clutch for drilling applications.
- LED Work Light: The tool is equipped with an LED light that illuminates the work area when the trigger is pulled.
5.2 DTD153 Cordless Impact Driver
- Switch Action: Similar to the drill driver, pull the trigger to start and release to stop. Speed is variable based on trigger pressure.
- Reversing Switch: Use the reversing switch to change the direction of rotation for tightening or loosening fasteners.
- Impact Mechanism: The impact driver applies rotational impacts to fasteners, making it highly effective for driving long screws or bolts into dense materials.
- LED Work Light: The DTD153 also features an LED work light.
6. Maintenance
Regular maintenance ensures optimal performance and extends the life of your tools.
- Cleaning: Keep the tool's air vents clean to prevent overheating. Use a soft, damp cloth to wipe down the tool. Do not use harsh chemicals or solvents.
- Battery Care: Store batteries in a cool, dry place away from direct sunlight. Do not store fully discharged batteries for extended periods. Charge them periodically if not in use.
- Inspection: Regularly inspect the power cord of the charger for damage. Check the tool for any loose screws or damaged parts.
- Lubrication: These tools are generally maintenance-free regarding internal lubrication. Do not attempt to lubricate internal components.
- Service: For any repairs or internal maintenance, contact an authorized Makita service center.
7. Troubleshooting
| Problem | Possible Cause | Solution |
|---|---|---|
| Tool does not start | Battery not installed correctly Battery discharged Tool malfunction | Re-install battery Charge battery Contact service center |
| Reduced power/speed | Battery low Overload Incorrect speed setting (DDF485) | Charge battery Reduce load or use appropriate tool Adjust speed setting |
| Bit slips in chuck (DDF485) | Chuck not tightened sufficiently Damaged chuck jaws | Tighten chuck firmly Replace chuck (contact service) |
| Overheating | Blocked ventilation slots Continuous heavy use | Clean ventilation slots Allow tool to cool down |
8. Specifications
The following specifications are typical for the Makita DLX2289 Combo Kit components:
8.1 Makita DDF485 Cordless Drill Driver
- Voltage: 18V
- Motor: Brushless
- Chuck Capacity: 1.5 - 13 mm
- No Load Speed (Low): 0 - 500 rpm
- No Load Speed (High): 0 - 1,900 rpm
- Max Fastening Torque: 50 Nm
8.2 Makita DTD153 Cordless Impact Driver
- Voltage: 18V
- Motor: Brushless
- Hex Shank: 1/4"
- No Load Speed: 0 - 3,400 rpm
- Impacts Per Minute: 0 - 3,600 ipm
- Max Fastening Torque: 170 Nm
8.3 Battery
- Type: Lithium-ion
- Voltage: 18V
- Capacity: 3.0 Ah
9. Warranty and Support
Makita products are manufactured under strict quality control standards. For information regarding warranty coverage, service, or spare parts, please refer to the warranty card included with your product or visit the official Makita website for your region. Keep your purchase receipt as proof of purchase for warranty claims.
For technical assistance or further inquiries, please contact Makita customer support.


