1. Introduction
This manual provides essential information for setting up, operating, and maintaining your Beelink SER3 Mini PC. Please read it thoroughly to ensure optimal performance and longevity of your device. The Beelink SER3 Mini PC is a compact and versatile desktop computer powered by an AMD Ryzen 3 3200U processor, designed for various applications including home entertainment, office tasks, and light gaming.
2. What's in the Box
- 1 x Beelink SER3 Mini PC
- 1 x HDMI Cable
- 1 x Power Adapter
- 1 x User Manual (this document)
3. Product Overview
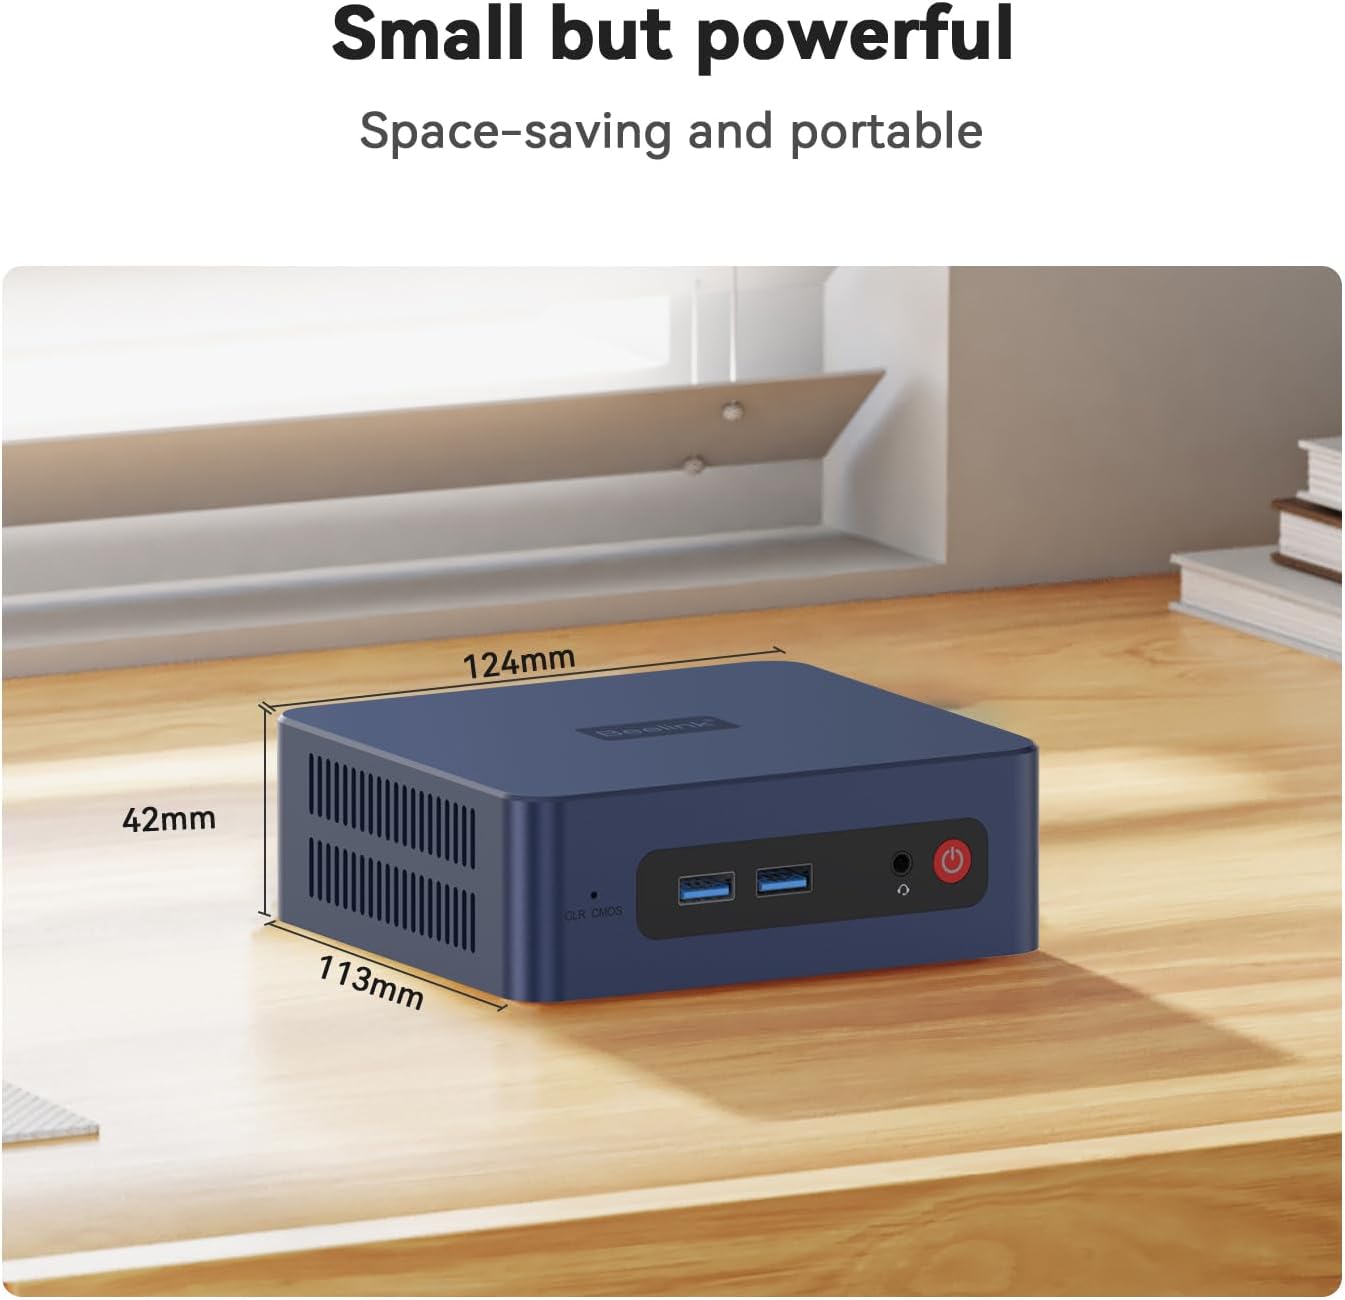
3.1 Dimensions and Design
The Beelink SER3 Mini PC features a compact design, measuring approximately 124mm x 113mm x 42mm. Its small footprint allows for easy placement in various environments, saving desk space.
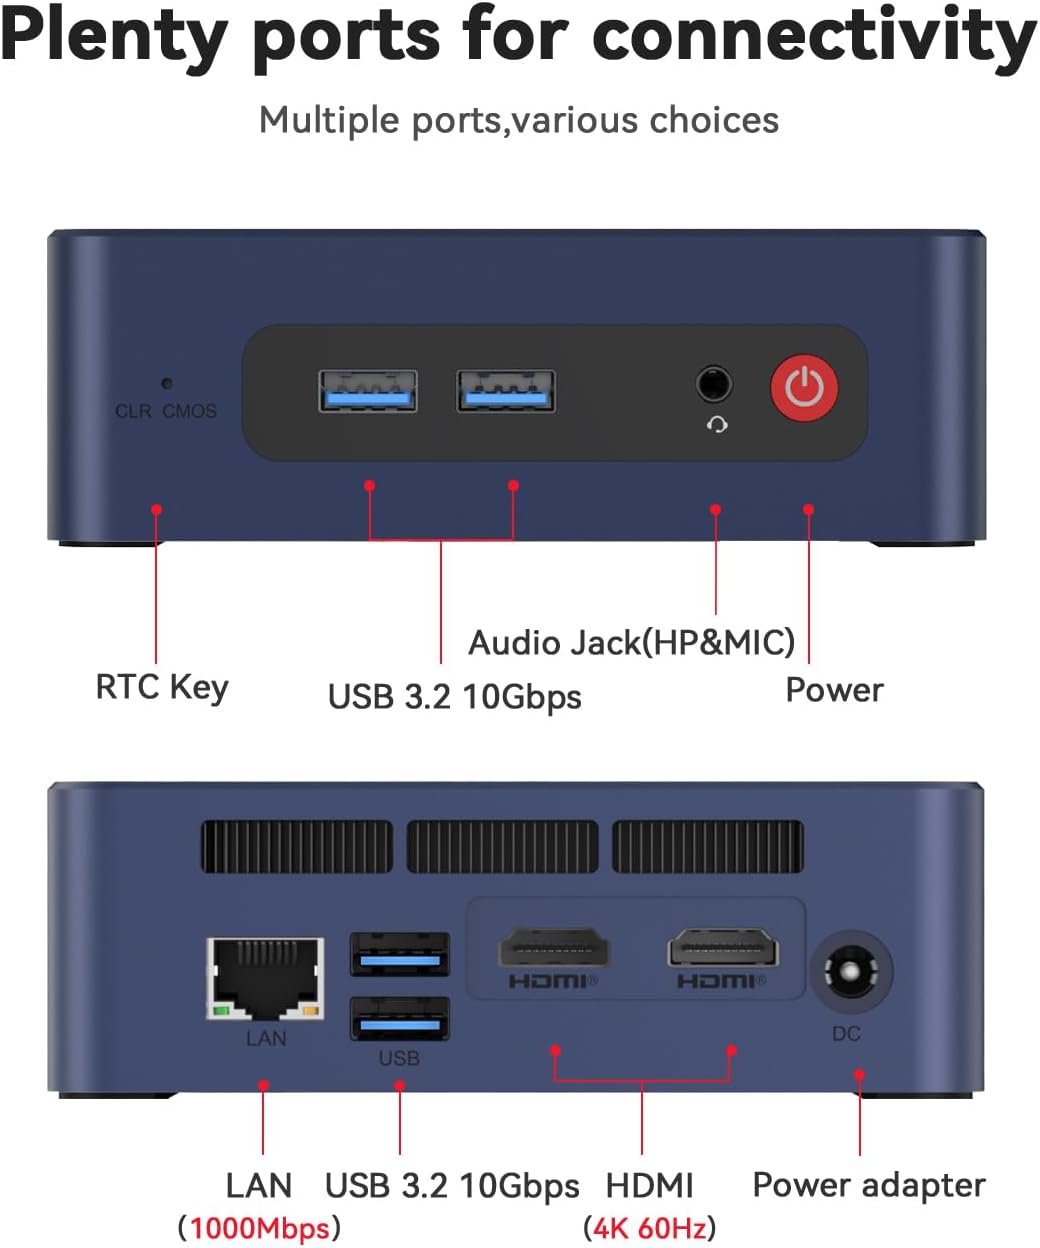
3.2 Available Ports
The Mini PC is equipped with a variety of ports for extensive connectivity:
- Front Ports: RTC Key, 2 x USB 3.2 10Gbps, Audio Jack (HP&MIC), Power Button
- Rear Ports: LAN (1000Mbps), 2 x USB 3.2 10Gbps, 2 x HDMI (4K 60Hz), DC Power Input
4. Initial Setup and Power On
Follow these steps to set up your Beelink SER3 Mini PC for the first time:
- Connect your monitor(s) to the HDMI ports on the rear of the Mini PC.
- Connect your keyboard and mouse to the available USB ports.
- Plug the power adapter into the DC power input on the rear of the Mini PC, then connect it to a power outlet.
- Press the power button on the front of the Mini PC to turn it on.
5. Operating System Installation (Windows 11)
Your Beelink SER3 Mini PC comes with Windows 11 Pro pre-installed. If you need to reinstall the operating system, follow the instructions in the video below. Ensure you have a bootable USB drive with Windows 11 installation media.
Important Tip: Please do not connect to the network or Wi-Fi until the Operating System of your mini computer is fully running. Remember not to fill in the email during initial setup; you can skip this step to use the machine normally.
6. Hardware Upgrades (Adding a Hard Drive)
The Beelink SER3 Mini PC supports storage expansion. You can add an additional 2.5-inch SATA HDD/SSD for increased storage capacity. The video below demonstrates the process.
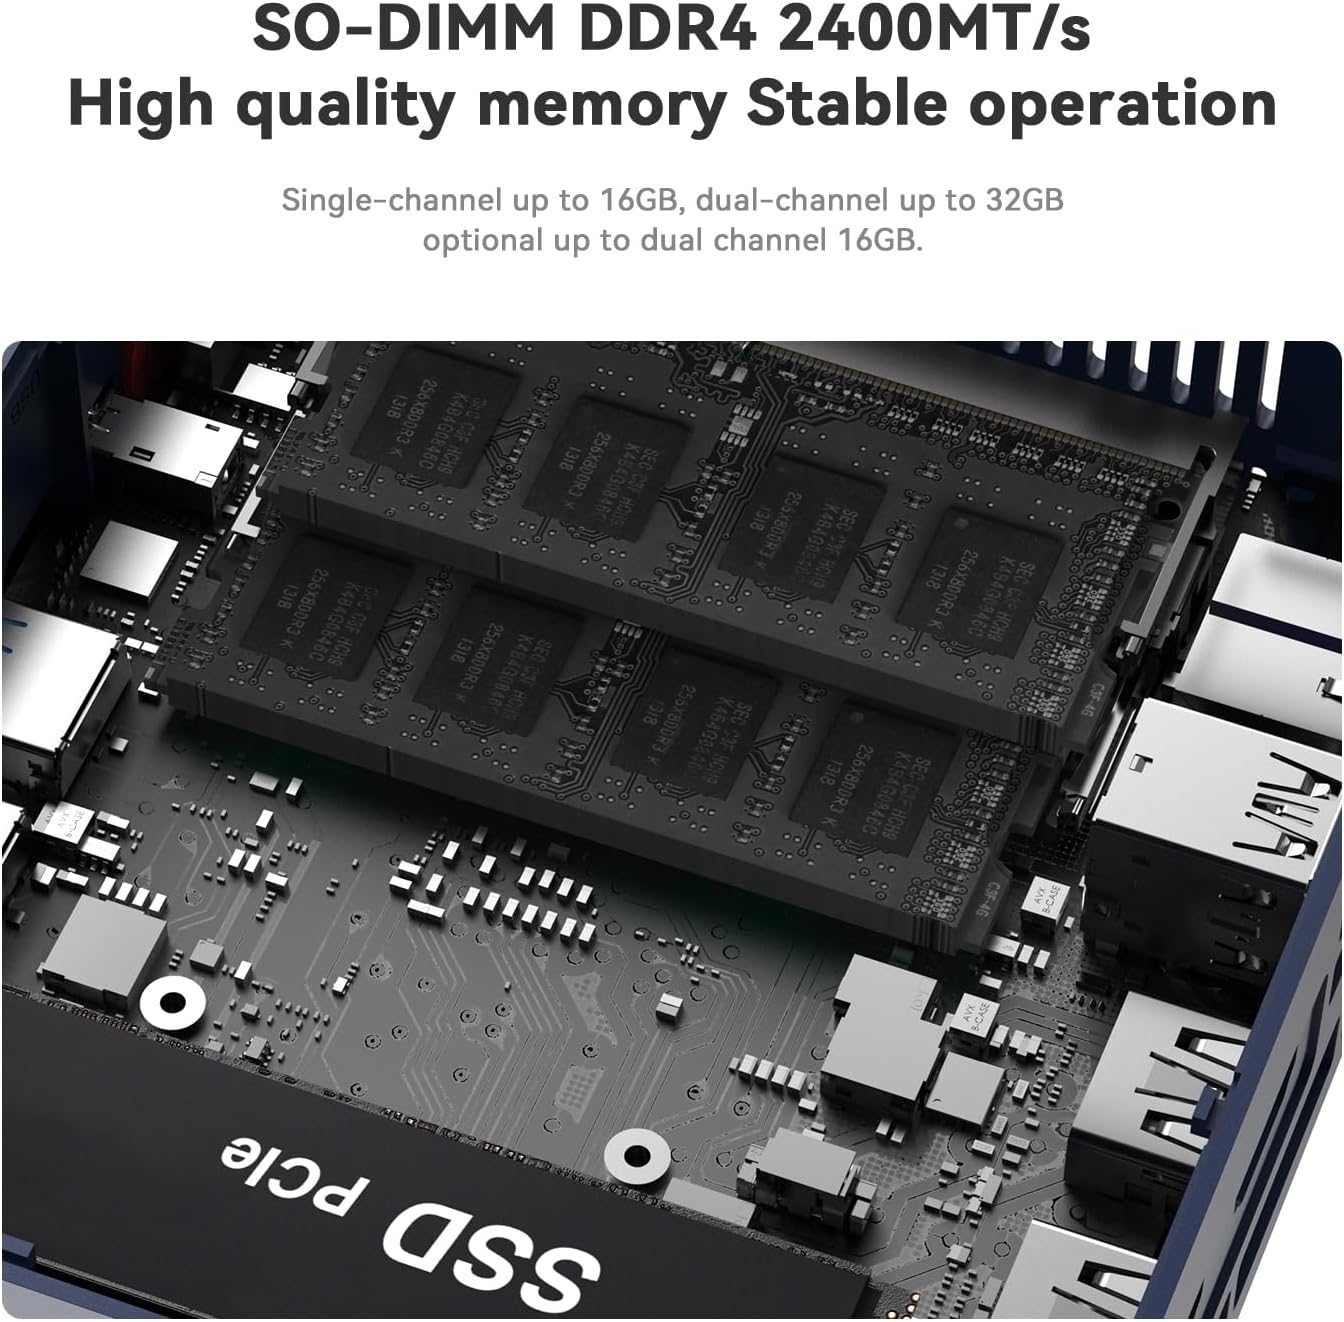
6.1 Memory (RAM) Upgrade
The Mini PC comes with 16GB DDR4 RAM and supports dual-channel RAM up to 32GB. For memory upgrades, ensure you use compatible SO-DIMM DDR4 modules.
6.2 SSD Storage
The device includes a 500GB M.2 PCIe3.0 x4 (2280) SSD. Note that this slot is incompatible with SATA3 SSDs.

7. Dual Display Setup
The Beelink SER3 Mini PC supports dual 4K@60Hz displays via its two HDMI ports, enhancing productivity by allowing multiple tasks simultaneously. The video below demonstrates how to configure dual displays.
8. Technical Specifications
| Feature | Specification |
|---|---|
| Brand | Beelink |
| Model | SER3 |
| Operating System | Windows 11 Pro |
| CPU Model | AMD Ryzen 3 3200U (2C/4T, up to 3.5GHz) |
| Graphics Coprocessor | AMD Radeon Graphics 7core 1800 MHz |
| RAM Memory | 16 GB DDR4 (Max 32 GB) |
| Storage | 500 GB SSD (M.2 PCIe3.0 x4 2280) |
| Video Output | 2 x HDMI (4K@60Hz) |
| Wireless Connectivity | Wi-Fi 6, Bluetooth 5.2 |
| LAN | 1000Mbps Ethernet |
| USB Ports | 4 x USB 3.2 10Gbps |
| Cooling Method | Air (Large fan and dual heat conduction tube) |
9. Troubleshooting Tips
- No Display: Ensure all HDMI cables are securely connected to both the Mini PC and the monitor. Verify the monitor is set to the correct input source.
- Network/Wi-Fi Issues: If experiencing connectivity problems, ensure drivers are correctly installed (refer to Section 5). Avoid connecting to the network during initial OS setup.
- Performance Issues: Check for sufficient free storage space. Ensure the Mini PC is placed in a well-ventilated area to prevent overheating.
- BIOS Access: To enter BIOS setup, press the "Delete" key repeatedly during startup. To enter the boot options menu, press "F7" repeatedly during startup.
10. Warranty and Support
The Beelink SER3 Mini PC comes with a 3-year manufacturer's warranty. For technical support, customer service, or warranty claims, please contact Beelink Official support. You can find contact information on the official Beelink website or through your purchase platform.