1. Introduction
Thank you for choosing the Lamgool Solar Powered Trail Camera. This device is designed for wildlife monitoring and outdoor surveillance, offering high-resolution images and videos with advanced features like night vision, motion detection, and wireless connectivity. This manual provides essential information for setting up, operating, and maintaining your camera to ensure optimal performance.
2. Package Contents
Please verify that all items are present in your package:
- Lamgool Solar Powered Trail Camera (Model B0B1CWCF9H)
- Mounting Strap
- USB Cable
- Mounting Bracket and Screws
- User Manual
3. Product Overview
Familiarize yourself with the main components of your trail camera.
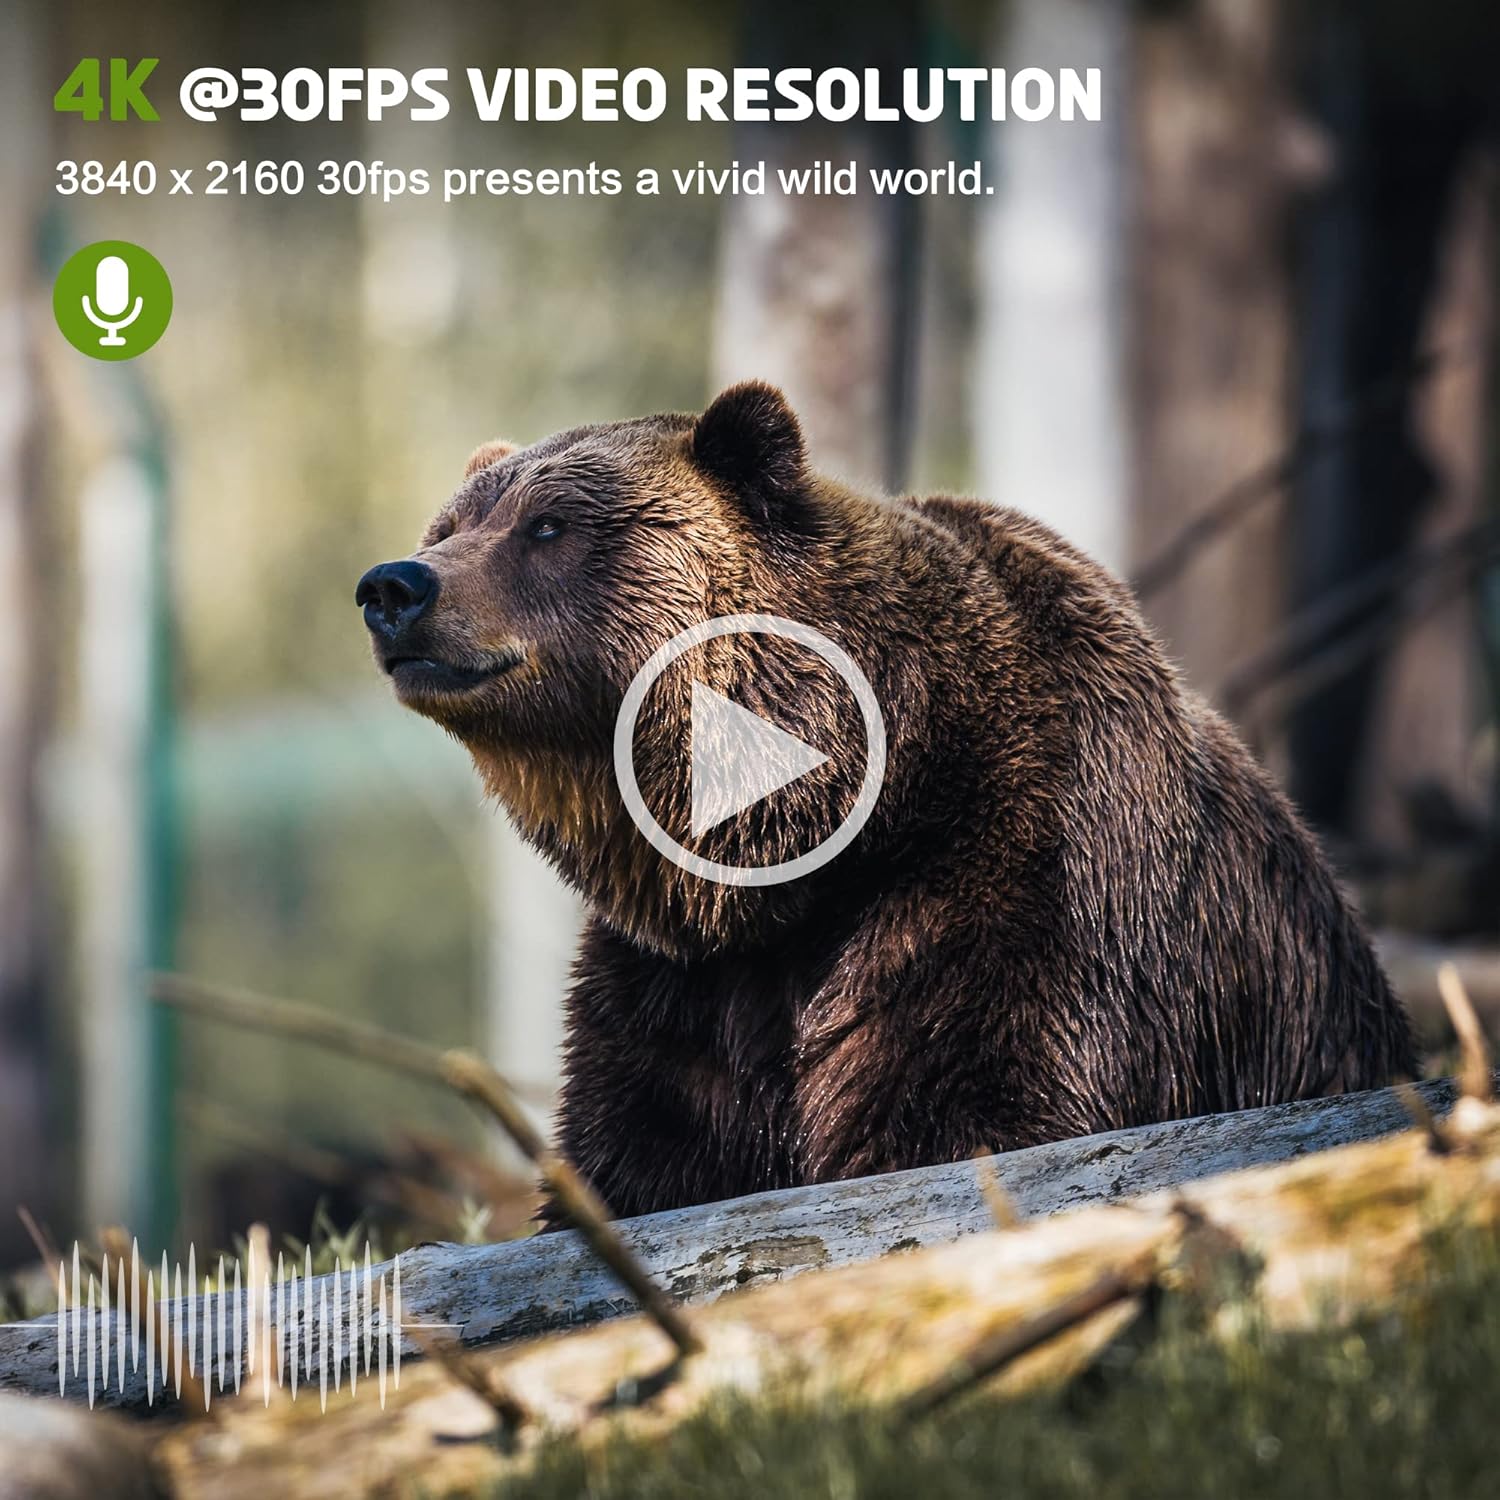
Figure 3.1: Front view of the Lamgool Solar Powered Trail Camera, showing the lens, PIR sensors, and solar panel.

Figure 3.2: Internal view of the camera, displaying the control panel, LCD screen, and battery compartment.
Key Components:
- High-Definition Lens: Captures 30MP photos and 4K video.
- Solar Panel: Integrated solar panel for continuous charging of the built-in lithium battery.
- PIR Motion Sensors: Central and lateral dual PIR sensors with an 80-degree detection angle and 0.1s trigger time.
- Infrared LEDs: 36 IR lights for clear night vision up to 65ft (20m).
- 2.0" TFT Color Screen: For menu navigation and playback.
- Control Buttons: For setting up camera parameters.
- Battery Compartment: Houses the built-in 4400 mAh rechargeable lithium battery. Also supports optional 4 AA batteries for extended use in low temperatures.
- SD Card Slot: Supports up to 128GB SD cards (not included).
- USB Port: For connecting to a computer or external power.
- IP66 Waterproof Casing: Provides protection against dust and water.
4. Setup
Follow these steps for initial setup of your trail camera.
4.1 Charging the Battery
The camera features a built-in 4400 mAh rechargeable lithium battery. It is recommended to fully charge the battery before first use. The integrated solar panel will help maintain the charge during outdoor use.
- Connect the camera to a 5V USB power adapter using the provided USB cable.
- Allow the camera to charge until the battery indicator shows full capacity.
- For optimal performance in low temperatures, you may install 4 AA batteries (not included) in the designated compartment. These will supplement the built-in battery.

Figure 4.1: Illustration of the camera's internal battery and optional AA battery slots, highlighting the solar charging capability.
4.2 Inserting the SD Card
A memory card is required to store photos and videos.
- Open the camera's latch to access the internal compartment.
- Locate the SD card slot.
- Insert a Class 10 or higher SD card (up to 128GB) with the metal contacts facing down until it clicks into place.
- It is recommended to format the SD card using the camera's menu settings before first use.
4.3 Mounting the Camera
Proper placement is crucial for effective monitoring.
- Choose a location that provides a clear view of the area you wish to monitor, free from obstructions.
- Ensure the solar panel receives adequate sunlight for continuous charging.
- Use the provided mounting strap to secure the camera to a tree or pole. Thread the strap through the back brackets and tighten it securely.
- Alternatively, use the mounting bracket and screws to attach the camera to a flat surface.

Figure 4.2: The trail camera securely mounted on a tree, demonstrating typical outdoor placement.
5. Operating Instructions
Learn how to configure and use your trail camera.
5.1 Powering On/Off and Setup Mode
- Open the camera's front cover.
- Locate the 3-position switch: OFF, SETUP, ON.
- Slide the switch to SETUP to access the menu and configure settings.
- Slide the switch to ON to activate the camera for monitoring. The screen will turn off after a few seconds, and the camera will enter monitoring mode.
- Slide the switch to OFF to power down the camera.
5.2 Menu Navigation
Use the control buttons to navigate the menu on the 2.0" TFT color screen.
- MENU Button: Enters/exits the menu.
- UP/DOWN Arrows: Navigate through menu options.
- LEFT/RIGHT Arrows: Change settings within an option.
- OK Button: Confirms selections.
5.3 Essential Settings
Configure these settings for optimal use:
- Mode: Select between Photo, Video, or Photo+Video.
- Photo Resolution: Choose 30MP, 20MP, 16MP, 12MP, 8MP, 5MP, 3MP, or 1MP. (Default: 30MP)
- Video Resolution: Select 4K (3840x2160 30fps), 2K (2560x1440 30fps), 1080P (1920x1080 30fps), 720P (1280x720 30fps), or 480P (848x480 30fps). (Default: 4K)
- PIR Sensitivity: Adjust for motion detection (High, Medium, Low).
- Trigger Interval: Set the delay between triggers.
- Time Lapse: Enable for capturing images at set intervals.
- Date/Time: Set the correct date and time for accurate timestamps.
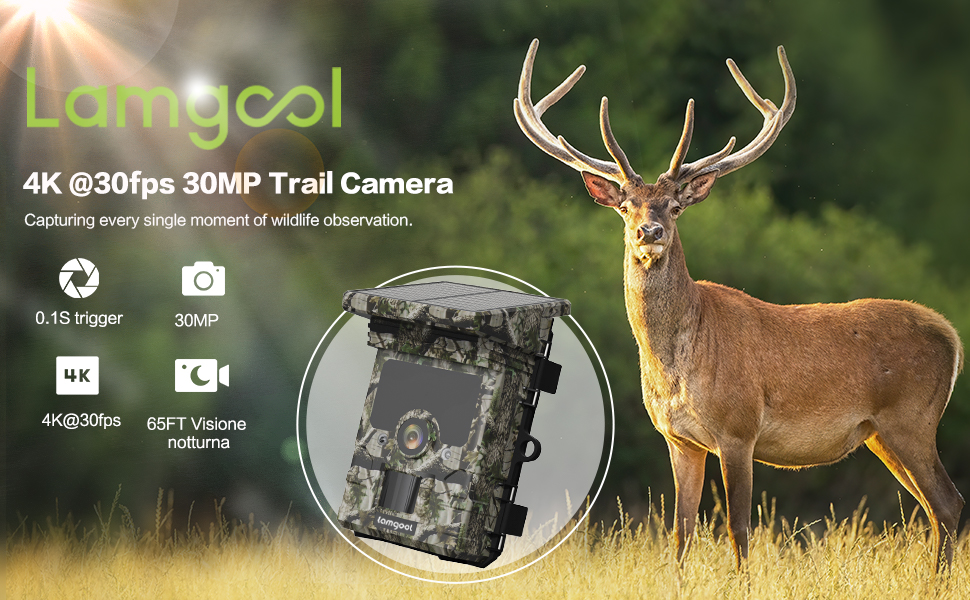
Figure 5.1: Example of 4K video resolution, capturing detailed wildlife footage.
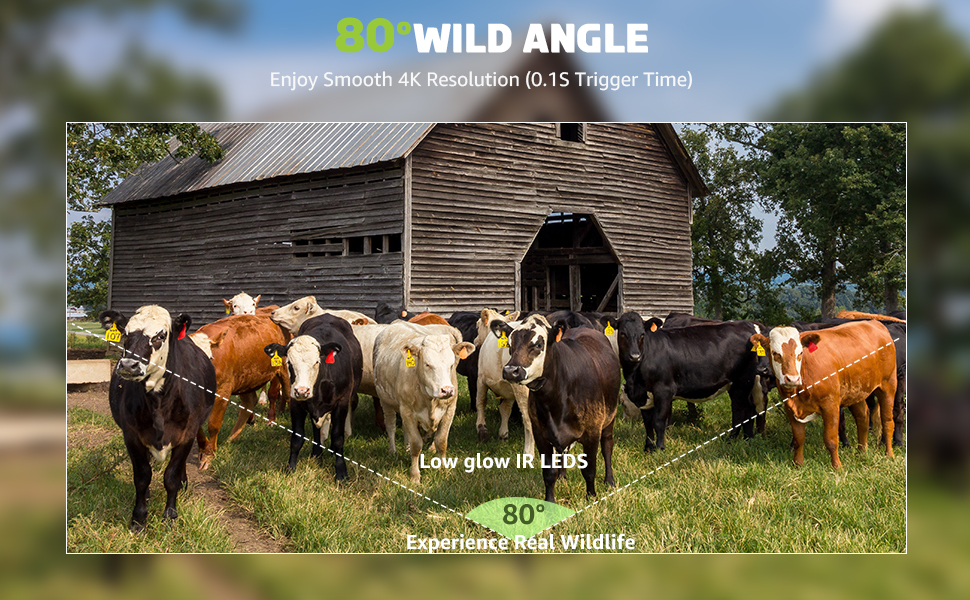
Figure 5.2: Comparison of 30MP and 16MP image quality, demonstrating the camera's high pixel count capability.
5.4 WiFi and App Connection
The camera features built-in WiFi and Bluetooth for remote control and data transfer via the 'Game Camera Pro' app.
- Download the 'Game Camera Pro' app from your device's app store (iOS App Store, Google Play, or Amazon Appstore).
- On the camera, switch to SETUP mode and enable WiFi.
- On your smartphone, connect to the camera's WiFi hotspot. The camera's WiFi name and password will be displayed on its screen.
- Open the 'Game Camera Pro' app. You can now preview live footage, change settings, and download captured photos and videos within a 10-meter range.

Figure 5.3: A smartphone displaying the 'Game Camera Pro' app interface, connected to the trail camera via WiFi.
5.5 Official Product Videos
Watch these official videos for additional guidance on using your Lamgool Trail Camera.
Solar Trail Camera User Guide
This video provides a comprehensive user guide for the Solar Trail Camera, covering various features and operational aspects.
Solar Trail Camera Quick User Guide
A quick user guide for the Solar Trail Camera, offering essential setup and usage tips.
6. Maintenance
Proper maintenance ensures the longevity and performance of your camera.
- Cleaning: Regularly wipe the lens, solar panel, and PIR sensors with a soft, dry cloth to remove dirt, dust, or moisture. Avoid abrasive cleaners.
- Battery Care: Ensure the built-in battery is charged regularly, especially if the camera is stored for extended periods. In cold weather, consider using AA batteries to supplement power.
- SD Card Management: Periodically back up and format your SD card to prevent data corruption and ensure sufficient storage space.
- Environmental Protection: While IP66 rated, avoid submerging the camera in water. Ensure the latches are securely closed to maintain waterproof integrity.
- Firmware Updates: Check the manufacturer's website periodically for any available firmware updates to improve camera performance and features.
7. Troubleshooting
Refer to this section for solutions to common issues.
| Problem | Possible Cause | Solution |
|---|---|---|
| Camera not powering on | Low battery; switch in OFF position. | Charge the built-in battery. Ensure the switch is in SETUP or ON position. |
| No photos/videos captured | SD card full or not formatted; PIR sensitivity too low; camera in OFF mode. | Format/replace SD card. Increase PIR sensitivity. Ensure camera is in ON mode. |
| Poor night vision images | IR LEDs obstructed; objects too far. | Clear obstructions. Ensure subjects are within 65ft range. |
| WiFi connection issues | Out of range; incorrect password; app not updated. | Move closer to camera (within 10m). Re-enter password. Update 'Game Camera Pro' app. |
| Short battery life | Insufficient sunlight for solar panel; frequent triggers; low temperature. | Relocate camera for more sun. Adjust trigger interval. Install AA batteries in cold weather. |
8. Specifications
Technical specifications of the Lamgool Solar Powered Trail Camera.
| Feature | Detail |
|---|---|
| Model | B0B1CWCF9H |
| Image Resolution | Up to 30MP |
| Video Resolution | Up to 4K@30fps |
| Trigger Speed | 0.1 seconds |
| PIR Detection Angle | 80 degrees |
| Night Vision Range | 65ft (20m) with 36 IR LEDs |
| Connectivity | WiFi, Bluetooth |
| App Compatibility | 'Game Camera Pro' (iOS/Android) |
| Storage | SD Card up to 128GB (Class 10 recommended) |
| Power Source | Built-in 4400 mAh Li-ion battery (solar charged), optional 4x AA batteries |
| Waterproof Rating | IP66 |
| Dimensions | Approx. 5.63 x 4.21 x 3.74 inches |
| Operating Temperature | -20°C to 60°C (-4°F to 140°F) |
9. Warranty and Support
Lamgool products are designed for reliability and performance. This product comes with a standard manufacturer's warranty against defects in materials and workmanship. For detailed warranty information, technical support, or service inquiries, please refer to the warranty card included in your package or visit the official Lamgool website. Keep your purchase receipt as proof of purchase.
