
1. Introduction
Thank you for choosing the Relaxdays Hose Reel. This manual provides essential information for the safe assembly, operation, and maintenance of your new hose reel. Please read these instructions carefully before use and retain them for future reference.
This hose reel is designed for convenient storage and deployment of up to 30 meters (approximately 98 feet) of 1/2-inch garden hose. Its robust construction of steel and plastic ensures durability, while the manual crank and quick-connect fittings offer ease of use.

Image 1.1: The assembled Relaxdays Hose Reel, ready for use.
2. Safety Instructions
- Always ensure the hose reel is placed on a stable, level surface to prevent tipping during use.
- Do not exceed the recommended hose capacity of 30 meters (1/2 inch hose) to avoid damage to the reel mechanism.
- Keep children and pets away from the hose reel during operation to prevent accidents.
- Do not use the hose reel for purposes other than its intended use (garden hose storage and deployment).
- Inspect the hose reel and connections regularly for any signs of wear or damage. Replace damaged parts immediately.
- Always turn off the water supply before disconnecting the hose from the faucet or reel.
3. Package Contents
Please check that all components are present before beginning assembly:
- 1 x Water hose reel (in parts for assembly)
- 1 x 3/4" Hose connector (hose not included)
- Assembly hardware (screws, nuts, etc. - may vary by model, refer to included diagram)
4. Setup and Assembly
Follow these steps to assemble your Relaxdays Hose Reel:
- Unpack Components: Carefully remove all parts from the packaging and lay them out on a clean, flat surface. Verify against the package contents list.
- Assemble Frame: Connect the frame components according to the included diagram. Ensure all connections are secure.
- Attach Reel Drum: Mount the reel drum onto the assembled frame, ensuring it rotates freely. Secure it with the provided fasteners.
- Install Crank Handle: Attach the manual crank handle to the side of the reel drum.
- Connect Hose to Reel: Feed one end of your garden hose through the guide and connect it to the internal fitting on the reel drum. Ensure a tight, leak-free connection.
- Connect Reel to Water Source: Use the provided 3/4" hose connector to attach a short leader hose (not included) from your faucet to the external inlet on the hose reel.
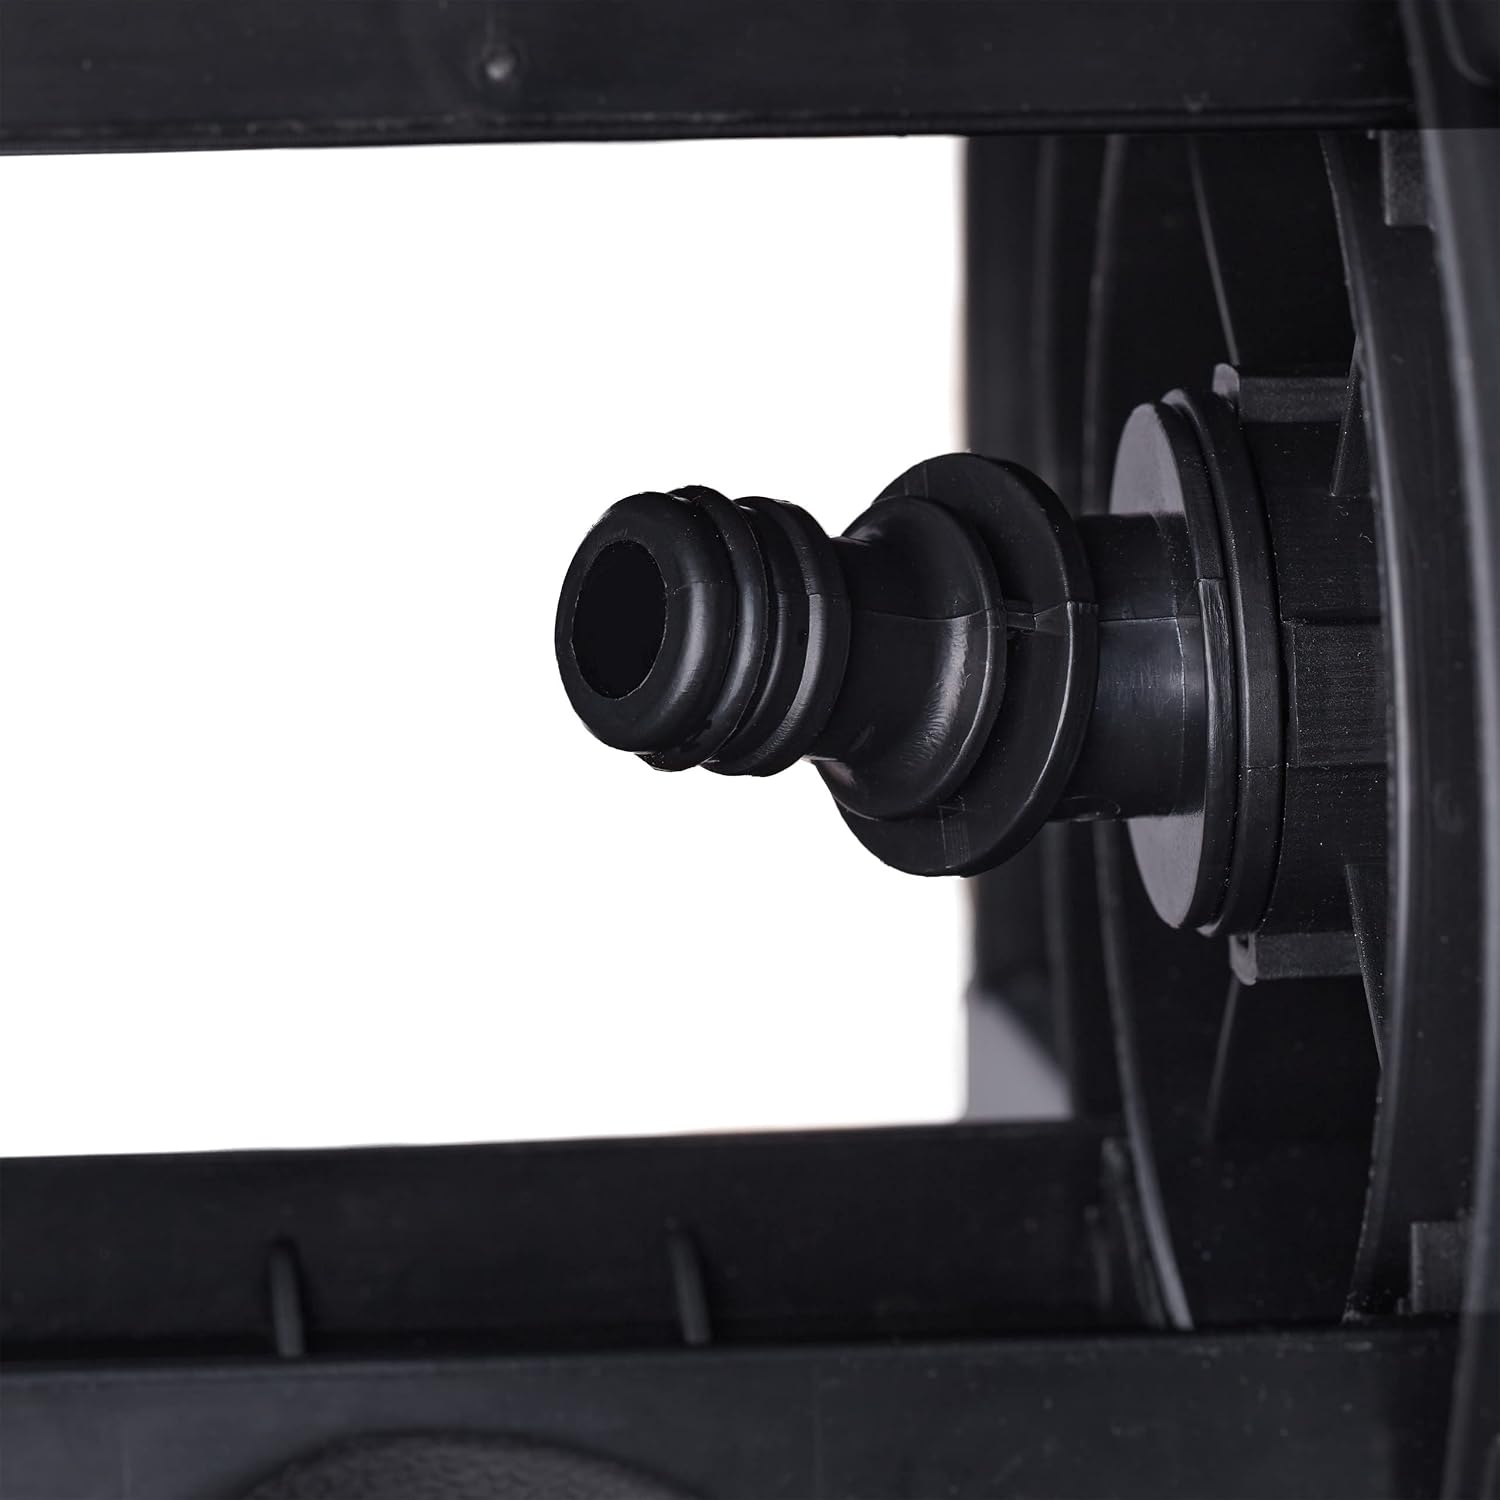
Image 4.1: Detail of the hose connection point on the reel drum.

Image 4.2: The hose reel connected to a water faucet, ready for use.
5. Operating Instructions
5.1. Unrolling the Hose
- Ensure the water supply is turned off at the faucet.
- Pull the desired length of hose from the reel. The reel will rotate freely as you pull.
- Once the desired length is reached, you can turn on the water supply at the faucet.
5.2. Using the Hose
Attach your preferred watering nozzle or sprinkler to the end of the hose. Adjust the water flow as needed from your faucet or nozzle.

Image 5.1: A user watering plants with the hose connected to the reel.
5.3. Rewinding the Hose
- Turn off the water supply at the faucet and release any remaining pressure from the hose by opening the nozzle.
- Begin turning the manual crank handle clockwise (or as indicated by arrows on the reel) to slowly rewind the hose onto the drum.
- Guide the hose evenly across the drum to prevent tangling and ensure proper storage.

Image 5.2: Close-up view of the manual crank handle for rewinding the hose.
6. Maintenance
- Cleaning: Clean the hose reel periodically with a damp cloth to remove dirt and debris. Avoid using harsh chemicals that may damage the materials.
- Inspection: Regularly check all connections, the hose, and the reel mechanism for any signs of wear, cracks, or leaks. Tighten loose fittings as necessary.
- Winter Storage: Before the first frost, drain all water from the hose and the reel. Store the hose reel in a dry, frost-free location to prevent damage from freezing water.

Image 6.1: The hose reel stored neatly in a garage, demonstrating space-saving storage.
7. Troubleshooting
- Hose not winding smoothly: Ensure the hose is not kinked or tangled. Guide the hose evenly across the drum while winding. Check for any obstructions in the winding mechanism.
- Leaks at connections: Ensure all hose connections are tightened securely. Check rubber washers for wear and replace if necessary.
- Reel instability: Ensure the hose reel is placed on a firm, level surface. The triangular base design provides stability, but uneven ground can cause wobbling.
8. Specifications
| Model Number | 10041665 |
| Dimensions (L x W x H) | 31 x 42 x 38 cm (12.2 x 16.5 x 15 inches) |
| Weight | 1.24 kg (2.73 lbs) |
| Material | 50% Steel, 50% Plastic |
| Color | Black/Grey |
| Hose Capacity | Up to 30m of 1/2" hose |
| Operation Mode | Manual |

Image 8.1: Detailed dimensions of the hose reel (Length x Width x Height).
9. Warranty and Support
For warranty information or technical support, please refer to the documentation provided with your purchase or contact Relaxdays customer service directly. Contact details can typically be found on the product packaging or the official Relaxdays website.