
1. Introduction
Thank you for choosing the esLife ES1181 Wireless Self-Generating Doorbell. This manual provides detailed instructions for the installation, operation, and maintenance of your new doorbell system. Please read this manual thoroughly before use to ensure proper function and longevity of the product.
2. Product Overview
The esLife ES1181 is a wireless, self-generating doorbell system designed for convenience and reliability. It features a battery-free push button transmitter and a plug-in receiver with LED flash. With a wide operating range and multiple chime options, it ensures you never miss a visitor.
Key Features:
- Self-Generating Transmitter: No batteries required for the push button.
- Wireless Range: Up to 500 feet (150 meters) in open areas.
- 38 Chimes: Select from a variety of musical tones.
- 4 Volume Levels: Adjustable volume, including a mute option.
- IP44 Waterproof: The transmitter is resistant to water splashes and dust, suitable for outdoor use.
- LED Flash Indicator: Visual alert on the receiver.
Components:
- 1 x Self-Generating Push Button Transmitter
- 1 x Plug-in Receiver
- Mounting Hardware (screws, adhesive pad)
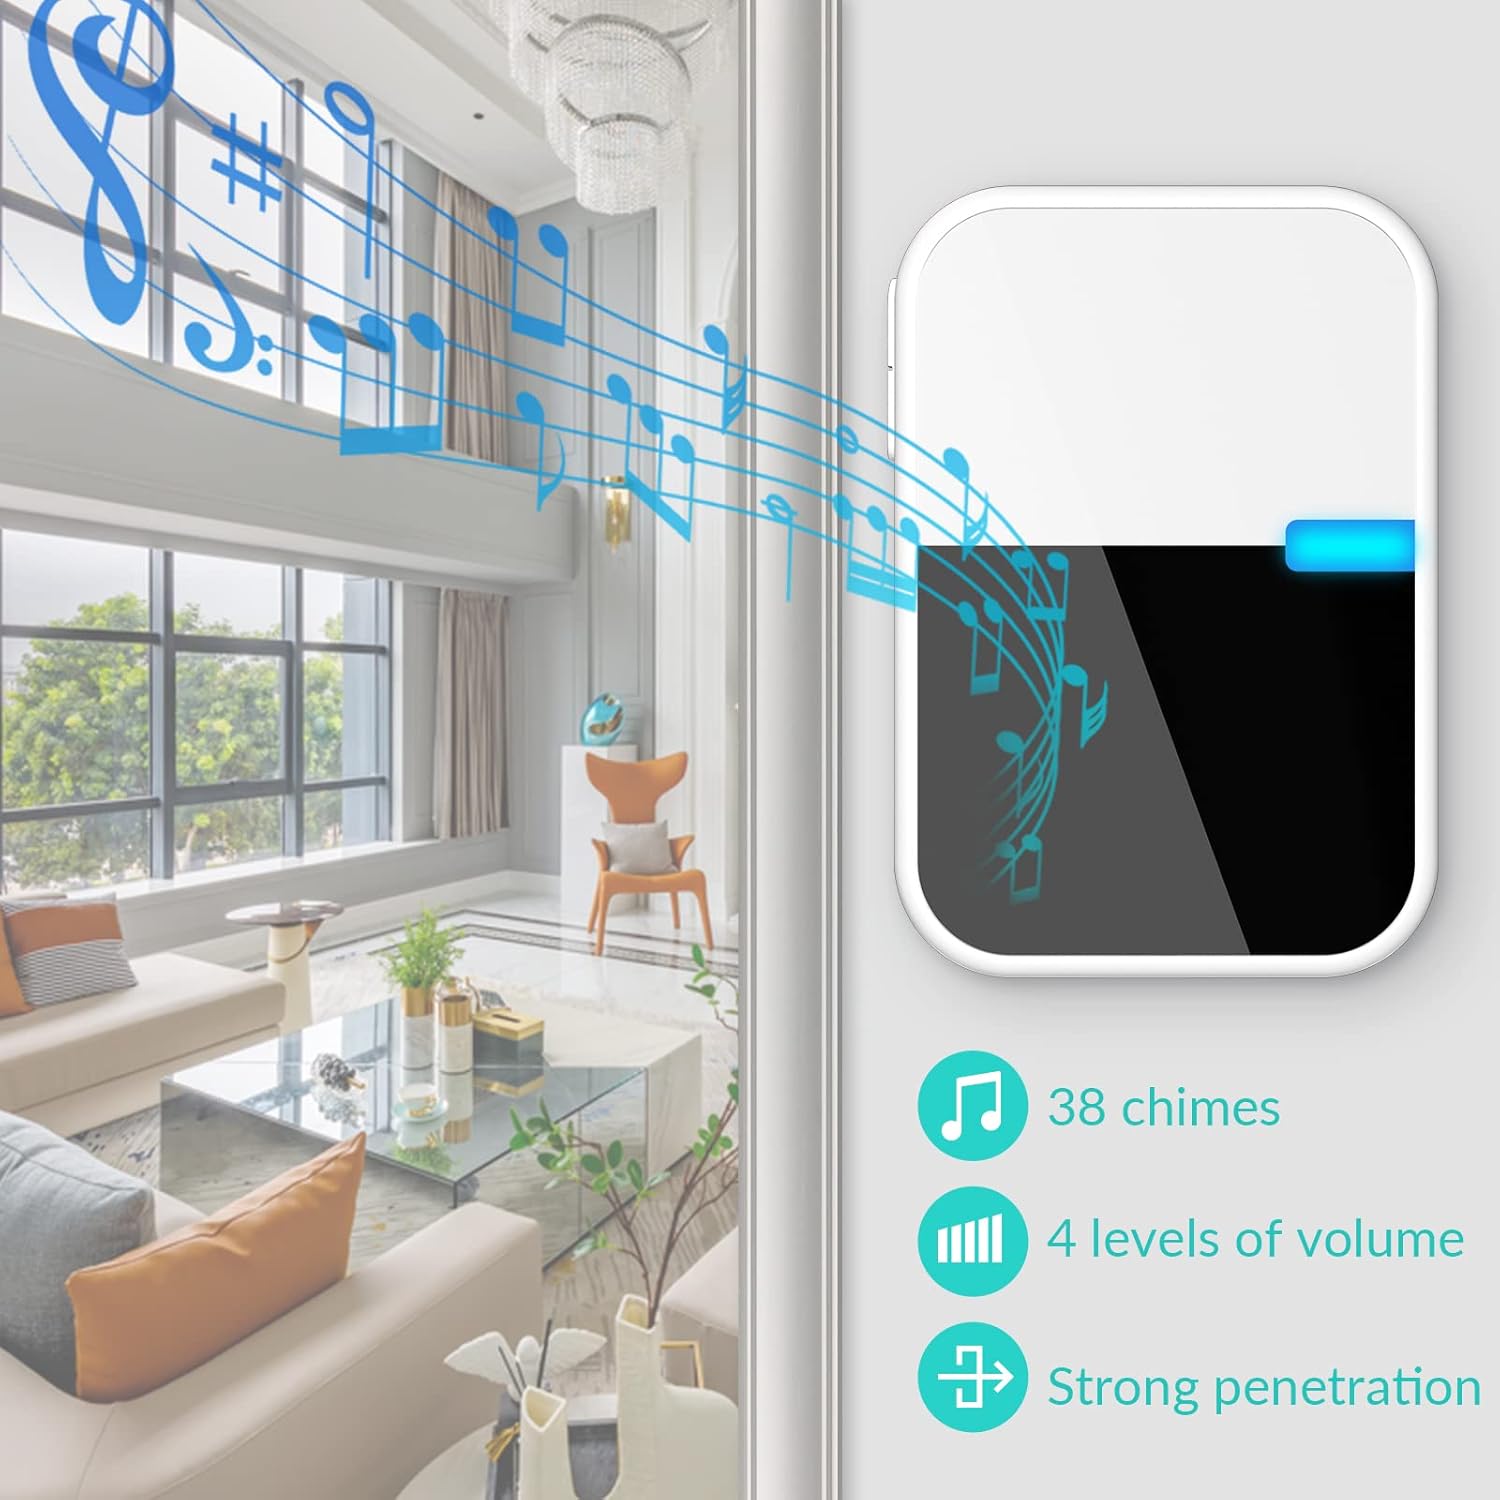
Image 2.1: Overview of the esLife wireless doorbell system, highlighting its features like multiple chimes, adjustable volume, and strong signal penetration.
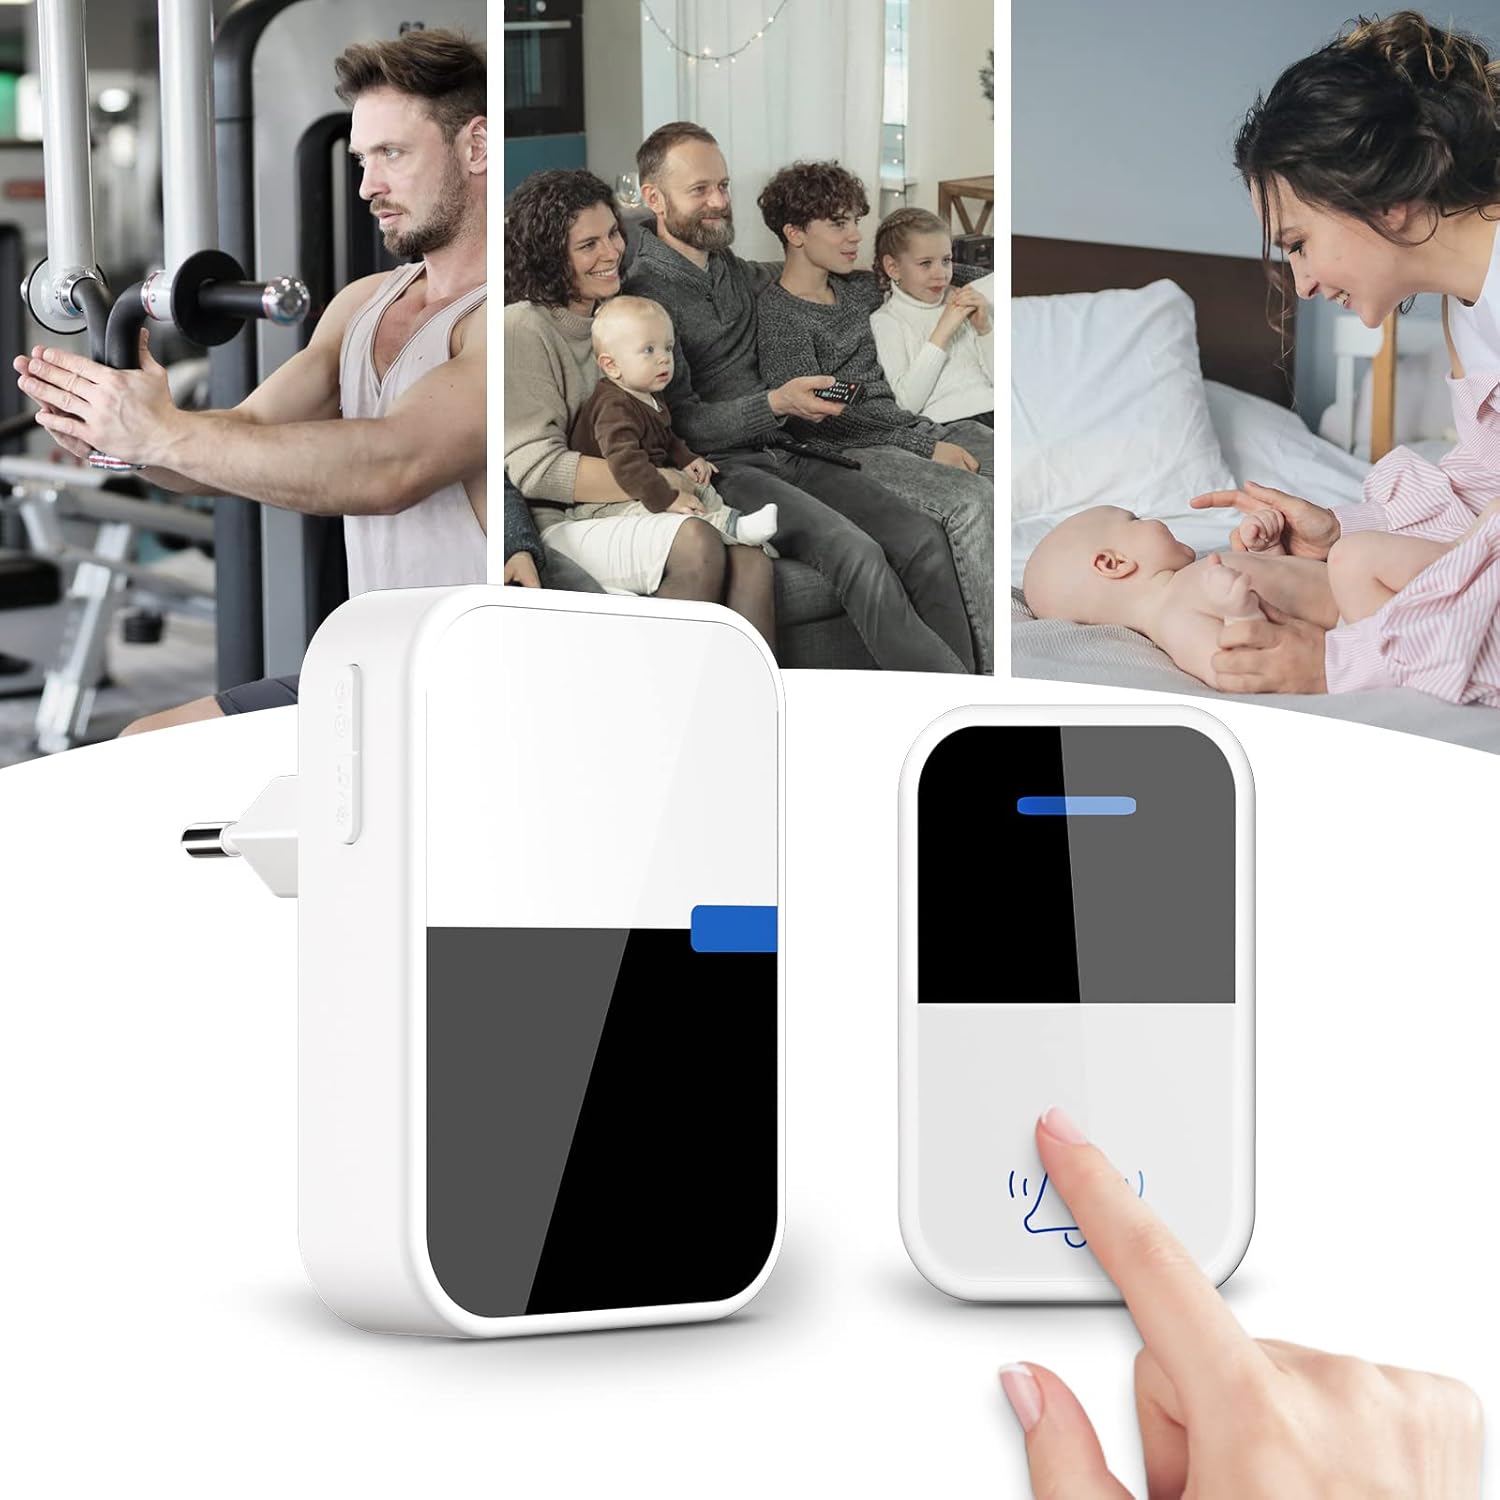
Image 2.2: The esLife doorbell system shown in different home environments, illustrating its versatility and ease of use for various family activities.
3. Setup and Installation
The esLife ES1181 doorbell is designed for easy installation without the need for complex wiring or battery replacement for the transmitter.
3.1 Transmitter Installation (Push Button)
- Choose a Location: Select a suitable location for the push button, typically near your front door. Ensure the surface is clean and dry.
- Mounting Options:
- Adhesive Pad: Peel off one side of the double-sided adhesive pad and stick it to the back of the transmitter. Peel off the other side and firmly press the transmitter onto the desired surface for at least 30 seconds.
- Screws: Use the provided screws and anchors to securely mount the transmitter to the wall. Mark the drill points, drill holes, insert anchors, and then screw the transmitter into place.
- Test: Press the push button to ensure it activates the receiver.
3.2 Receiver Installation (Plug-in Unit)
- Choose a Location: Select an indoor electrical outlet within the desired range of the transmitter. Consider central locations for optimal sound distribution.
- Plug In: Simply plug the receiver into a standard electrical outlet. The receiver will power on and be ready for use.
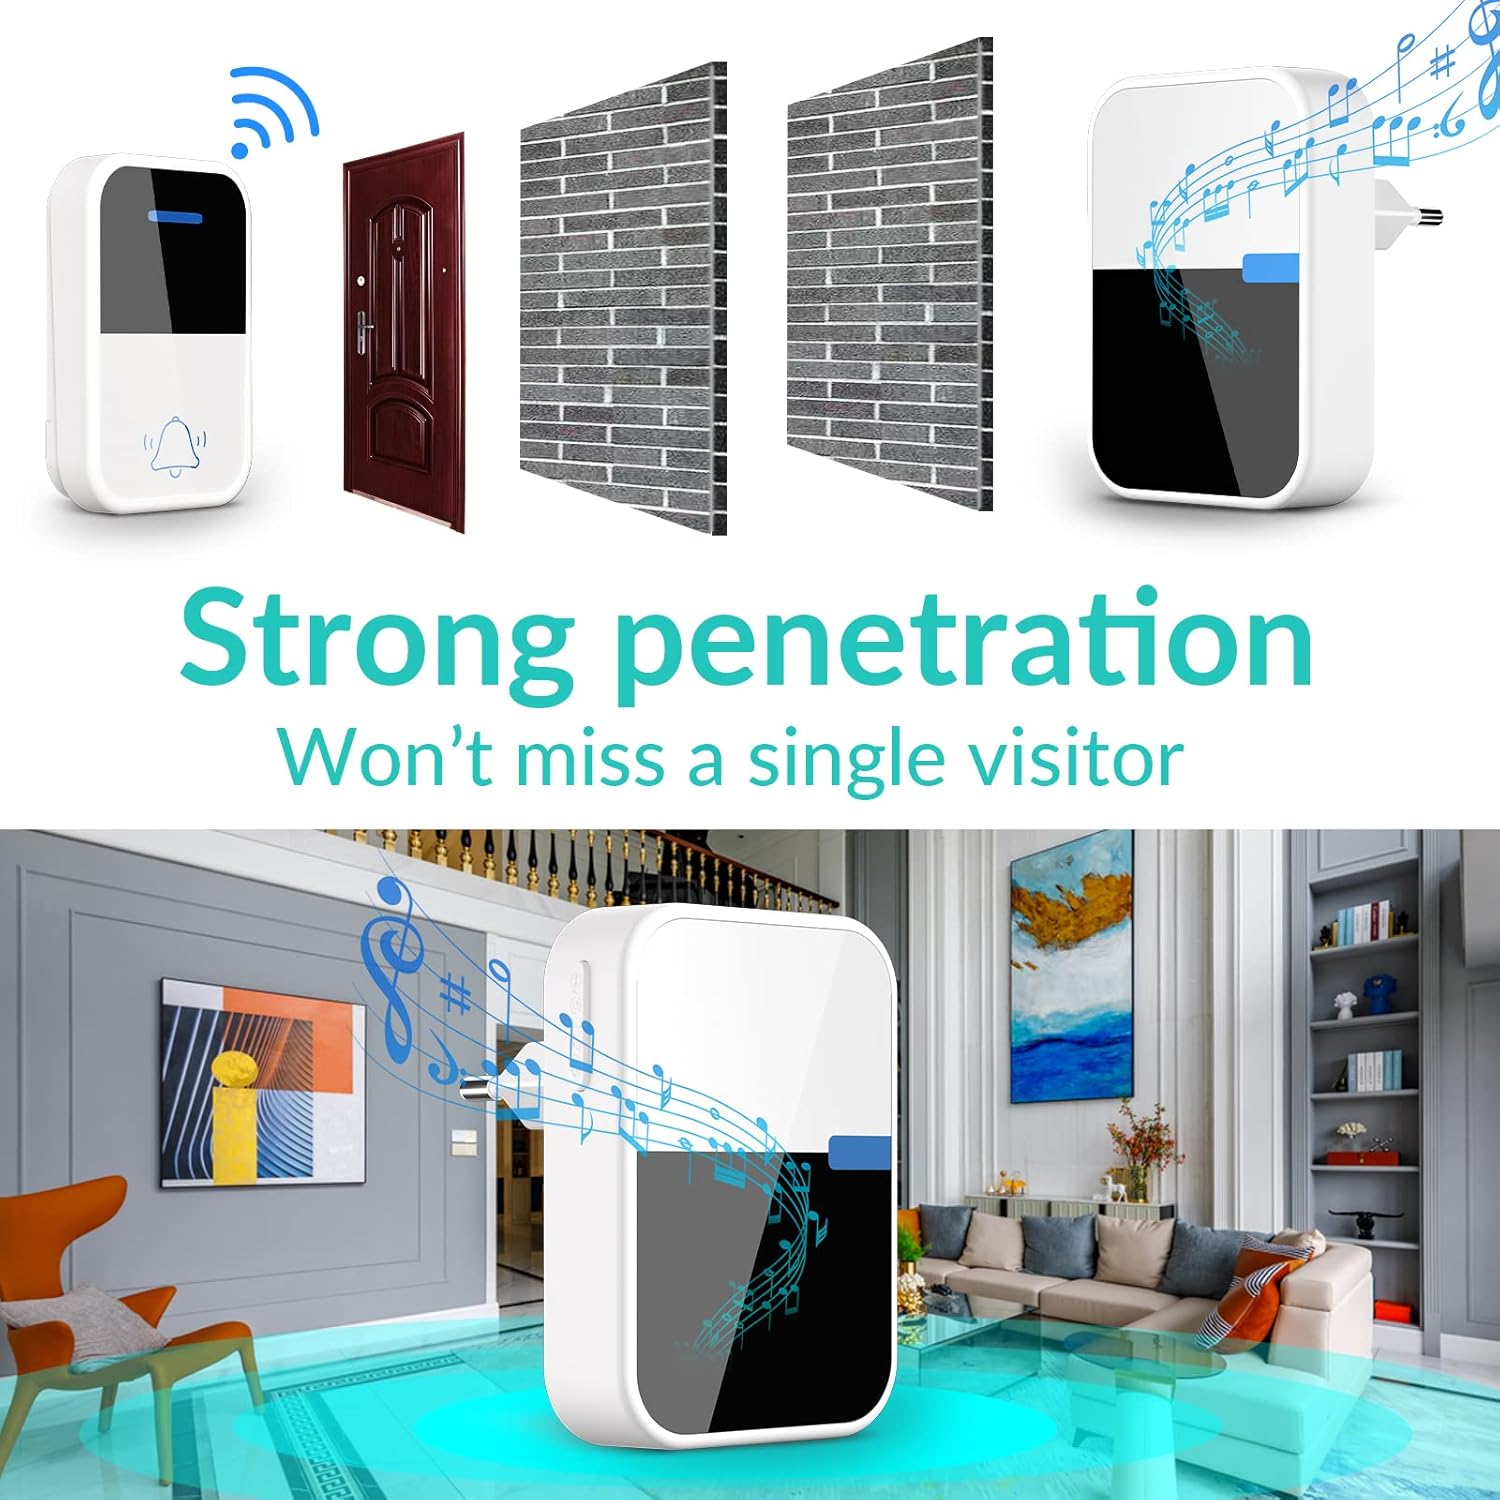
Image 3.1: Illustration of the doorbell's strong signal penetration, demonstrating its ability to transmit through walls to ensure reliable operation within your home.
4. Operating Instructions
The receiver unit allows for customization of chime melodies and volume levels.
4.1 Changing Chime Melody
To change the chime melody:
- Locate the Chime Change Button on the side of the receiver.
- Press the button repeatedly to cycle through the 38 available melodies.
- Once you hear your preferred melody, stop pressing the button. The doorbell will save this selection.
4.2 Adjusting Volume
To adjust the volume level:
- Locate the Volume Button on the side of the receiver.
- Press the button to cycle through the four volume levels (High, Medium, Low, Mute).
- Select the desired volume level.
4.3 Mute Function
The mute function allows for silent operation, indicated by an LED flash only. This is useful for times when you do not wish to be disturbed.
- To activate mute, press the Volume Button until the mute icon is displayed or the sound is off.
- To deactivate mute, press the Volume Button again to cycle to an audible volume level.

Image 4.1: Close-up of the receiver unit, detailing the indicator light, volume control, and chime selection buttons for easy customization.

Image 4.2: The doorbell receiver in mute mode, ideal for ensuring a restful sleep without audible disturbances, while still providing a visual alert.
5. Maintenance
The esLife ES1181 doorbell requires minimal maintenance to ensure optimal performance.
5.1 Cleaning
- Wipe the transmitter and receiver with a soft, dry cloth.
- Do not use abrasive cleaners or solvents, as these can damage the surface.
5.2 Waterproofing (Transmitter)
The transmitter has an IP44 waterproof rating, meaning it is protected against splashing water from any direction and solid objects larger than 1mm. While it is designed for outdoor use, avoid submerging it in water or exposing it to heavy, direct water jets for extended periods.

Image 5.1: The doorbell transmitter demonstrating its IP44 waterproof capability, suitable for outdoor installation and protection against rain and splashes.
6. Troubleshooting
If you encounter issues with your esLife ES1181 doorbell, please refer to the following common problems and solutions:
| Problem | Possible Cause | Solution |
|---|---|---|
| Receiver does not ring or flash. |
|
|
| Short operating range. |
|
|
| Transmitter button feels stiff or unresponsive. |
|
|
7. Specifications
| Model Number | ES1181 |
| Brand | esLife |
| Dimensions (Package) | 9.5 x 8.3 x 7.3 cm |
| Weight | 120 grams |
| Power Source (Transmitter) | Self-Generated (Kinetic Energy) |
| Power Source (Receiver) | Plug-in (AC Power) |
| Sound Level | Up to 105 Decibels |
| Waterproof Rating (Transmitter) | IP44 |
| Operating Range | Up to 500 feet (150 meters) in open areas |
| Number of Chimes | 38 |
| Volume Levels | 4 (including Mute) |
8. Warranty and Support
For warranty information or technical support, please refer to the product packaging or contact esLife customer service directly. Keep your purchase receipt as proof of purchase.