TecTake 404377
TecTake® Metal Office Cabinet User Manual
Model: 404377
Brand: TecTake
Introduction
This user manual provides detailed instructions for the assembly, operation, and maintenance of your TecTake® 2-door metal office cabinet. Please read this manual thoroughly before beginning assembly or use to ensure proper installation and safe operation. Keep this manual for future reference.
Product Overview
The TecTake® metal office cabinet is designed for efficient organization and secure storage of documents and office supplies. It features a robust metal construction, two hinged doors, and multiple adjustable shelves to accommodate various items.

The cabinet offers ample internal space with adjustable shelves, ideal for storing various office items, including files and small safes.

Its elegant design allows the cabinet to seamlessly integrate into various office decors, providing both functionality and aesthetic appeal.
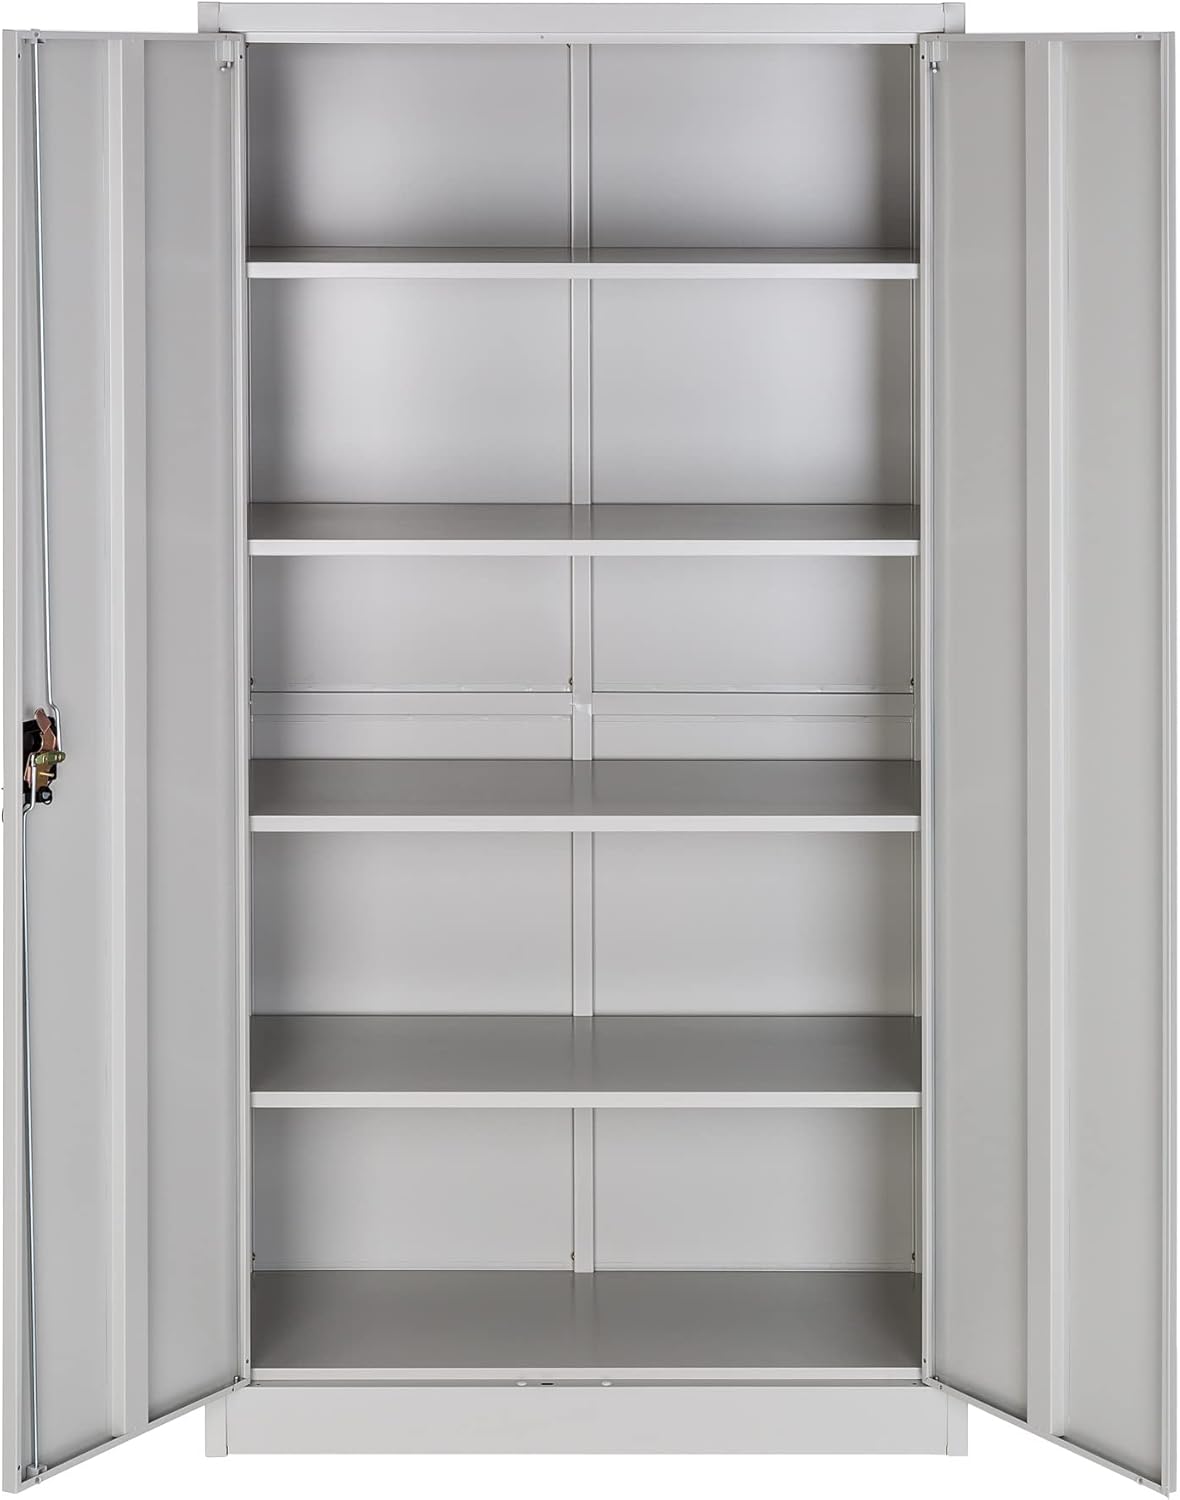
The cabinet features multiple empty shelves, demonstrating its versatile storage capacity before items are placed inside.

The cabinet's sleek, closed design ensures a tidy appearance in any office setting, concealing stored items.
Key Features:
- Exceptional Organization: Ample space for documents and supplies, robust structure, and high load capacity.
- Flexible Partitioning: Adjustable shelves for versatile internal space adaptation.
- Thoughtful System: Wide door opening angle for easy access and a central key lock for security.
- Durable Construction: Made of steel with a sober color that blends with any office decor.
- Easy Assembly & Cleaning: Designed for straightforward setup and maintenance.
Components List
Before assembly, ensure all components are present and undamaged. Refer to the packaging list for a complete inventory. Typical components include:
- Cabinet panels (top, bottom, sides, back)
- Hinged doors
- Adjustable shelves
- Lock mechanism and keys
- Assembly hardware (screws, bolts, nuts, shelf clips)
- Door handles
If any parts are missing or damaged, please contact customer support before proceeding with assembly.
Setup and Assembly
Assembly typically requires two people and approximately one hour. Follow these steps carefully:
- Prepare the Area: Choose a clean, flat, and spacious area for assembly. Lay down a blanket or cardboard to protect the cabinet panels from scratches.
- Assemble the Frame: Attach the side panels to the bottom panel using the provided screws and bolts. Ensure all connections are secure.
- Install the Back Panel: Slide or attach the back panel into the designated grooves or secure it with screws to the assembled frame.
- Attach the Top Panel: Secure the top panel to the side and back panels.
- Install Shelf Supports: Insert the shelf clips into the desired slots on the inner side panels. Ensure they are at the same height on both sides for level shelves.

Detail of the shelf support mechanism, showing how clips are inserted into the side panels to hold the shelves.
- Place Shelves: Carefully place the adjustable shelves onto the installed shelf clips.
- Attach Doors: Mount the hinged doors to the cabinet frame using the provided hinges. Ensure the doors are aligned and swing freely.
- Install Lock and Handles: Attach the door handles and the central lock mechanism. Test the lock with the provided keys to ensure it functions correctly.

A detailed view of the central key lock, which provides security for the cabinet's contents.
- Final Check: Verify that all screws are tightened, the cabinet is stable, and the doors open and close smoothly.
For detailed visual instructions, refer to the assembly diagram included in your product packaging.
Operating Instructions
Opening and Closing the Doors:
- To open, turn the key counter-clockwise to unlock, then pull the handle. The doors have a wide opening angle for full access.
- To close, push the doors firmly until they latch. Turn the key clockwise to lock the cabinet.
Adjusting Shelves:
- Empty the shelf you wish to adjust.
- Carefully lift the shelf and remove the four shelf clips from their current positions.
- Re-insert the shelf clips into the desired slots on the side panels, ensuring they are level.
- Place the shelf back onto the clips.
Maintenance
Cleaning:
Wipe the cabinet surfaces with a soft, damp cloth. For stubborn marks, a mild detergent can be used, followed by drying with a clean cloth. Avoid abrasive cleaners or solvents, as they may damage the finish.
General Care:
- Regularly check all screws and bolts for tightness and re-tighten if necessary to maintain stability.
- Do not overload shelves beyond their stated weight capacity (40 kg per shelf).
- Keep the lock mechanism clean and lubricated if it becomes stiff.
Troubleshooting
| Problem | Possible Cause | Solution |
|---|---|---|
| Doors do not close properly. | Misaligned hinges or uneven floor. | Check hinge alignment and adjust if needed. Ensure the cabinet is on a level surface. |
| Cabinet is wobbly. | Loose assembly screws or uneven floor. | Tighten all assembly screws. Use shims under the cabinet feet if the floor is uneven. |
| Key does not turn in lock. | Lock mechanism is stiff or obstructed. | Apply a small amount of graphite lubricant to the keyhole. Ensure no debris is blocking the mechanism. |
| Shelves are not level. | Shelf clips are not inserted at the same height. | Remove the shelf and re-insert the shelf clips into corresponding slots on both sides. |
Specifications
| Feature | Detail |
|---|---|
| Brand | TecTake |
| Model | 404377 |
| Color | Light Grey |
| Overall Dimensions (H x W x D) | 180 x 80 x 40 cm (approx. 70.9 x 31.5 x 15.7 inches) |
| Shelf Dimensions (W x D) | 79.5 x 36 cm (approx. 31.3 x 14.2 inches) |
| Max. Load Capacity per Shelf | 40 kg (approx. 88 lbs) |
| Product Weight | 39.3 kg (approx. 86.6 lbs) |
| Special Features | Key lock, adjustable shelves |
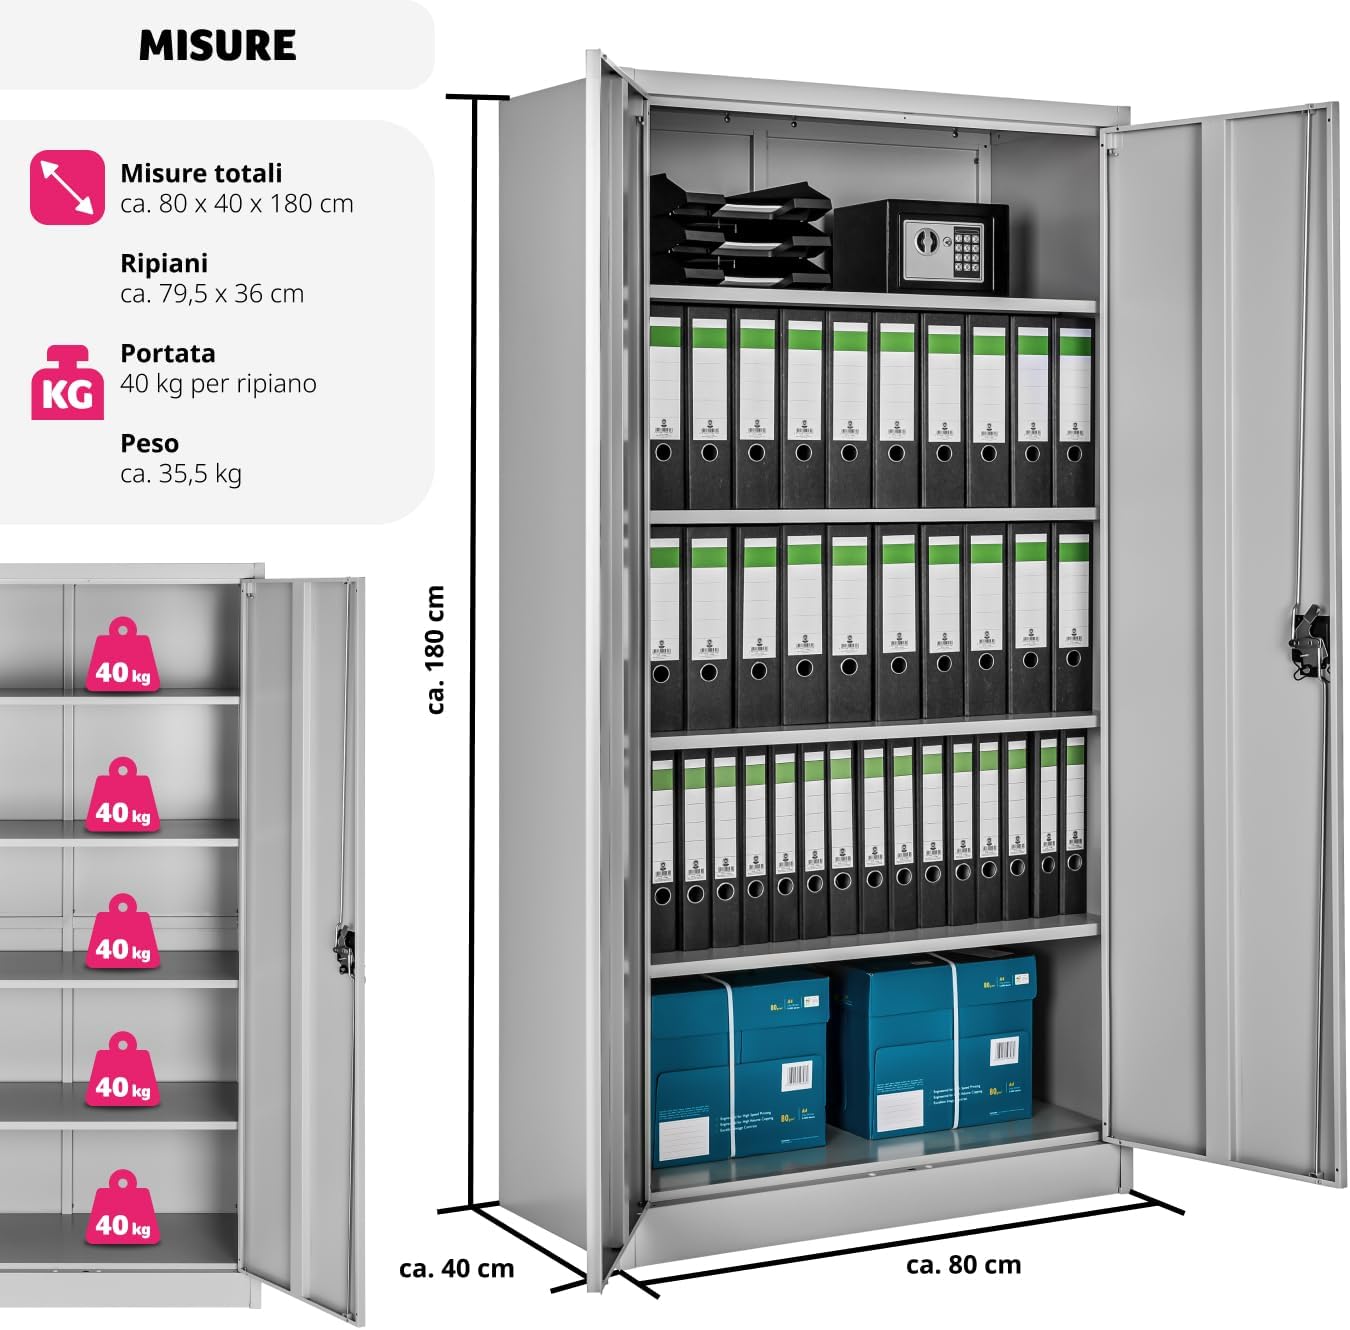
Visual representation of the cabinet's dimensions and individual shelf load capacity.
Warranty and Support
For warranty information, please refer to the documentation included with your purchase or visit the official TecTake website. For technical support, missing parts, or any inquiries, please contact TecTake customer service through their official channels.
Please retain your proof of purchase for warranty claims.
Ask a question about this manual
Ask about setup, troubleshooting, compatibility, parts, safety, or missing instructions. Manuals+ will review the question and use this page’s manual context to help answer it.