Tibber TI3002
Tibber Pulse P1
User Manual
1. Product Overview
The Tibber Pulse P1 is a smart energy monitor designed to give you real-time insights into your home's electricity consumption. By connecting to your smart meter's P1 port, it provides detailed data directly to the Tibber app, helping you understand and optimize your energy usage.

Figure 1: Tibber Pulse P1 device. This image shows the compact black unit with its distinctive blue LED indicator, highlighting its sleek design.
2. Setup Guide
Follow these steps to set up your Tibber Pulse P1:
- Locate Your Smart Meter's P1 Port: Ensure your smart meter has an active P1 port (often an RJ11 or RJ12 connector). This port is typically found on the front or side of your electricity meter.
- Connect the Pulse P1: Plug the provided RJ12 cable into the P1 port of your smart meter and the other end into the Tibber Pulse P1 device. Ensure a secure connection.
- Power On: The Pulse P1 draws power directly from the P1 port. Once connected, the blue LED on the device should light up, indicating it is receiving power.
- Pair with Tibber App: Open the Tibber app on your smartphone. Navigate to the 'Power-ups' section and add the Tibber Pulse P1. Follow the in-app instructions to complete the pairing process. This may involve entering a serial number or scanning a QR code found on the device or packaging.
- Verify Data Flow: After successful pairing, the app should start displaying real-time electricity consumption data. Allow a few minutes for the initial data synchronization.
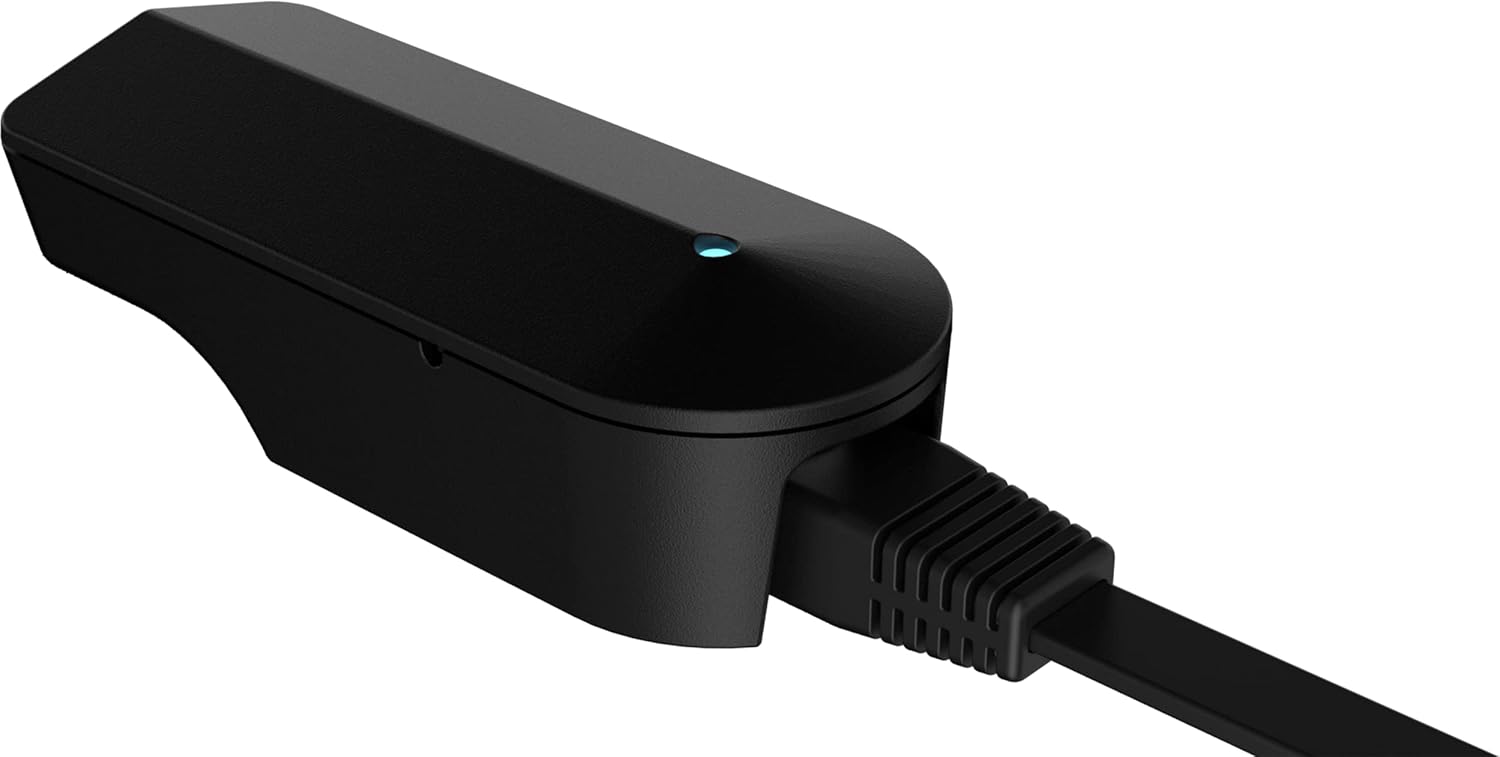
Figure 2: Tibber Pulse P1 with the RJ12 cable connected. This image illustrates how the cable plugs into the device, ready for connection to the smart meter.
3. Operation
Once set up, the Tibber Pulse P1 operates automatically, continuously sending your electricity consumption data to the Tibber cloud via your home's Wi-Fi network. The data is then accessible through the Tibber app.
- Real-time Monitoring: View your current electricity usage in kWh and cost directly in the Tibber app.
- Historical Data: Access historical consumption data by day, week, month, or year to identify trends and peak usage times.
- LED Indicator: The blue LED on the Pulse P1 indicates its status:
- Solid Blue: Device is powered on and connected to the network.
- Flashing Blue: Device is attempting to connect to the network or is transmitting data.
- Off: Device is not powered or there is an issue with the connection.
4. Maintenance
The Tibber Pulse P1 is designed for low maintenance. Consider the following for optimal performance:
- Cleaning: Gently wipe the device with a dry, soft cloth. Do not use liquid cleaners or abrasive materials.
- Software Updates: The device receives automatic firmware updates over the air (OTA) to ensure optimal performance and new features. Ensure your device remains connected to Wi-Fi for these updates.
- Environmental Conditions: Keep the device in a dry environment, away from direct sunlight, extreme temperatures, and moisture.
5. Troubleshooting
If you encounter issues with your Tibber Pulse P1, refer to the table below for common problems and solutions:
| Problem | Possible Cause | Solution |
|---|---|---|
| Device LED is off | No power from P1 port; cable not connected properly. | Ensure the RJ12 cable is securely plugged into both the smart meter's P1 port and the Pulse P1 device. Check if your smart meter's P1 port is active. |
| Device LED is flashing but no data in app | Wi-Fi connection issue; app pairing incomplete. | Check your home Wi-Fi network. Ensure the Pulse P1 is within Wi-Fi range. Re-attempt pairing in the Tibber app if necessary. |
| Incorrect or no data displayed | Data transmission error; smart meter configuration. | Restart the Pulse P1 by unplugging and replugging it. Verify that your smart meter's P1 port is correctly configured to output data. Contact Tibber support if the issue persists. |
6. Technical Specifications
| Feature | Specification |
|---|---|
| Brand | Tibber |
| Model Number | TI3002 |
| Connectivity | P1 port (RJ12), Wi-Fi |
| Power Supply | 5V max 100mA (via P1 port) |
| Data Output | Real-time electricity consumption |
| Manufacturer | Tibber |
| ASIN | B09ZDSD4QN |
7. Warranty and Support
For warranty information and technical support, please refer to the official Tibber website or contact Tibber customer service directly. Keep your proof of purchase for any warranty claims.
Online Resources: Visit tibber.com for FAQs, support articles, and contact information.
Related Documents - TI3002
 |
Tibber Pulse RJ12 User Manual: Setup, Features, and Troubleshooting Comprehensive user manual for the Tibber Pulse RJ12, covering setup, technical specifications, troubleshooting, safety, and disposal. Learn how to connect your smart meter and monitor energy usage with the Tibber app. |
 |
Tibber Pulse: Smart Energy Meter and Load Balancer for Home Discover the Tibber Pulse, a smart device for real-time energy monitoring, load balancing, and optimized solar charging. Learn about its features, models, and easy installation process for your home. |
 |
Tibber Installer: App för Installatörer Tibber Installer är en mobilapp för installatörer som effektiviserar installationer med smarta funktioner, guidade steg, snabb support och smidig kundöverlämning. |
Ask a question about this manual
Ask about setup, troubleshooting, compatibility, parts, safety, or missing instructions. Manuals+ will review the question and use this page’s manual context to help answer it.