AEG KKK994500B
AEG KKK994500B Built-in Coffee Machine User Manual
Model: KKK994500B | Brand: AEG
Integrated grinder with latte macchiato and espresso function, high-pressure steam frother heats the milk and froth it to multi-cup function. For beans and ground coffee.
1. Introduction
Thank you for choosing the AEG KKK994500B Built-in Coffee Machine. This fully automatic coffee machine is designed to provide a premium coffee experience, offering a variety of beverages from rich espresso to creamy latte macchiato. It features an integrated grinder for fresh beans and also supports ground coffee. Please read this manual carefully before using the appliance to ensure safe and optimal operation.
2. Setup
2.1 Unboxing and Placement
Carefully remove the coffee machine from its packaging. Ensure all packing materials are removed. This appliance is designed for built-in installation. Refer to the separate installation guide for detailed instructions on integrating the machine into your kitchen cabinetry. Ensure proper ventilation around the unit.

Figure 2.1: Front view of the AEG KKK994500B Built-in Coffee Machine, showing its sleek black design and integrated display.
2.2 Initial Power-On and First Use
After installation, connect the appliance to a suitable power supply. The display will illuminate. Follow the on-screen prompts to set the language, time, and water hardness. Perform the initial rinsing cycle as instructed by the machine to prepare the internal system for brewing.

Figure 2.2: Close-up of the control panel, featuring a digital display and a central rotary knob for navigation and selection.
3. Operating Instructions
3.1 Preparing Coffee Beans and Ground Coffee
The machine features an integrated grinder. Open the bean hopper lid and fill with fresh coffee beans. For ground coffee, use the dedicated ground coffee chute. Do not mix ground coffee with beans in the bean hopper.
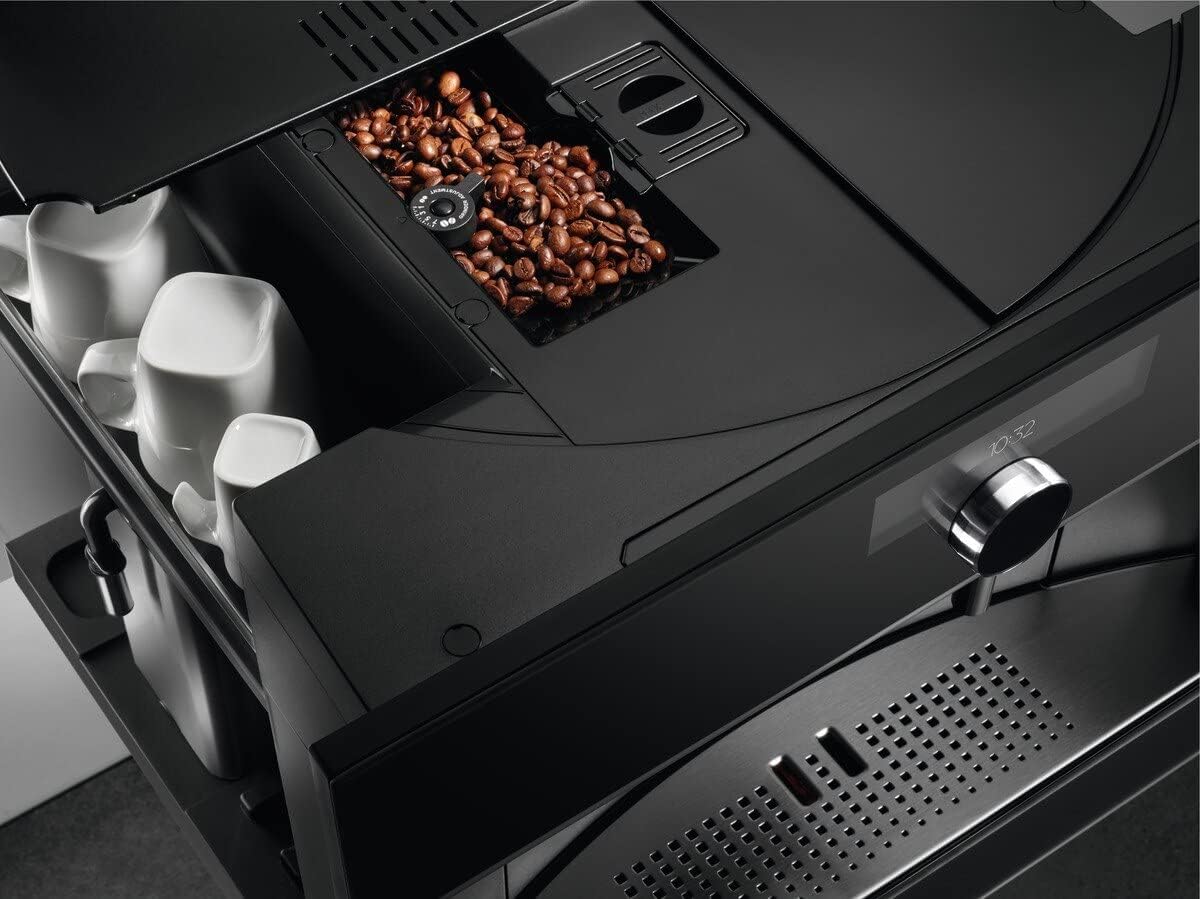
Figure 3.1: The bean hopper, located at the top of the machine, ready to be filled with whole coffee beans.
3.2 Brewing Espresso and Coffee
Place a cup under the coffee dispenser. Select your desired coffee strength and volume using the control panel. The machine will automatically grind the beans (if selected) and brew your coffee. You can brew two cups simultaneously.

Figure 3.2: The coffee dispenser accommodating two cups for simultaneous brewing of espresso or coffee.
3.3 Preparing Milk-Based Beverages
For beverages like Latte Macchiato or Cappuccino, the machine uses a high-pressure steam frother. Fill the milk container with fresh milk and connect it to the machine. Select your desired milk-based drink from the menu. The machine will automatically froth and dispense the milk before brewing the coffee.

Figure 3.3: The machine dispensing a layered Latte Macchiato into a glass, showcasing the milk and coffee layers.

Figure 3.4: A Cappuccino being brewed, with rich foam topping the coffee in a ceramic cup.
3.4 Using the Steam Frother Manually
The integrated high-pressure steam frother can also be used manually to heat and froth milk for various beverages. Place a jug with milk under the steam nozzle and activate the steam function from the menu. Ensure the nozzle is cleaned after each use.

Figure 3.5: A user manually frothing milk using the machine's steam wand, demonstrating its versatility.
4. Maintenance and Cleaning
Regular cleaning and maintenance are crucial for the longevity and optimal performance of your coffee machine.
4.1 Daily Cleaning
- Empty and clean the drip tray and coffee grounds container daily.
- Wipe down the exterior of the machine with a soft, damp cloth.
- Rinse the milk frother components after each use.
4.2 Descaling
The machine will prompt you when descaling is required. Use only AEG approved descaling solutions and follow the on-screen instructions carefully. Descaling removes mineral buildup and ensures proper heating and flow.
4.3 Cleaning the Brewing Unit
The brewing unit should be removed and rinsed under lukewarm water weekly. Allow it to air dry before reinserting. Refer to the detailed instructions in the full manual for removal and reinstallation.
5. Troubleshooting
This section provides solutions to common issues you might encounter.
| Problem | Possible Cause | Solution |
|---|---|---|
| Coffee is not hot enough | Cups are cold; machine needs descaling. | Pre-heat cups; perform descaling cycle. |
| No coffee dispenses | Water tank empty; brewing unit blocked. | Refill water tank; clean brewing unit. |
| Milk not frothing properly | Milk system dirty; milk type unsuitable. | Clean milk frother; use fresh, cold milk (e.g., whole milk). |
| Machine displays "Descale" message | Mineral buildup detected. | Perform a descaling cycle immediately. |
For more complex issues, please refer to the comprehensive troubleshooting guide in the full product manual or contact customer support.
6. Specifications
| Feature | Detail |
|---|---|
| Brand | AEG |
| Model Name | KKK994500B |
| Color | Black |
| Coffee Maker Type | Espresso Machine |
| Operation Mode | Fully Automatic |
| Coffee Input Type | Beans and Ground Coffee |
| Special Feature | Milk Frother (High-pressure steam) |
| Included Components | High-pressure steam frother |
| Exterior Finish | Stainless steel |
| Specific Uses For Product | Cappuccino, Espresso, Latte, Mocha |
| Package Dimensions | 27.64 x 24.09 x 21.65 inches |
7. Warranty and Support
Your AEG KKK994500B Built-in Coffee Machine comes with a manufacturer's warranty. Please refer to the warranty card included in your product packaging for specific terms and conditions, including warranty duration and coverage.
For technical support, service, or to inquire about replacement parts, please contact AEG customer service. You may also consider purchasing extended protection plans for additional coverage:
- 3-Year Protection Plan
- 4-Year Protection Plan
- Complete Protect (monthly plan covering eligible purchases)
For the most up-to-date support information and contact details, please visit the official AEG website or refer to the contact information provided in your product documentation.