FP FRIDAYPARTS HB600 HB600-24b
FridayParts 24V25A Battery Charger User Manual
Model: HB600, HB600-24b
1. Introduction
This manual provides essential instructions for the safe and efficient operation, installation, and maintenance of your FridayParts 24V25A Battery Charger. This charger is specifically designed for use with 24V battery systems in various industrial scissor lifts, including models from Genie, Skyjack, and JLG. Please read this manual thoroughly before installation and operation to ensure proper use and to prevent damage or injury.
2. Important Safety Instructions
Always observe the following safety precautions to reduce the risk of electric shock, fire, or injury:
- Read All Instructions: Before using the battery charger, read all instructions and cautionary markings on the charger, the battery, and the product using the battery.
- Ventilation: Ensure the charging area is well-ventilated. Do not operate the charger in a confined area or restrict ventilation in any way.
- Eye Protection: Always wear eye protection when working near batteries.
- Disconnect Power: Disconnect the AC power supply before making or breaking connections to the battery.
- Proper Voltage: This charger is designed for 24V battery systems only. Do not attempt to charge batteries with different voltage ratings.
- Avoid Sparks: Never smoke or allow a spark or flame in the vicinity of the battery or engine.
- Damaged Cords: Do not operate the charger with a damaged cord or plug. Replace immediately.
- Qualified Personnel: Servicing should be performed by qualified service personnel only.
3. Package Contents
Verify that all items are present in the package:
- 1 x FridayParts 24V25A Battery Charger
- 1 x AC Input Cable (Length: 150cm)
- 1 x DC Output Cable (Length: 170cm)
- 1 x Red/White Interlock Cables (Length: 35cm)
4. Product Overview and Specifications
The FridayParts 24V25A Battery Charger is a robust unit designed for reliable battery charging in demanding industrial environments. Its durable construction and efficient design ensure consistent performance.
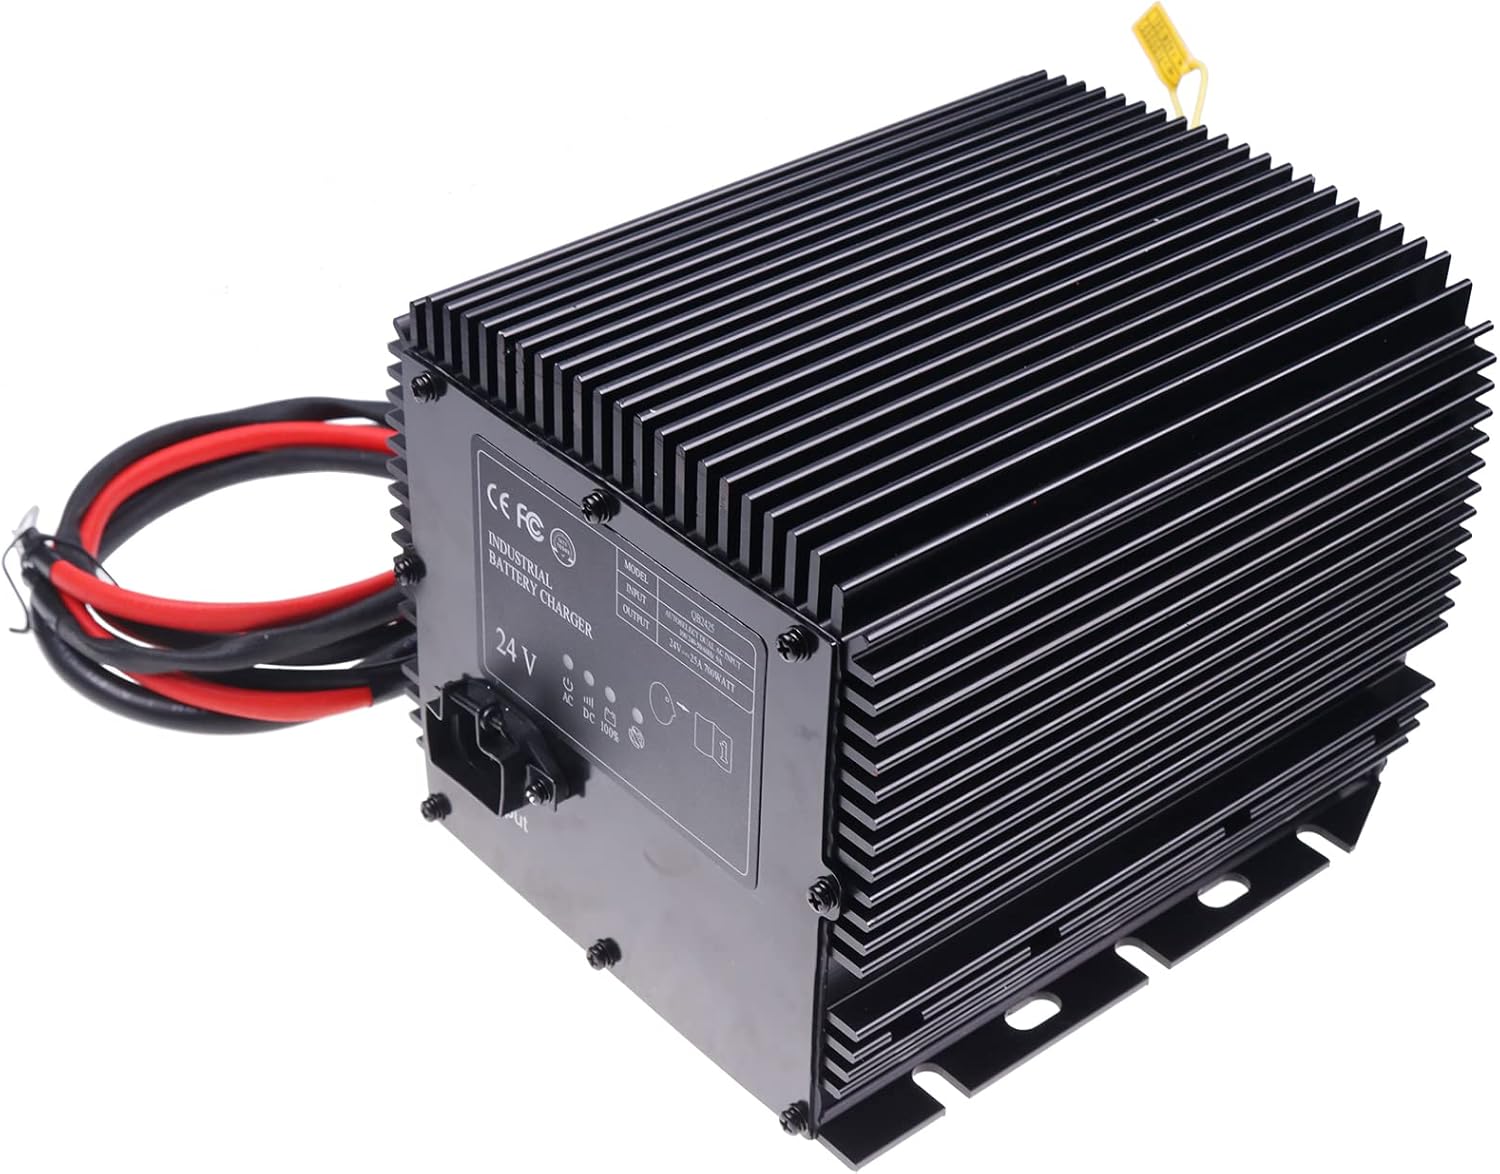
Image 1: Front-top view of the FridayParts 24V25A Battery Charger, showcasing its black ribbed casing, input/output ports, and attached cables.
Technical Specifications
| Specification | Value |
|---|---|
| Input Voltage | 110VAC/230VAC ±10% |
| Output Voltage | 24V |
| Output Current | 25A |
| Wattage | 700 watts |
| Dimensions (L x W x H) | 8 x 7 x 6 inches |
| Item Weight | 11.33 pounds |
| Manufacturer Part Number | HB600 HB600-24b |
| Item Model Number | D-DW007-QB2425 |
5. Installation and Setup
Connecting the Charger
Follow these steps to properly connect the battery charger:
- Ensure Power is Off: Before making any connections, ensure the AC power source is disconnected and the scissor lift's power is off.
- Connect DC Output Cable: Connect the DC output cable (red and black wires) from the charger to the battery terminals of your scissor lift. Ensure correct polarity: red to positive (+), black to negative (-).
- Connect Interlock Cables: If your system requires it, connect the red/white interlock cables to the appropriate terminals on your scissor lift's control system. These cables typically provide a signal to prevent lift operation during charging.
- Connect AC Input Cable: Plug the AC input cable into the charger's input port.
- Secure Placement: Place the charger in a stable, well-ventilated location, away from flammable materials.
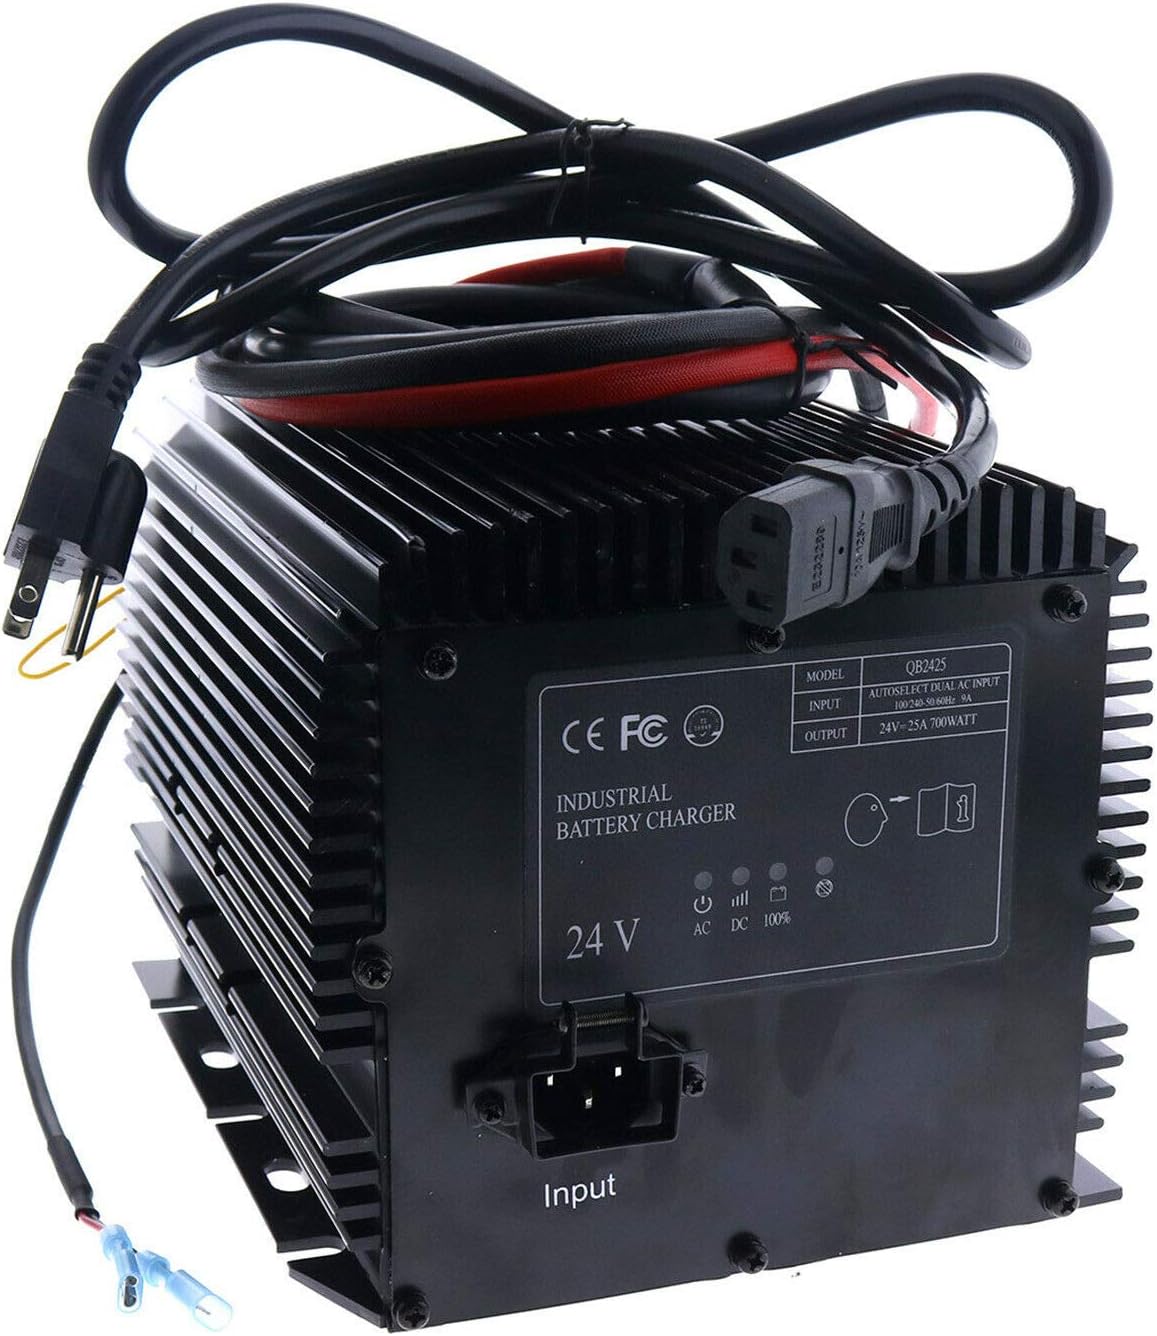
Image 2: Rear view of the charger showing the AC input port, DC output cables, and indicator lights. The AC power cord is connected.

Image 3: Close-up view of the blue spade connectors on the interlock cables, which are used for integration with the lift's control system.

Image 4: The battery charger shown installed within the battery compartment of a yellow scissor lift, demonstrating a typical installation scenario.
6. Operating Instructions
Indicator Lights
The charger features indicator lights to display its operational status:
- AC (Yellow): Illuminates when the charger is connected to an active AC power source.
- DC (Green): Illuminates when the charger is actively charging the battery.
- 100% (Green): Illuminates when the battery has reached a full charge.
- Error (Red): Illuminates to indicate a fault or error condition. Refer to the troubleshooting section.
Charging Process
To begin charging your scissor lift batteries:
- Ensure all cables (AC input, DC output, interlock) are securely connected as described in the Installation section.
- Plug the AC input cable into a suitable 110VAC or 230VAC power outlet. The yellow AC indicator light should illuminate.
- The charger will automatically begin the charging cycle. The green DC indicator light will illuminate.
- Monitor the indicator lights. Once the green 100% light illuminates, the battery is fully charged.
- To stop charging, first disconnect the AC power cable from the wall outlet, then disconnect the DC output and interlock cables from the battery/lift.
7. Maintenance
Regular maintenance ensures the longevity and optimal performance of your battery charger:
- Cleaning: Keep the charger clean and free from dust and debris. Use a dry cloth to wipe down the exterior. Do not use liquid cleaners.
- Cable Inspection: Periodically inspect all cables for signs of wear, cuts, or damage. Replace any damaged cables immediately.
- Ventilation: Ensure the cooling fins and ventilation openings are not obstructed.
- Storage: When not in use, store the charger in a cool, dry place, away from direct sunlight and moisture.
8. Troubleshooting
If you encounter issues with your battery charger, refer to the table below for common problems and solutions:
| Problem | Possible Cause | Solution |
|---|---|---|
| No indicator lights illuminate when plugged in. | No AC power; faulty power outlet; damaged AC cable. | Check AC power source; test outlet with another device; inspect AC cable for damage. |
| DC (Green) light does not illuminate. | Incorrect battery connection; battery deeply discharged; internal charger fault. | Verify DC cable polarity and connection; allow time for deeply discharged batteries; contact support if issue persists. |
| Error (Red) light illuminates. | Battery fault; short circuit; over-temperature. | Check battery condition; ensure no short circuits; allow charger to cool down in a well-ventilated area. |
| Battery not fully charging. | Battery capacity degradation; poor connection; charger fault. | Have battery tested; ensure all connections are secure; contact support. |
9. Compatibility
This FridayParts 24V25A Battery Charger is compatible with the following scissor lift models:
Genie Lift Models
- GS-1530, GS-1532, GS-1930, GS-1932, GS-2032, GS-2046, GS-2632, GS-2646, GS-3232, GS-3246, GS-4047
- TMZ-34/19, TMZ-50/30
Skyjack Lift Models
- 3015, 3219, 3220, 3226, 4620, 4626, 4832, 3215, 4632, 6832, 6826
JLG Lift Models
- 1930ES, 2030ES, 2032ES, 2630ES, 2632ES, 2646ES, 3246ES
10. Warranty and Customer Support
This FridayParts 24V25A Battery Charger comes with a 1-year warranty from the date of purchase. This warranty covers defects in materials and workmanship under normal use.
For warranty claims, technical assistance, or any questions regarding the product, please contact FridayParts customer service through the retailer where the product was purchased or visit the official FridayParts website for support contact information.
Please have your model number (HB600, HB600-24b) and purchase date available when contacting support.
Ask a question about this manual
Ask about setup, troubleshooting, compatibility, parts, safety, or missing instructions. Manuals+ will review the question and use this page’s manual context to help answer it.