VEVOR Commercial Slushy Machine 10L User Manual
Model: 110V Slushy Machine 10L
1. Important Safety Instructions
Please read all instructions carefully before operating the VEVOR Commercial Slushy Machine. Retain this manual for future reference.
- Electrical Safety: Ensure the machine is connected to a grounded power outlet with the correct voltage (110V). Do not operate with a damaged power cord or plug. Keep electrical components dry.
- Food Safety: Use food-grade ingredients. Clean the machine thoroughly before first use and after each use to prevent bacterial growth. Maintain proper sugar content in mixtures to ensure correct freezing and prevent damage to the machine.
- Placement: Place the machine on a stable, level surface. Ensure adequate ventilation around the machine, especially near air vents, to prevent overheating.
- Operation: Do not insert hands or foreign objects into the mixing bowls while the machine is operating. Supervise children and ensure they do not play with the appliance.
- Maintenance: Disconnect the power supply before cleaning or performing any maintenance. Use only VEVOR-approved replacement parts.
2. Product Overview
The VEVOR Commercial Slushy Machine is designed for preparing delicious slushies and frozen drinks. It features a robust stainless steel body and food-grade components for durability and hygiene.

Figure 2.1: VEVOR Commercial Slushy Machine (10L)
Key Features:
- 10L Capacity Tank: A single large tank capable of serving approximately 40 cups of frozen beverages.
- Durable Construction: Features a 3-layer thickened stainless steel body for rust-proof and abrasion-proof performance, and food-grade PP bowls for clear visibility.
- Rapid Refrigeration: Equipped with a 600-watt powerful compressor and an all-copper condenser for efficient and quick freezing.
- Precise Control Panel: Intuitive controls allow adjustment of temperature and consistency for various drink styles, including slush and cold drink modes.
- 360° Rotating Stirrer: A mixing switch controls the stirrer to prevent sediment and ensure uniformly mixed drinks.
- User-Friendly Design: Includes separate lid openings for easy refilling, an easy-flow spout for consistent dispensing, detachable drip trays for easy cleaning, three-side air vents for heat dissipation, and stable rubber feet.

Figure 2.2: Tank Capacity and Material Details

Figure 2.3: Product Dimensions and Application Examples
3. Setup
Follow these steps to set up your VEVOR Commercial Slushy Machine:
- Unpacking: Carefully remove the machine from its packaging. Inspect for any shipping damage.
- Placement: Place the machine on a sturdy, level, and dry surface. Ensure there is at least 6 inches (15 cm) of clear space around all sides, especially near the air vents, for proper ventilation.
- Initial Cleaning: Before first use, thoroughly clean the tank, lid, stirrer, and dispensing spout with warm, soapy water. Rinse all components with clean water and dry completely.
- Power Connection: Plug the machine into a dedicated 110V grounded electrical outlet.
- Rest Period: After transportation, allow the machine to stand upright for at least 24 hours before initial operation to allow the refrigerant to settle.

Figure 3.1: Machine Ready for Operation
4. Operation
Operating your slushy machine involves preparing the mixture, setting the desired mode, and dispensing the product.
4.1 Preparing the Mixture
- Prepare your desired slushy or frozen drink mixture.
- Important: Sugar is essential for proper freezing. The sugar content should not be less than 13% with sucrose and less than 22% with maltose. Do not use plain water alone, as this can damage the machine.
- Open the lid of the tank and pour the prepared mixture into the bowl. Do not exceed the maximum fill line.
4.2 Control Panel Functions

Figure 4.1: Control Panel Layout
- On/Off Button: Powers the machine on or off.
- Bowl Button: Activates or deactivates the mixing and freezing for the specific bowl.
- Display Screen: Shows temperature, mode, and other operational information.
- Night Mode (Page Up): Reduces power consumption during off-peak hours, maintaining a cooler temperature without full freezing.
- Work Mode (Light): Activates full freezing and mixing for regular operation. Also controls internal LED lighting.
- Day Mode (Page Down): Standard operating mode for continuous production.
- SET Button: Used to confirm settings or enter programming mode.
4.3 Starting the Machine
- Press the On/Off button to power on the machine.
- Select the desired mode (e.g., Work Mode for slush production) using the appropriate buttons.
- The 360° rotating stirrer will begin mixing the contents.
- The machine will begin the rapid refrigeration process. The time required to reach optimal slush consistency will vary based on ambient temperature and mixture composition.

Figure 4.2: Rapid Refrigeration System
4.4 Dispensing
Once the desired consistency is reached, place a cup under the easy-flow spout and pull the dispensing handle to serve.
5. Maintenance
Regular cleaning and maintenance ensure the longevity and hygienic operation of your slushy machine.
5.1 Daily Cleaning
- Power Off: Always turn off and unplug the machine before cleaning.
- Empty Tanks: Drain any remaining liquid from the tanks using the dispensing spout.
- Disassemble: Remove the tank lid, stirrer, and the tank itself. The tanks are designed for easy removal.
- Wash Components: Wash the tank, lid, and stirrer with warm, soapy water. Rinse thoroughly with clean water.
- Clean Drip Trays: The drip trays are detachable for easy cleanup. Remove, empty, wash, and dry them.
- Wipe Exterior: Wipe down the exterior of the machine with a damp cloth. Do not use abrasive cleaners or immerse the main unit in water.
- Reassemble: Ensure all components are completely dry before reassembling.

Figure 5.1: Features for Easy Maintenance
5.2 Periodic Checks
- Regularly check the power cord for any signs of damage.
- Ensure air vents are clear of obstructions to maintain efficient cooling.
- Inspect seals and gaskets for wear and tear. Replace if necessary to prevent leaks.
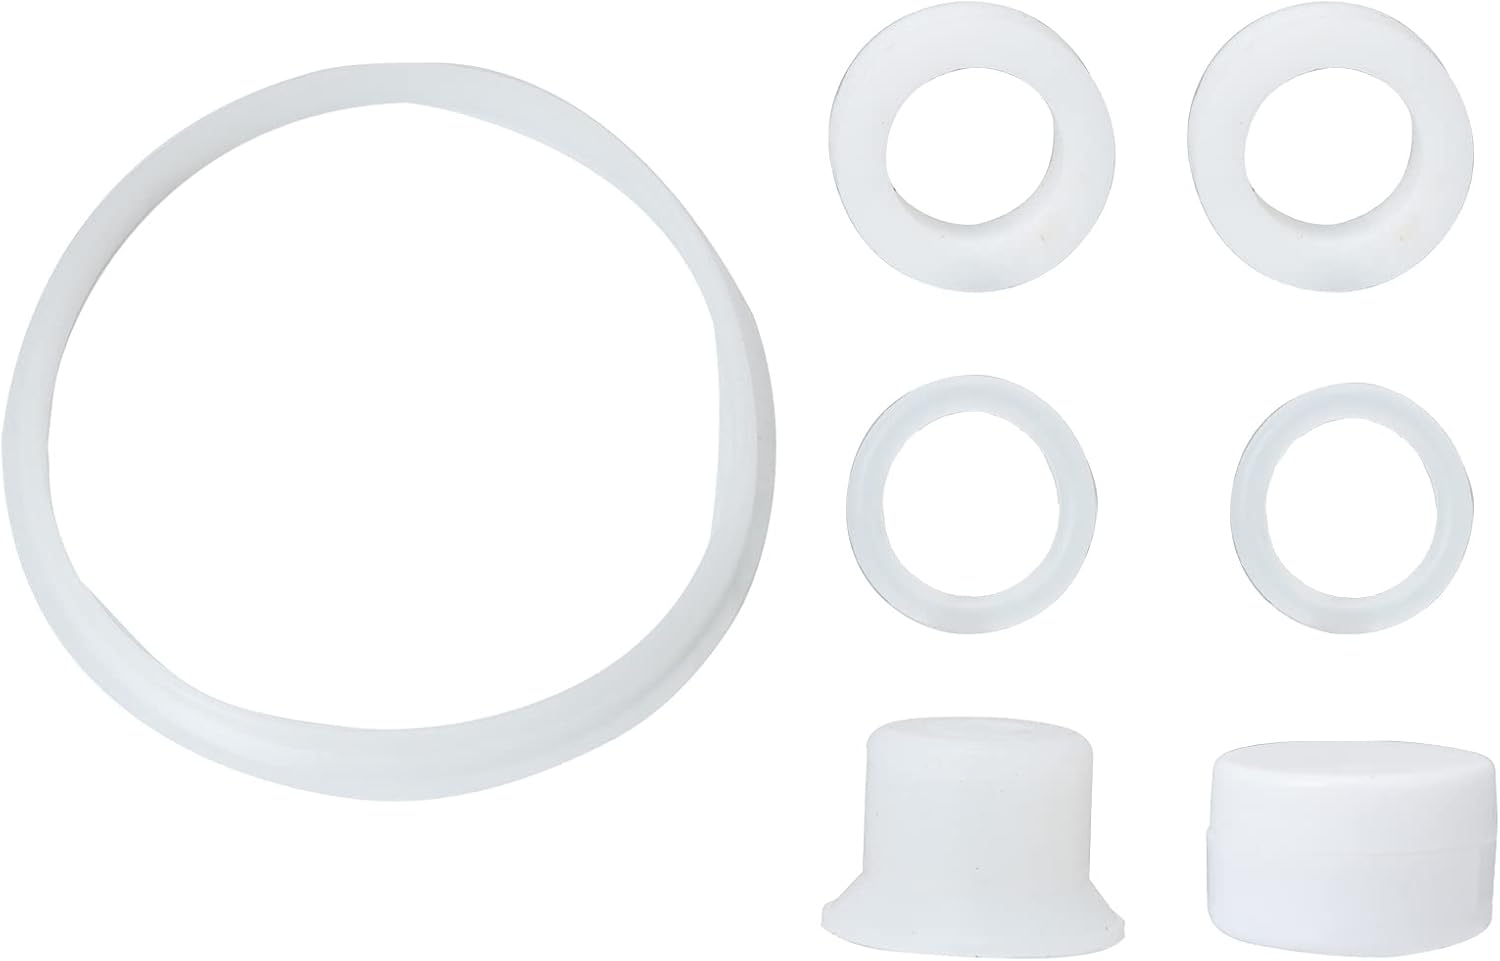
Figure 5.2: Replacement Seals and Gaskets
6. Troubleshooting
If you encounter issues with your VEVOR Commercial Slushy Machine, refer to the following common problems and solutions:
| Problem | Possible Cause | Solution |
|---|---|---|
| Machine does not turn on | No power supply; Power cord not plugged in; Circuit breaker tripped. | Check power connection; Ensure outlet is functional; Reset circuit breaker. |
| Mixture not freezing | Insufficient sugar content; Ambient temperature too high; Air vents blocked; Refrigerant issue. | Adjust sugar content (min 13% sucrose); Ensure proper ventilation; Contact customer support if problem persists. |
| Machine is noisy | Machine not level; Internal components loose; Fan obstruction. | Ensure machine is on a level surface; Check for loose parts; Clear any obstructions from fans/vents. |
| Leaking from dispenser | Dispenser seal worn or improperly installed. | Inspect and replace dispenser seals if damaged or worn. Ensure proper installation. |
If the problem persists after attempting these solutions, please contact VEVOR customer support for assistance.
7. Specifications
| Specification | Value |
|---|---|
| Brand | VEVOR |
| Model Name | Slushy Machine 10L |
| Item Model Number | 110V Slushy Machine 10L |
| Capacity | 10 Liters (2.6 US Gallons) |
| Material | Stainless Steel (body), Food-grade PP (bowls) |
| Product Dimensions (L x W x H) | 15" x 8.5" x 32.5" (380mm x 216mm x 825.5mm) |
| Item Weight | 88 Pounds (40 kg) |
| Operation Mode | Automatic |
| Power | 600W (Compressor) |
| UPC | 840281551613 |
8. Warranty and Support
For warranty information, product support, or to purchase replacement parts, please contact VEVOR customer service. Refer to your purchase documentation for specific warranty terms and contact details.
Customer Service: Please visit the official VEVOR website or refer to the contact information provided with your product for support.


