
Introduction
Thank you for purchasing the ASTGMI C3 Kids Digital Camera. This manual provides essential information for the safe and effective use of your new camera. Please read it thoroughly before use and keep it for future reference.
Setup
1. What's in the Box
Before you begin, please check the package contents:
- 1 x ASTGMI C3 Kids Digital Camera
- 1 x 32GB Micro SD Card
- 1 x USB Charging Cable
- 1 x Camera Lanyard
- 1 x User Manual

Image: The product package contents, including the camera, 32GB memory card, user manual, lanyard, and USB charging cable.
2. Charging the Camera
The camera has a built-in 650mAh rechargeable battery. For optimal performance, fully charge the camera before first use.
- Connect the small end of the included USB charging cable to the camera's charging port.
- Connect the larger end of the USB cable to a standard USB power adapter (not included) or a computer's USB port.
- The charging indicator light will illuminate. Once fully charged (approximately 4 hours), the light will change or turn off.
A full charge provides approximately 4 hours of continuous use. The camera features an automatic shutdown function (3-5 minutes) to preserve battery life.
3. Inserting the Micro SD Card
The camera comes with a 32GB Micro SD card for storing photos and videos.
- Locate the Micro SD card slot on the side of the camera.
- Gently insert the Micro SD card into the slot with the gold contacts facing down until it clicks into place.
- To remove the card, push it gently inward until it clicks, then release, and it will spring out.

Image: A detailed view of the camera's side, highlighting the USB charging port and the Micro SD card slot. The image also shows the camera's button layout.
Operating Instructions
1. Camera Overview and Controls
Familiarize yourself with the camera's buttons and their functions:
- Power/Back Button: Turns the camera on/off, or returns to the previous menu.
- Video/Photo/Confirm Button: Switches between photo and video modes, or confirms selections in menus.
- Up/Delete Button: Navigates up in menus, or deletes selected items.
- Right Button: Navigates right in menus.
- Left Button: Navigates left in menus.
- Down/Frame Change Button: Navigates down in menus, or changes photo frames.

Image: The ASTGMI C3 camera displaying icons for its key features: 12MP Photo, 1080P Video, Playback, Games, Portable design, Time-lapse, Burst Shooting, 2-inch IPS Screen, USB Charging, and Multi-Functions.
2. Taking Photos
The camera captures 8-megapixel photos.
- Press the Power Button to turn on the camera.
- Ensure the camera is in photo mode (indicated by a camera icon on the screen). If not, press the Video/Photo/Confirm Button to switch.
- Frame your shot using the 2.0-inch IPS screen.
- Press the Video/Photo/Confirm Button to take a picture.

Image: The camera's screen showing a captured image with a date and time stamp, demonstrating the playback interface.
3. Recording Videos
The camera records videos in 1080P HD resolution.
- Turn on the camera.
- Press the Video/Photo/Confirm Button to switch to video recording mode (indicated by a video camera icon).
- Press the Video/Photo/Confirm Button again to start recording. A red 'REC' indicator will appear.
- Press the Video/Photo/Confirm Button once more to stop recording.
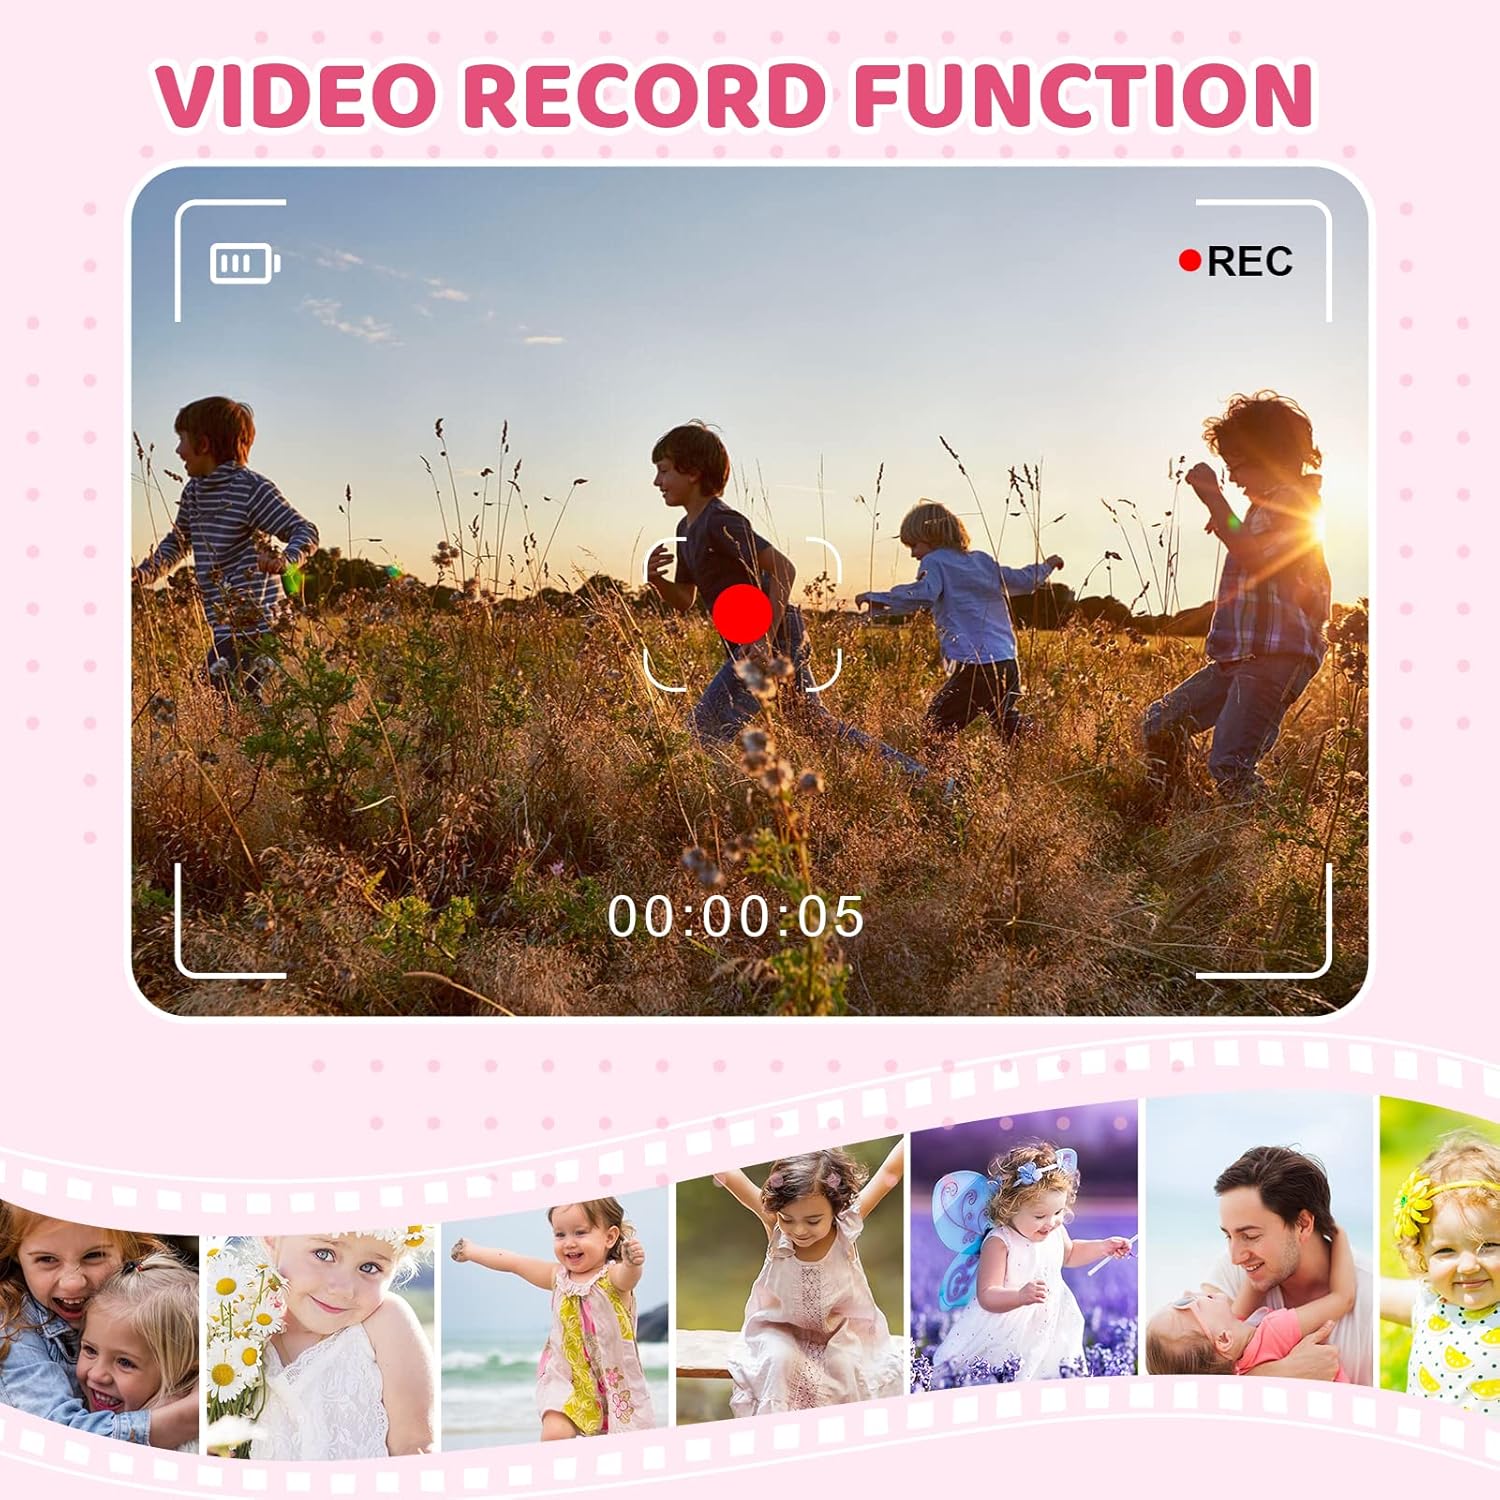
Image: The camera's screen displaying a video recording in progress, with a 'REC' indicator and a timer.
4. Special Features
The ASTGMI C3 camera includes several fun and creative features:
- Photo Frames: Choose from 15 cute cartoon frames to add to your photos. Use the Down/Frame Change Button to cycle through frames in photo mode.
- Filters: Apply 6 different filter effects (e.g., Red, Green, Contrast, Normal, B&W, Yellow, Blue) to customize your pictures.
- Time-lapse: Set a delay (2s/5s/10s) before taking a photo.
- Burst Shooting: Capture multiple photos in quick succession.
- Games: Enjoy 5 built-in puzzle games (Snaker, Tetris, Sokoban, etc.) for entertainment. Access them through the camera's menu.

Image: The camera showcasing examples of the 15 cute photo frames and 7 colorful filters that can be applied to images.

Image: A child's hands holding the camera, with the screen displaying one of the 5 built-in fun games.

Image: A close-up of the camera screen showing an example of a unicorn-themed photo frame applied to an image.
5. Connecting to a Computer
You can transfer photos and videos to a computer using the USB cable.
- Connect the camera to your computer using the USB cable.
- The camera will appear as a removable disk drive on your computer.
- Open the drive to access and transfer your files.
Maintenance
1. Cleaning the Camera
- Use a soft, dry cloth to clean the camera body.
- For the lens, use a specialized lens cleaning cloth and solution. Do not use abrasive materials or harsh chemicals.
- Keep the camera away from dust and sand.
2. Battery Care
- Avoid fully discharging the battery frequently.
- Charge the camera regularly, even if not in use, to maintain battery health.
- Do not expose the camera to extreme temperatures.
3. Storage
- Store the camera in a cool, dry place when not in use.
- Remove the Micro SD card if storing for extended periods.
Troubleshooting
Common Issues and Solutions
- Camera won't turn on:
Ensure the battery is charged. Connect the camera to a power source using the USB cable and try again. - Cannot take photos/videos:
Check if the Micro SD card is inserted correctly and has sufficient free space. The camera may also need to be reset if it's unresponsive. - Poor image/video quality:
Ensure the lens is clean. Take photos in well-lit environments. Note that this is a children's toy camera and its performance should not be compared to professional cameras. - Camera freezes:
Press and hold the Power button for 10 seconds to force a shutdown, then restart the camera. - Files not transferring to computer:
Ensure the USB cable is securely connected to both the camera and the computer. Try a different USB port or cable.
Specifications
| Feature | Specification |
|---|---|
| Model Name | C3 |
| Brand | ASTGMI |
| Rear Webcam Resolution | 12 Megapixels |
| Effective Still Resolution | 8 Megapixels |
| Video Capture Resolution | 1080p Full HD |
| Optical Zoom | 4x |
| Digital Zoom | 4x |
| Screen Size | 2.0 inches |
| Display Type | LCD |
| Image Stabilization | Digital |
| Supported File Formats | JPEG, MP4 |
| Connectivity Technology | USB |
| Memory Card Type | Micro SD (32GB included) |
| Battery Capacity | 650 mAh |
| Item Weight | 2.8 Ounces |
| Age Range Description | 3 - 10 Years |
| Country of Origin | China |
Warranty and Support
1. Warranty Information
The ASTGMI C3 Kids Digital Camera comes with a 1-year limited warranty from the date of purchase. This warranty covers manufacturing defects. It does not cover damage caused by misuse, accidents, unauthorized repairs, or normal wear and tear.
2. Customer Support
If you encounter any issues or have questions regarding your ASTGMI C3 Kids Digital Camera, please contact our customer support team. Refer to the contact information provided on the product packaging or the official ASTGMI website for assistance.