1. Introduction
Thank you for choosing the AYR Digital Door Viewer Model 568. This device enhances your home security by providing a clear view of your doorstep with advanced features such as a 4.3-inch color screen, infrared night vision, and PIR motion detection. This manual will guide you through the installation, operation, and maintenance of your new digital door viewer.
2. Package Contents
Please ensure all items are present in the package:
- 1 x LCD Screen (Monitor)
- 1 x Camera (Outdoor Unit)
- 1 x Fixing Plate
- 1 x USB Charging Cable
- 4 x Fixing Screws (various lengths to adapt to door thickness)
- 1 x Installation Manual

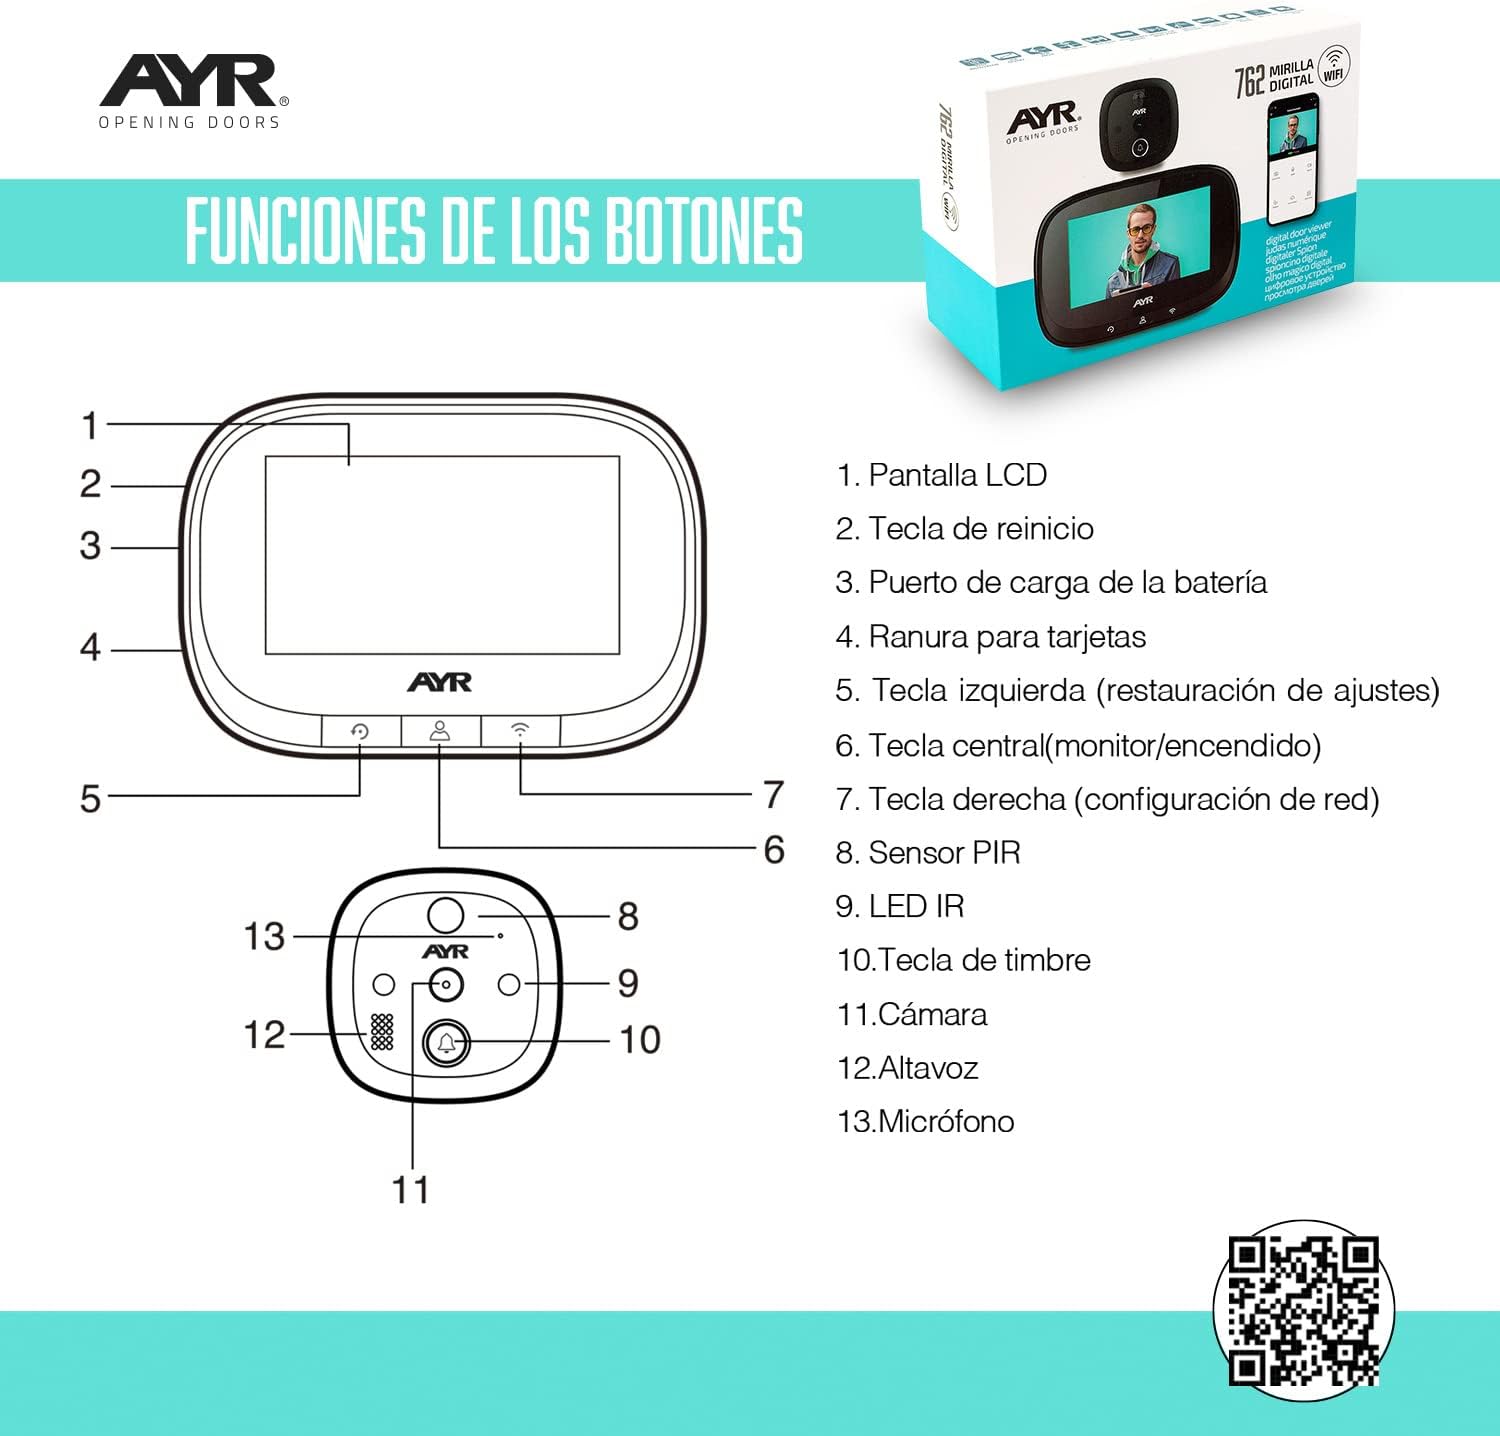
The image above illustrates the main components and a diagram of the button functions on the monitor.
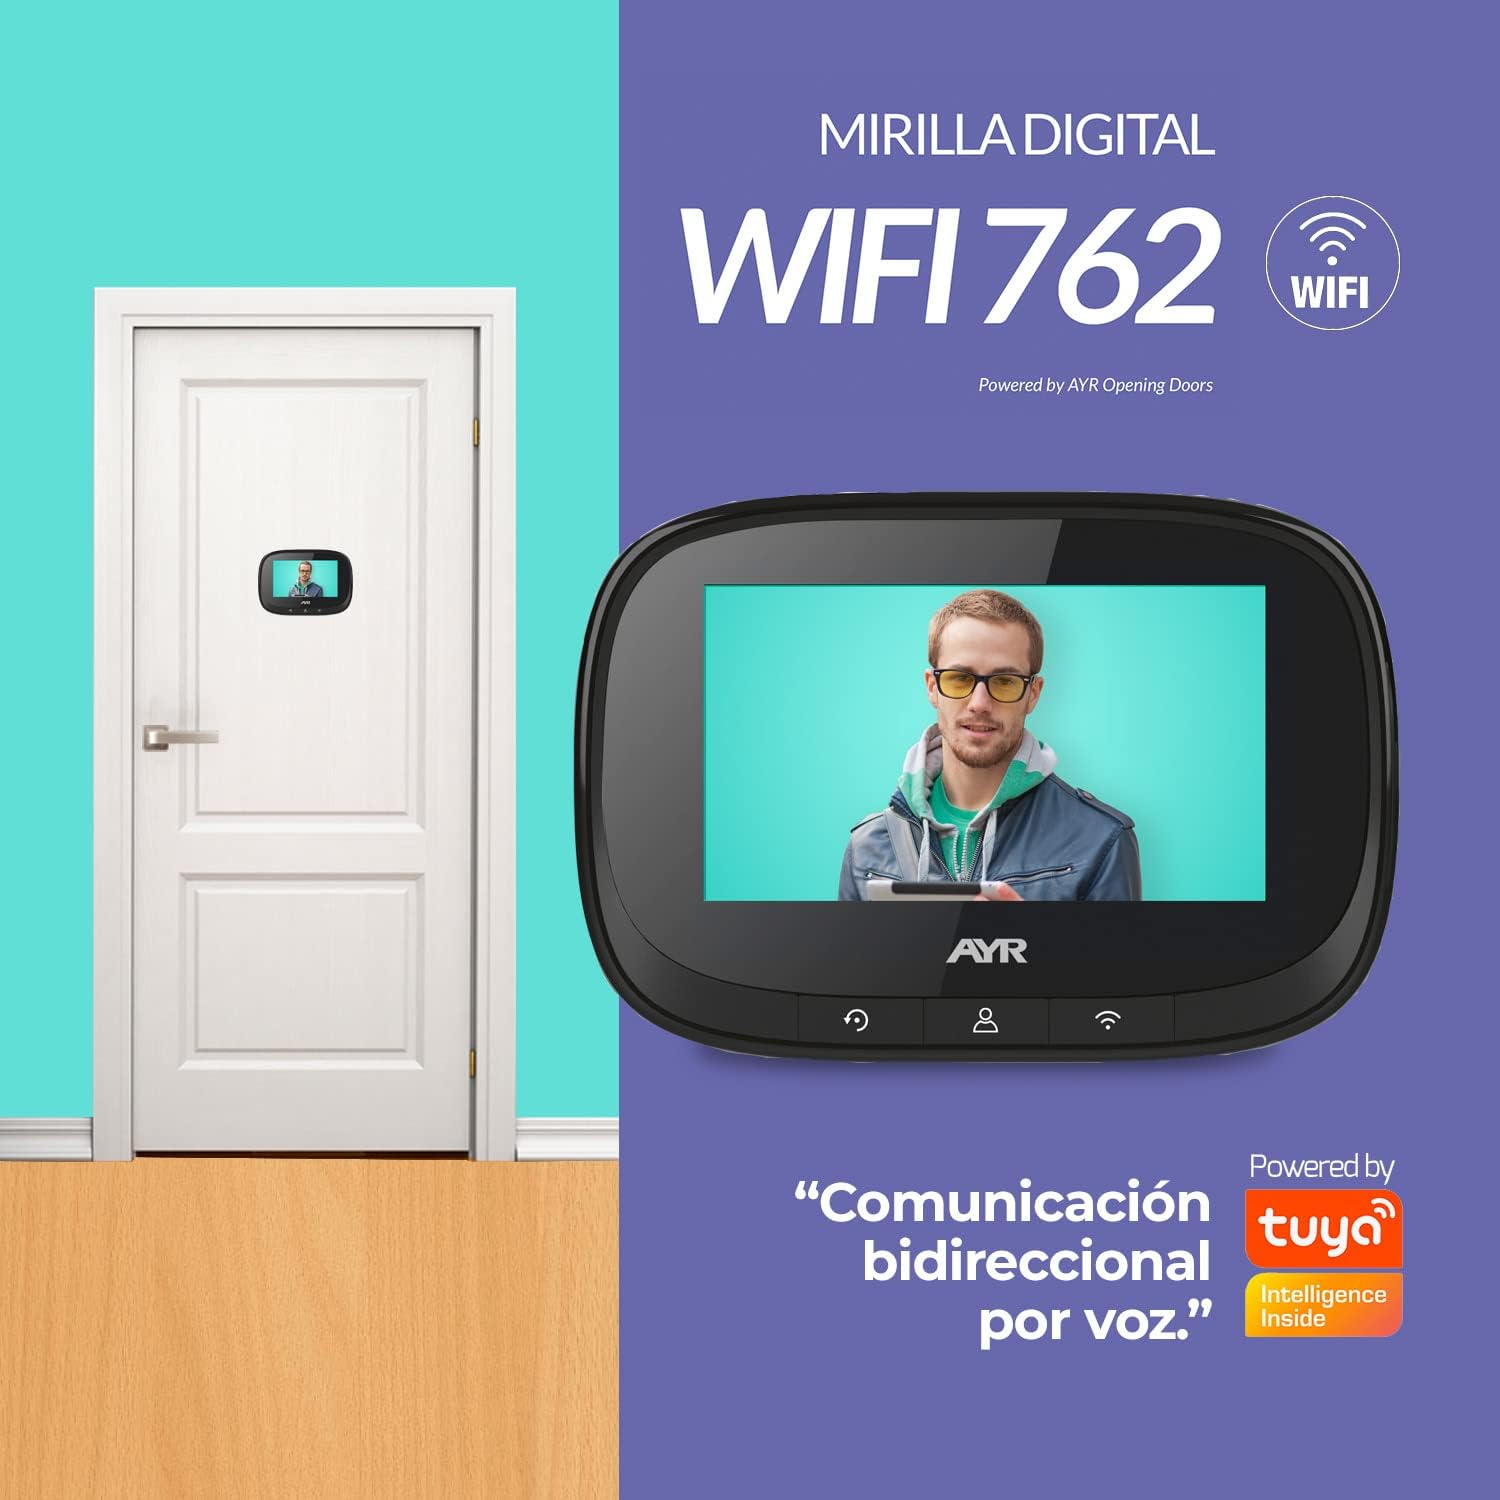
3. Product Features and Overview
The AYR Digital Door Viewer Model 568 is designed for optimal security and convenience. Key features include:
- 4.3-inch Color Screen: Provides a large, clear display of your doorstep.
- 170° Wide-Angle Camera: Ensures a broad field of view, leaving no blind spots.
- Infrared Night Vision: Powerful infrared LEDs guarantee clear visibility even in total darkness.
- PIR Motion Detection: Adjustable sensitivity to reduce false alarms, sending instant mobile alerts for real threats.
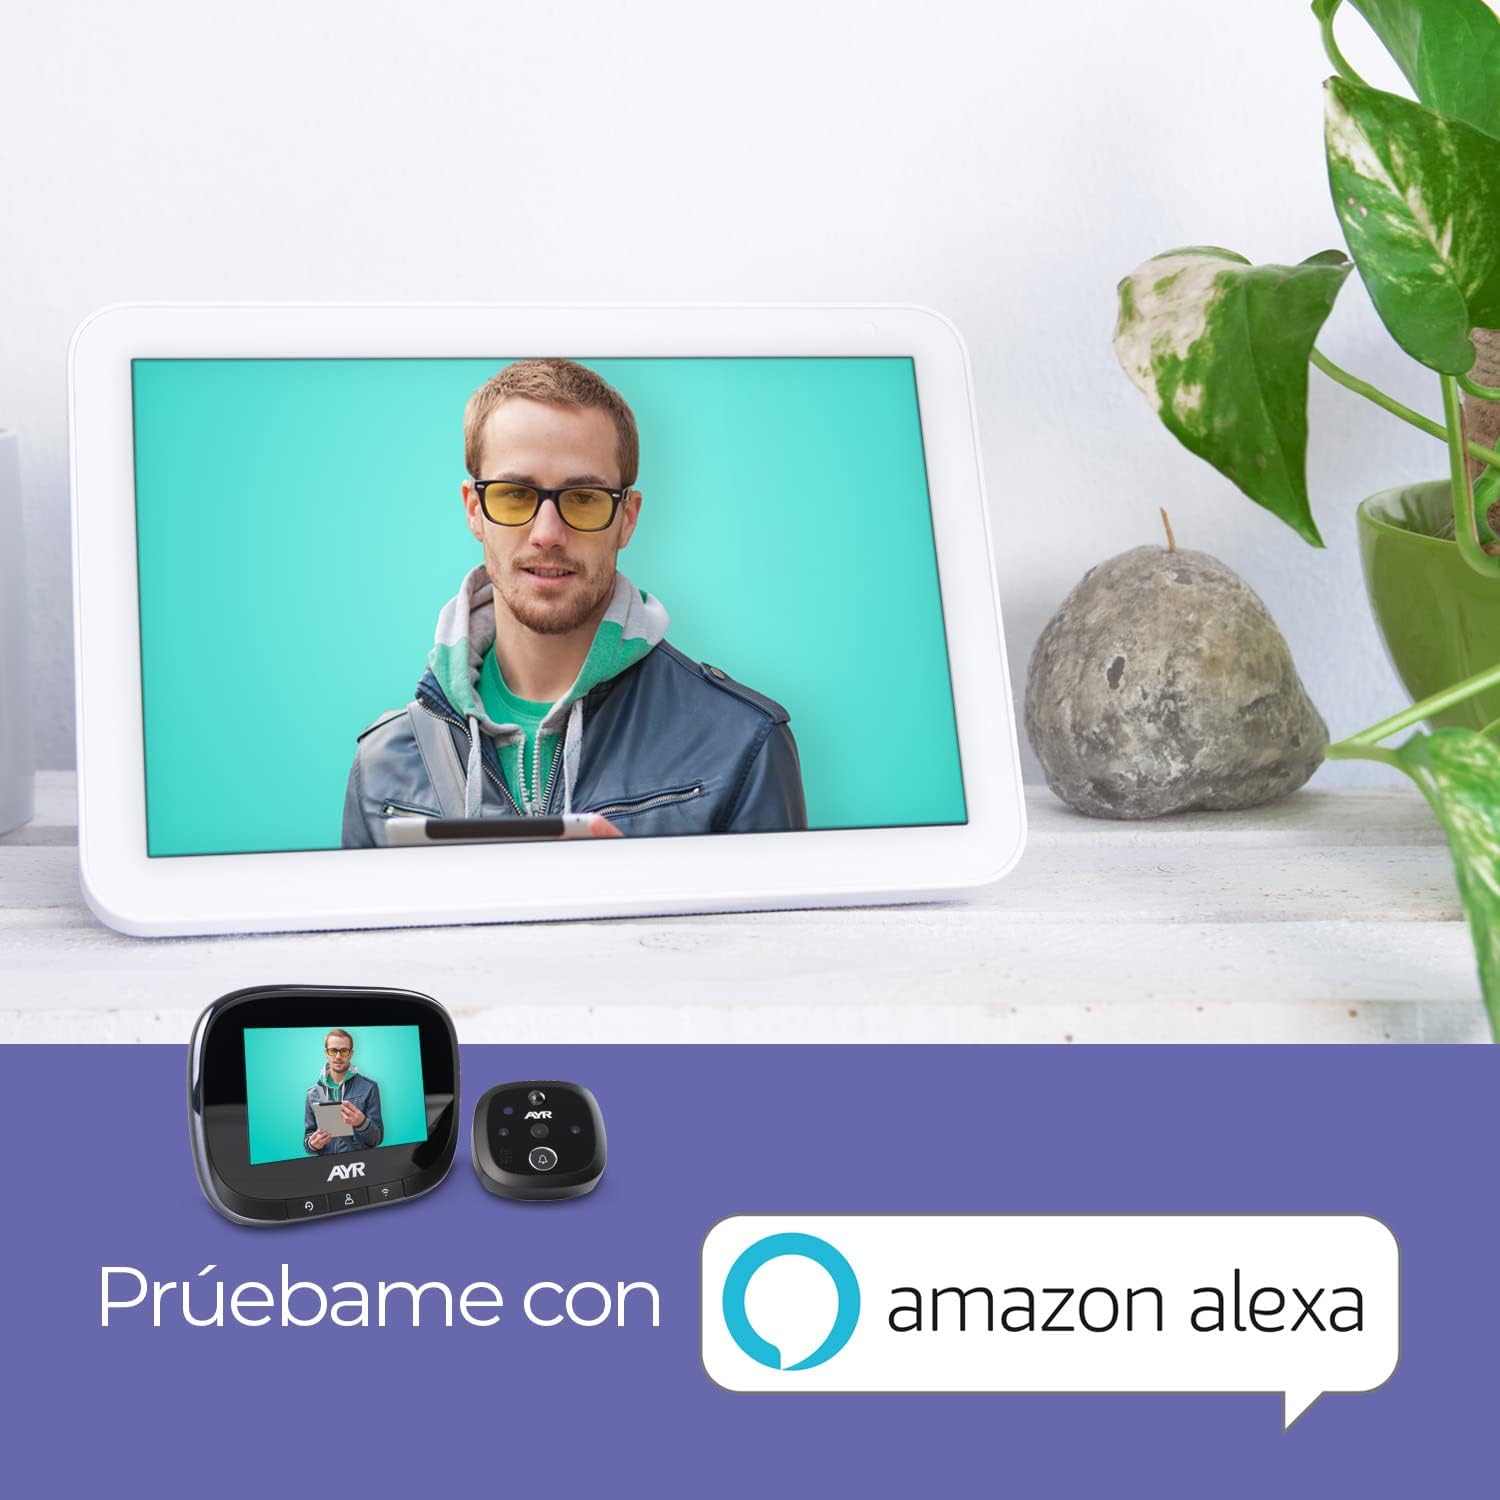
- Two-Way Communication: See, hear, and speak with visitors from anywhere via your mobile device.
- Rechargeable Lithium Battery: Offers extended autonomy for long-lasting performance.
- Wi-Fi Connectivity: Supports 2.4 GHz wireless 802.11 B/G/N for remote access and smart home integration.
- Smart Home Compatibility: Works with Alexa and Google Home for voice control and integration into your smart home ecosystem.


4. Setup and Installation
The AYR Digital Door Viewer is designed for quick and easy installation, typically taking only 5 minutes. It replaces your existing traditional peephole.
4.1 Preparation
- Ensure your door thickness is between 35mm and 100mm.
- Ensure your existing peephole hole diameter is between 14mm and 35mm. If no peephole exists, drill a 14mm hole at eye level.
- Gather a screwdriver.
4.2 Installation Steps
- Remove Old Peephole: Unscrew and remove your traditional door peephole.
- Prepare Camera Unit: Depending on your door's thickness, select the appropriate screw length from the provided fixing screws. Attach the chosen screw to the camera unit without overtightening.
- Insert Camera: Carefully introduce the camera unit from the exterior side of the door through the peephole hole. Ensure the FPC cable passes through the hole without damage. The 'UP' mark on the camera's outer ring should face upwards.
- Attach Fixing Plate: On the interior side of the door, pass the FPC cable through the horizontal slot of the metal fixing plate. Position the plate with the 'UP' arrow facing upwards. Insert the screw from the camera unit through the lower hole of the fixing plate.
- Secure Fixing Plate: Tighten the screw to firmly secure the metal fixing plate to the door.
- Connect Monitor: Open the cover on the back of the monitor. Align the FPC cable connector with the port on the monitor and gently plug it in. Close the cover.
- Mount Monitor: Align the four slots on the back of the monitor with the four hooks on the metal fixing plate. Slide the monitor downwards until it clicks firmly into place.

For a visual guide, you may refer to the following installation video (note: this video is a general guide and may not feature the exact AYR 568 model):
5. Operating Instructions
Once installed, your AYR Digital Door Viewer is ready for use. The monitor features intuitive buttons for easy navigation and control.
5.1 Basic Operation
- View Live Feed: Press the central button on the monitor to activate the screen and view the live feed from the outdoor camera.
- Capture Image/Video: Use the dedicated buttons on the monitor to take a snapshot or record a short video of the visitor.
- Two-Way Talk: When a visitor presses the doorbell or motion is detected, you can initiate two-way communication through the mobile app.
5.2 Settings and Configuration
Navigate through the monitor's menu using the directional buttons to adjust various settings:
- Language: Select your preferred language for the menu.
- Recording Mode: Choose between image capture or video recording upon event trigger.
- Motion Detection (PIR): Activate/deactivate motion detection and adjust its sensitivity (low, medium, high) to suit your environment.
- Screen On Time: Configure how long the screen remains active after being triggered.
- Doorbell Settings: Enable/disable the doorbell, select ringtones, and adjust volume levels.
- Date and Time: Set the correct date and time for accurate event logging.
5.3 Mobile App Integration
Connect your door viewer to your smartphone via Wi-Fi for remote access and enhanced control. Download the recommended smart home application (e.g., Tuya Smart) from your device's app store. Follow the in-app instructions to pair your device. This allows you to:
- Receive instant notifications for motion detection or doorbell presses.
- View live video feed from anywhere.
- Engage in two-way audio communication with visitors.
- Review recorded images and videos.
6. Maintenance
To ensure the longevity and optimal performance of your AYR Digital Door Viewer, follow these maintenance guidelines:
- Battery Charging: The device is equipped with a powerful integrated lithium battery. When the battery level is low, connect the USB charging cable to the monitor and a suitable power source (e.g., USB adapter, computer USB port). A full charge typically provides up to 2 months of average use.
- Cleaning: Use a soft, dry cloth to clean the monitor screen and the outdoor camera lens. Avoid using abrasive cleaners or solvents, as they may damage the surfaces.
- Firmware Updates: Periodically check for firmware updates through the mobile application to ensure your device has the latest features and security enhancements.
7. Troubleshooting
If you encounter any issues with your AYR Digital Door Viewer, please refer to the following common troubleshooting steps:
- Device Not Turning On: Ensure the battery is charged. Connect the device to a power source using the USB cable and allow it to charge for at least 30 minutes before attempting to power it on again.
- No Image on Screen: Check the FPC cable connection between the camera and the monitor. Ensure it is securely plugged in. Also, verify that the outdoor camera lens is not obstructed.
- Poor Image Quality: Clean the camera lens with a soft cloth. Ensure there is adequate lighting. If using night vision, confirm it is activated in settings.
- Motion Detection Not Working: Check if PIR motion detection is enabled in the settings. Adjust the sensitivity level. Ensure there are no obstructions blocking the sensor's field of view.
- No Mobile Notifications: Verify that the device is connected to your home Wi-Fi network and that the mobile app has the necessary notification permissions enabled on your smartphone. Check your internet connection.
- Wi-Fi Connectivity Issues: Ensure your Wi-Fi network is 2.4 GHz. Move the router closer to the door viewer if signal strength is weak. Restart both the router and the door viewer.
- Two-Way Audio Problems: Check the volume settings on both the monitor and your smartphone. Ensure the microphone and speaker on both units are not obstructed.
If the problem persists after trying these steps, please contact AYR customer support for further assistance.
8. Specifications
| Feature | Specification |
|---|---|
| Model Number | 568 |
| Screen Size | 4.3 inches |
| Camera Resolution | 720p (Video Capture) |
| Viewing Angle | 170° |
| Night Vision | Yes (Infrared) |
| Motion Detection | Yes (PIR, adjustable sensitivity) |
| Connectivity | Wi-Fi 2.4 GHz (802.11 B/G/N) |
| Audio | Two-way communication |
| Power Source | Rechargeable Lithium Battery |
| Average Battery Life | 2 Months |
| Compatible Door Thickness | 35mm to 100mm |
| Compatible Peephole Diameter | 14mm to 35mm |
| Material | ABS Plastic |
| Dimensions | 13 x 3.6 x 8.8 cm |
| Weight | 260 g |
9. Warranty and Support
Your AYR Digital Door Viewer Model 568 comes with a standard manufacturer's warranty. Please refer to the warranty card included in your package for specific terms and conditions. For technical support, product inquiries, or warranty claims, please contact AYR customer service through the contact information provided on the product packaging or the official AYR website. Keep your purchase receipt as proof of purchase for warranty services.