CAYJ B09YLWBQF6
CAYJ Automatic Pet Feeder User Manual
Model: B09YLWBQF6
1. Introduction
Thank you for choosing the CAYJ Automatic Pet Feeder. This device is designed to provide a convenient and reliable way to feed your pets on a scheduled basis, ensuring they receive their meals even when you are away. With its programmable meal times, adjustable portion sizes, and voice recording feature, this feeder offers peace of mind and promotes healthy eating habits for your cat or dog.
2. Safety Information
- Read all instructions carefully before using the feeder.
- Keep the feeder away from water or excessive moisture.
- Do not immerse the main unit in water. Only removable parts are washable.
- Ensure the power adapter cable is not damaged or pinched.
- Use only the recommended power adapter or 3 D-type batteries (not included) for operation.
- Keep out of reach of children and pets when not in use or during assembly.
- This feeder is designed for dry pet food only. Do not use wet food, canned food, or treats.
3. Package Contents
Please check the package to ensure all items are present:
- Automatic Pet Feeder Main Unit
- Food Tray
- Power Adapter
- User Manual (this document)
4. Product Overview
Familiarize yourself with the components of your CAYJ Automatic Pet Feeder:

Figure 4.1: Front view of the CAYJ Automatic Pet Feeder, highlighting the control panel and food output area.

Figure 4.2: Dimensions of the CAYJ Automatic Pet Feeder.
Key components include the food hopper (top), control panel with LCD display and buttons, food dispenser outlet, and detachable food tray. The power input and battery compartment are typically located at the back or bottom of the unit.
5. Setup
Follow these steps for initial setup of your pet feeder:
- Unpack the Feeder: Carefully remove all components from the packaging.
- Assemble the Food Tray: Attach the food tray to the main unit by sliding it into place until it clicks securely.
- Power Supply: The feeder supports dual power supply for reliability.
- Adapter Power: Connect the power adapter to the feeder's DC input port and plug it into a standard wall outlet.
- Battery Backup: For power outage protection, install 3 D-type batteries (not included) into the battery compartment, ensuring correct polarity. The feeder will automatically switch to battery power if the adapter power is interrupted.
- Fill the Food Hopper: Open the lid of the food hopper and pour dry pet food into the reservoir. The feeder has a 6L capacity, suitable for small to medium pets and multi-pet households. Close the lid securely to maintain food freshness.
6. Operating Instructions
This section details how to program and use your automatic pet feeder.
6.1 Setting the Current Time
Refer to the control panel buttons (usually labeled 'SET', 'UP', 'DOWN', 'REC', 'PLAY', 'FEED').
- Press and hold the 'SET' button until the hour digit flashes.
- Use 'UP' or 'DOWN' buttons to adjust the hour.
- Press 'SET' again to move to the minute digit, then adjust with 'UP' or 'DOWN'.
- Press 'SET' to confirm and exit time setting mode.
6.2 Programming Meal Times and Portions
The feeder allows setting up to 4 meals per day.
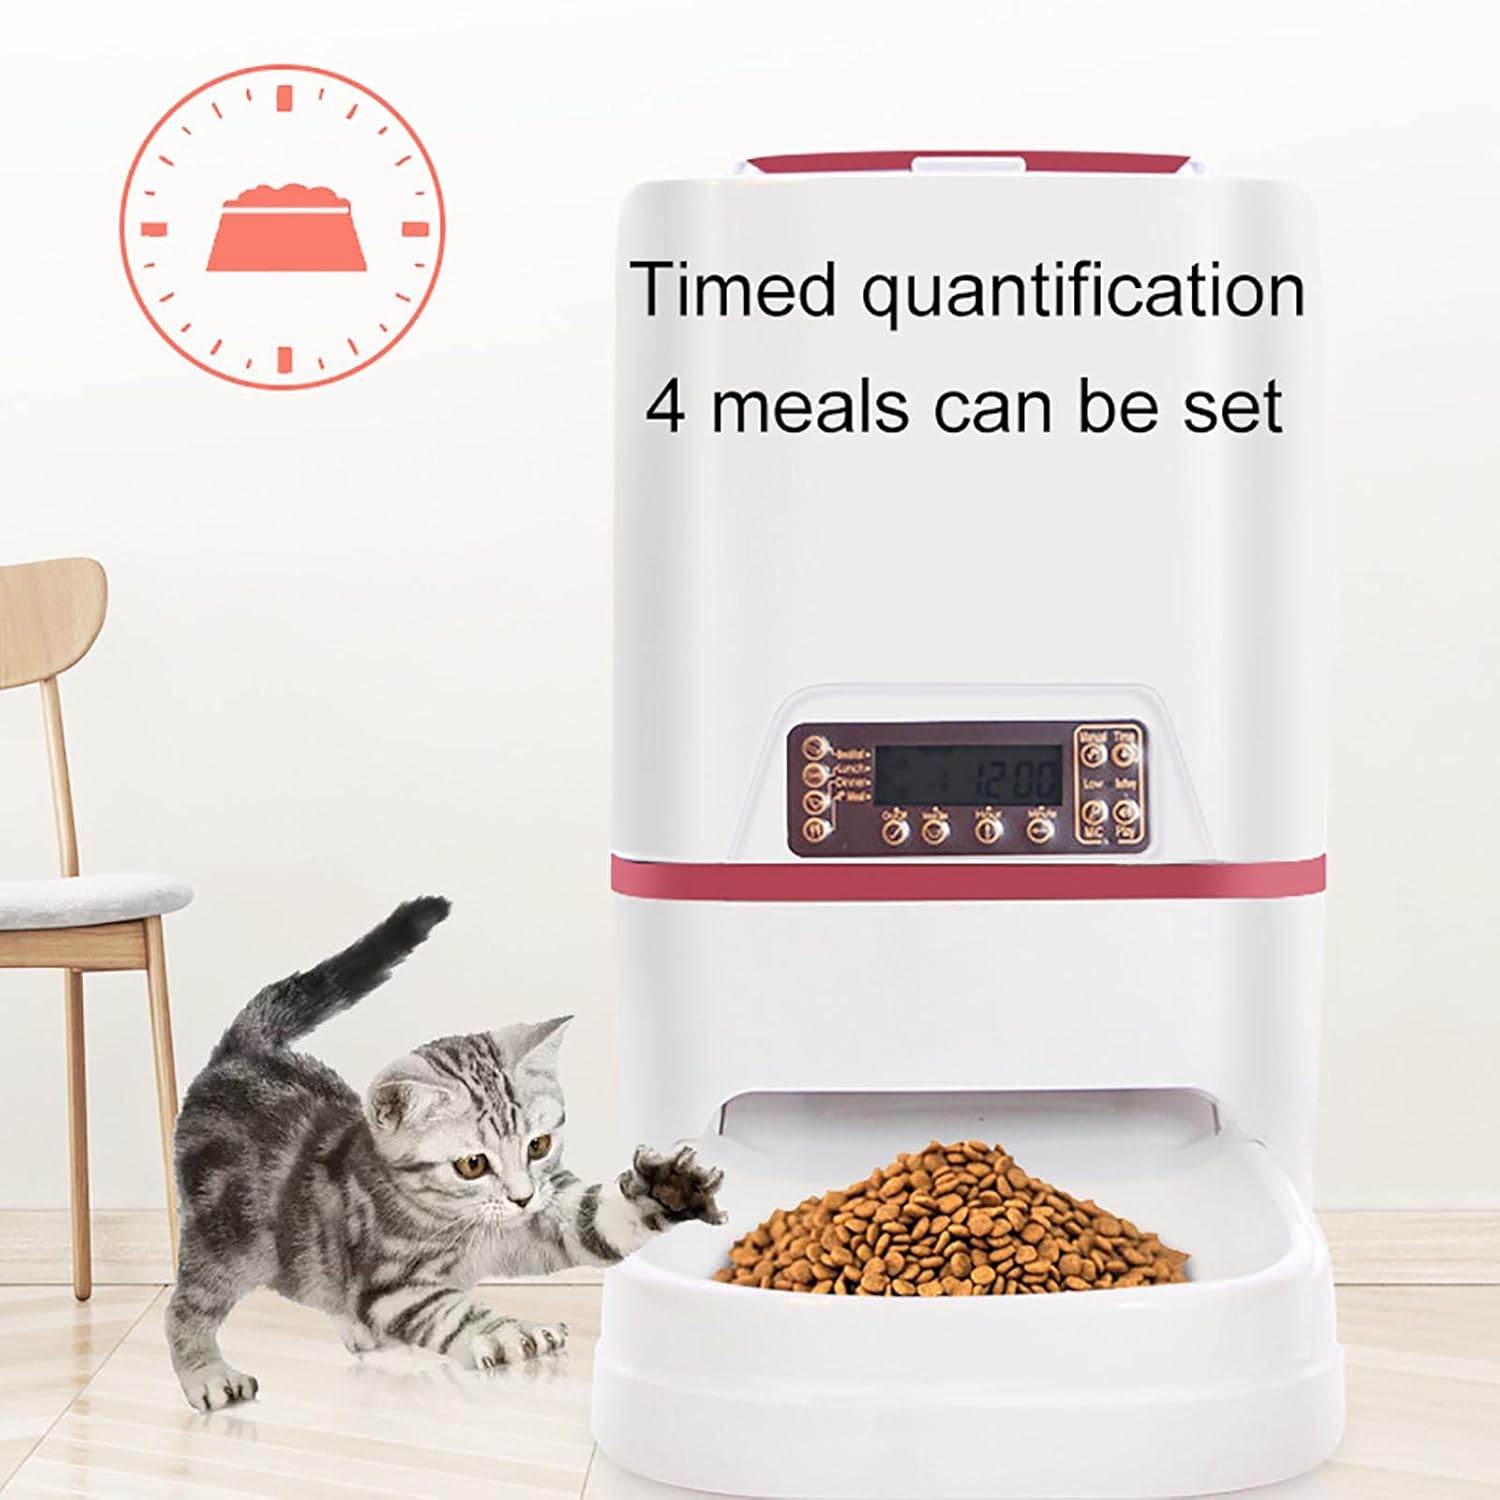
Figure 6.1: The feeder supports timed quantification for up to 4 meals daily.
- Press 'SET' repeatedly to cycle through Meal 1, Meal 2, Meal 3, Meal 4 settings.
- When a meal time flashes, use 'UP' or 'DOWN' to set the desired feeding hour and minute.
- After setting the time, press 'SET' to move to the portion setting for that meal.
- Use 'UP' or 'DOWN' to adjust the number of servings (1-39 servings, each serving is approximately 5g).
- Repeat for all desired meals. Press 'SET' to exit programming mode.
6.3 Voice Recording
You can record a 10-second message that will play automatically when food is dispensed.

Figure 6.2: The feeder allows for custom, real-person voice recordings.
- Press and hold the 'REC' button. The feeder will beep, indicating it's ready to record.
- Speak clearly into the microphone (usually located near the control panel) for up to 10 seconds.
- Release the 'REC' button to stop recording.
- Press the 'PLAY' button to listen to your recorded message.
6.4 Manual Feeding
To dispense food manually at any time, simply press the 'FEED' button. Each press will dispense one serving.
7. Maintenance
Regular cleaning ensures the longevity and hygiene of your pet feeder.

Figure 7.1: The feeder is designed to be fully removable and washable for easy cleaning.
- Disconnect Power: Before cleaning, always unplug the power adapter and remove any batteries.
- Empty Food: Remove any remaining food from the hopper and food tray.
- Disassemble: Detach the food tray and, if applicable, the food hopper from the main unit.
- Cleaning: Wash the removable food tray and food hopper with mild soap and water. The manufacturer recommends hand washing only.
- Main Unit: Wipe the main unit and control panel with a soft, damp cloth. Do not rinse or immerse the main unit in water.
- Dry Thoroughly: Ensure all parts are completely dry before reassembling and refilling with food.
8. Troubleshooting
If you encounter issues with your feeder, refer to the following common problems and solutions:
| Problem | Possible Cause | Solution |
|---|---|---|
| Feeder not powering on | No power from adapter; Batteries dead or incorrectly installed. | Check adapter connection and wall outlet. Replace batteries or ensure correct polarity. |
| Food not dispensing | Food jammed; Hopper empty; Dispenser blocked. | Check food level. Clear any blockages in the dispenser. Ensure food size is appropriate for the feeder. |
| Voice recording not playing | No recording saved; Volume too low. | Re-record your message. Ensure the speaker is not obstructed. |
| Scheduled meals not dispensing | Incorrect time setting; Meal schedule not programmed correctly. | Verify current time and programmed meal times. Ensure meal portions are set above zero. |
9. Specifications
| Feature | Detail |
|---|---|
| Brand | CAYJ |
| Model | B09YLWBQF6 |
| Color | Gold |
| Grain Bucket Capacity | 6 Liters |
| Item Weight | 6.6 pounds (approximately 3 kg) |
| Target Species | Cat, Dog (Universal) |
| Breed Recommendation | Medium Breeds, Small Breeds |
| Special Features | Voice Recording, Feeding Schedule, Speaker, Non-Clogging Design, Dual Power Supply |
| Power Source | AC Adapter (included), 3 x D-type Batteries (not included) |
| Care Instructions | Hand Wash Only (removable parts) |
10. Warranty and Support
For any questions, concerns, or support needs regarding your CAYJ Automatic Pet Feeder, please contact the manufacturer or seller directly. Refer to your purchase documentation for specific warranty information and contact details. The manufacturer aims to respond to inquiries within 24 hours.
Ask a question about this manual
Ask about setup, troubleshooting, compatibility, parts, safety, or missing instructions. Manuals+ will review the question and use this page’s manual context to help answer it.