1. Introduction
Thank you for choosing the HOVERSTAR Starship Electric Hoverboard. This manual provides essential information for the safe operation, setup, maintenance, and troubleshooting of your new self-balancing scooter. Please read this manual thoroughly before first use to ensure a safe and enjoyable experience.
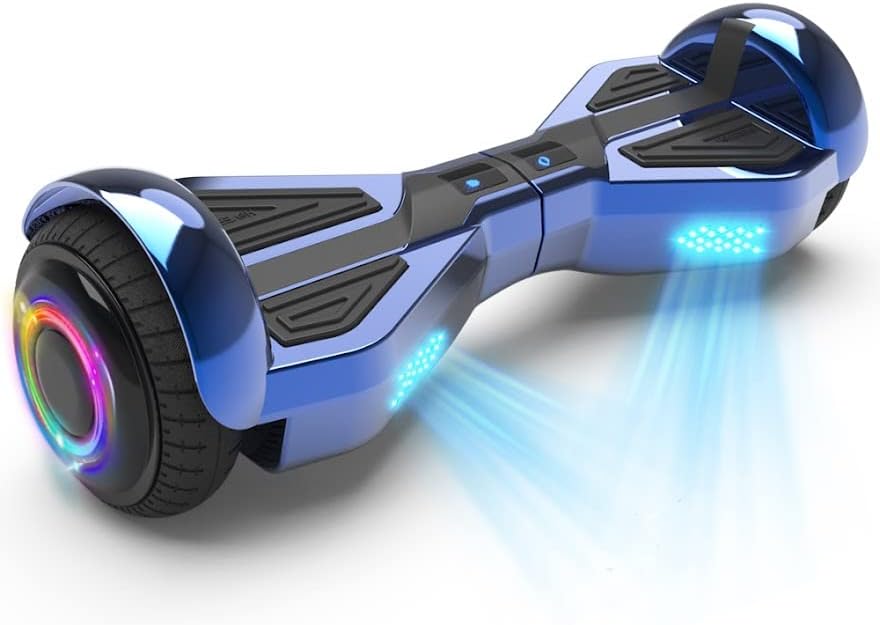
Image: The HOVERSTAR Starship Electric Hoverboard, showcasing its sleek chrome blue finish and illuminated LED wheels.
2. Safety Information
WARNING: Always wear a helmet and appropriate safety gear when riding. Adult supervision is recommended for younger riders.
- This hoverboard has passed strict battery testing and is approved by SGS LAB according to UL2272 standards.
- Do not operate the hoverboard under the influence of alcohol or drugs.
- Always ride within your skill level and be aware of your surroundings.
- Avoid riding on uneven surfaces, steep inclines, or near traffic.
- The maximum weight capacity is 165 lbs (75 kg). Do not exceed this limit.
- Operating temperature range: 5°C to 40°C (41°F to 104°F).
3. Package Contents
Please check the box for the following items:
- HOVERSTAR Starship Electric Hoverboard x1
- Charger x1
- Instruction Manual x1 (this document)
4. Product Overview
Familiarize yourself with the main components of your hoverboard:
- Footpads: Pressure-sensitive pads where you place your feet to control movement.
- Wheels: 6.5-inch wheels with LED lighting.
- LED Lights: Front and wheel-integrated LED lights for visibility and aesthetics.
- Charging Port: Located on the side for connecting the charger.
- Power Button: To turn the hoverboard on and off.
- Bluetooth Speaker: Integrated speaker for audio playback.
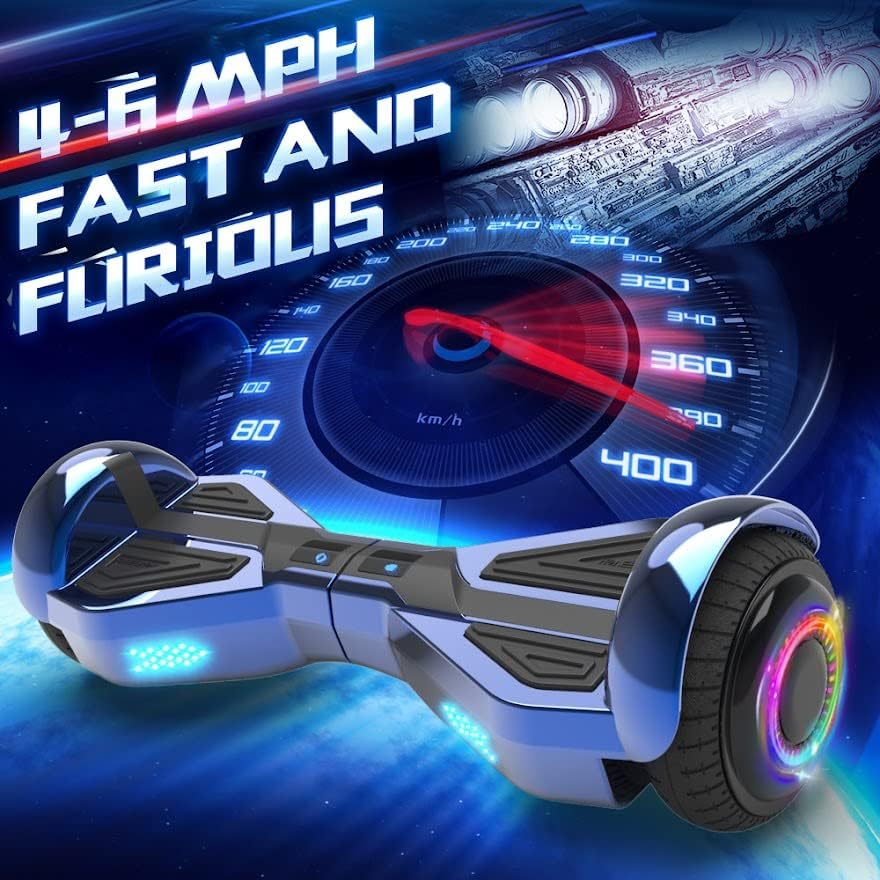
Image: Detail of the hoverboard's 6.5-inch wheel, highlighting the vibrant LED colorful atmosphere lamp and new LED running lights.

Image: The hoverboard from a front view, emphasizing its integrated high-quality wireless Bluetooth speaker.
5. Setup
5.1 Initial Charging
Before first use, fully charge your hoverboard. The charging time is approximately 2-3 hours.
- Connect the charger to the charging port on the hoverboard.
- Plug the charger into a standard wall outlet.
- The indicator light on the charger will change (e.g., from red to green) when charging is complete.
- Unplug the charger once charging is complete to prevent overcharging.
5.2 Calibration (If Needed)
If the hoverboard does not balance correctly, it may need calibration:
- Place the hoverboard on a flat, level surface.
- Ensure the hoverboard is powered off.
- Press and hold the power button for approximately 5-10 seconds until the indicator lights flash.
- Release the button and power off the hoverboard.
- Power it on again; calibration should be complete.
6. Operating Instructions
6.1 Powering On/Off
- To turn on: Press the power button. The indicator lights will illuminate.
- To turn off: Press the power button again. The lights will turn off.
6.2 Riding the Hoverboard
The hoverboard is controlled by shifting your body weight.
- Mounting: Place one foot firmly on a footpad. Once stable, quickly step up with your other foot.
- Moving Forward/Backward: Lean slightly forward to move forward, and slightly backward to move backward.
- Turning: To turn left, push your right foot forward slightly. To turn right, push your left foot forward slightly.
- Stopping: Return to an upright, neutral position to stop.
- Dismounting: Step off backward, one foot at a time, ensuring the hoverboard is stable.
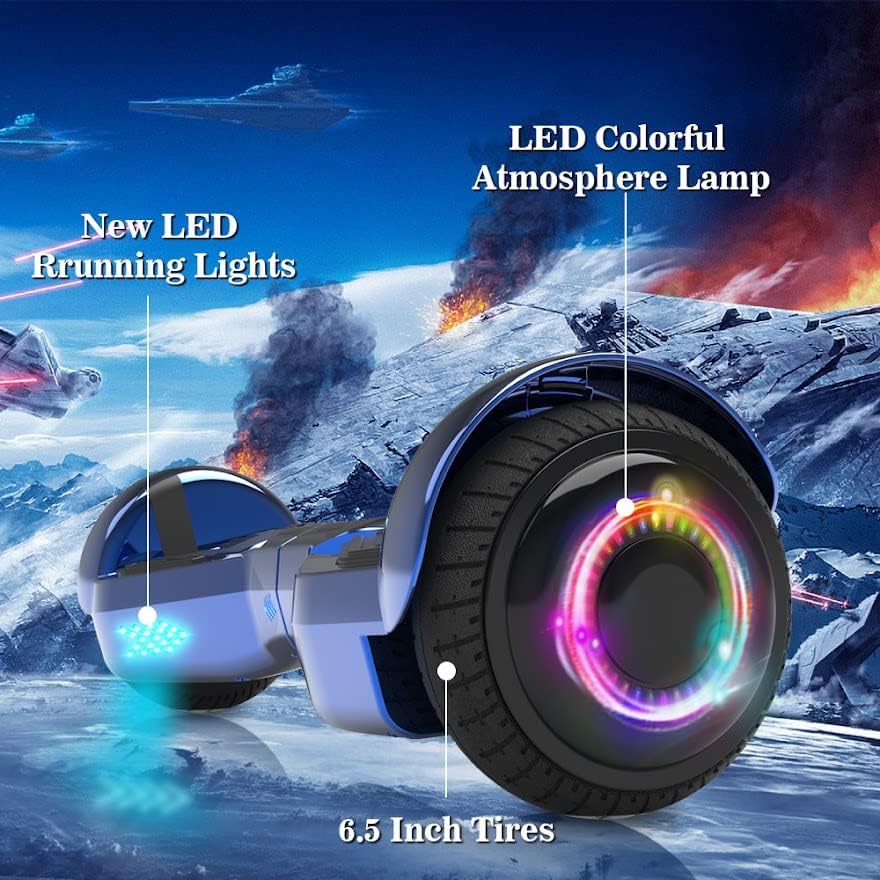
Image: The hoverboard in motion, illustrating its capability to reach speeds of 4-6 MPH.
6.3 Bluetooth Speaker Operation
Your hoverboard features a built-in Bluetooth speaker for audio playback.
- Ensure the hoverboard is powered on.
- Enable Bluetooth on your mobile device.
- Search for Bluetooth devices and select the hoverboard (usually named 'HOVERSTAR' or similar).
- Once paired, you can play music through the hoverboard's speaker.
7. Maintenance
7.1 Cleaning
- Wipe the hoverboard with a damp cloth. Do not use harsh chemicals or abrasive cleaners.
- Do not wash the hoverboard with water or submerge it.
7.2 Storage
- Store the hoverboard in a cool, dry place away from direct sunlight.
- If storing for an extended period, charge the battery to about 50% every 2-3 months to maintain battery health.
- Stored relative humidity: 5%~85%.
8. Troubleshooting
- Hoverboard not turning on: Ensure the battery is charged. Check the charger connection.
- Hoverboard not balancing: Perform the calibration steps outlined in Section 5.2.
- Bluetooth not connecting: Ensure Bluetooth is enabled on your device and the hoverboard. Try restarting both devices.
- Unusual noises or vibrations: Stop riding immediately and contact customer support.
9. Specifications
| Feature | Specification |
|---|---|
| Brand | HOVERSTAR |
| Model | LBW19 |
| Color | Chrome Blue |
| Battery Power | DC25.2V / 2AH |
| Charging Time | 2-3 hours |
| Motor Power | Dual 200 Watt Motors |
| Maximum Speed | 6.2 Miles per Hour (approx. 4-6 MPH typical riding) |
| Weight Limit | 45-165 lbs (20-75 kg) |
| Wheel Size | 6.5 inches |
| Max Climbing Angle | 15° |
| Operating Temperature | 5°C to 40°C (41°F to 104°F) |
| Charging Temperature | 5°C to 40°C (41°F to 104°F) |
| Dimensions (L x W x H) | Approx. 24 x 8.7 x 8.4 inches |
| Special Features | Built-In Bluetooth speaker, LED Lights |
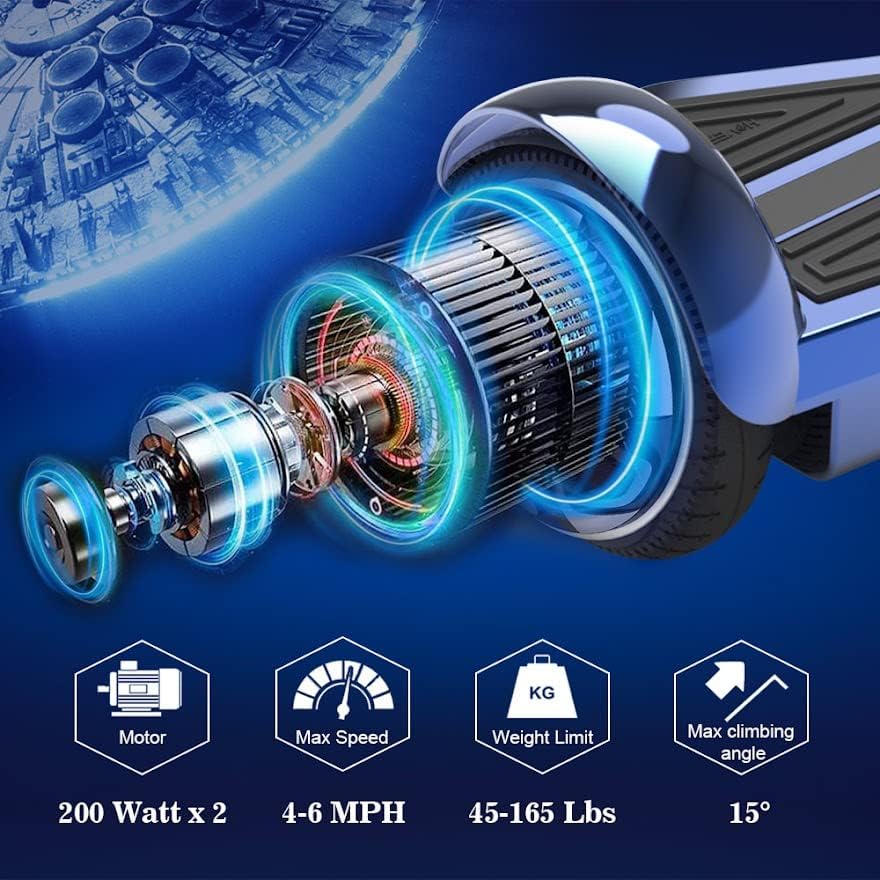
Image: Technical specifications of the hoverboard, including dual 200-watt motors, 4-6 MPH max speed, 45-165 lbs weight limit, and 15° max climbing angle.
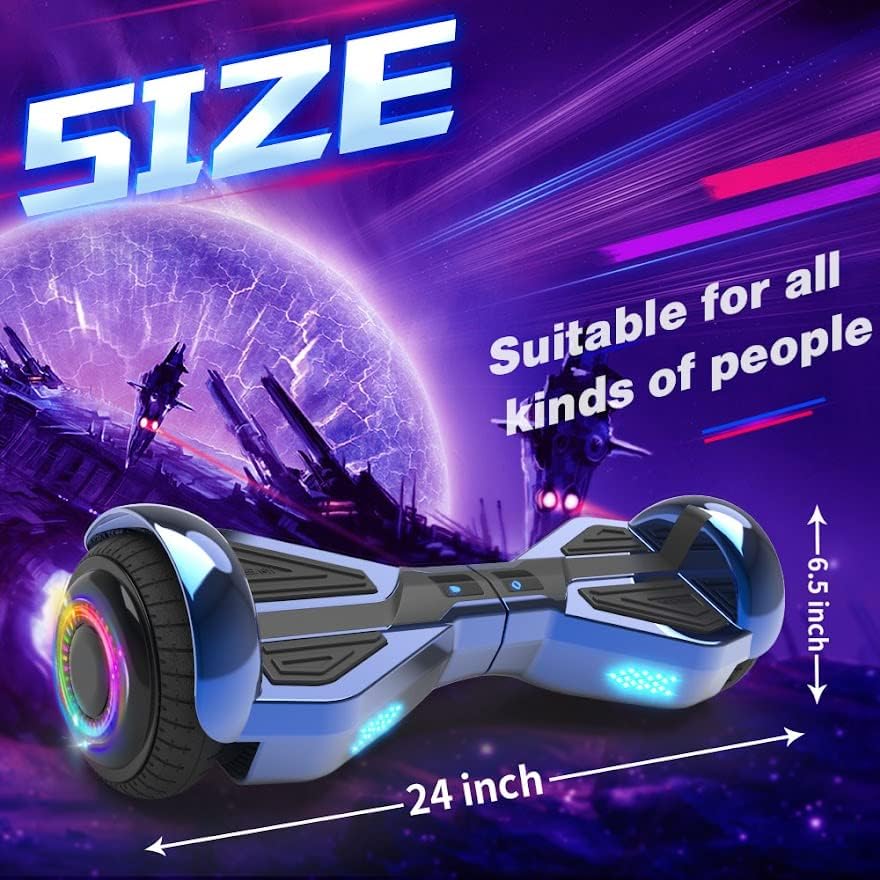
Image: The hoverboard with overlaid dimensions, showing its approximate 24-inch length and 6.5-inch wheel size.
10. Warranty and Support
For warranty information or technical support, please refer to the warranty card included with your product or contact the seller/manufacturer directly. Keep your purchase receipt as proof of purchase.
Manufacturer: YONGKANG JIAHENG INDUSTRY&TRADE CO., LTD