1. Introduction
This manual provides essential information for the proper installation, operation, and maintenance of your Diydeg Electric LCD Display Meter, Model Diydegbadhv3eocm5585. This display is designed for electric bicycles and scooters, offering clear, real-time data and control over your vehicle's functions. Please read this manual thoroughly before use to ensure optimal performance and safety.
2. Product Overview
The Diydeg Electric LCD Display Meter is a versatile control panel featuring a large, backlit LCD screen for enhanced visibility. It is built with durable ABS material, ensuring longevity and protection for its internal components. Key features include:
- LCD Backlit Display: Provides clear viewing of data and status, even in low-light conditions.
- Easy Installation: Designed for quick and effortless mounting on 22.2mm (0.9in) handlebars without specialized tools.
- Wide Compatibility: Suitable for 24V, 36V, and 48V electric bicycles and scooters.
- Durable Construction: Made from robust ABS material, offering good toughness and performance.
- Real-time Data Display: Shows essential parameters such as battery power, current speed, and trip distance.

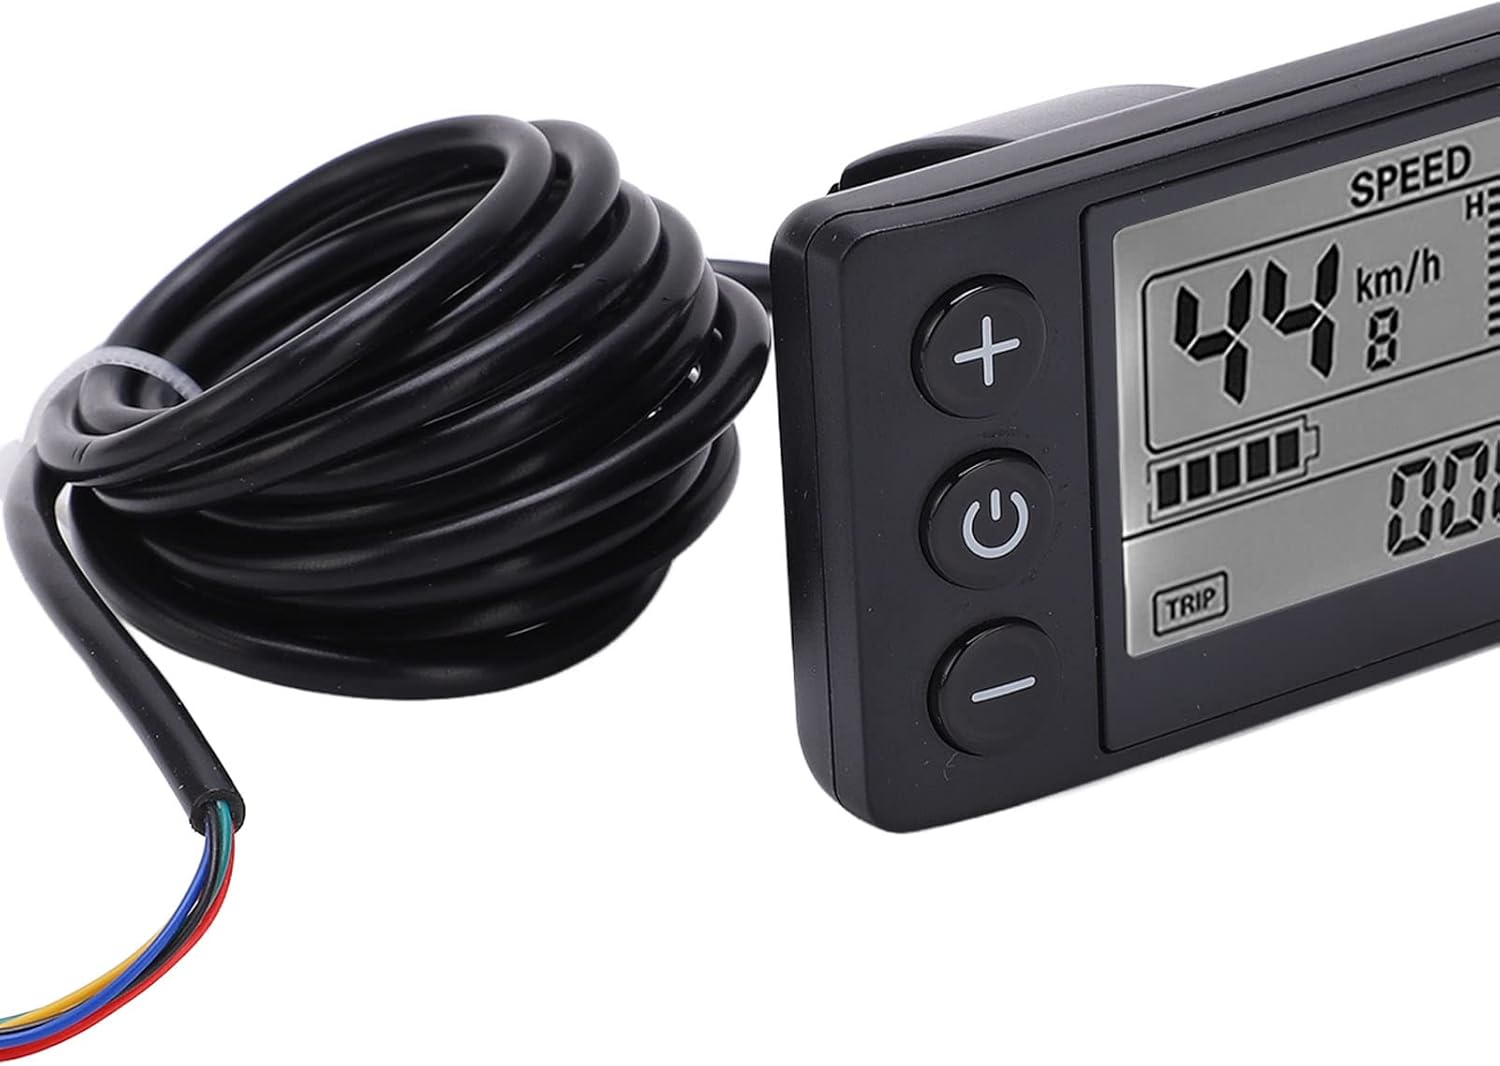
Figure 2.1: Front view of the Diydeg Electric LCD Display Meter (Model S866) with its integrated cable.
Product Videos
Video 2.1: A brief overview of the Diydeg Electric LCD Display Meter, highlighting its features and appearance. This video is 6 seconds long.
Video 2.2: Another short presentation of the Electric LCD Display Meter, showcasing its design. This video is 11 seconds long.
Video 2.3: A detailed visual of the Electric Bicycle LCD Display Meter, demonstrating its various angles and components. This video is 24 seconds long.
3. Setup Instructions
Follow these steps to properly install your LCD Display Meter:
- Prepare Handlebar: Ensure the handlebar area where the display will be mounted is clean and free of obstructions. The display is designed for 22.2mm (0.9in) diameter handlebars.
- Mount the Display: Position the display on your handlebar. Use the integrated bracket and secure it with the removable screw. Ensure the display is oriented for optimal viewing and button access.

Figure 3.1: The LCD Display Meter correctly mounted on a bicycle handlebar.
- Connect the Cable: Locate the SM plug on the display's cable. Connect this plug to the corresponding port on your electric vehicle's controller. Ensure the connection is firm and secure.

Figure 3.2: Detail of the SM plug (ordinary plug) for connecting the display meter.
- Cable Management: Route the cable neatly along the frame and secure it with cable ties to prevent interference with moving parts or accidental damage.
4. Operating Instructions
The display meter features three main buttons: '+', Power, and '-'. There is also a 'TRIP' button for cycling through data.

Figure 4.1: Front view of the display meter with clearly visible control buttons.
- Power On/Off: Press and hold the central Power button (
 ) for a few seconds to turn the display on or off.
 - Adjust Assist Level: Use the + button to increase the pedal assist level and the - button to decrease it. The current assist level (e.g., 'ASSIST 5') will be shown on the screen.
- View Trip Information: Press the TRIP button (located at the bottom left of the screen) to cycle through various trip data, such as trip distance, total distance, and other relevant metrics.
- Backlight: The LCD screen features an automatic backlight for clear visibility in various lighting conditions, including dark environments.
5. Maintenance
Proper maintenance ensures the longevity and reliable operation of your display meter:
- Cleaning: Wipe the display screen and body with a soft, damp cloth. Avoid using abrasive cleaners, solvents, or harsh chemicals, as these can damage the screen or casing.
- Connection Check: Periodically inspect all cable connections, especially the SM plug, to ensure they are secure and free from corrosion or damage. Loose connections can lead to intermittent functionality.
- Water Resistance: The unit has an IP65 international protection rating, meaning it is protected against dust and low-pressure water jets. While it can withstand splashes and light rain, avoid prolonged submersion in water.
- Storage: When not in use for extended periods, store the display meter in a dry, cool place, away from direct sunlight and extreme temperatures.
6. Troubleshooting
If you encounter issues with your display meter, refer to the following common problems and solutions:
| Problem | Possible Cause | Solution |
|---|---|---|
| Display does not turn on | Low or no battery power; Loose cable connection; Faulty display unit. | Check your electric vehicle's battery charge. Ensure the SM plug is securely connected. If the problem persists, contact support. |
| Incorrect speed/distance readings | Speed sensor malfunction; Incorrect wheel circumference setting (if applicable). | Verify the speed sensor is properly installed and clean. Consult your electric vehicle's manual for wheel circumference adjustment if available. |
| Assist level not changing | Loose connection to controller; Controller malfunction. | Check all cable connections. Ensure the electric vehicle's system is powered on. |
| Screen is dim or flickering | Low battery; Environmental factors; Internal fault. | Ensure the battery is adequately charged. The backlight adjusts automatically; if it remains dim in bright conditions, contact support. |
If these troubleshooting steps do not resolve the issue, please contact Diydeg customer support for further assistance.
7. Specifications
Detailed technical specifications for the Diydeg Electric LCD Display Meter:
- Brand: Diydeg
- Model: Diydegbadhv3eocm5585 (S866)
- Display Type: LCD
- Voltage Compatibility: 24V, 36V, 48V
- Handlebar Diameter: 22.2mm (0.9in)
- Material: ABS, Plastic
- Connectivity: Wired (SM Plug)
- International Protection Rating: IP65
- Cable Length: 180cm (70.9in)
- Dimensions (L x W x H): Approximately 8cm x 4.8cm x 4.8cm (3.1in x 1.9in x 1.9in)

Figure 7.1: Dimensions and cable length of the LCD Display Meter.
8. Warranty and Support
Diydeg is committed to providing high-quality products and customer satisfaction. This display meter comes with a quality assurance guarantee.
- Warranty: Diydeg offers a warranty or refund for this product. Specific terms and conditions may apply.
- Customer Support: For any questions, concerns, or support needs regarding your purchase, please contact Diydeg customer service. We aim to resolve your inquiries within 24 hours.