1. Introduction
This manual provides essential information for the safe and efficient operation, maintenance, and troubleshooting of your Powr-Flite Predator 20 Walk Behind Scrubber. The Predator 20 is designed for cleaning moderate-sized interior spaces in commercial and industrial settings such as schools, hotels, retail shops, restaurants, and hospitals. It features a 20-inch pad driver or brush for high productivity and aggressive scrubbing power.
Please read this manual thoroughly before operating the machine to ensure proper usage and to prevent injury or damage.
2. Safety Information
Always observe the following safety precautions to reduce the risk of injury, electric shock, fire, or damage to the machine.
- Read all instructions: Familiarize yourself with the machine's controls and proper operation before use.
- Use in well-ventilated areas: Ensure adequate ventilation when charging batteries or operating the machine.
- Wear appropriate personal protective equipment (PPE): This may include safety glasses, gloves, and non-slip footwear.
- Keep children and unauthorized personnel away: Do not allow anyone to operate or be near the machine without proper training.
- Inspect before use: Check for damaged parts, loose connections, or any other condition that may affect safe operation.
- Do not operate on inclines exceeding specified limits: Consult specifications for maximum safe incline.
- Disconnect power before servicing: Always turn off the machine and disconnect batteries before performing any maintenance or adjustments.
- Use only approved parts and accessories: Using non-approved components may void the warranty and create hazards.
3. Setup
Before operating your Predator 20 scrubber, follow these steps for initial setup.
3.1 Battery Installation and Charging
The Predator 20 comes with two 12-volt batteries and a charger. Ensure batteries are fully charged before first use.
- Access the battery compartment: The fully removable solution tank provides quick access to the batteries. Carefully lift and remove the solution tank.
- Install batteries: Place the two 12-volt batteries into their designated compartments, ensuring correct polarity.
- Connect charger: Plug the charger into a suitable power outlet and connect it to the machine's charging port. Allow batteries to charge completely as indicated by the charger's status lights.
- Replace solution tank: Once batteries are installed and charged, carefully place the solution tank back into position.
3.2 Pad Driver / Brush Installation
The machine includes a 20-inch pad driver. Ensure it is correctly installed.
- Tilt the machine back: Carefully tilt the scrubber backward to expose the underside.
- Align pad driver: Align the center of the pad driver with the drive hub on the machine.
- Secure: Push the pad driver firmly onto the hub and twist slightly until it locks into place. Ensure it is securely attached.
3.3 Filling the Solution Tank
Fill the solution tank with appropriate cleaning solution and water.
- Locate the fill port: The solution tank has a designated fill port, typically with a cap.
- Prepare solution: Mix the recommended cleaning solution with water according to the manufacturer's instructions for the cleaning agent.
- Fill tank: Pour the prepared solution into the tank, being careful not to overfill. Securely close the fill port cap.
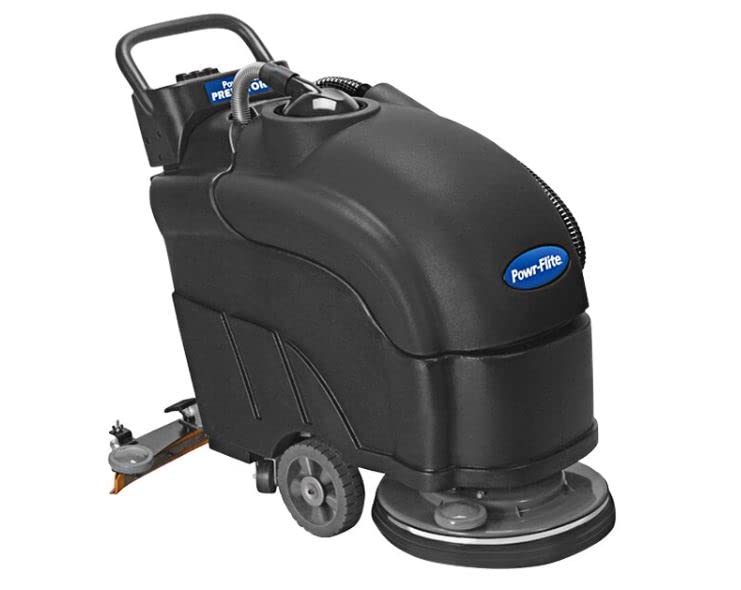
Figure 1: Powr-Flite Predator 20 Walk Behind Scrubber. This image shows the overall design of the scrubber, highlighting its compact and ergonomic structure.
4. Operating Instructions
Follow these steps for effective and safe operation of your Predator 20 scrubber.
4.1 Pre-Operation Checklist
- Ensure batteries are fully charged.
- Verify the pad driver or brush is correctly installed.
- Check that the solution tank is filled with the appropriate cleaning solution.
- Inspect the recovery tank for proper seating and ensure it is empty if starting a new cleaning cycle.
- Clear the area to be cleaned of any large debris or obstacles.
4.2 Starting the Machine
- Insert the key into the key switch on the control panel.
- Turn the key to the 'ON' position. The battery meter will illuminate, showing the current charge level.
- Engage the brush motor: Press the brush activation switch. The 200 RPM brush speed will provide aggressive scrubbing power.
- Activate solution flow: Use the in-line solution solenoid control to start the flow of cleaning solution to the pad driver/brush. Adjust flow as needed for the cleaning task.
4.3 Operating the Scrubber
Guide the machine across the floor at a steady pace. The low-profile, ergonomic design provides easy maneuverability. Overlap passes slightly to ensure complete coverage. Monitor the battery meter and hour meter on the control panel during operation.
4.4 Shutting Down
- Turn off the solution flow.
- Disengage the brush motor.
- Turn the key switch to the 'OFF' position and remove the key.
- Empty and clean the recovery tank.
- Empty and rinse the solution tank.
5. Maintenance
Regular maintenance ensures optimal performance and extends the lifespan of your Predator 20 scrubber.
5.1 Daily Maintenance
- Empty and clean tanks: After each use, empty and rinse both the solution and recovery tanks thoroughly to prevent residue buildup and odors.
- Inspect pad driver/brush: Check for wear and tear. Replace worn pads or brushes as needed.
- Wipe down machine: Clean the exterior of the machine with a damp cloth.
- Charge batteries: Recharge the batteries after each use to maintain their capacity and lifespan.
5.2 Weekly Maintenance
- Check battery terminals: Ensure terminals are clean and free of corrosion. Apply dielectric grease if necessary.
- Inspect hoses and connections: Look for any leaks, cracks, or loose connections in the solution and recovery systems.
- Clean filters: If applicable, clean any solution or vacuum filters.
5.3 Battery Care
Proper battery care is crucial for the longevity of your 12-volt batteries.
- Always recharge batteries after each use, even if only partially discharged.
- Do not allow batteries to fully discharge repeatedly, as this can shorten their lifespan.
- Store the machine in a cool, dry place when not in use, especially during extended periods of inactivity.
- Periodically check electrolyte levels in flooded lead-acid batteries (if applicable) and top up with distilled water.
6. Troubleshooting
This section addresses common issues you might encounter with your Predator 20 scrubber.
| Problem | Possible Cause | Solution |
|---|---|---|
| Machine does not turn on | Dead batteries Key switch off Loose battery connection | Charge batteries Turn key to 'ON' Check and secure battery connections |
| Brush not spinning | Brush motor switch off Pad driver not installed correctly Obstruction | Engage brush motor switch Reinstall pad driver Remove obstruction |
| No solution flow | Solution tank empty Solution flow switch off Clogged solution line | Refill solution tank Activate solution flow switch Inspect and clear solution lines |
| Poor cleaning performance | Worn pad/brush Incorrect cleaning solution Insufficient solution flow | Replace pad/brush Use recommended cleaning solution Increase solution flow |
If you encounter issues not listed here or if solutions do not resolve the problem, please contact customer support.
7. Specifications
Key technical specifications for the Powr-Flite Predator 20 Walk Behind Scrubber.
| Specification | Value |
|---|---|
| Model Number | PAS20BA-BC |
| Pad Driver/Brush Size | 20 inches |
| Brush Speed | 200 RPM |
| Batteries | Two 12-volt batteries (included) |
| Charger | Included |
| Control Panel Features | Key switch, battery meter, hour meter |
| Solution Tank Access | Fully removable |
| ASIN | B09XY5L3G |
| Manufacturer | Powr-Flite |
| Date First Available | November 12, 2021 |
8. Warranty and Support
For warranty information, technical support, or to order replacement parts, please contact Powr-Flite customer service. Keep your purchase receipt and model number (PAS20BA-BC) handy when contacting support.
Contact Information: Please refer to the official Powr-Flite website or your purchase documentation for the most current contact details.