1. Introduction
This manual provides detailed instructions for the NUNET NUSTAR Smart Galaxy Projector. Please read thoroughly before use to ensure proper operation and maintenance. This device combines a colorful moving nebula cloud with blue stars, offering an immersive visual experience for any room.
2. Product Overview
The NUNET NUSTAR Smart Galaxy Projector features an observatory design, allowing for adjustable projection angles. It integrates app and voice control (compatible with Amazon Alexa and Google Home), music sync capabilities via a built-in responsive microphone, and an auto-off timer for convenience. The projector creates a brightness-adjustable, vivid, and colorful space projection atmosphere.

Figure 1: NUNET NUSTAR Smart Galaxy Projector with labeled controls and dimensions (6"D x 9"W x 3.9"H).
3. Package Contents
- NUNET NUSTAR Smart Galaxy Projector Unit
- Power Adapter
- USB Charging Cable
- Wall Mount Hook (with screws and anchors)
- User Manual
- Multiple Film Discs (6-interchangeable film slides)

Figure 2: Included accessories: Power Adapter, USB Charging Cable, and Wall Mount Hook.
4. Setup
- Power Connection: Connect the provided USB charging cable to the projector and plug the power adapter into a standard electrical outlet.
- App Download: Download the "Smart Life" app from your smartphone's app store (available on iOS and Android).
- Wi-Fi Connection: Ensure your smartphone is connected to a 2.4GHz Wi-Fi network. The projector only supports 2.4GHz Wi-Fi. Your Wi-Fi name must be alphanumeric only (letters A-Z, a-z, and numbers 0-9). Special characters (including spaces, hyphens, underscores, symbols like &, !, /, ~, etc.) are not allowed.
- Pairing: Open the "Smart Life" app. On the projector, press and hold the middle "Switch" button for 5 seconds until the indicator light starts flashing red. Follow the in-app instructions to add the "Smart Star Projector" device.
- Inserting Film Discs: Gently pull out the film disc tray from the projector. Select your desired film disc and carefully insert it into the tray, ensuring it is correctly seated. Slide the tray back into the projector.

Figure 3: Wi-Fi compatibility details for setup.
Video 1: Detailed unboxing, setup, and overview of the NUNET Smart Galaxy Projector.
Video 2: Step-by-step guide on how to set up the NUNET Galaxy Star Projector.
5. Operation
5.1 On-Device Controls
- Power Button: Press to turn the projector ON/OFF.
- Scene Switch Button: Cycle through different nebula and star projection scenes.
- Music Button: Activate or deactivate the music sync mode.
5.2 App & Voice Control
Once paired with the "Smart Life" app, you can control various settings:
- Color Adjustment: Change nebula cloud colors.
- Brightness Control: Adjust the brightness of the projections.
- Movement Speed: Control the moving speed of the nebula.
- Scheduling & Timer: Schedule power ON/OFF times or set a countdown timer.
- Voice Commands: Use Amazon Alexa or Google Home to control the projector with voice commands (e.g., "Alexa, turn on the starry sky lights").

Figure 4: Timing settings for the projector.
5.3 Music Sync Mode
The built-in responsive microphone allows the projector's lights to flash and change color in rhythm with surrounding music, clapping, or other sounds, creating a dynamic atmosphere.
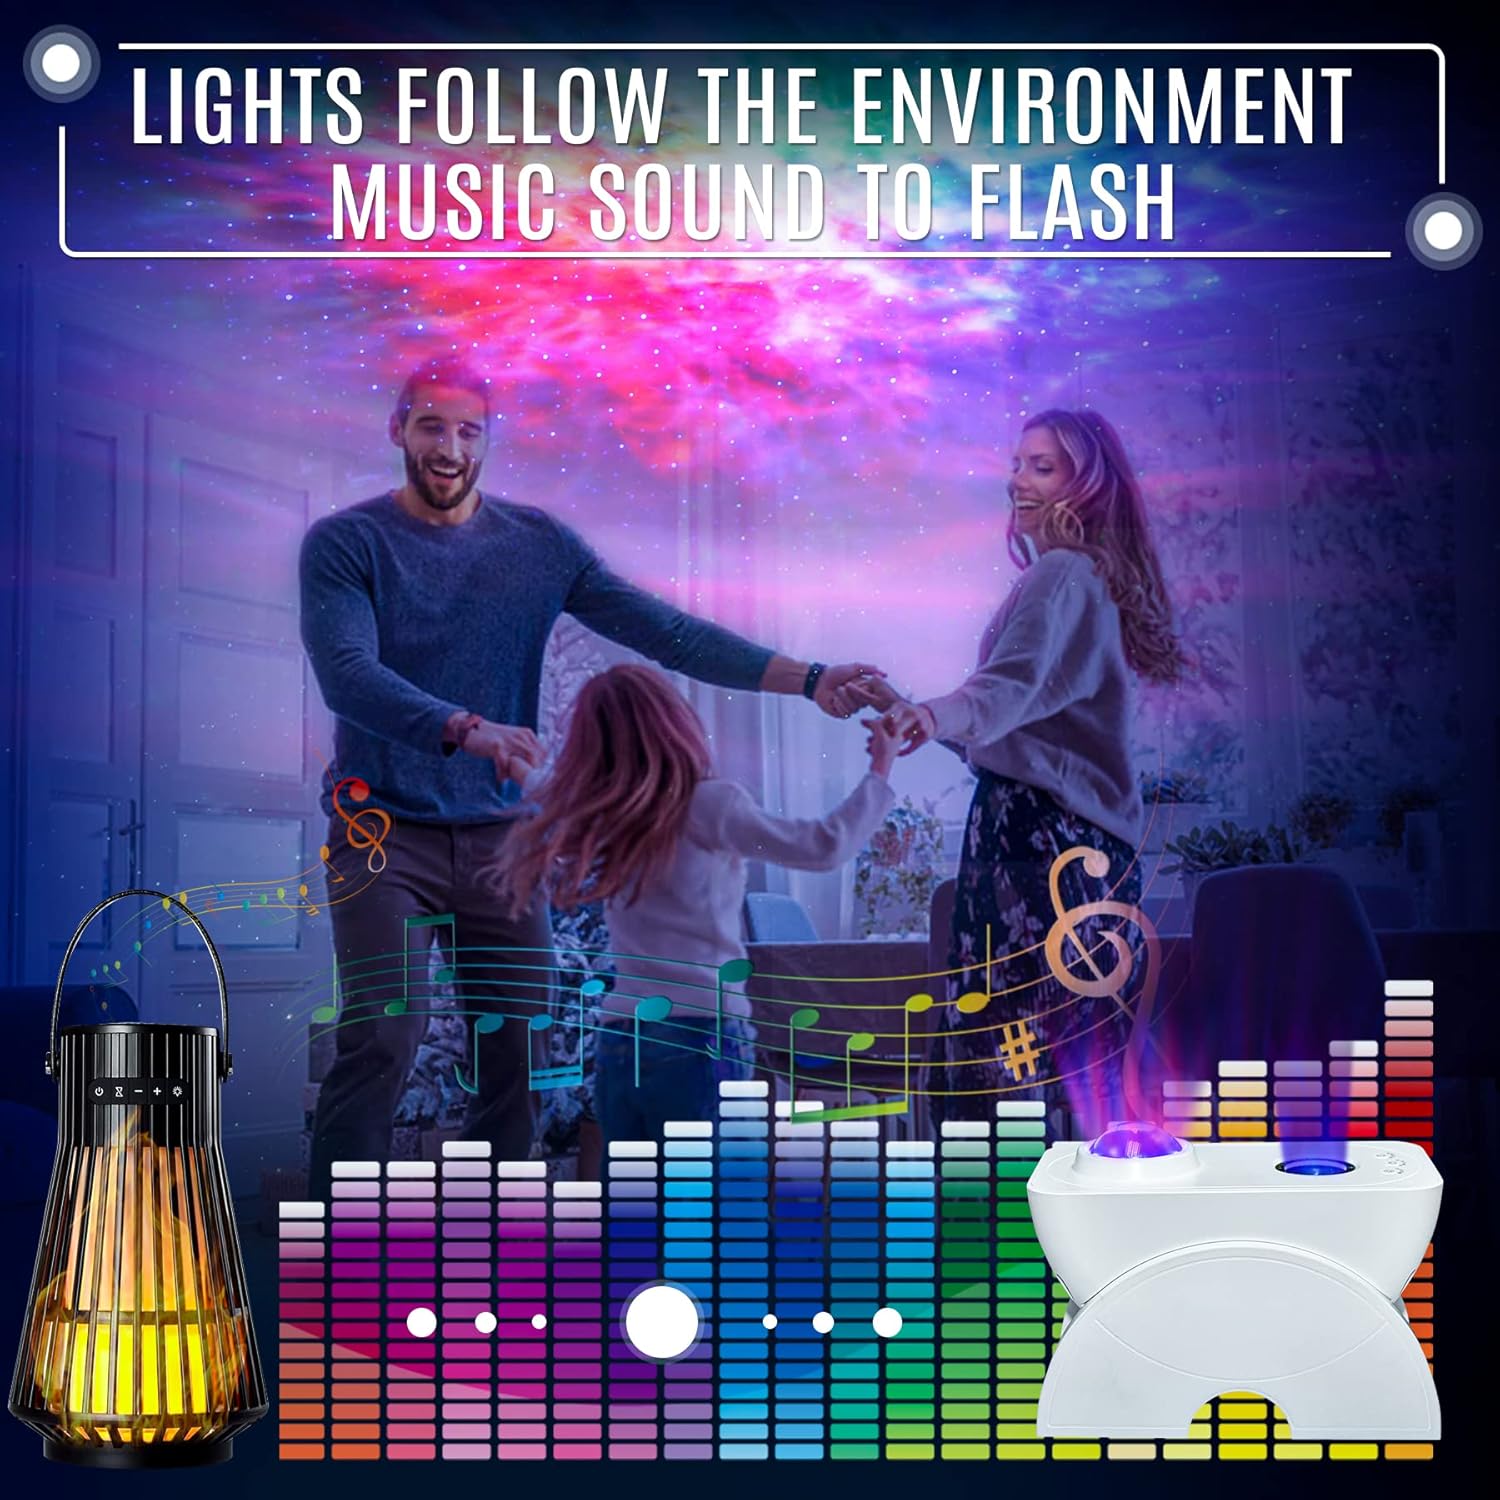
Figure 5: Music sync mode in action.
6. Changing Film Discs
To change the projection film:
- Gently pull out the film disc tray from the projector unit.
- Carefully remove the current film disc from the tray.
- Select a new film disc from the provided set and insert it into the tray, ensuring it is correctly seated and aligned.
- Slide the film disc tray back into the projector until it clicks into place.
7. Wall Mounting
The NUNET NUSTAR Smart Galaxy Projector can be wall-mounted for optimal projection angles.
- Identify a suitable wall surface for mounting.
- Use the provided wall mount hook, screws, and anchors to securely attach the hook to the wall.
- Carefully place the projector onto the mounted hook, ensuring it is stable and secure.

Figure 6: Multi-angle adjustment and wall mount installation.
8. Troubleshooting
- Projector Not Turning On: Ensure the power adapter and USB cable are securely connected to both the projector and a working power outlet.
- No Projection: Verify that a film disc is correctly inserted into the tray. Check if the projector is powered on and the projection light is active.
- App Connectivity Issues: Confirm your smartphone is connected to a 2.4GHz Wi-Fi network. Ensure the projector is in pairing mode (indicator light flashing red) when attempting to connect via the "Smart Life" app.
- Music Sync Not Working: Check that the music button on the device or in the app is activated. Ensure music volume is sufficient for the built-in microphone to detect sound.
- Projection Blurry: Adjust the focus of the projector lens by gently rotating the lens ring until the image is clear.
9. Specifications
| Feature | Detail |
|---|---|
| Brand | NUNET |
| Model Number | NUSTAR Music Sync Blue |
| Product Dimensions | 6"D x 9"W x 3.9"H |
| Item Weight | 2.4 Ounces |
| Material | Plastic |
| Light Source Type | LED |
| Wattage | 5 watts |
| Power Source | Corded Electric |
| Control Method | App, Voice (Alexa, Google Home) |
| Special Features | Color Changing, Music Sync, Auto Timer, Wall Mountable |
| Batteries Included | Yes (1 Lithium Ion battery included) |
10. Warranty and Support
The NUNET NUSTAR Smart Galaxy Projector comes with a one-year warranty and support from a US company. For any issues or inquiries, please refer to the contact information provided on the product packaging or the official NUNET website.


