Yaheetech 612341
Yaheetech 10 × 8 Ft Patio Awning Instruction Manual
Model: 612341
Brand: Yaheetech
1. Product Overview
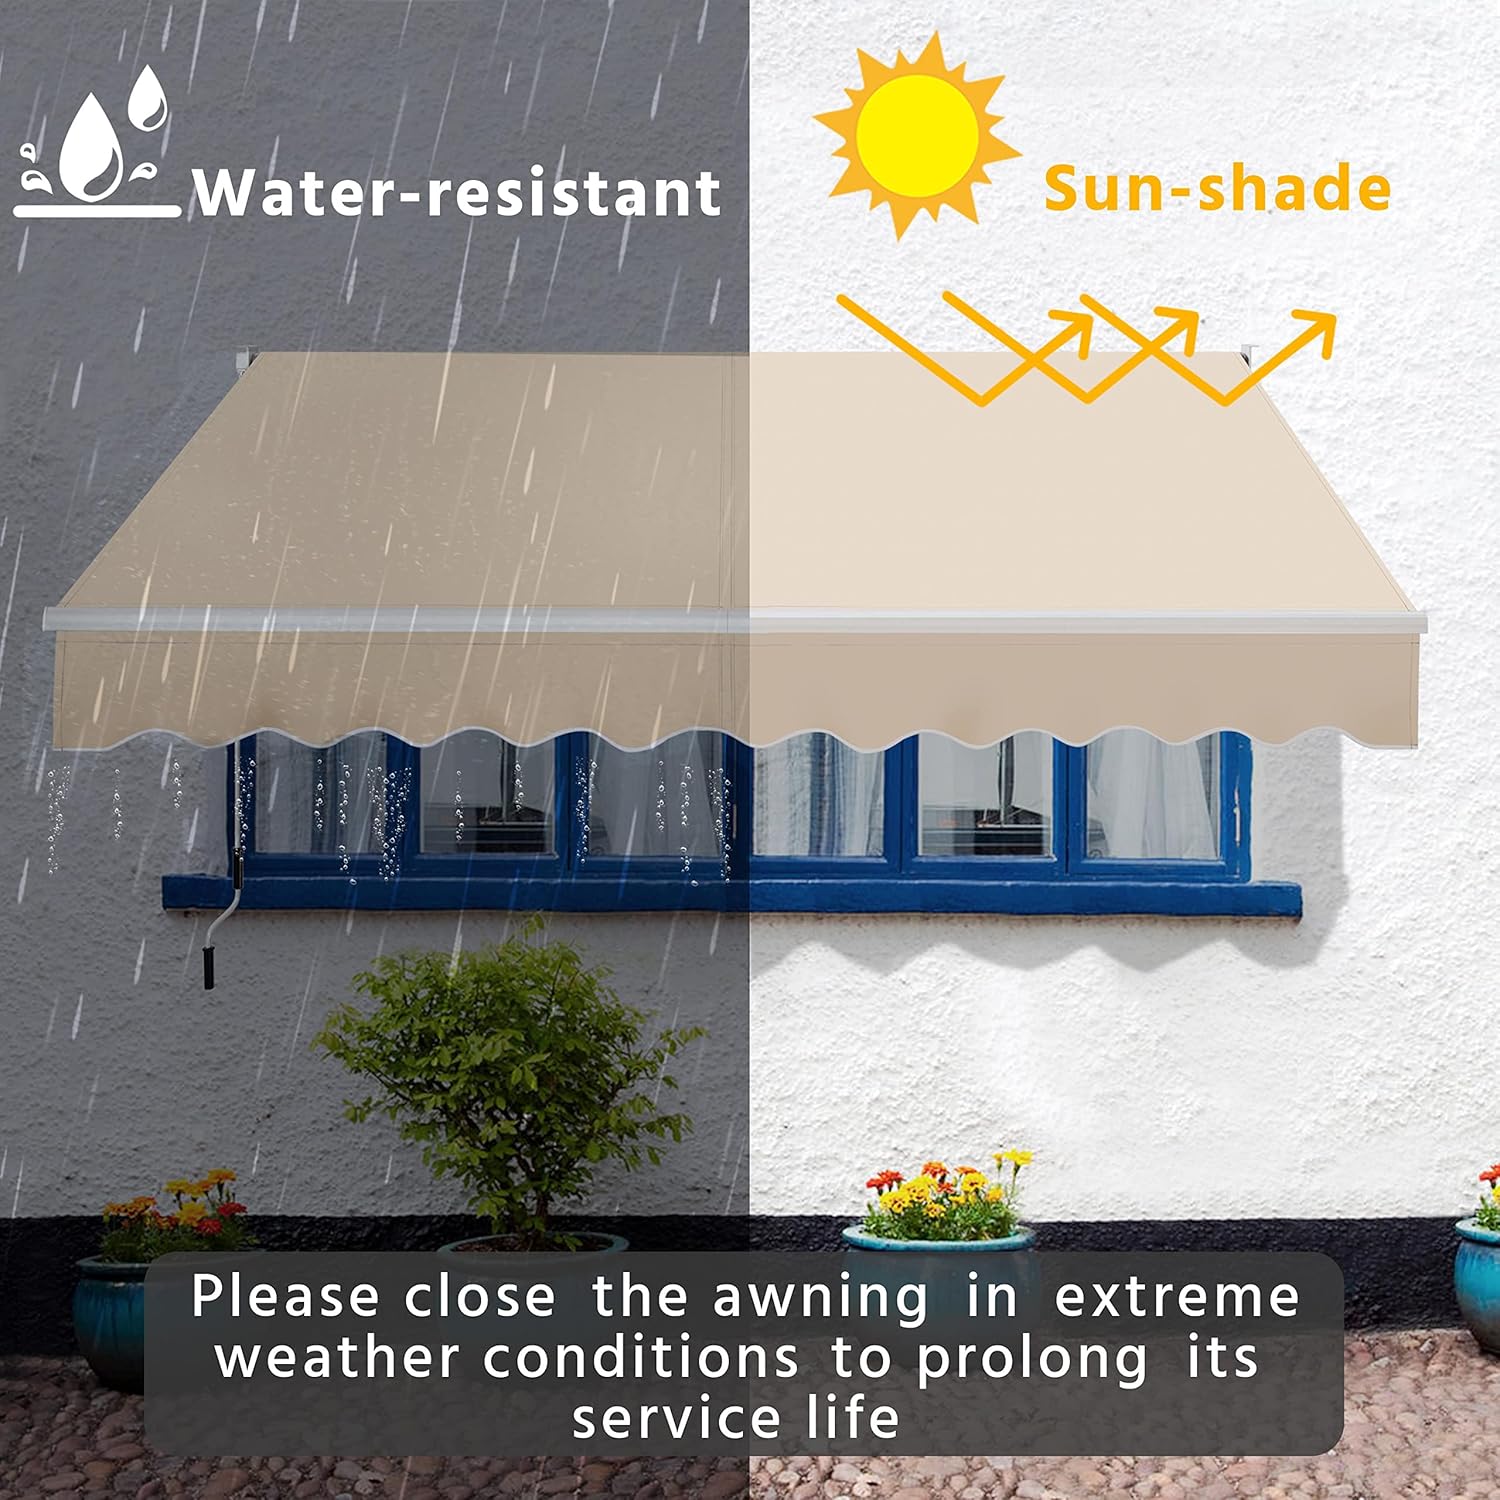
The Yaheetech 10 × 8 Ft Patio Awning is a retractable sun shade designed for outdoor spaces such as patios, balconies, and yards. It features a durable aluminum frame and 280g/m² PU-coated polyester fabric, providing protection against harsh sunlight and inclement weather. The awning is operated manually with a crank handle, allowing for easy adjustment of length and angle.
Key Features:
- All-weather Materials: Crafted from weather-resistant aluminum, 280g/m² polyester fabric with a PU coating, and solid steel for enhanced durability.
- Outdoor Sun Protection: Provides protection against harsh sunlight and harmful UV rays, ensuring a comfortable outdoor environment.
- Effortless Length & Angle Adjustment: Equipped with a 5-foot hand crank for easy opening, adjustment, and closing. The awning angle can be set from 5° to 35°.
- Decorative Detail: Features a wavy valance that enhances the aesthetic appeal of your outdoor space.
- Versatile Application: Suitable for installation on solid masonry, concrete, or cement walls in patios, balconies, storefronts, gardens, and decks.
2. Setup and Installation
This section provides detailed instructions for assembling and installing your Yaheetech Patio Awning. Please follow these steps carefully to ensure proper and safe installation. It is recommended to have at least two people for installation.
2.1. Component Assembly
Before mounting, assemble the main components of the awning.

This image displays all the parts of the awning laid out on a tiled surface, including the fabric, aluminum poles, crank handle, and various brackets and fasteners.
Step 1: Assemble the Roller Bar
Connect the sections of the roller bar (parts 3 and 4 in the video) using the provided screws (part E). Ensure they are securely fastened.

This image illustrates the process of sliding two sections of the aluminum roller bar together and securing them with screws, forming the full-length roller bar for the awning fabric.
Step 2: Attach Fabric to Roller Bar
Lay out the main awning fabric (part 10) and the valance fabric (part 11). Carefully slide the assembled roller bar into the designated sleeve on the main fabric. Then, attach the valance fabric to the front bar (part 13) by sliding it into the groove.

This image illustrates the process of sliding the decorative wavy valance fabric into the channel of the front bar, which will be at the leading edge of the awning.
Step 3: Install End Caps and Brackets
Secure the plastic end caps (part A) onto the ends of the front bar. Then, attach the wall brackets (part H) to the ends of the roller bar, ensuring the mechanism is correctly aligned (parts 1 and 2 in the video).

This image shows a hand pressing a white plastic end cap onto the end of the front bar, which helps to secure the fabric and provide a finished look.

This image shows the process of attaching the wall bracket, which houses the roller mechanism, to the end of the roller bar. This bracket will later be mounted to the wall.
2.2. Wall Mounting
The awning must be installed on a solid masonry, concrete, or cement wall. Use a 14mm drill bit to drill 8cm deep holes. The diameter and depth of your mounting holes must be the same size as the expansion bolts.

This image shows a person using a hammer drill to create the necessary holes in a tiled wall for mounting the awning brackets. Proper depth and diameter are crucial for secure installation.
Step 4: Insert Expansion Bolts
Insert expansion bolts (part G) into the drilled holes. You may need a mallet to tap them in. Then, tighten the bolts with a wrench to fix the sleeve in the hole. Lastly, remove the bolt and washer.

This image shows a person inserting an expansion bolt into a drilled hole and then using a wrench to tighten it, ensuring a firm anchor point for the awning bracket.
Step 5: Mount the Awning
Insert the left side of the roller bar into the first hole, and insert the right side into the second hole. Assemble the wall brackets (parts 1 and 2) onto the wall using the expansion bolts (part G). Put on the washer and bolt and tighten the bolts with a wrench.
Important Safety Note: Do not cut off the rope on the arm to avoid serious injury. Assemble arm 5 on arm holes of wall bracket 1, then tighten arm screws. Assemble arm 6 on arm holes of wall bracket 2, then tighten arm screws.
2.3. Installation Video Guide
For a visual guide on the installation process, please watch the official Yaheetech installation video below:
This video provides a step-by-step visual demonstration of how to assemble and install the Yaheetech Retractable Patio Awning, covering all the necessary procedures for a successful setup.
3. Operating Instructions
Your Yaheetech Patio Awning is designed for easy manual operation. Follow these steps to extend, retract, and adjust the awning.
3.1. Extending and Retracting the Awning
The awning is equipped with a long 5-foot hand crank. To operate:
- To Extend: Insert the hand crank into the loop on the left side of the awning mechanism. Rotate the hand crank clockwise to extend the awning fabric. Continue rotating until the desired extension is reached.
- To Retract: Rotate the hand crank anticlockwise to retract the awning fabric. Ensure the awning is fully retracted when not in use or during adverse weather conditions.
This image shows the long manual hand crank used to extend and retract the awning, highlighting its simple and direct operation.
3.2. Adjusting the Awning Angle
The awning angle can be adjusted to suit your needs, ranging from 5° to 35°.
- Locate the angle adjustment device on the side brackets.
- Loosen the adjustment bolts (if applicable, refer to specific mechanism in manual or video).
- Carefully adjust the angle of the awning arms to the desired tilt.
- Tighten the adjustment bolts securely to lock the angle in place.

This diagram illustrates how the awning's tilt angle can be adjusted between 5 and 35 degrees, with a close-up of the angle adjustment mechanism on the bracket.
4. Maintenance
Proper maintenance will extend the life and appearance of your Yaheetech Patio Awning.
- Regular Cleaning: Clean the fabric regularly with mild soap and water. Avoid harsh detergents or abrasive cleaners, as they can damage the fabric's PU coating. Rinse thoroughly with clean water.
- Frame Inspection: Periodically inspect the aluminum frame and steel components for any signs of wear, rust, or loose fasteners. Tighten any loose bolts or screws.
- Fabric Care: Ensure the fabric is completely dry before retracting the awning for extended periods to prevent mildew growth.
- Lubrication: Lightly lubricate moving parts of the mechanism, such as the arm joints and crank mechanism, with a silicone-based spray lubricant annually.
- Winter Storage: In areas with harsh winters, it is recommended to fully retract the awning and cover it with a protective cover, or remove it if possible, to protect it from heavy snow and ice.

This close-up image shows water droplets beading on the surface of the awning fabric, demonstrating its water-resistant properties due to the PU coating.
5. Troubleshooting
This section addresses common issues you might encounter with your patio awning.
| Problem | Possible Cause | Solution |
|---|---|---|
| Awning does not extend/retract smoothly. | Mechanism is dry or obstructed. | Lubricate moving parts with silicone spray. Check for debris in the mechanism. |
| Fabric sags or collects water. | Incorrect angle adjustment. | Adjust the awning angle to ensure proper water runoff (minimum 5° tilt). |
| Awning is noisy during operation. | Lack of lubrication or loose components. | Lubricate moving parts. Check and tighten all bolts and screws. |
| Awning feels unstable after installation. | Improper wall mounting or loose bolts. | Ensure mounting surface is solid. Re-tighten all expansion bolts and bracket screws. |
6. Specifications
| Attribute | Value |
|---|---|
| Material | Aluminum, PU-coated Polyester Fabric, Steel |
| Color | Beige |
| Size | 10ft x 8ft |
| Brand | Yaheetech |
| Item Weight | 32.5 Pounds |
| Product Dimensions | 94.88"D x 115.75"W x 9.84"H |
| Style | Modern |
| Fabric Type | Polyester |
| Assembly Required | Yes |
| Min. Clearance | 4 Inches |
| Operation Mode | Manual |
| Projection Distance | 10 Feet |
| Manufacturer | Yaheetech |
| Item model number | 612341 |
7. Important Safety Information
- Retract the awning during windy or rainy conditions to prevent damage to the awning and property.
- Ensure the head of the awning remains lower than the lateral arm to prevent water accumulation and potential damage.
- Avoid extending the awning horizontally for prolonged periods, especially during rain, to prevent water pooling.
- Always ensure all mounting bolts and screws are securely tightened before and after initial use.
- Do not hang objects from the awning frame or fabric.
- Keep children and pets away from the awning during operation.
Ask a question about this manual
Ask about setup, troubleshooting, compatibility, parts, safety, or missing instructions. Manuals+ will review the question and use this page’s manual context to help answer it.