Introduction
This manual provides instructions for the installation, operation, and maintenance of the Generic Shelf Frame with Glass Replacement, designed for various Whirlpool refrigerator models. Please read these instructions carefully before installation and retain them for future reference.
This replacement part is compatible with numerous Whirlpool refrigerator models, including but not limited to ED2KHAXVS00, ED2KHAXVS01, ED2KHAXVS02, ED2KHAXVS03, ED2KHAXVT00, ED2KHAXVT01, ED2LDEXWB00, ED2LDEXWL00, ED2LDEXWQ00, ED2PBEXTB00, and ED2PBEXTL00. For a complete list of compatible models, please refer to the product listing or consult your refrigerator's documentation.
Safety Instructions
- Always unplug the refrigerator from the power outlet before attempting any installation or maintenance.
- Wear appropriate personal protective equipment, such as gloves, to prevent cuts from glass edges or sharp components.
- Handle the glass shelf with care to avoid breakage. Tempered glass, while strong, can shatter if dropped or subjected to impact.
- Ensure the shelf is securely seated in its supports before placing items on it.
- Keep children and pets away from the work area during installation.
Setup and Installation
Tools Required:
- No special tools are typically required for shelf replacement.
- Gloves (recommended for safety).
Installation Steps:
- Prepare the Refrigerator: Unplug the refrigerator from the electrical outlet. Open the refrigerator door fully to access the interior.
- Remove the Old Shelf (if applicable): If replacing an existing shelf, carefully lift the front edge of the old shelf and slide it out from its supports. Dispose of the old shelf responsibly.
- Inspect the Shelf Supports: Ensure the shelf supports inside the refrigerator are clean and free from debris or damage.
- Install the New Shelf:
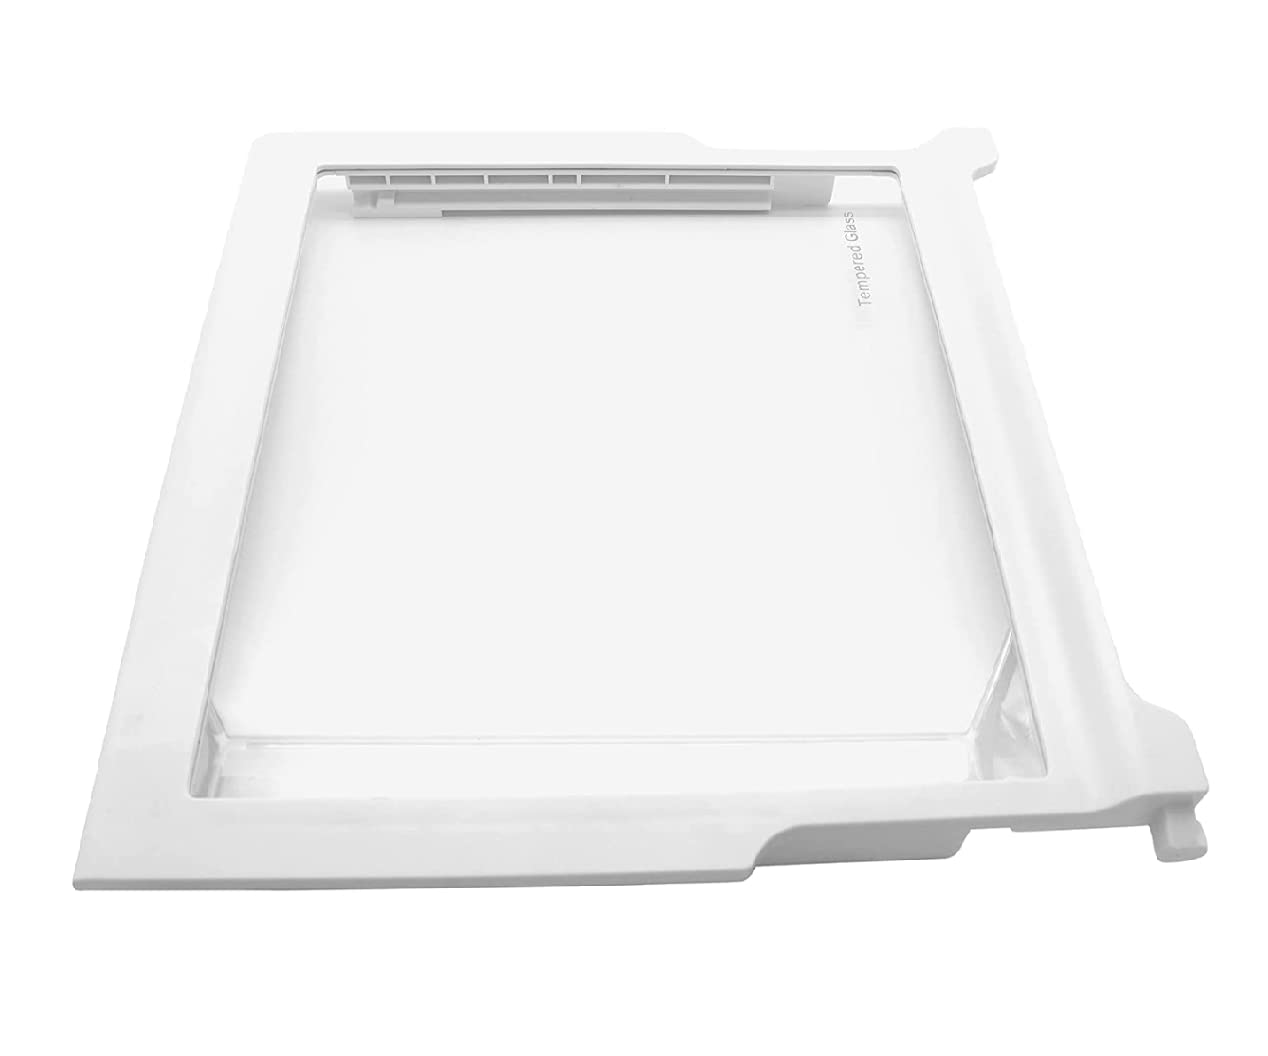
Image: The replacement shelf frame with its integrated tempered glass panel.
Align the new shelf frame with the desired shelf supports inside the refrigerator. Gently slide the shelf into place, ensuring that both the front and back edges are securely seated on the supports. The shelf should sit level and firm.
- Test Stability: Lightly press down on the shelf to confirm it is stable and does not wobble.
- Restore Power: Once the shelf is securely installed, plug the refrigerator back into the electrical outlet.
Operating the Shelf
The shelf is designed to hold various food items and containers. Distribute weight evenly across the shelf to prevent undue stress on the supports. Avoid placing excessively heavy items on a single point.
The tempered glass surface provides a stable and easy-to-clean platform for your refrigerator contents.
Maintenance and Cleaning
Cleaning Instructions:
- For routine cleaning, wipe the glass and frame with a soft cloth dampened with warm water and a mild dish soap.
- Avoid using abrasive cleaners, scouring pads, or harsh chemicals, as these can scratch the glass or damage the frame.
- Ensure the shelf is completely dry before placing food items back on it.
- For stubborn spills, the shelf can be removed from the refrigerator for more thorough cleaning. Follow the removal steps in the "Setup and Installation" section in reverse.
Troubleshooting
| Problem | Possible Cause | Solution |
|---|---|---|
| Shelf does not fit. | Incorrect model compatibility or obstruction. | Verify your refrigerator model number against the product's compatibility list. Check for any internal obstructions preventing proper seating. |
| Shelf is wobbly or unstable. | Not properly seated on supports. | Remove the shelf and re-install, ensuring both front and back edges are fully engaged with the refrigerator's shelf supports. |
| Glass appears scratched or damaged. | Improper cleaning agents or impact. | Use only mild cleaners and soft cloths. If the glass is damaged, replacement of the entire shelf unit may be necessary for safety. |
Specifications
- Part Number: ED2KHAXVS00
- Manufacturer: Generic
- Material: Plastic frame with tempered glass insert
- Compatibility: Designed for specific Whirlpool refrigerator models (refer to product listing for full list).
- Date First Available: April 11, 2022
Warranty and Support
For information regarding warranty coverage or technical support, please refer to the original purchase documentation or contact the seller directly. Keep your proof of purchase for any warranty claims.


