1. Introduction
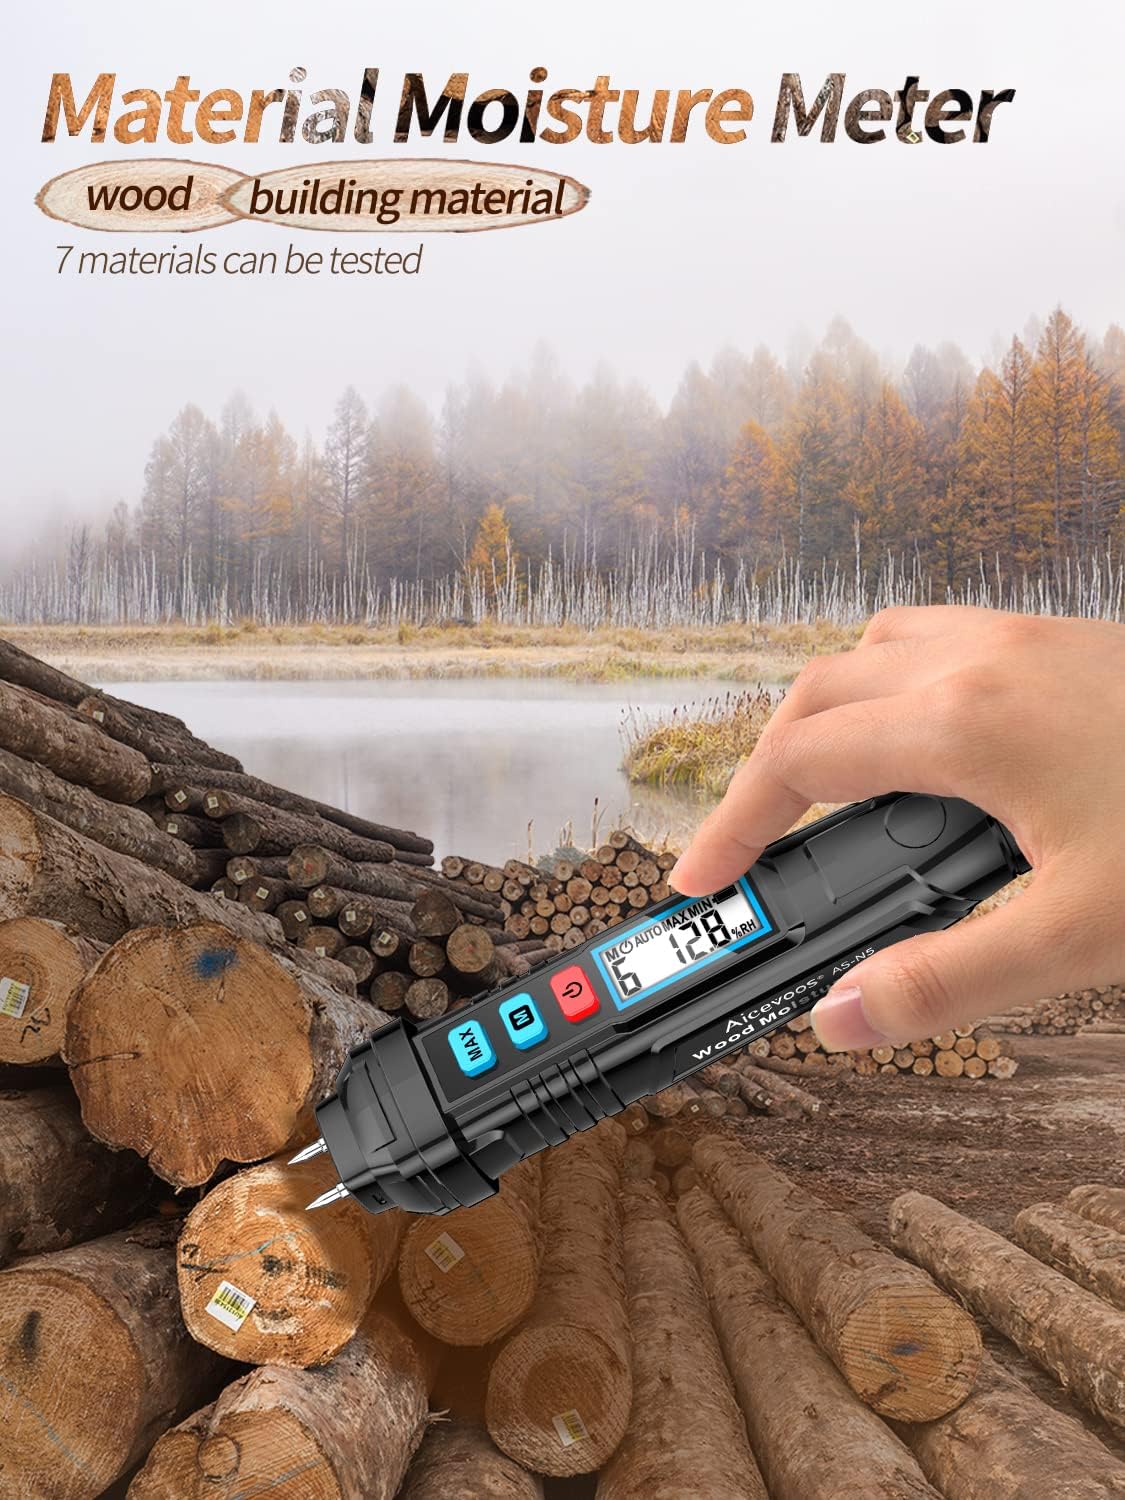
The Aicevoos N5 Digital Moisture Meter is a portable, pen-type device designed for quick and accurate measurement of moisture content in various materials, including wood and building materials. Equipped with a backlit LCD display and high-precision pins, it provides reliable readings for professionals and homeowners alike. This manual provides essential information for the safe and effective operation, maintenance, and troubleshooting of your N5 moisture meter.

2. Safety Information
- The measurement pins are sharp. Handle with care to avoid injury. Keep out of reach of children.
- Do not attempt to measure live electrical circuits. This device is not designed for electrical testing.
- Do not expose the device to extreme temperatures, high humidity, or direct sunlight.
- Remove batteries if the device will not be used for an extended period to prevent leakage.
- Use only the specified battery type (2x 1.5V AAA). Ensure correct polarity during installation.
3. Package Contents
Please check the package contents upon receipt. If any items are missing or damaged, contact your retailer.
- Aicevoos N5 Digital Moisture Meter
- Protective Cap for Pins
- User Manual (this document)
4. Product Overview
Familiarize yourself with the components of your N5 moisture meter:

- Probe: Two high-precision stainless steel pins for measurement.
- Protective Cover: Covers the pins when not in use.
- MAX Button: Toggles between maximum and minimum measurement display.
- M (Material Selection) Button: Cycles through the 7 available material calibration scales.
- On/Off Button: Powers the device on or off.
- Display Screen: Backlit LCD for clear reading of moisture values, material mode, and battery status.
- Battery Compartment: Located at the bottom, holds 2x 1.5V AAA batteries.
5. Setup
5.1 Battery Installation
- Twist and remove the battery compartment cover at the bottom of the device.
- Insert two (2) 1.5V AAA batteries, ensuring correct polarity (+/-) as indicated inside the compartment.
- Replace the battery compartment cover and twist to secure it.
6. Operating Instructions
6.1 Powering On/Off
- To power on the device, press the red On/Off button. The LCD display will illuminate.
- To power off the device, press and hold the red On/Off button for a few seconds.
- The device features an automatic shutdown function after 10 minutes of inactivity to conserve battery life. This can be cancelled for continuous measurement if needed (refer to advanced settings, if available, or assume it's a fixed feature).
6.2 Material Selection
The N5 meter has 7 pre-calibrated scales for different materials. Press the blue M button to cycle through these material modes (M1 to M7) until the desired material type is displayed.

| Material Mode | Material Type | Measurement Range | Accuracy |
|---|---|---|---|
| Material 1 | Beech, Spruce, Larch, Birch, Cherry, Walnut | 8.8 ~ 54.8% | ±2% |
| Material 2 | Oak, Pine, Maple, Ash, Douglas Fir, Eucalyptus | 6.8 ~ 47.9% | ±2% |
| Material 3 | Cement Mortar Layer, Concrete | 0.9 ~ 22.1% | ±2% |
| Material 4 | Anhydrous Gypsum Mortar Layer | 0.0 ~ 11.0% | ±2% |
| Material 5 | Cement Mortar | 0.7 ~ 8.6% | ±2% |
| Material 6 | Lime Mortar, Gypsum | 0.6 ~ 9.9% | ±2% |
| Material 7 | Brick | 0.0 ~ 16.5% | ±2% |
6.3 Taking Measurements
- Ensure the correct material mode is selected (refer to 6.2).
- Carefully remove the protective cap from the pins.
- Firmly insert the two measurement pins into the surface of the material you wish to test. Ensure both pins penetrate the surface adequately for accurate contact.
- Read the moisture content percentage displayed on the LCD screen.
- After measurement, gently withdraw the pins and replace the protective cap.

6.4 MAX/MIN Measurement
Press the blue MAX button to view the maximum or minimum moisture reading recorded during a measurement session. This is useful for identifying the highest or lowest moisture points in a tested area.
6.5 Backlight Function
The LCD display is equipped with a backlight, ensuring clear readability of measurements even in low-light conditions.

7. Maintenance
7.1 Cleaning
- Wipe the device body with a soft, dry cloth. Do not use abrasive cleaners or solvents.
- Ensure the measurement pins are clean and free of debris after each use.
7.2 Storage
- Always replace the protective cap over the pins when the device is not in use to prevent damage and injury.
- Store the meter in a cool, dry place, away from direct sunlight and extreme temperatures.
- If storing for an extended period, remove the batteries to prevent potential leakage and damage to the device.
8. Troubleshooting
8.1 Low Battery Indication
If the battery voltage is lower than the working voltage, a battery symbol will appear on the display. Replace the batteries promptly to ensure accurate readings and continued operation.

8.2 Inaccurate Readings
- Ensure the correct material mode is selected for the material being tested.
- Verify that the pins are fully inserted into the material and making good contact.
- Check battery level; low batteries can affect accuracy.
- Clean the pins if they appear dirty or corroded.
8.3 Device Not Powering On
- Check if the batteries are installed correctly with the right polarity.
- Replace the batteries with new ones.
- Ensure the On/Off button is pressed firmly.
9. Specifications
| Feature | Specification |
|---|---|
| Model | N5 |
| Measuring Material | 7 types (Wood, Cement Mortar, Concrete, Gypsum, Brick) |
| Humidity Measurement Range | 0% to 58% (overall, specific ranges per material) |
| Humidity Measurement Accuracy | ±2% |
| Screen Display | LCD screen with backlight |
| Maximum Measurement | Yes |
| Minimum Measurement | Yes |
| Automatic Shutdown | Yes (after 10 minutes, cancellable) |
| Power Supply | 2 × 1.5V AAA battery |
| Dimensions | 160 x 29 x 30 mm (approximate) |
| Weight | 100 g (without batteries) |
10. Warranty and Support
Specific warranty information for the Aicevoos N5 Digital Moisture Meter may vary by region and retailer. Please refer to the documentation provided at the time of purchase or contact your retailer for details regarding warranty coverage and claims.
For technical support or further assistance, please contact the Aicevoos customer service department or your product retailer. Keep your purchase receipt and product model number (N5) handy when seeking support.