Product Overview
This instruction manual provides essential information for the proper use and maintenance of your replacement trimmer spool. This spool is designed for various Parkside cordless grass trimmers, ensuring efficient and reliable operation.

Image 1: A single replacement trimmer spool, black plastic with clear nylon line wound around it. This is the primary product.
The spool features a durable ABS construction and is pre-wound with 2 x 5 meters of high-quality nylon polyamide line, approximately 1.4 mm in thickness. It is a direct replacement part, ensuring compatibility and ease of installation.
Compatibility
This replacement spool is compatible with the following Parkside cordless grass trimmer models:
- Parkside PRTA 20-Li C3 (IAN 351753, 365589, 385583, 402319)
- Parkside PRTA 20-Li A1 (IAN 311046)
- Parkside PRTA 20-Li B1 (IAN 330831)
- Parkside PRTA 20-Li B2 (IAN 334231)
- Parkside PRT 300 A1 (IAN 360066)
- Parkside PRT 550 A1 (IAN 311404)
- Parkside PRT 550 A3 (IAN 351652, 330241)

Image 2: An illustration showing a Parkside cordless trimmer alongside several replacement spools, with a text overlay listing compatible models and IAN numbers. This visually confirms the compatibility.
Setup and Installation
Follow these steps to safely install the replacement spool into your Parkside grass trimmer:
- Safety First: Before beginning, ensure your trimmer is turned off and the battery pack is removed to prevent accidental starting. If it's a corded model, unplug it from the power source.
- Remove Old Spool: Locate the spool housing on the trimmer head. Depending on your model, you may need to press release tabs or twist the cap counter-clockwise to open it. Carefully remove the old, empty, or damaged spool.
- Clean Housing: Inspect the spool housing for any debris, grass clippings, or tangled line. Clean it thoroughly to ensure the new spool fits correctly and operates smoothly.
- Install New Spool: Take the new replacement spool. Ensure the cutting line is properly threaded through the eyelets on the spool housing. Align the spool with the central shaft and any guiding grooves inside the housing.
- Secure Spool: Place the housing cap back on and twist it clockwise or press the release tabs until it clicks securely into place. Gently pull on the line ends to ensure they are free and extend properly from the housing.
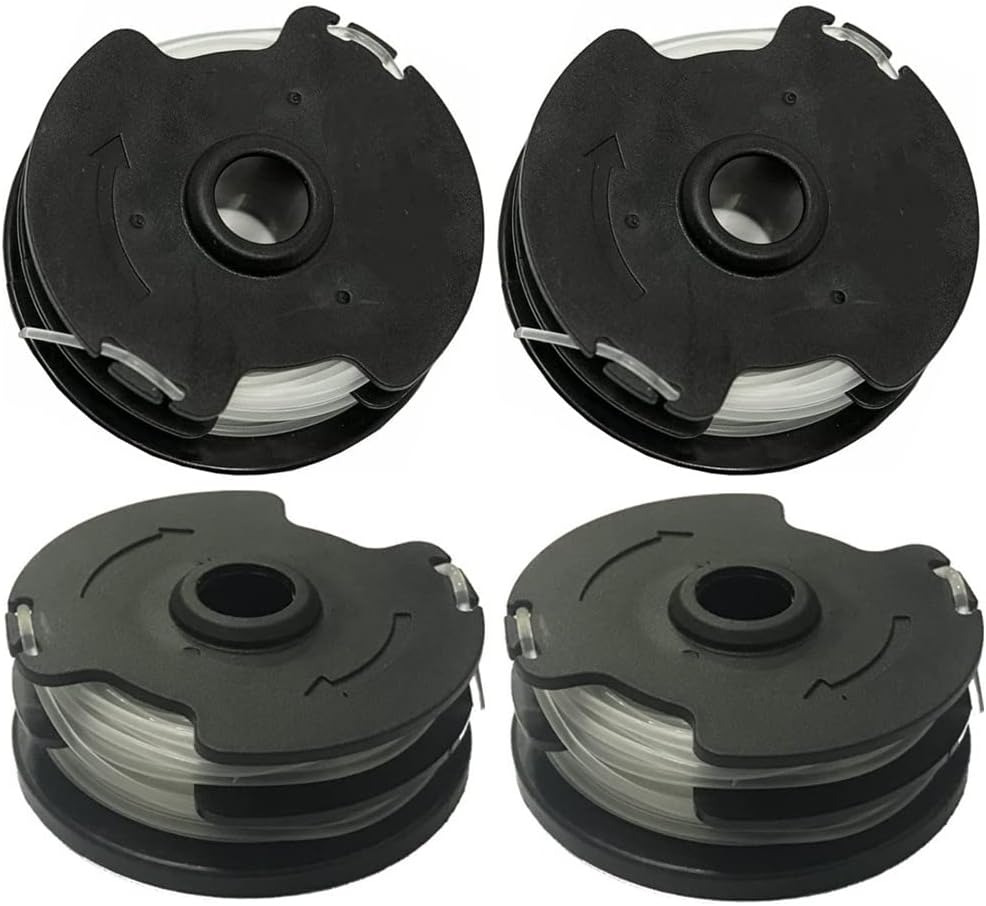
Image 3: Two replacement spools, each with the nylon line partially unspooled, demonstrating how the line extends from the spool. This helps visualize the line management during installation.
Operating Instructions (Spool Specific)
Once the new spool is installed, your trimmer is ready for use. The pre-wound line is designed for optimal performance with compatible Parkside trimmers.
- Automatic Line Feed: Most compatible Parkside trimmers feature an automatic line feed system. The line will extend automatically as it wears down during operation.
- Manual Line Feed (if applicable): If your trimmer has a manual feed button, briefly tap the trimmer head on the ground while the motor is running to advance the line. Do not force the line out.
- Line Length: The trimmer's cutting guard will automatically trim the line to the correct length once it extends.

Image 4: A composite image showing a trimmer in action, cutting grass, with an inset of the spool. This illustrates the product in its intended operational environment.
Maintenance
Proper maintenance of the spool and trimmer head ensures longevity and optimal cutting performance:
- Regular Cleaning: After each use, remove the spool and clean any grass, dirt, or debris from the spool housing and the trimmer head. This prevents buildup that can impede line feed.
- Line Inspection: Periodically inspect the nylon line for fraying, kinks, or excessive wear. Replace the spool when the line is nearly depleted or if it shows signs of damage.
- Storage: Store replacement spools in a cool, dry place away from direct sunlight. Extreme temperatures can affect the integrity of the nylon line.

Image 5: Three views of the replacement spool, showing its design from the top, side, and an angled perspective. This provides a detailed look at the product for identification and maintenance.
Troubleshooting
If you encounter issues with the line feed or cutting performance after installing a new spool, consider the following:
| Problem | Possible Cause | Solution |
|---|---|---|
| Line not feeding | Tangled line inside spool; debris in housing; incorrect spool installation. | Remove spool, untangle line, clean housing, re-install correctly. |
| Line breaks frequently | Cutting against hard surfaces (concrete, rocks); old/brittle line; incorrect line thickness. | Avoid hard surfaces; ensure line is fresh; this spool uses 1.4mm line, ensure it's suitable for your trimmer model. |
| Poor cutting performance | Line too short; dull line; incorrect cutting technique. | Advance line; replace spool if line is worn; use proper sweeping motion. |
Specifications
- Product Type: Replacement Trimmer Spool
- Line Material: High-quality Nylon Polyamide
- Line Length: 2 x 5 meters (10 meters total)
- Line Thickness: Approximately 1.4 mm
- Spool Material: Durable ABS plastic
- Weight: Approximately 150 grams (for 1pc)
- Color: Black spool with clear line
- Manufacturer: rngcpto1

Image 6: A diagram illustrating the dimensions of the spool, showing a diameter of 56mm and a height of 24mm. This provides precise measurements for compatibility verification.
Warranty and Support
For any questions regarding the installation or performance of this replacement spool, please contact the seller or refer to the original trimmer's instruction manual for specific operational details.
Information regarding specific warranty terms for this replacement part is typically provided by the retailer or manufacturer at the time of purchase. Please retain your proof of purchase for any warranty claims.


