1. Introduction
The MODSTER Discus Acro is a high-performance glider designed for thermal and discus launch gliding. Its lightweight construction allows for extended flights using natural thermals. The compact size makes it convenient for transport. This model is delivered largely pre-assembled, requiring minimal setup before flight. This manual provides essential information for the safe assembly, operation, and maintenance of your Discus Acro glider.

Figure 1.1: Top-down view of the MODSTER Discus Acro glider, highlighting its sleek design and pink wing color.
2. Safety Warnings
Please read and understand all safety warnings before operating this model. Failure to follow these instructions may result in injury or damage to property.
- Never operate the model on public roads or paths, as this may endanger traffic.
- Avoid operating the model in crowded areas, near people, or animals to prevent property damage or personal injury.
- Always ensure a safe distance from power lines, buildings, and other obstacles.
- Do not fly in strong winds or adverse weather conditions.
- Keep fingers and loose clothing away from moving parts.
- Always perform a pre-flight check before each flight.
- This product is recommended for users aged 14 to 99 years.
3. Package Contents
Verify that all items listed below are present in your package:
- MODSTER Discus Acro DLG Glider Model (partially assembled)
- 3 integrated metal gear servos (pre-installed and pre-tensioned)
- Instruction Manual
Items Required (Not Included):
- Small RC Receiver
- Single-cell Receiver Battery (approx. 500 mAh capacity recommended)
- Compatible RC Transmitter
4. Setup and Assembly
The MODSTER Discus Acro is designed for quick assembly. No glue is required for the final steps.
- Unpacking: Carefully remove all components from the packaging. Inspect for any shipping damage.
- Receiver Installation: Install your small RC receiver (not included) into the designated compartment within the fuselage. Ensure it is securely placed and connected to the pre-installed servos according to your receiver's instructions.
- Receiver Battery Installation: Install a single-cell receiver battery (approx. 500 mAh capacity, not included) into the fuselage. Ensure proper polarity and secure placement. This battery powers the receiver and servos.
- Wing Attachment: Carefully slide the wings onto the fuselage. The design allows for a secure fit without the need for adhesives. Ensure they are fully seated and aligned.
- Tail Section Assembly: Attach the horizontal and vertical stabilizers to the tail boom. Ensure they are correctly oriented and secured.
- Control Surface Check: Connect your RC transmitter and power on the receiver. Verify that all control surfaces (ailerons, rudder, elevator) move freely and correctly in response to your transmitter inputs. Adjust linkages if necessary to achieve proper throws and centering.
- Center of Gravity (CG) Check: Balance the glider at the recommended Center of Gravity point (refer to the diagram in the manual, if provided, or common DLG glider CG recommendations). Adjust the receiver and battery position as needed to achieve the correct balance.
- Pre-Flight Check: Perform a thorough pre-flight check of all components, connections, and battery levels before the first flight. The model should be ready for its maiden flight approximately 30 minutes after starting assembly.
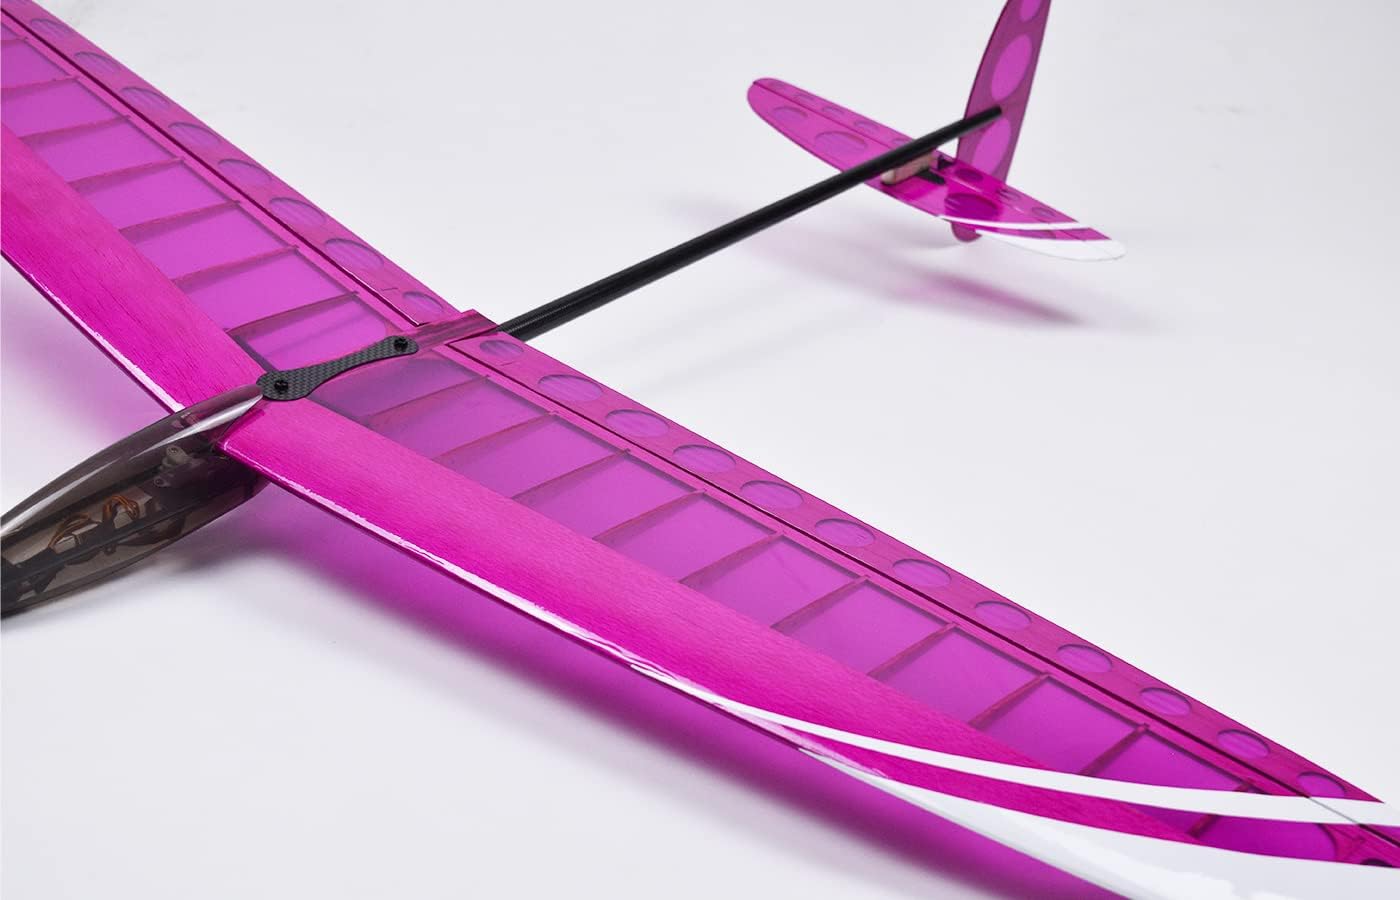
Figure 4.1: Detail of the wing-fuselage connection, illustrating the secure and glue-free assembly.

Figure 4.2: The tail section of the glider, showing the pre-installed control surfaces and linkages.
5. Operating Instructions
The Discus Acro is designed for hand-launch (discus launch) and thermal/slope soaring.
- Flight Location: Choose an open area, such as a small meadow or a suitable slope, free from obstacles, people, and public roads. Ensure you have ample space for launching and landing.
- Pre-Flight Checks: Before each flight, ensure all components are secure, batteries are charged (transmitter and receiver), and control surfaces respond correctly to your transmitter inputs.
- Launch Technique (Discus Launch):
- Hold the glider by the wingtip with your dominant hand, ensuring a firm grip.
- Perform a smooth, powerful rotation of your body, similar to a discus throw.
- Release the glider at the optimal point, aiming for an upward trajectory. A proper discus launch can achieve altitudes of up to 40 meters.
- Gliding: Once launched, control the glider using your transmitter. The lightweight design is optimized for thermal soaring (catching rising air currents) and slope soaring (using wind deflected by terrain), allowing for extended flight times without motor propulsion. Practice gentle control inputs for efficient flight.
- Landing: Plan your landing approach carefully. Aim for a gentle, controlled descent into an open area, preferably into tall grass to minimize impact. Reduce speed gradually and maintain control until touchdown.

Figure 5.1: The Discus Acro glider in flight, demonstrating its aerodynamic capabilities.
6. Maintenance
Regular maintenance will ensure the longevity and optimal performance of your glider.
- Cleaning: After each flight, clean the glider to remove dirt, dust, or debris. Use a soft, dry cloth. Avoid using harsh chemicals that may damage the material.
- Inspection: Regularly inspect the airframe, control surfaces, linkages, and servos for any signs of damage, wear, or loose connections. Pay close attention to the wing and tail attachment points.
- Storage: Store the glider in a cool, dry place, away from direct sunlight and extreme temperatures. Disconnect the receiver battery during storage to prevent accidental discharge.
- Battery Care: Follow the manufacturer's instructions for charging and storing your receiver battery. Do not overcharge or fully discharge the battery, as this can reduce its lifespan.
- Component Replacement: If any component is damaged, replace it with genuine MODSTER spare parts to maintain flight performance and safety.
7. Troubleshooting
This section addresses common issues you might encounter with your Discus Acro glider.
- Glider does not respond to controls:
- Check transmitter and receiver battery levels. Ensure they are fully charged.
- Ensure the transmitter and receiver are properly bound. Refer to your receiver's manual for binding instructions.
- Verify all servo connections to the receiver are secure.
- Inspect servos for any visible damage or obstruction.
- Poor flight performance (e.g., unstable flight, difficulty gaining altitude):
- Check for damage to wings, fuselage, or control surfaces. Even minor damage can affect aerodynamics.
- Verify control surface throws are correct and symmetrical. Adjust linkages if necessary.
- Ensure the center of gravity (CG) is within the recommended range. An incorrect CG can lead to unstable flight. Adjust receiver and battery placement as needed.
- Assess weather conditions. Strong or turbulent winds can make stable flight difficult for lightweight gliders.
- Short flight times:
- Ensure optimal launch technique is used to achieve maximum initial altitude.
- Practice identifying and utilizing thermal lift or suitable slope conditions for extended flights.
- Check for any excessive drag caused by damage or misaligned components.
8. Specifications
| Feature | Detail |
|---|---|
| Model Name | Discus Acro |
| Model Number | MD11392 |
| Brand | MODSTER |
| Material | Plastic |
| Color | Pink |
| Wingspan | 990 mm |
| Length | 750 mm |
| Height | 150 mm |
| Weight | 150 grams |
| Servos | 3 integrated metal gear servos |
| Assembly | Minimal assembly required |
| Batteries Required | Yes (for receiver, not included) |
| Recommended Age | 14 - 99 years |
9. Warranty and Support
Information regarding specific warranty terms or direct customer support contacts is not provided in the product details. Please refer to the retailer or manufacturer's official website for warranty claims and support inquiries.
Spare parts availability: 2 Years from date of release.