
1. Introduction
Thank you for choosing the GLUROO Floor Lamp, Model 01. This lamp features 3-color lighting, stepless dimming, a magnetic remote control, memory function, and a timer. This manual provides detailed instructions for assembly, operation, and care to ensure optimal performance and safety.
2. Package Contents
Please verify that all components are present before assembly:
- Lamp
- Lampshade
- Remote Control
- Foot Switch
- Power Cable
3. Assembly Instructions
The GLUROO Floor Lamp is designed for easy self-assembly. Follow these steps:
- Carefully unpack all components from the packaging.
- Assemble the lamp pole sections by screwing them together clockwise until secure.
- Attach the lampshade to the top of the lamp pole according to the included diagrams.
- Connect the power cable to the lamp and plug it into a suitable power outlet.
- Ensure the foot switch is accessible for easy operation.
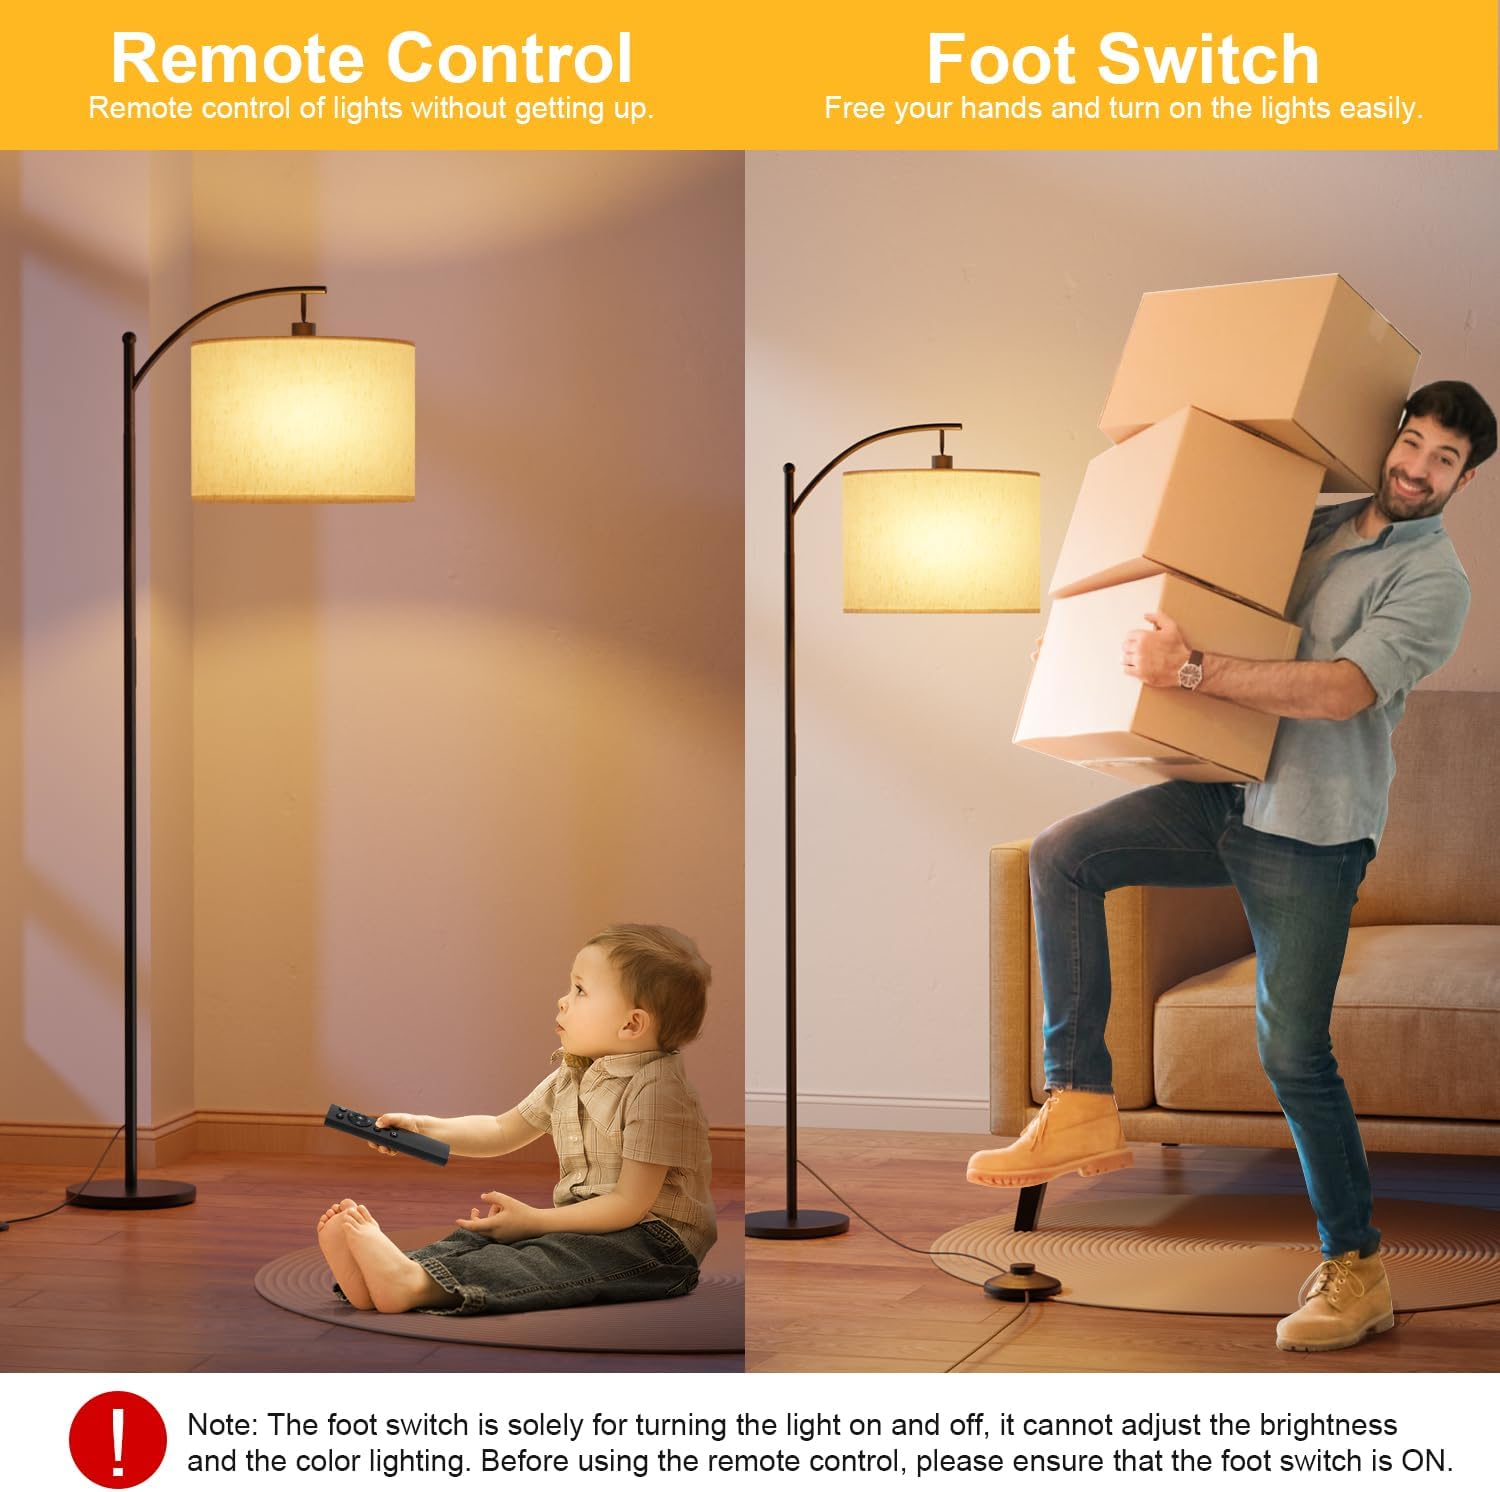
Image: Assembled GLUROO Floor Lamp.
4. Operating Instructions
4.1 Power On/Off (Foot Switch)
The foot switch provides a convenient way to turn the lamp on and off. Press the foot switch to toggle the power. Note that the foot switch only controls on/off functionality and does not adjust brightness or color temperature.

Image: Foot switch for basic power control and remote control for advanced settings.
4.2 Remote Control Functions
The remote control offers full control over the lamp's features. Ensure the foot switch is in the ON position for the remote to function.
- Power Button: Turns the lamp on or off.
- Brightness Adjustment: Use the '+' and '-' buttons to adjust brightness from 1% to 100%.
- Color Temperature Adjustment: Cycle through Warm White (3000K), Natural White (4000K), and Cool White (6000K) using the 'K' button.
- Preset Modes:
- Night Light Mode: Provides a soft, low light for nighttime.
- Feeding Mode: Optimized light for baby feeding.
- Working Mode: Bright, cool light suitable for tasks.
- Reading Mode: Comfortable light for reading.
- 1-Hour Timer: Press the '1H' button to set the lamp to turn off automatically after one hour.
- Memory Function: The lamp remembers your last brightness and color temperature settings when turned off and on again.

Image: Detailed layout of the remote control buttons and their functions.

Image: Examples of Warm White, Natural White, and Cool White lighting.

Image: Visual representation of stepless dimming capability.

Image: The lamp retaining its last setting after being turned off and on.

Image: The 1-hour timer function, useful for bedtime.
4.3 Magnetic Remote Control
The remote control features a magnetic back, allowing it to be conveniently attached to the metal pole of the floor lamp for easy storage and access.
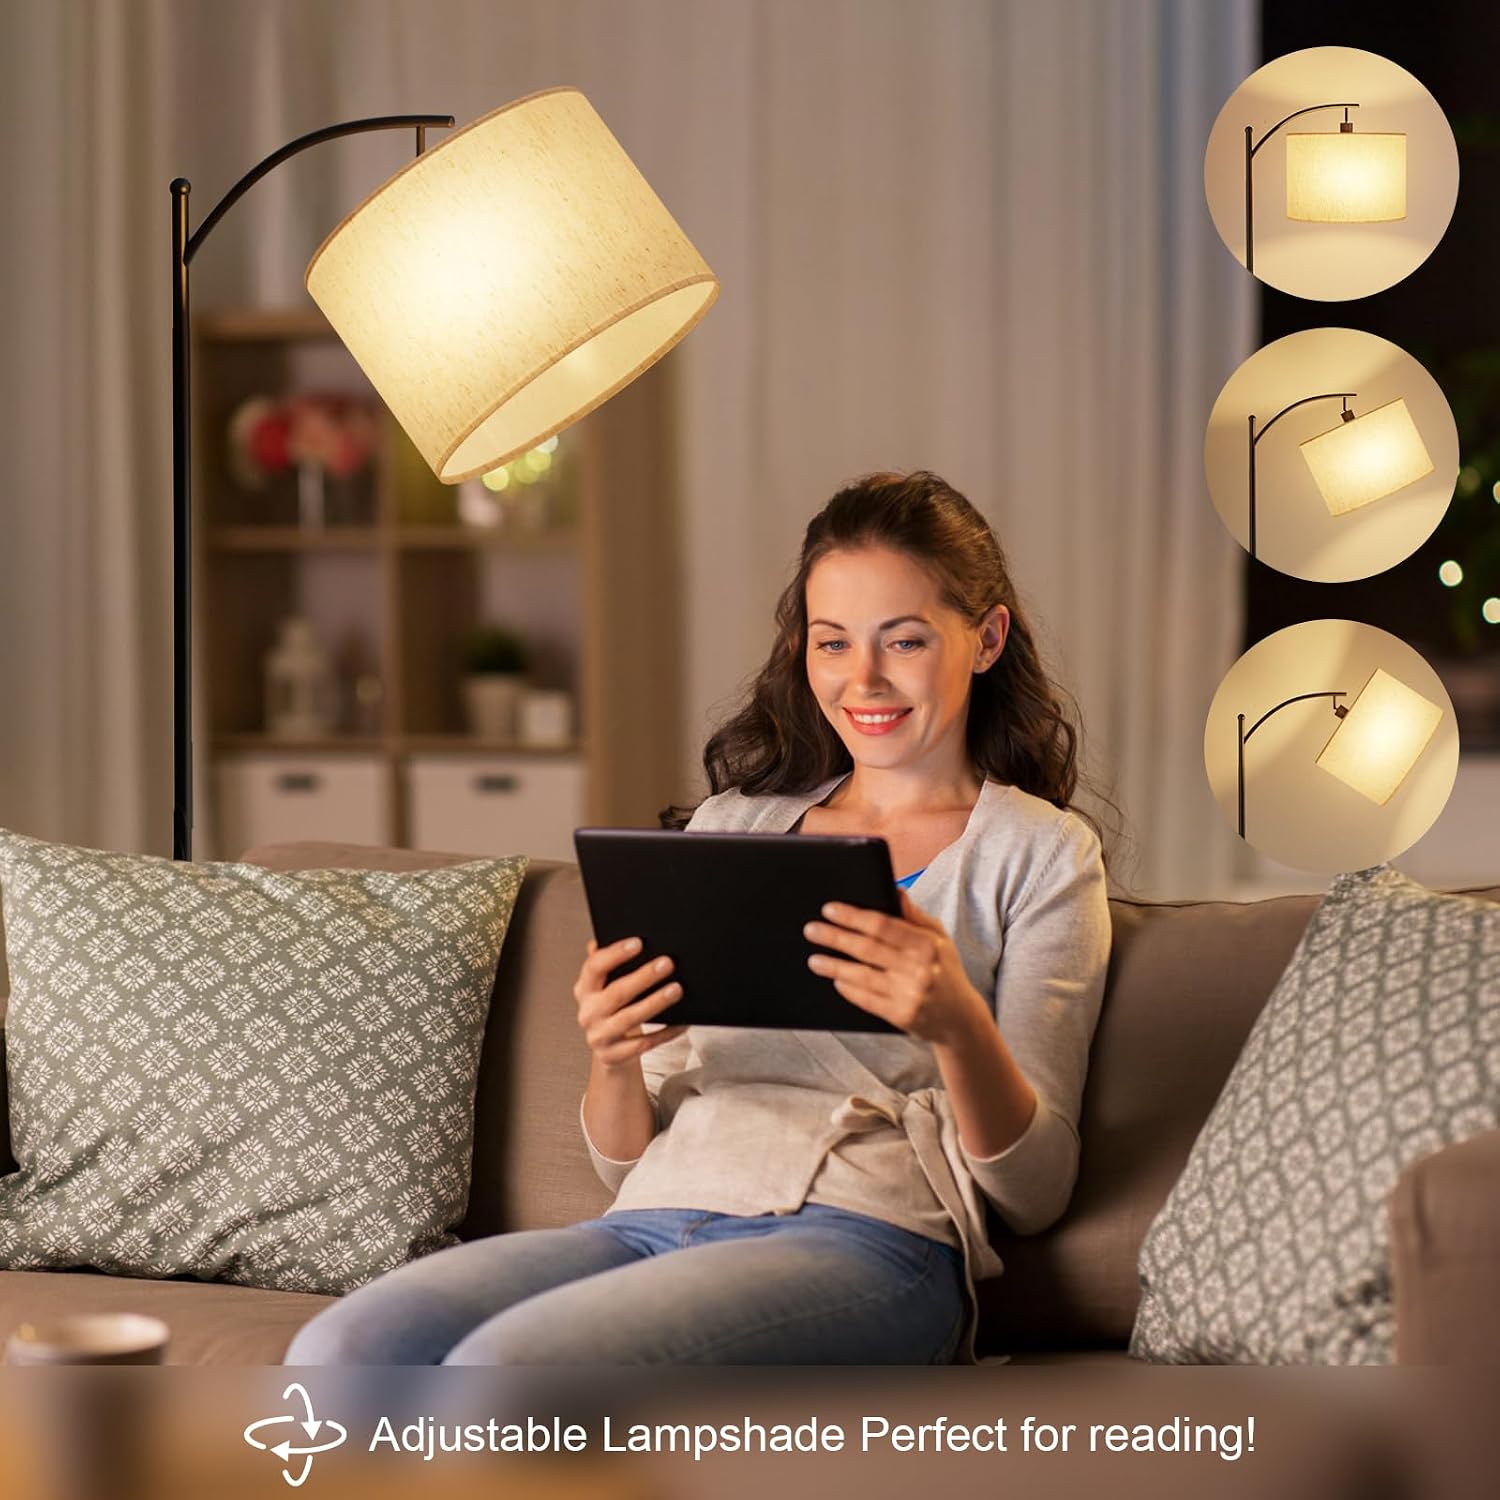
Image: Remote control magnetically attached to the lamp pole.
4.4 Adjustable Lampshade
The lampshade can be adjusted to direct light where needed, making it ideal for reading or task lighting.

Image: Lampshade adjusted for reading.

Image: Diagram showing the adjustable lampshade.
5. Remote Control Pairing and Unpairing
5.1 Pairing the Remote Control
If your remote control is not responding, it may need to be paired with the lamp:
- Disconnect the lamp from the power supply for at least 10 seconds.
- Reconnect the power supply. Turn on the lamp using the foot switch.
- Within 5 seconds of turning on the lamp, press and hold the power button on the remote control until the lamp blinks twice. Release the button.
- The remote control is now paired.
Video: Demonstrates how to pair the remote control with the GLUROO Floor Lamp.
5.2 Unpairing the Remote Control
To unpair the remote control from the lamp:
- Ensure the lamp is currently turned on.
- Press the foot switch to turn off the lamp.
- Wait for approximately 10 seconds or more.
- Press and hold the power button on the remote control. Do not release the button after the first blink cycle. Continue holding until the lamp blinks a second time, indicating that the unpairing is complete.
Note: The same video above also illustrates the unpairing process.
6. Safety Information
- Always unplug the lamp before cleaning or performing any maintenance.
- Do not use the lamp in wet or damp environments.
- Keep the lamp away from heat sources and direct sunlight.
- Ensure the lamp base is stable to prevent tipping, especially around children and pets.
- Use only the specified LED bulb (E27 base).
7. Maintenance
To maintain your GLUROO Floor Lamp:
- Wipe the lamp with a soft, dry cloth.
- Do not use abrasive cleaners or solvents.
- Periodically check the power cord for any damage.
8. Troubleshooting
| Problem | Possible Cause | Solution |
|---|---|---|
| Lamp does not turn on. | No power, loose connection, foot switch off. | Check power outlet, ensure all connections are secure, turn on foot switch. |
| Remote control not working. | Remote not paired, battery low, foot switch off. | Ensure foot switch is ON. Replace remote battery. Re-pair the remote control (refer to Section 5.1). |
| Lamp flickers or dims unexpectedly. | Loose bulb, unstable power supply. | Tighten the bulb. Try plugging into a different outlet. |
9. Specifications
| Feature | Detail |
|---|---|
| Brand | GLUROO |
| Model Number | 01 |
| Dimensions (L x W x H) | 25 x 25 x 160 cm |
| Weight | 4.66 kg |
| Material | Iron (Base), Fabric (Lampshade) |
| Color | Black |
| Number of Bulbs | 1 |
| Voltage | 230 Volts |
| Special Features | Adjustable Color Temperature, Memory Function, Dimmable, Timer |
| Bulb Type | LED (E27 Base) |
| Switch Style | Remote, Foot Switch |
10. Warranty and Support
GLUROO products come with a standard manufacturer's warranty. For warranty claims, technical support, or any inquiries regarding your product, please contact GLUROO customer service through your purchase platform. Please have your order ID ready when contacting support.
You can typically find contact information by logging into your account, checking your order ID, and clicking "Contact Seller".