
1. Introduction
This manual provides instructions for the installation, operation, and maintenance of the MincoHome 110V Pre-assembled Pipe Heating Cable. This self-regulating heating cable is designed for pipe freeze protection and roof & gutter de-icing applications. It is pre-assembled with a US plug for convenient installation.
2. Safety Information
- Always disconnect power before installing or servicing the heating cable.
- Ensure the power supply matches the cable's voltage (110V).
- Do not cut or splice the heating cable unless specifically instructed by the manufacturer.
- Avoid sharp bends or kinks in the cable during installation.
- Ensure all electrical connections are dry and protected from moisture.
- Consult a qualified electrician if you are unsure about any part of the installation process.
3. Product Overview
The MincoHome self-regulating heating cable is engineered for efficient heat distribution and freeze protection. Its structure ensures durability and performance in various conditions.
3.1 Cable Structure
The heating cable consists of multiple layers designed for optimal performance and safety:
- Copper-core wire: 7x0.3mm for electrical conductivity.
- Conductive heating element: The core component responsible for heat generation.
- Thermoelastic plastic inner insulation: Provides electrical insulation and protection.
- Copper-aluminum braid: Offers grounding and mechanical protection.
- Thermoelastic plastic outer jacket: Provides external protection against environmental factors.

Image: Cross-section view of the heating cable, illustrating its layered construction from the copper-core wire to the outer jacket.
3.2 Pre-assembled Plug
The heating cable comes with a pre-assembled US plug, simplifying the installation process. The cold cable section with the plug is approximately 1.5 meters long.
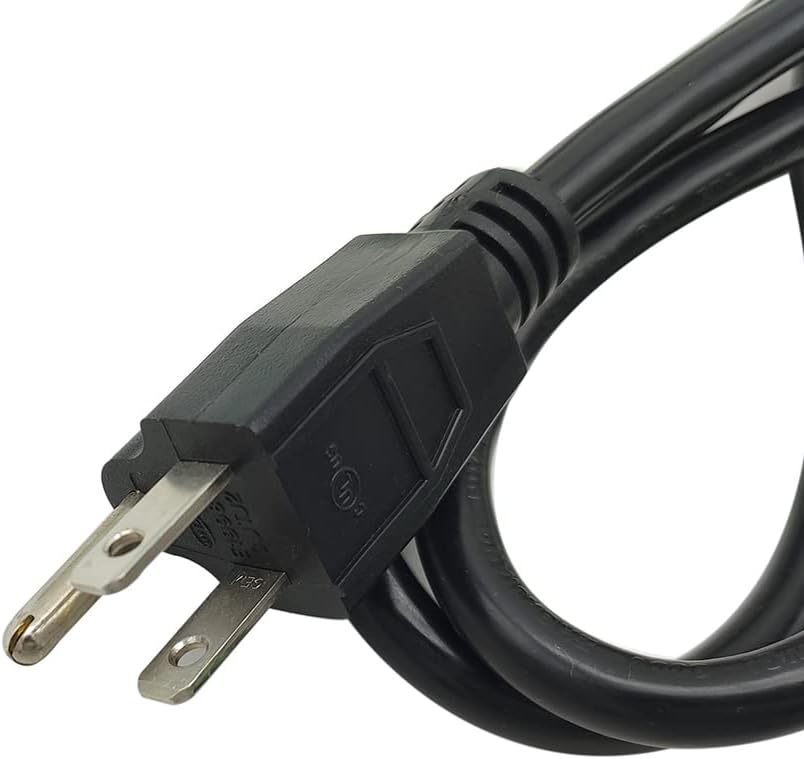
Image: A standard US electrical plug, pre-attached to the heating cable for immediate use.

Image: The green heating cable coiled, showing printed specifications such as voltage and power output.
4. Setup and Installation
The heating cable is suitable for both inside and outside pipe freeze protection, as well as roof and gutter de-icing. Installation can be performed at any time of year without requiring pipe excavation.
4.1 Pipe Freeze Protection
For pipe freeze protection, the heating cable should be applied directly to the pipe. For optimal performance, insulate the pipe and cable after installation. The cable can be applied in a straight line or spiraled around the pipe, depending on the required heat output and pipe diameter.

Image: Diagram showing two methods of applying the heating cable to a pipe: a straight run secured with tape or cable ties, and a spiral wrap for increased heat distribution. It also shows the recommended 1/2 inch insulation and waterproof covering.
4.2 Roof and Gutter De-icing
For roof and gutter de-icing, the cable should be installed along the edges of the roof, in gutters, and downspouts to create clear paths for melting snow and ice. Use appropriate roof clips to secure the cable.

Image: Diagram illustrating the installation of heating cable on a roof, showing how it is routed along the roof edge, into the gutter, and down the downspout, secured by roof clips and featuring an end seal and junction box.
5. Operating Instructions
This heating cable is self-regulating, meaning its power output adjusts automatically based on the ambient temperature. It does not require a separate temperature regulator.
- Once installed, simply plug the cable into a standard 110V electrical outlet.
- The cable will automatically heat up when temperatures drop, providing reliable freeze protection down to -40°C.
- Unplug the cable when freeze protection is no longer needed.
6. Maintenance
The MincoHome heating cable is designed for minimal maintenance. However, periodic inspection is recommended.
- Visually inspect the cable and plug for any signs of damage, wear, or fraying before each season of use.
- Ensure the adhesive heat shrinkable tubing at connections remains intact to prevent moisture ingress, especially if used in drinking water applications.
- Keep the cable free from debris, especially in roof and gutter applications.
- Do not paint over the heating cable.
7. Troubleshooting
If the heating cable is not functioning as expected, consider the following:
- No Heat:
- Check if the cable is properly plugged into a live 110V outlet.
- Verify that the circuit breaker or fuse for the outlet has not tripped.
- Ensure the ambient temperature is low enough for the self-regulating function to activate significant heat output.
- Insufficient Heat:
- Confirm the cable is adequately insulated on the pipe.
- Ensure the cable is properly installed according to the recommended methods (e.g., spiraled for higher heat demand).
- Check for any physical damage to the cable that might affect its performance.
- Visible Damage:
- If the cable's outer jacket is cut or damaged, discontinue use immediately and replace the cable.
If problems persist, contact MincoHome customer support.
8. Specifications
| Manufacturer | MincoHome |
| Model Number | B09WMXN8XL |
| Item Weight | 9.6 ounces |
| Package Dimensions | 6 x 6 x 1 inches |
| Color | Green |
| Cable Length (Shape) | 6 meters (20ft) |
| Item Package Quantity | 1 |
| Power Output | 17 W per meter |
| Operating Voltage | 110V |
| Freeze Protection Temperature | Down to -40°C |
| Date First Available | March 28, 2022 |
9. Warranty and Support
For warranty information or technical support, please refer to the product packaging or contact MincoHome customer service directly. Keep your purchase receipt for warranty claims.


