1. Introduction
This manual provides instructions for the installation, maintenance, and troubleshooting of the Amesias WD22X26622 Dishwasher Spray Arm. This replacement part is designed for specific GE dishwasher models and is compatible with original part numbers WD22X27740, WD35X10393, WD22X10089, and WD22X33498.

Figure 1: Amesias WD22X26622 Dishwasher Spray Arm.
2. Before You Begin: Compatibility Check
It is crucial to verify that this replacement spray arm is compatible with your specific dishwasher model. Many parts may appear similar but are not interchangeable. Refer to your dishwasher's model number, typically found on a label inside the dishwasher door or on the side of the tub, to confirm compatibility with WD22X26622 or its equivalent part numbers (WD22X27740, WD35X10393, WD22X10089, WD22X33498).
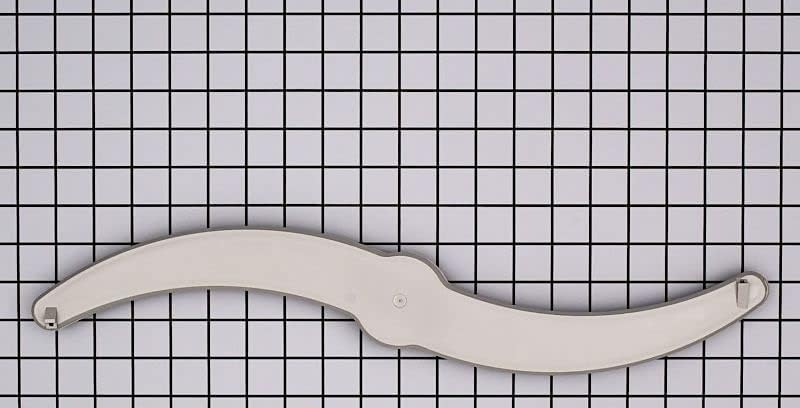
Figure 2: Always verify part compatibility with your appliance model number.
3. Safety Information
Always prioritize safety when performing appliance repairs. Failure to follow these safety guidelines may result in injury or damage to property.
- Disconnect Power: Before beginning any installation or maintenance, ensure the dishwasher's power supply is disconnected at the circuit breaker or by unplugging the appliance.
- Water Supply: Turn off the water supply to the dishwasher before working on it.
- Wear Protective Gear: Use appropriate personal protective equipment, such as gloves, to prevent cuts or scrapes.
- Handle with Care: The spray arm may have sharp edges or components. Handle with care.
- Professional Assistance: If you are unsure about any step, consult a qualified appliance technician.
4. Parts Included
The package includes:
- 1 x Amesias WD22X26622 Dishwasher Spray Arm
5. Setup and Installation
Follow these general steps to replace your dishwasher spray arm. Specific steps may vary slightly depending on your dishwasher model.
- Prepare the Dishwasher: Ensure the dishwasher is empty. Disconnect power and turn off the water supply as described in the Safety Information section.
- Locate the Old Spray Arm: Open the dishwasher door and locate the spray arm you intend to replace. This is typically the lower spray arm, but the process is similar for upper arms.
- Remove the Old Spray Arm: Most spray arms are held in place by a retaining nut, clip, or simply snap onto a water supply tube. Turn the retaining nut counter-clockwise or gently pull the arm upwards to detach it. Observe how the old arm is connected to assist with new arm installation.
- Inspect the Connection Point: Before installing the new arm, inspect the water supply tube or manifold for any debris or damage. Clean if necessary.
- Install the New Spray Arm: Align the new Amesias WD22X26622 spray arm with the water supply tube. Push it down firmly or turn the retaining nut clockwise until it is securely in place. Ensure the arm can rotate freely without obstruction.
- Test for Free Movement: Gently spin the spray arm by hand to confirm it rotates smoothly and does not catch on any racks or other dishwasher components.
- Restore Power and Water: Once the new spray arm is securely installed, restore the water supply and reconnect power to the dishwasher.
- Perform a Test Cycle: Run a short wash cycle without dishes to check for proper spray arm rotation and water distribution. Listen for any unusual noises.

Figure 3: Observe the central connection point for proper installation.

Figure 4: The spray arm's design ensures optimal water coverage.
6. Operating the Spray Arm
The spray arm operates automatically as part of the dishwasher's wash cycle. Once installed correctly, it will rotate and spray water to clean dishes. Ensure that dishes and utensils do not obstruct the spray arm's rotation, as this can impede cleaning performance.
7. Maintenance
Regular maintenance of your dishwasher spray arm helps ensure optimal cleaning performance.
- Check for Clogs: Periodically inspect the spray arm nozzles for food particles, mineral deposits, or other debris that may clog them.
- Clean Nozzles: If clogs are present, remove the spray arm (refer to installation steps) and use a small brush or toothpick to clear the nozzles. Rinse thoroughly under running water.
- Inspect for Damage: Check the spray arm for any cracks, bends, or other physical damage that could affect its function. Replace if damaged.
8. Troubleshooting
If you experience issues after replacing the spray arm, consider the following:
| Problem | Possible Cause | Solution |
|---|---|---|
| Poor cleaning performance | Clogged spray arm nozzles; Spray arm obstructed; Incorrect installation | Clean nozzles; Ensure no dishes block rotation; Re-install spray arm securely. |
| Spray arm not rotating | Obstruction; Low water pressure; Damaged spray arm | Remove obstructions; Check dishwasher's water supply; Inspect spray arm for damage. |
| Unusual noise during cycle | Spray arm hitting dishes or racks; Loose installation | Rearrange dishes; Ensure spray arm is securely attached. |
9. Specifications
| Feature | Detail |
|---|---|
| Manufacturer | Amesias |
| Part Number | WD22X26622 |
| Item Weight | 3.98 ounces |
| Product Dimensions | 1 x 1 x 1 inches (Approximate) |
| Item Model Number | WD22X26622 |
| Included Components | Arm |
| Batteries Included? | No |
| Batteries Required? | No |
10. Warranty Information
This Amesias product comes with a 1-Year Warranty. For specific terms and conditions, please refer to the warranty documentation provided with your purchase or contact the seller directly.
11. Customer Support
If you have any questions regarding the installation, operation, or maintenance of your Amesias WD22X26622 Dishwasher Spray Arm, please contact the seller or manufacturer for assistance. When contacting support, please have your product model number and purchase information readily available.