CARBBIA 753-06258A
Instruction Manual
CARBBIA 753-06258A Carburetor Kit
Model: 753-06258A | Brand: CARBBIA
1. Product Overview
This kit provides a replacement carburetor and essential components for maintaining the fuel system of compatible 2-cycle 25cc engines. It is designed to restore optimal engine performance, including quick starting, smooth running, and efficient fuel consumption.

Image 1.1: Complete CARBBIA 753-06258A Carburetor Kit, including the carburetor, air filters, fuel lines, primer bulbs, and gaskets.

Image 1.2: Detailed view of all components included in the kit, such as the carburetor, fuel filter, fuel lines, primer bulbs, and various gaskets.
Kit Contents:
- 1 x Carburetor (Part # 753-06258A)
- 2 x Air Filters
- 2 x Fuel Lines
- 2 x Primer Bulbs
- 2 x Gaskets
- 1 x Fuel Filter
- 1 x Adjustment Tool
2. Compatibility
This carburetor kit is designed as a direct replacement for part numbers 753-06258A and 753-06258, and is also compatible with Ryobi 307160001, 316299372, and 316773800.
Compatible Models:
- Ryobi: RY251PH, RY252CS, RY254BC 2 Cycle 25cc Trimmer / Brush Cutter
- Craftsman: 316791960, 316711930, 316791210, 316791700, 316791840, 316791841, 316791931, 316791932 Trimmer; 316773800 Edger; 316299372 Cultivator
- Other Brands: Sears Yard Machines, Troy Bilt, Cub Cadet, Bolens, Remington Lawn Mower (for 2 Cycle 25cc String Trimmer, Brush Cutter, Edger, Cultivator, and 2 Cycle 25.4cc String Trimmer models)
3. Installation and Setup
Proper installation is crucial for the carburetor's performance. Always ensure the engine is cool and disconnected from any power source before beginning work. It is recommended to consult your equipment's specific service manual for detailed instructions on removing the old carburetor and installing the new one.
General Installation Steps:
- Preparation: Gather necessary tools (screwdrivers, wrenches, pliers). Ensure the engine is off and cool.
- Remove Old Components: Carefully disconnect the fuel lines, throttle linkage, and air filter housing from the old carburetor. Remove the mounting bolts and the old carburetor.
- Clean Mounting Area: Clean any debris or old gasket material from the engine's mounting surface to ensure a proper seal.
- Install New Gaskets: Place the new gaskets in their correct positions between the engine, carburetor, and air filter housing.
- Mount New Carburetor: Position the new carburetor and secure it with the mounting bolts. Do not overtighten.
- Connect Fuel Lines: Attach the new fuel lines and primer bulbs as per the original configuration. Ensure secure connections to prevent leaks.
- Install Air Filter: Place the new air filter(s) into the air filter housing and reattach the housing.
- Connect Linkages: Reattach the throttle linkage and any other connections.
- Initial Start-up: After installation, prime the carburetor by pressing the primer bulb several times until fuel is visible. Start the engine and allow it to warm up.
- Adjustments: Minor idle speed adjustments may be necessary after installation. Use the provided adjustment tool if required, following your equipment's manual for specific tuning procedures.
4. Operation
The carburetor is a critical component for mixing air and fuel in the correct ratio for combustion. A properly functioning carburetor ensures efficient engine operation.
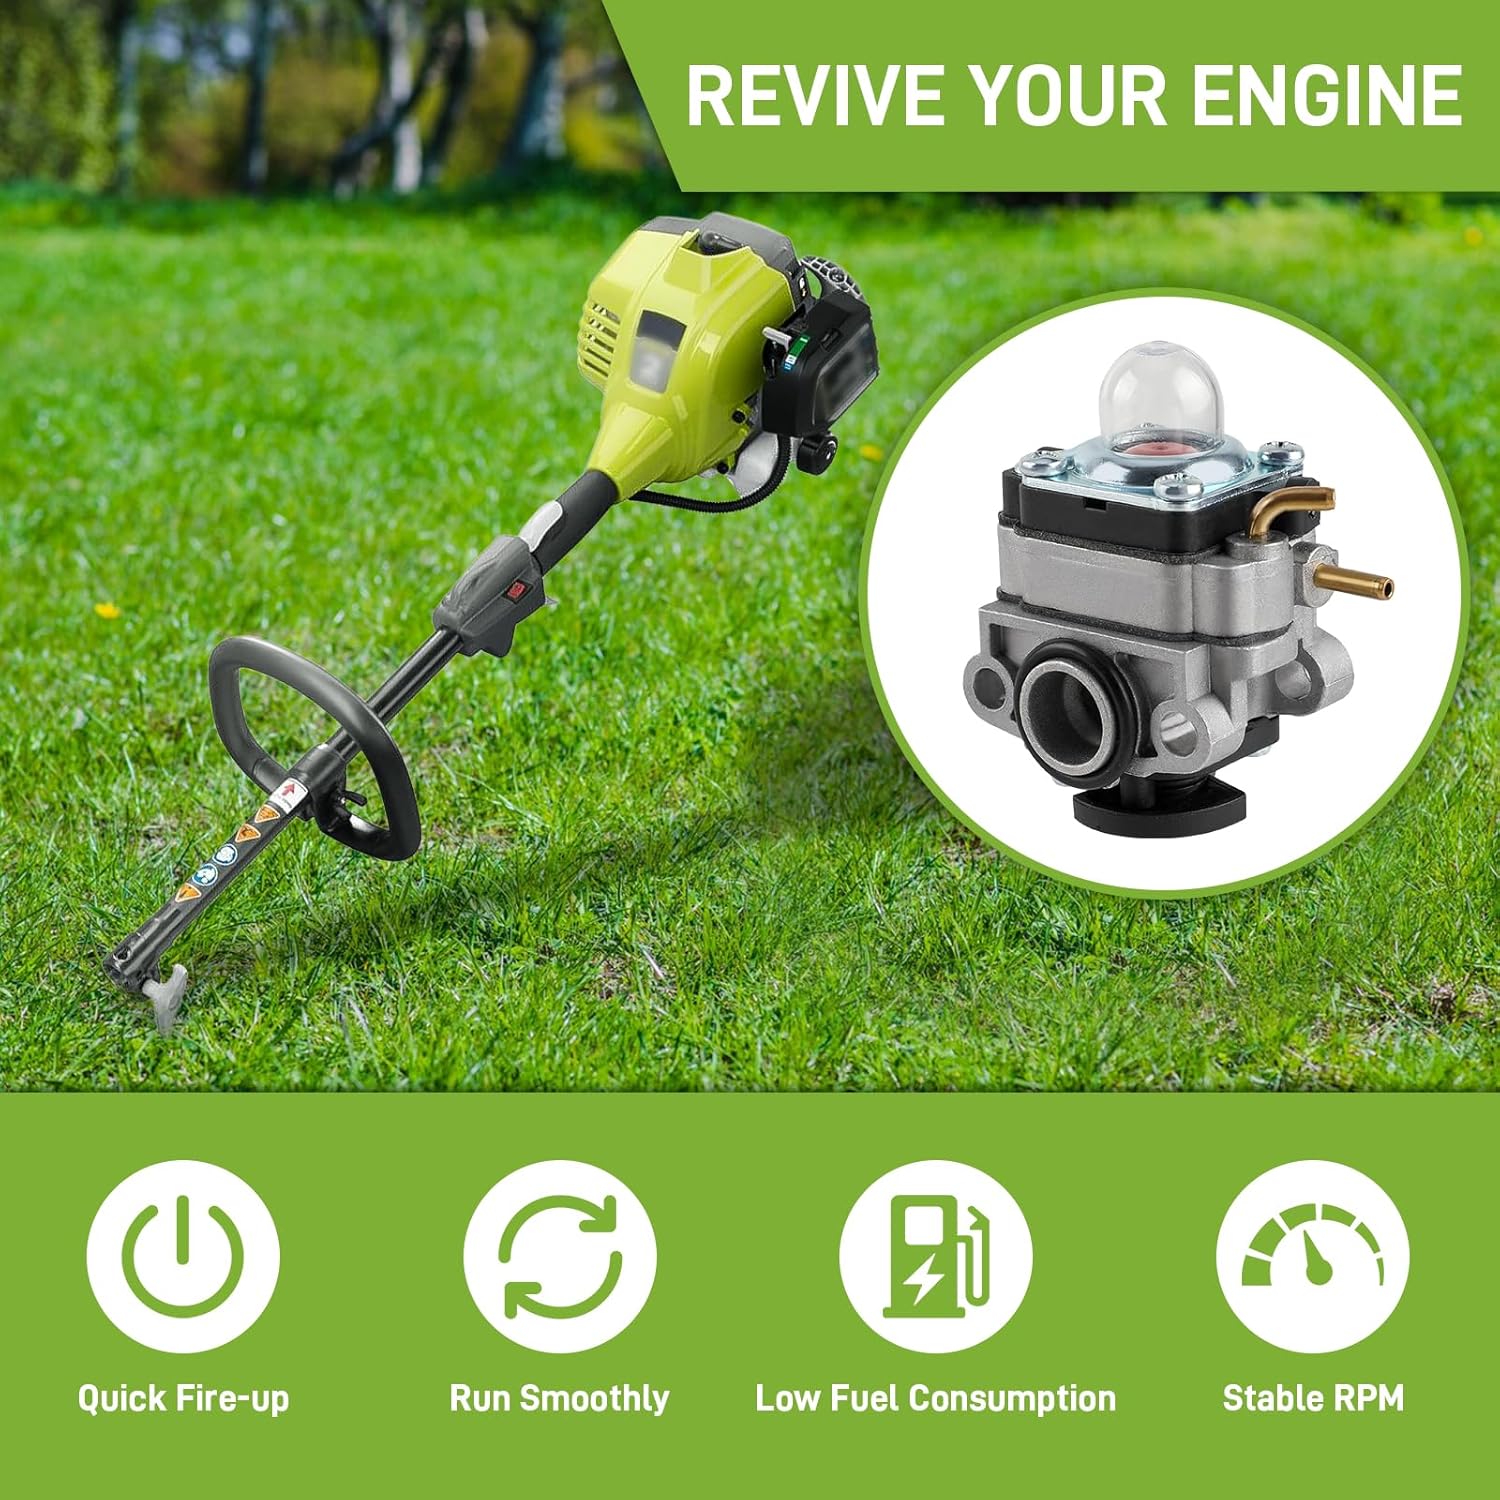
Image 4.1: Visual representation of the benefits of a new carburetor, including improved engine performance characteristics.
Expected Performance Improvements:
- Quick Fire-up: Easier and faster engine starting.
- Smooth Running: Consistent engine operation without sputtering or stalling.
- Low Fuel Consumption: Optimized fuel-air mixture for better efficiency.
- Stable RPM: Maintained engine speed under varying loads.
5. Maintenance
Regular maintenance of your carburetor and associated components will extend the life of your engine and ensure consistent performance.
Maintenance Tips:
- Fuel Quality: Always use fresh, clean fuel mixed with the correct oil ratio for 2-cycle engines. Stale or contaminated fuel can clog the carburetor.
- Fuel Filter: Regularly inspect and replace the fuel filter to prevent debris from reaching the carburetor.
- Air Filter: Clean or replace the air filter frequently, especially in dusty conditions, to ensure proper airflow and prevent dirt from entering the carburetor.
- Storage: Before long-term storage, drain the fuel system or use a fuel stabilizer to prevent fuel degradation and carburetor gumming. Run the engine until it runs out of fuel to ensure the carburetor is dry.
- Inspection: Periodically check fuel lines for cracks or leaks and replace them as needed. Inspect primer bulbs for hardening or cracking.
6. Troubleshooting
If your engine experiences issues after carburetor replacement, consider the following common problems and solutions:
| Problem | Possible Cause | Solution |
|---|---|---|
| Engine won't start or starts hard | No fuel reaching carburetor; clogged fuel filter; improper primer bulb operation; incorrect choke setting. | Check fuel level; replace fuel filter; ensure primer bulb is working; verify choke position. |
| Engine stalls or runs rough | Improper fuel-air mixture; clogged air filter; vacuum leak (gaskets); idle speed too low. | Adjust carburetor (if applicable); clean/replace air filter; check gasket seals; adjust idle screw. |
| Engine lacks power or accelerates poorly | Restricted fuel flow; dirty air filter; carburetor not tuned correctly. | Check fuel lines and filter; clean/replace air filter; perform carburetor tuning. |
| Fuel leaks from carburetor | Loose connections; damaged fuel lines or primer bulb; faulty gasket. | Tighten connections; replace damaged components; ensure gaskets are properly seated. |
7. Specifications
Key technical details and dimensions of the CARBBIA 753-06258A Carburetor.

Image 7.1: Dimensional overview of the carburetor, indicating key measurements for fitment.
- Brand: CARBBIA
- Manufacturer Part Number: 753-06258A
- Flange Type: Bolt On
- Fuel Type: Gasoline
- Item Weight: Approximately 5.6 ounces
- Package Dimensions: Approximately 4.33 x 3.27 x 2.83 inches
- UPC: 710412539622
- Recommended Uses: Lawn Mower, String Trimmer, Brush Cutter, Edger, Cultivator
8. Support
For further assistance, technical inquiries, or to explore other CARBBIA products, please visit the official CARBBIA store or contact customer support through your purchase platform.