1. Introduction
This manual provides detailed instructions for the installation, operation, and maintenance of your AsiaHorse FS-9002 Pro 120mm RGB Case Fans. Please read this manual thoroughly before installation and use to ensure optimal performance and longevity of your product.
2. Safety Information
- Always disconnect power from your computer before installing or servicing any components.
- Handle components with care to avoid damage from electrostatic discharge. Consider using an anti-static wrist strap.
- Ensure all cables are connected securely and correctly to prevent short circuits or malfunction.
- Keep the product away from moisture, dust, and extreme temperatures.
- Do not attempt to disassemble or modify the fans or controller, as this will void the warranty.
3. Package Contents
The AsiaHorse FS-9002 Pro 120mm RGB Case Fan package typically includes the following components:
- AsiaHorse FS-9002 Pro 120mm RGB Case Fans (quantity as per pack)
- FS-9002 Dedicated Hub
- Analog ARGB Controller (Remote Control)
- Mounting Screws
- SATA Power Cables
- 5V 3-pin ARGB Motherboard Sync Cable
- 4-pin PWM Motherboard Sync Cable

Image 3.1: Overview of AsiaHorse FS-9002 Pro 120mm RGB Case Fan components, including fans, hub, and remote.
4. Specifications
| Feature | Specification |
|---|---|
| Model | FS-9002PRO |
| Size | 120 x 120 x 25mm |
| Speed | 800-1800 ±10% RPM/Min |
| Noise Level | 22.65 dB(A) (Max) |
| Airflow | 57 CFM ±10% |
| Air Pressure | 1.2 mmH2O |
| Bearing Type | FDB (Fluid Dynamic Bearing) |
| Lifespan | Over 40,000 hours |
| LEDs | 26 RGB LEDs (Double Lighting Loops) |
| Control | 5V PWM Motherboard Sync / Analog Controller |
| Power Connector | 3-Pin (ARGB) / 4-Pin (PWM) |
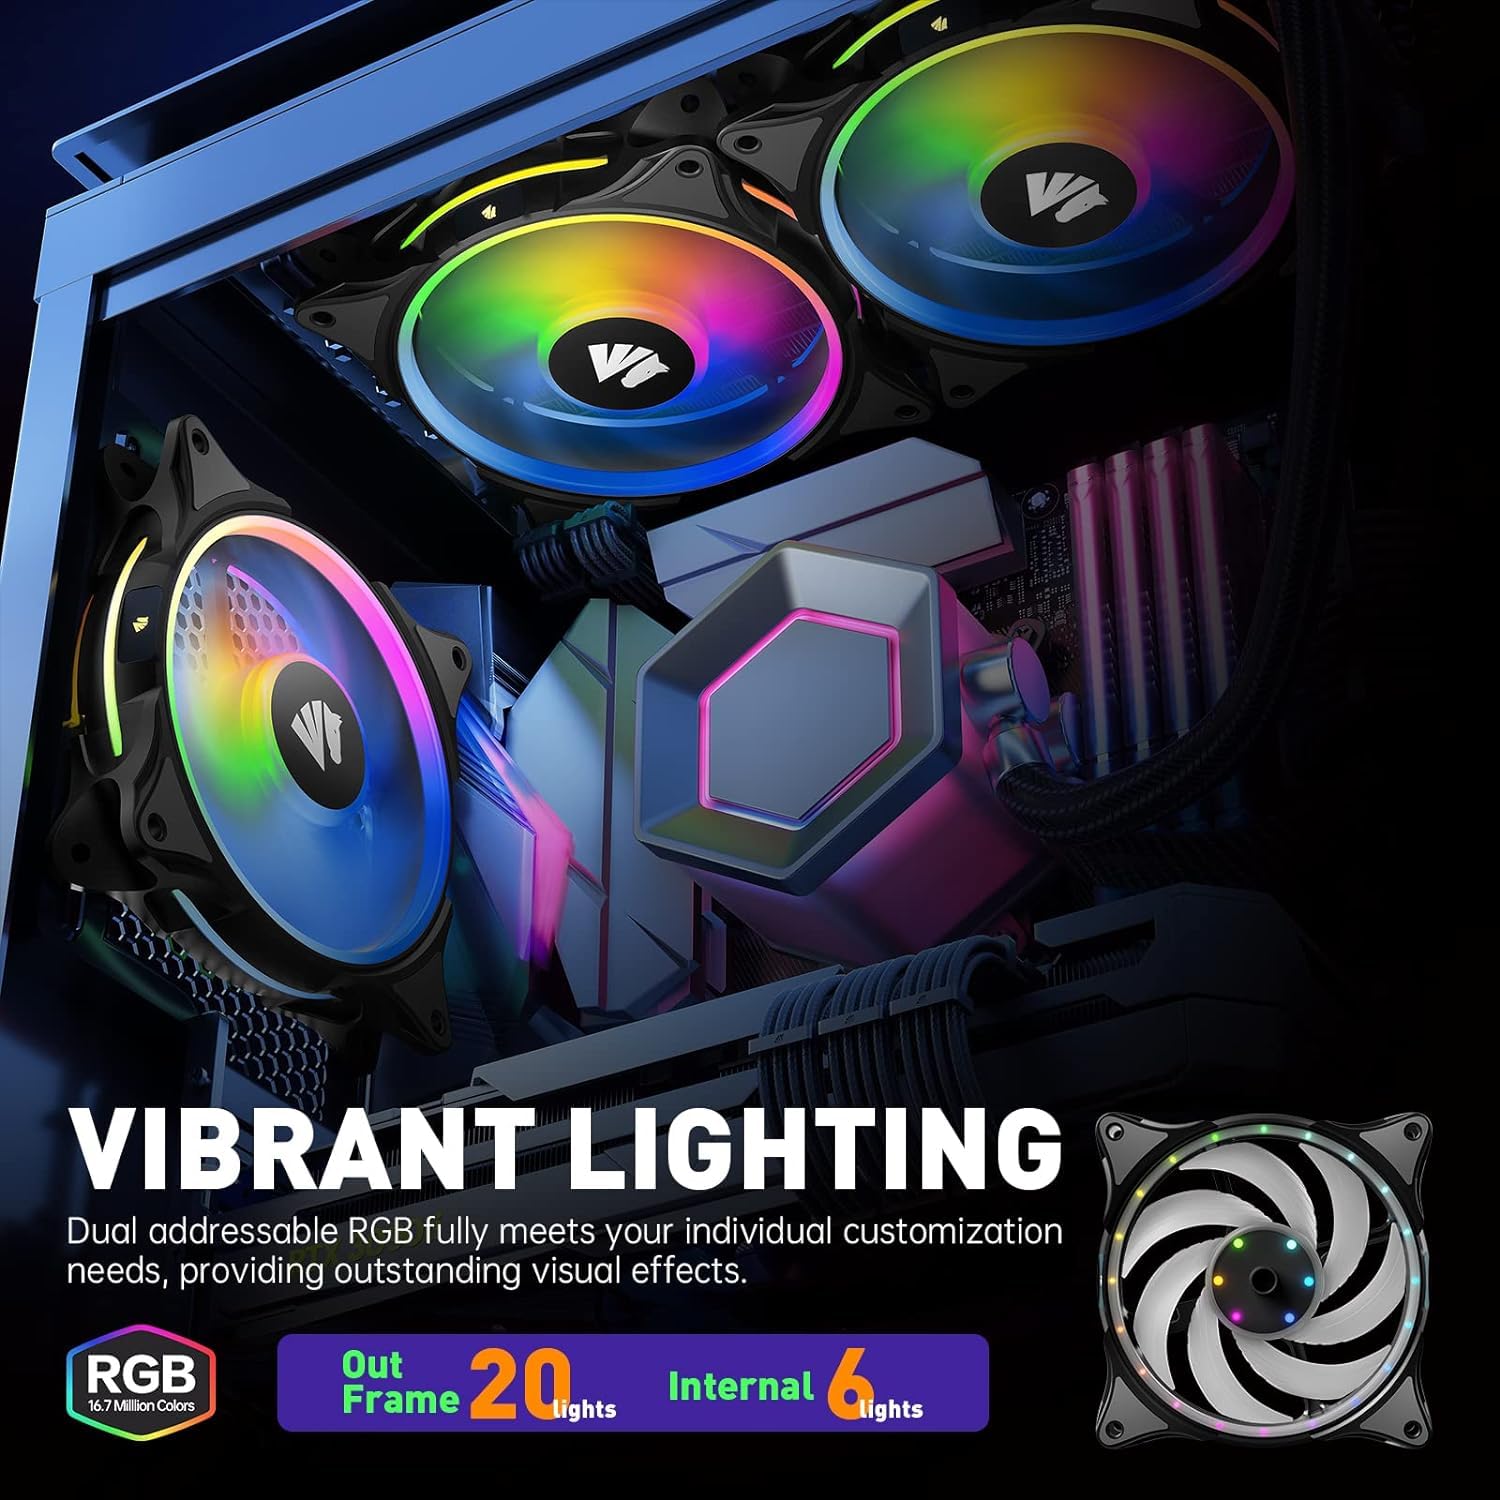
Image 4.1: The FS-9002 Pro fans feature 26 RGB LEDs across two loops for vibrant lighting effects.

Image 4.2: The fan's upgraded oil seal ring helps maintain cleanliness and extends lifespan.
5. Setup & Installation
5.1 Connecting the FS-9002 Dedicated Hub
The dedicated hub allows connection of up to 10 fans and manages both RGB lighting and PWM fan speed control. Ensure your computer is powered off before making any connections.
- Connect Fans to Hub: Connect your FS-9002 Pro fans to the FAN1-FAN10 ports on the hub. It is recommended to connect them in order (FAN1, FAN2, etc.) for consistent control.
- Connect SATA Power: Connect the SATA power cable(s) from your power supply unit (PSU) to the PSU1 and/or PSU2 ports on the hub. If connecting more than 5 fans, connect both SATA1 and SATA2 power cords to ensure stable operation.
- Connect Motherboard Sync Cables (Optional): If you wish to synchronize RGB lighting and/or fan speed with your motherboard software, connect the appropriate cables from the hub to your motherboard.

Image 5.1: The FS-9002 Pro hub with connected fans and cables.
Video 5.1: Fan Installation Guide - This video demonstrates the physical installation of the fans and connection to the hub.
5.2 Motherboard Synchronization
The FS-9002 Pro fans support 5V 3-pin ARGB and 4-pin PWM motherboard synchronization. This allows you to control lighting and fan speed directly through your motherboard's software (e.g., ASUS Aura Sync, MSI Mystic Light, Gigabyte RGB Fusion).
- ARGB Connection: Connect the 5V 3-pin ARGB cable from the hub to your motherboard's 5V_D_G header. Do NOT connect to a 12V RGB header, as this will damage the LEDs.
- PWM Connection: Connect the 4-pin PWM cable from the hub to your motherboard's CPU_FAN or SYS_FAN header.

Image 5.2: Diagram showing the FBN Hub connections to motherboard headers and SATA power.
Video 5.2: Synchro PC Fan Guide - This video illustrates how to connect the fans for motherboard synchronization.
Note:
- If your motherboard lacks a 5V 3-pin ARGB header, you can still use the included analog controller to manage lighting effects.
- For motherboard control of RGB, press the 'Switch' button on the remote twice in a row. For motherboard control of PWM fan speed, press the 'W' button on the remote three times in a row.
Video 5.3: How to Use - This video demonstrates switching between remote and motherboard control for both RGB and PWM.
6. Operating Instructions
6.1 Analog Controller (Remote Control)
The included analog controller provides various lighting modes and color options. Point the remote at the hub to change settings.
- Lighting Modes: Cycle through various effects like wave, full brightness, RGB spectrum, flow, ripple, pulse, and flash.
- Preset Colors: Select from 5 preset colors (red, green, blue, white, Rainbow 1.0, and Rainbow 2.0).
- Brightness/Speed: Adjust the brightness of the LEDs and the speed of dynamic lighting effects.
- OFF Mode: An exclusive OFF mode is available to turn off the lighting while fans continue to operate.
Video 6.1: Many Different Lighting Modes and Colors - Demonstrates various lighting effects available via the analog controller.
6.2 Motherboard Software Control
Once connected to your motherboard's ARGB and PWM headers, you can use your motherboard's proprietary software (e.g., ASUS Aura Sync, MSI Mystic Light, Gigabyte RGB Fusion) to customize lighting and fan speed. Refer to your motherboard's manual for specific software instructions.

Image 6.1: Illustration of controlling fan lighting via computer software or remote control.

Image 6.2: Synchronous control setup with the hub and motherboard software.
7. Maintenance
Regular maintenance helps ensure the longevity and performance of your fans.
- Cleaning: Periodically clean the fan blades and frame to remove dust buildup. Use compressed air or a soft, dry cloth. Ensure fans are powered off before cleaning.
- Bearing Care: The FDB (Fluid Dynamic Bearing) design is low-maintenance. Avoid applying lubricants or disassembling the bearing, as this can damage the fan.
- Cable Management: Ensure cables are neatly routed and not obstructing airflow or fan blades.
8. Troubleshooting
8.1 Fans Not Spinning or Lighting Up
- Power Connection: Verify that the SATA power cable(s) are securely connected from your PSU to the fan hub.
- Fan Connections: Ensure all fans are correctly plugged into the fan hub ports.
- Motherboard Sync: If using motherboard sync, ensure the 5V 3-pin ARGB and 4-pin PWM cables are correctly connected to the motherboard headers.
- Remote Control: If using the remote, check the battery and ensure it is pointed towards the hub.
8.2 RGB Lighting Not Working or Incorrect Colors
- ARGB Header: Confirm the 5V 3-pin ARGB cable is connected to a 5V_D_G header on your motherboard, not a 12V RGB header.
- Software Settings: If using motherboard sync, check your motherboard's RGB software settings to ensure the fans are detected and configured correctly.
- Switching Control: If switching between remote and motherboard control, ensure you have pressed the 'Switch' button on the remote twice in a row to activate motherboard RGB control.
8.3 Fan Speed Not Adjusting (PWM)
- PWM Connection: Verify the 4-pin PWM cable from the hub is connected to a CPU_FAN or SYS_FAN header on your motherboard.
- BIOS/Software Settings: Check your motherboard's BIOS or fan control software settings to ensure PWM control is enabled and configured.
- Switching Control: If switching between remote and motherboard control, ensure you have pressed the 'W' button on the remote three times in a row to activate motherboard PWM control.
- Persistent PWM Issue: Some users have reported that the PWM mode may not persist after the computer enters and exits sleep mode. If this occurs, manually re-engage PWM control via the remote as described above.
8.4 Unusual Noise from Fans
- Obstructions: Check for any cables or objects obstructing the fan blades.
- Mounting: Ensure fans are securely mounted and screws are tightened to prevent vibration. The fans include rubber noise-reduction pads to minimize vibration.
- Initial Startup Noise: Some users have reported a temporary loud sound during initial PC startup, which typically subsides after a few minutes. This is often related to the fan bearings settling.
9. Warranty and Support
AsiaHorse products are designed for reliability and performance. For warranty information, technical support, or further assistance, please refer to the official AsiaHorse website or contact their customer service directly. Keep your proof of purchase for warranty claims.