1. Introduction
This manual provides essential information for the safe and efficient use of your INNOCN 24C1Q 24-inch QHD IPS Monitor. Please read this manual thoroughly before operating the device and retain it for future reference.
2. Safety Information
- Do not expose the monitor to rain or moisture to prevent fire or electric shock.
- Do not open the monitor casing. There are no user-serviceable parts inside. Refer all servicing to qualified personnel.
- Place the monitor on a stable, flat surface to prevent it from falling.
- Ensure proper ventilation around the monitor. Do not block ventilation openings.
- Use only the power adapter and cables provided by the manufacturer.
- Unplug the monitor from the power outlet during lightning storms or when unused for long periods.
3. Package Contents
Verify that all items listed below are included in your package:

Figure 3.1: Package Contents
- INNOCN 24C1Q Monitor x 1
- Power Cable x 1
- Power Adapter x 1
- HDMI Cable x 1
- USB-C Cable x 1
- USB-A to USB-B Cable x 1
- Color-calibration report x 1
- Instruction Manual x 1
4. Setup
4.1 Assembling the Stand
Attach the monitor stand to the back of the monitor. Ensure it clicks securely into place. The stand allows for height, tilt, and swivel adjustments.

Figure 4.1: Stand Assembly and Adjustments
4.2 Connecting the Monitor
Connect the monitor to your computer or other devices using the appropriate cables. The monitor features multiple input interfaces:

Figure 4.2: Monitor Input Interfaces
- DP 1.2: For DisplayPort connections.
- USB-C: Provides video signal, data transfer, and up to 90W power delivery for compatible devices.
- USB-A (x2): For connecting USB peripherals.
- USB-B: For upstream USB connection to your computer.
- HDMI 2.0: For HDMI connections.
- HDMI 1.4: For additional HDMI connections.
- 3.5mm Audio Jack: For audio output to external speakers or headphones.
Connect the power adapter to the monitor and then to a power outlet.
5. Operating Instructions
5.1 Power On/Off
Press the power button located on the monitor to turn it on or off.
5.2 On-Screen Display (OSD) Menu
Use the buttons on the monitor to navigate the OSD menu. The OSD menu allows you to adjust various display settings.
5.3 Display Settings
- Resolution: The monitor supports QHD (2560 x 1440p) resolution. Ensure your device's display settings are configured to this resolution for optimal clarity.
- Refresh Rate: The monitor operates at a 75Hz refresh rate, providing smooth visuals.
- Color Gamut: Features 100% sRGB wide color gamut for accurate color reproduction. A factory color calibration report is included.
- Brightness & Contrast: Adjust these settings via the OSD menu to suit your viewing environment. The monitor offers 300 nits brightness and a 1000:1 contrast ratio.

Figure 5.1: QHD Resolution and 100% sRGB
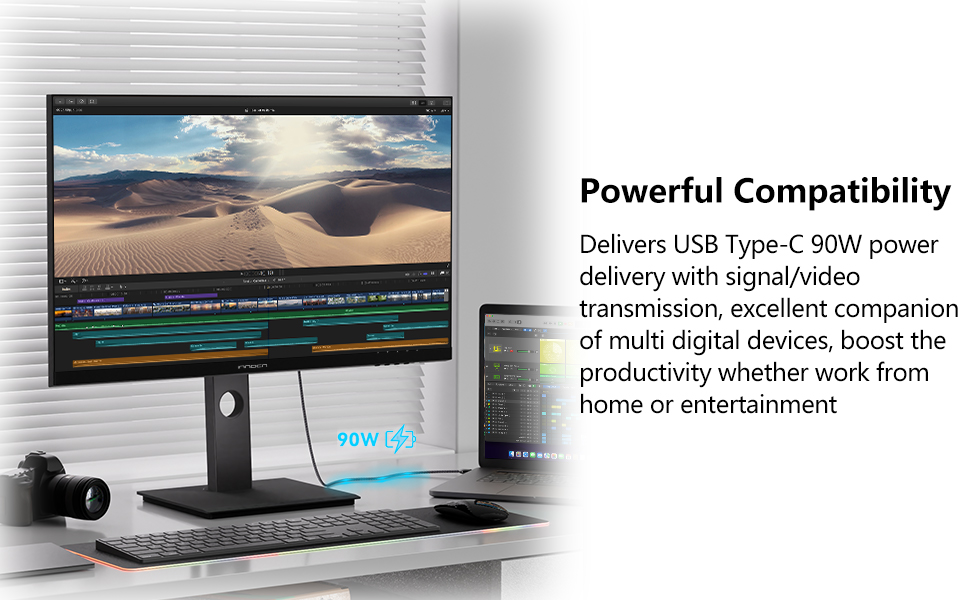
Figure 5.2: 75Hz Refresh Rate
5.4 Special Features
- USB Type-C Power Delivery: Connect compatible laptops or devices via USB-C for video, data, and up to 90W charging.
- Flicker-Free & Blue Light Filter: These technologies reduce eye strain during prolonged use. Activate the Low Blue Light mode via the OSD menu.
- Picture-in-Picture (PIP) / Picture-by-Picture (PBP): Display content from multiple sources simultaneously. Refer to the OSD menu for configuration options.
- Ergonomic Stand: The included stand allows for height, tilt, and swivel adjustments, and can pivot 90 degrees for portrait mode.
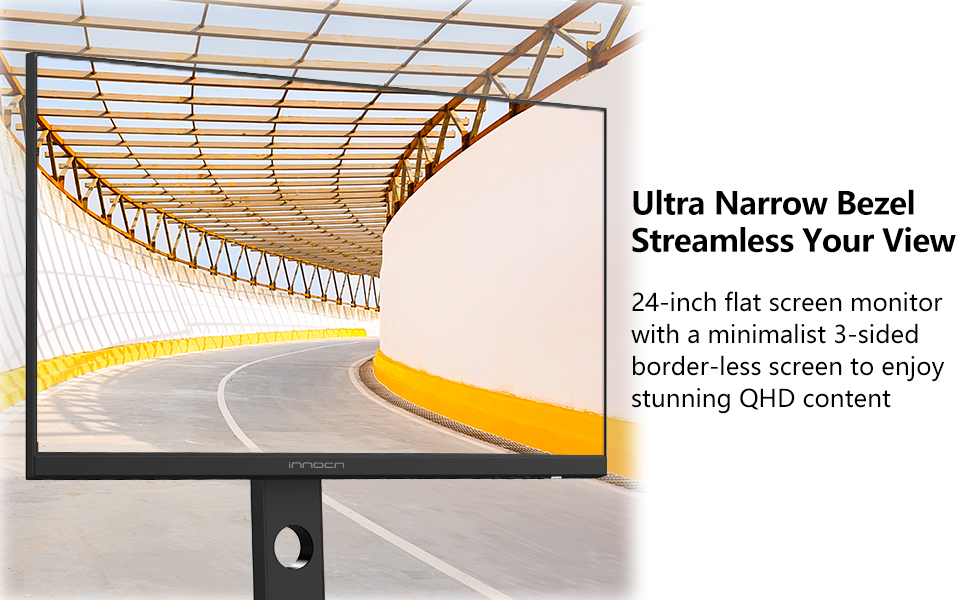
Figure 5.3: USB Type-C Power Delivery

Figure 5.4: Flicker-Free & Blue Light Filter

Figure 5.5: PIP/PBP Features
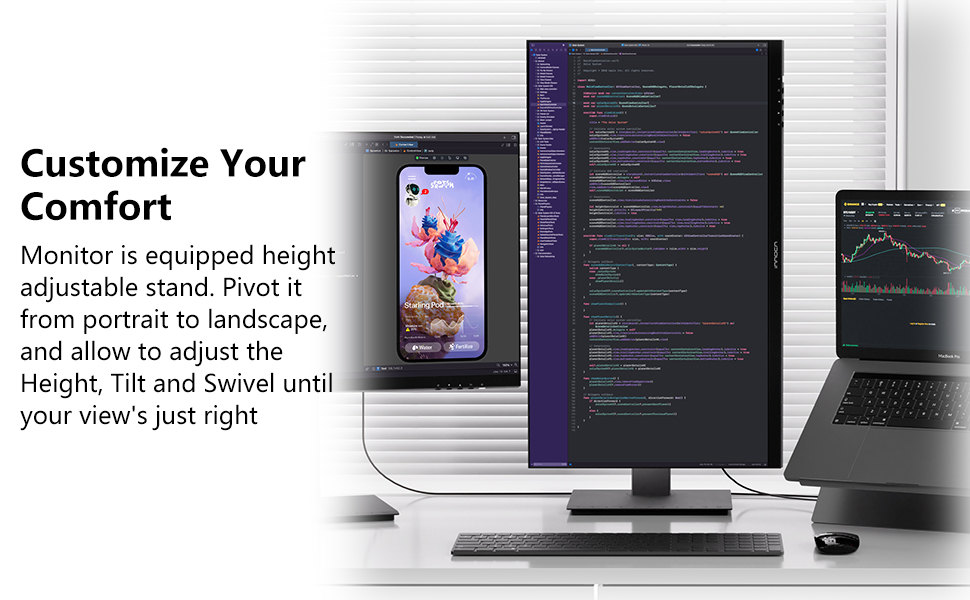
Figure 5.6: Customizable Comfort with Adjustable Stand
6. Maintenance
6.1 Cleaning the Monitor
- Always unplug the monitor before cleaning.
- Use a soft, lint-free cloth lightly dampened with water or a mild, non-abrasive screen cleaner.
- Do not spray cleaner directly onto the screen.
- Avoid using harsh chemicals, solvents, or abrasive materials.
6.2 Storage
When storing the monitor, ensure it is in a cool, dry place away from direct sunlight and extreme temperatures. Use original packaging if available for protection.
7. Troubleshooting
If you encounter issues with your monitor, refer to the following common problems and solutions:
| Problem | Possible Cause | Solution |
|---|---|---|
| No power | Power cable not connected; Power outlet faulty | Ensure power cable is securely connected; Try a different power outlet. |
| No signal | Video cable not connected; Incorrect input source selected | Check video cable connections (HDMI, DP, USB-C); Select the correct input source via the OSD menu. |
| Image is blurry or distorted | Incorrect resolution; Faulty video cable | Set the display resolution to 2560 x 1440p; Try a different video cable. |
| Screen flickers | Refresh rate issue; External interference | Ensure refresh rate is set to 75Hz; Check for nearby electronic devices causing interference. |
| No sound from audio jack | External speakers/headphones not connected; Volume too low | Connect external audio device; Adjust volume settings on the monitor and connected device. |
8. Specifications
| Feature | Specification |
|---|---|
| Brand | INNOCN |
| Model Number | 24C1Q |
| Screen Size | 24 Inches |
| Resolution | QHD Wide 1440p (2560 x 1440 Pixels) |
| Aspect Ratio | 16:9 |
| Display Type | IPS LCD |
| Refresh Rate | 75 Hz |
| Response Time | 1 Milliseconds |
| Brightness | 300 Candela |
| Contrast Ratio | 1000:1 |
| Color Gamut | 100% sRGB |
| Viewing Angle | 178 Degrees |
| Connectivity | 1x DP 1.2, 1x USB-C (90W PD), 2x USB-A, 1x USB-B, 1x HDMI 2.0, 1x HDMI 1.4, 1x 3.5mm Audio Jack |
| Mounting Type | Height Adjustable Stand, VESA Mountable (75x75mm) |
| Special Features | Flicker-Free, Blue Light Filter, Color Calibrated, Tilt/Height/Pivot Adjustable, USB Type-C Power Delivery |
| Dimensions (D x W x H) | 6.1"D x 25"W x 16.1"H |
9. Warranty and Support
9.1 Warranty Information
The INNOCN 24C1Q monitor comes with a 1-year manufacturer warranty. Please retain your proof of purchase for warranty claims.
9.2 Technical Support
For technical assistance, troubleshooting beyond this manual, or warranty inquiries, please contact INNOCN customer support. Refer to the official INNOCN website or your product documentation for contact details.