
1. Introduction
This manual provides comprehensive instructions for the installation, operation, and maintenance of your Allesin Motorized Blackout Roller Blind. Please read this manual thoroughly before installation and use to ensure proper function and safety. Keep this manual for future reference.
2. Safety Information
- Ensure all components are present and undamaged before installation.
- Do not attempt to modify the product. Unauthorized modifications may void the warranty and pose safety risks.
- Keep the remote control out of reach of children to prevent unintended operation.
- This product is designed for indoor use only. Do not expose to moisture or extreme temperatures.
- Use only the specified battery type (6 AA batteries) for the motor system.
- Regularly check the mounting hardware to ensure the blind remains securely attached.
3. Package Contents
Verify that all items are included in your package:
- Motorized Roller Blind (1 unit)
- Remote Control (1 unit)
- Mounting Brackets (2-3 units, depending on size)
- Screws and Wall Anchors
- AA Batteries (6 units, pre-installed or separate)
- User Manual (this document)
4. Product Overview
The Allesin Motorized Blackout Roller Blind features a robust design for effective light control and privacy. Key components include:
- Thickened Top Rail: Provides structural integrity and houses the motor.
- Motor Button: Located on the motor unit for manual control and pairing.
- Blackout Fabric: Multi-layered material designed for 100% light blockage, UV protection, and noise isolation.
- Stable Bottom Bar: Ensures the fabric hangs evenly and provides weight for smooth operation.
- M100 Motor System: Quiet, battery-powered motor for automated operation.
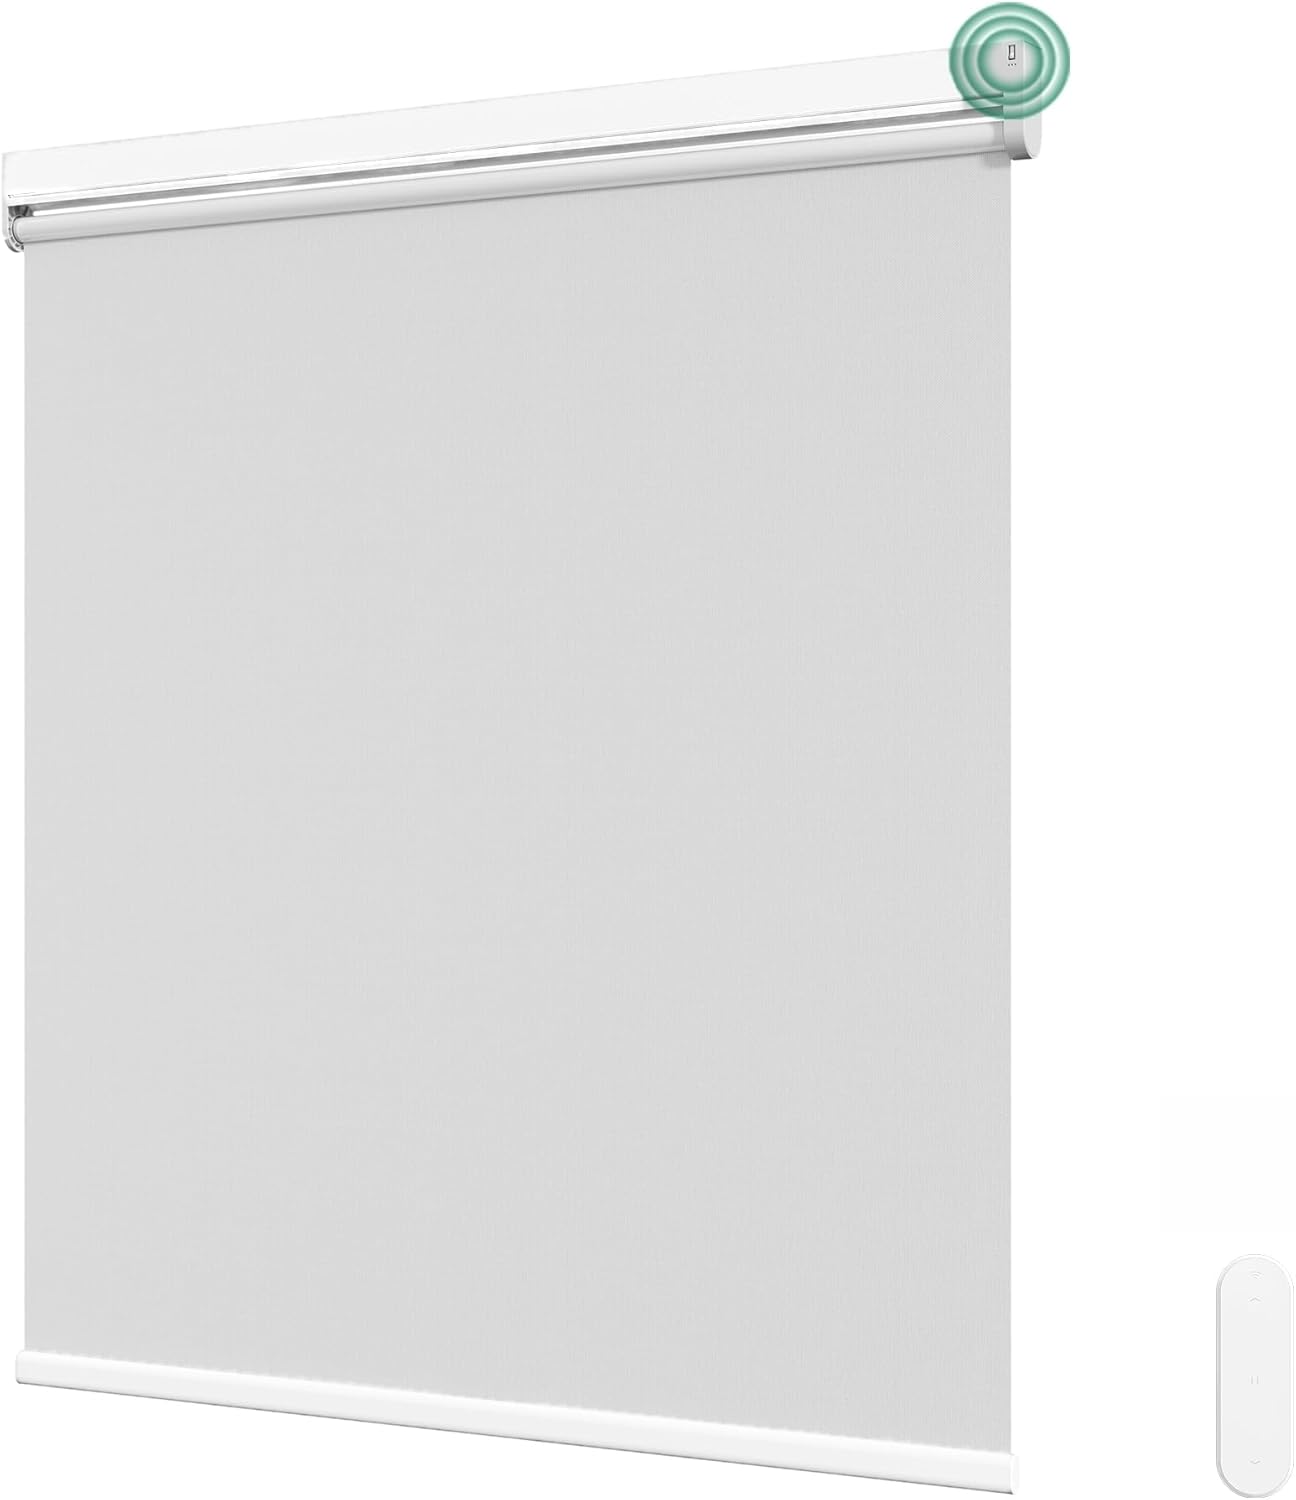
This image displays the complete roller blind unit, highlighting its sleek design and the accompanying remote control for convenient operation.

This image provides a close-up of the key structural and functional elements of the roller blind, including the top rail, motor button, fabric layers, and bottom bar.
5. Setup and Installation
5.1. Measuring for Installation
Accurate measurements are crucial for proper fit and function. Determine whether you will use an inside mount or an outside mount.

This image illustrates the correct method for measuring your window for both inside and outside mount installations, including considerations for wall depth and added width/height.
Inside Mount:
- Order Width: Measure the exact inside width of the window frame at the top, middle, and bottom. Use the smallest measurement.
- Order Length: Measure the exact inside length of the window frame.
- Wall Depth: Ensure your window frame has a minimum depth of 1.81 inches for the blind to fit flush.
Outside Mount:
- Order Width: Measure the window frame width and add 4-6 inches for optimal light blockage and coverage.
- Order Height: Measure the window frame height and add 4-6 inches for optimal coverage.
5.2. Mounting the Blind
Follow these steps for secure installation:
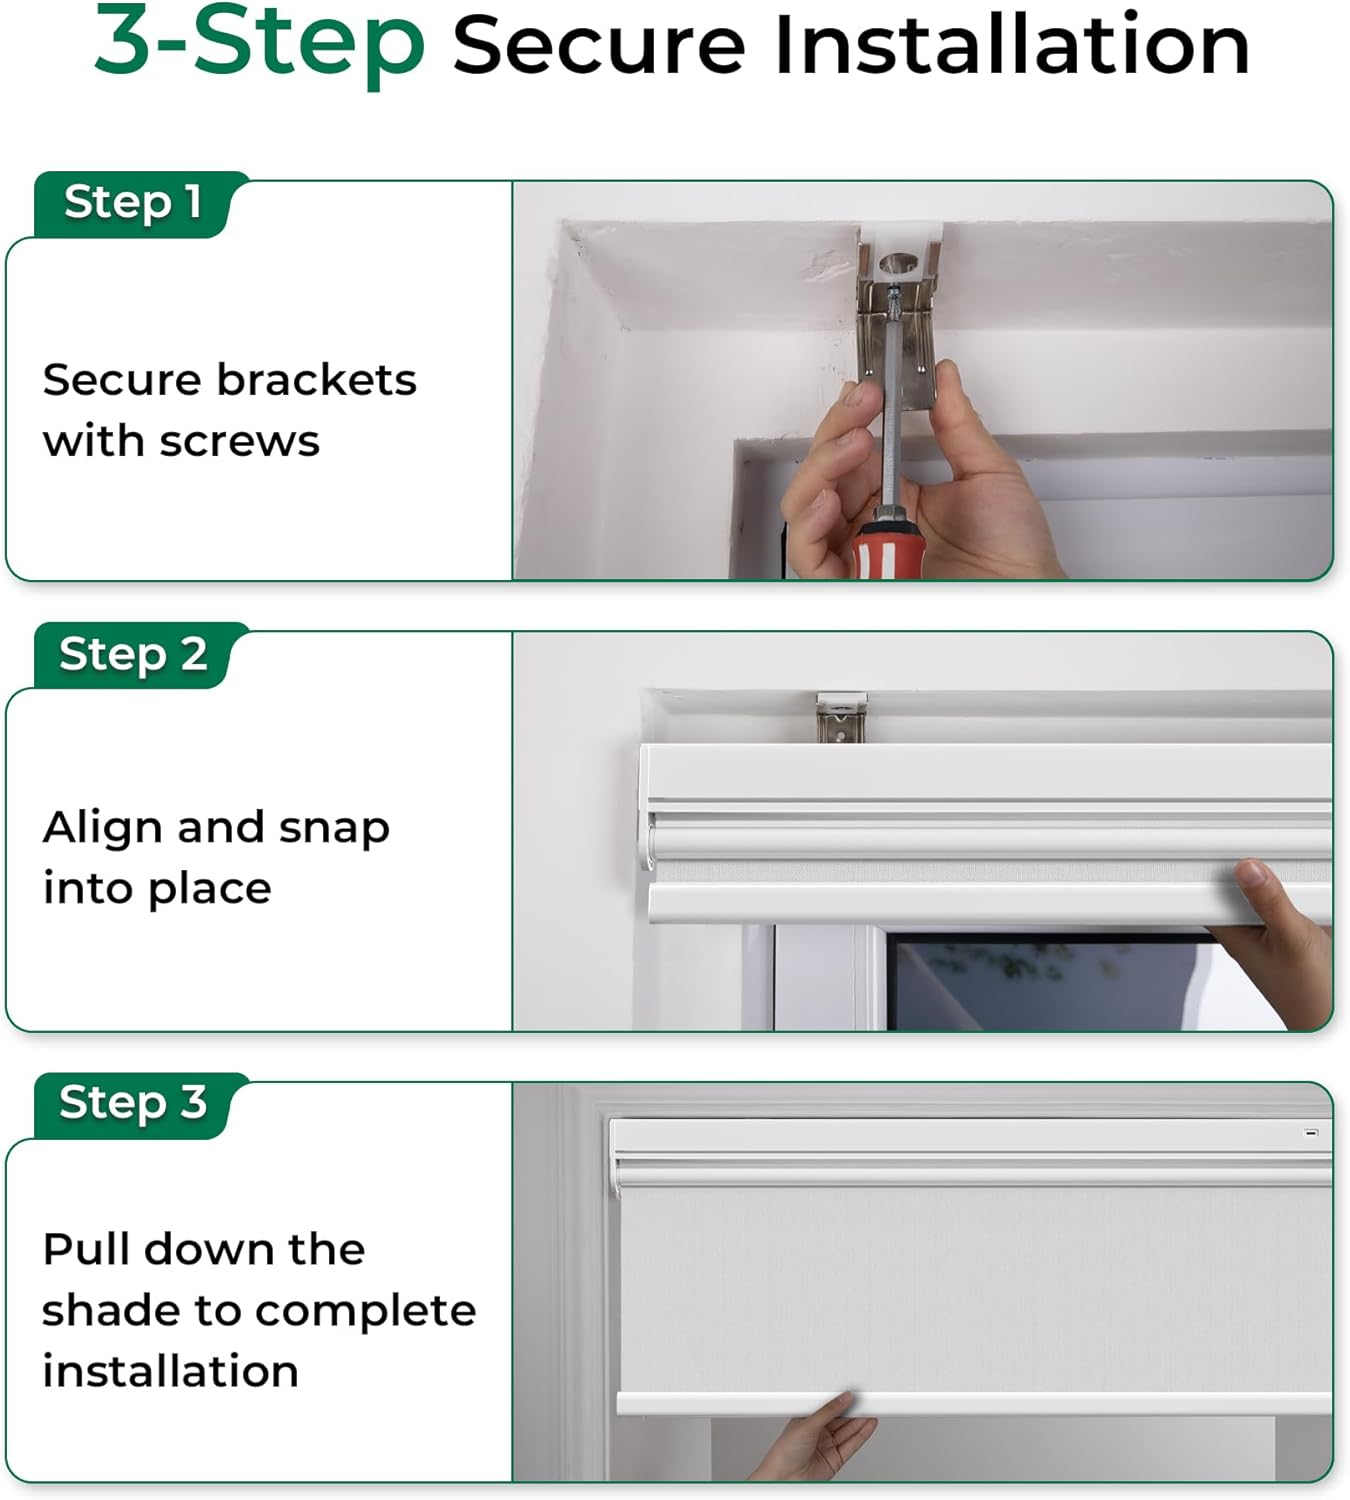
This image provides a clear, step-by-step visual guide for installing the roller blind, from securing brackets to snapping the blind into place.
- Step 1: Secure Brackets. Position the mounting brackets according to your chosen mount type (inside or outside). Mark the screw locations and drill pilot holes. Securely fasten the brackets using the provided screws and wall anchors.
- Step 2: Align and Snap. Carefully align the roller blind's top rail with the installed brackets. Push the blind upwards until it snaps securely into place. Ensure both ends are firmly seated.
- Step 3: Final Check. Gently pull down on the shade to confirm it is securely installed and does not wobble.
5.3. Battery Installation/Replacement
The M100 motor system is powered by 6 AA batteries, which are typically included and pre-installed. If replacement is needed, follow these steps:

This diagram illustrates the process of replacing the 6 AA batteries within the motor housing, emphasizing careful handling of the power cord connector.
- Roll up the blind completely and lay it flat on a stable surface.
- Locate the battery compartment on the left side of the motor. Unscrew the cover using a screwdriver. Be careful not to pull hard on the power cord connector to prevent loosening.
- Remove the old batteries and install 6 new AA dry batteries, ensuring correct polarity as indicated inside the compartment.
- Replace the battery compartment cover and tighten the screws.
6. Operation
6.1. Remote Control Operation
The included remote control allows for easy adjustment of your roller blind.
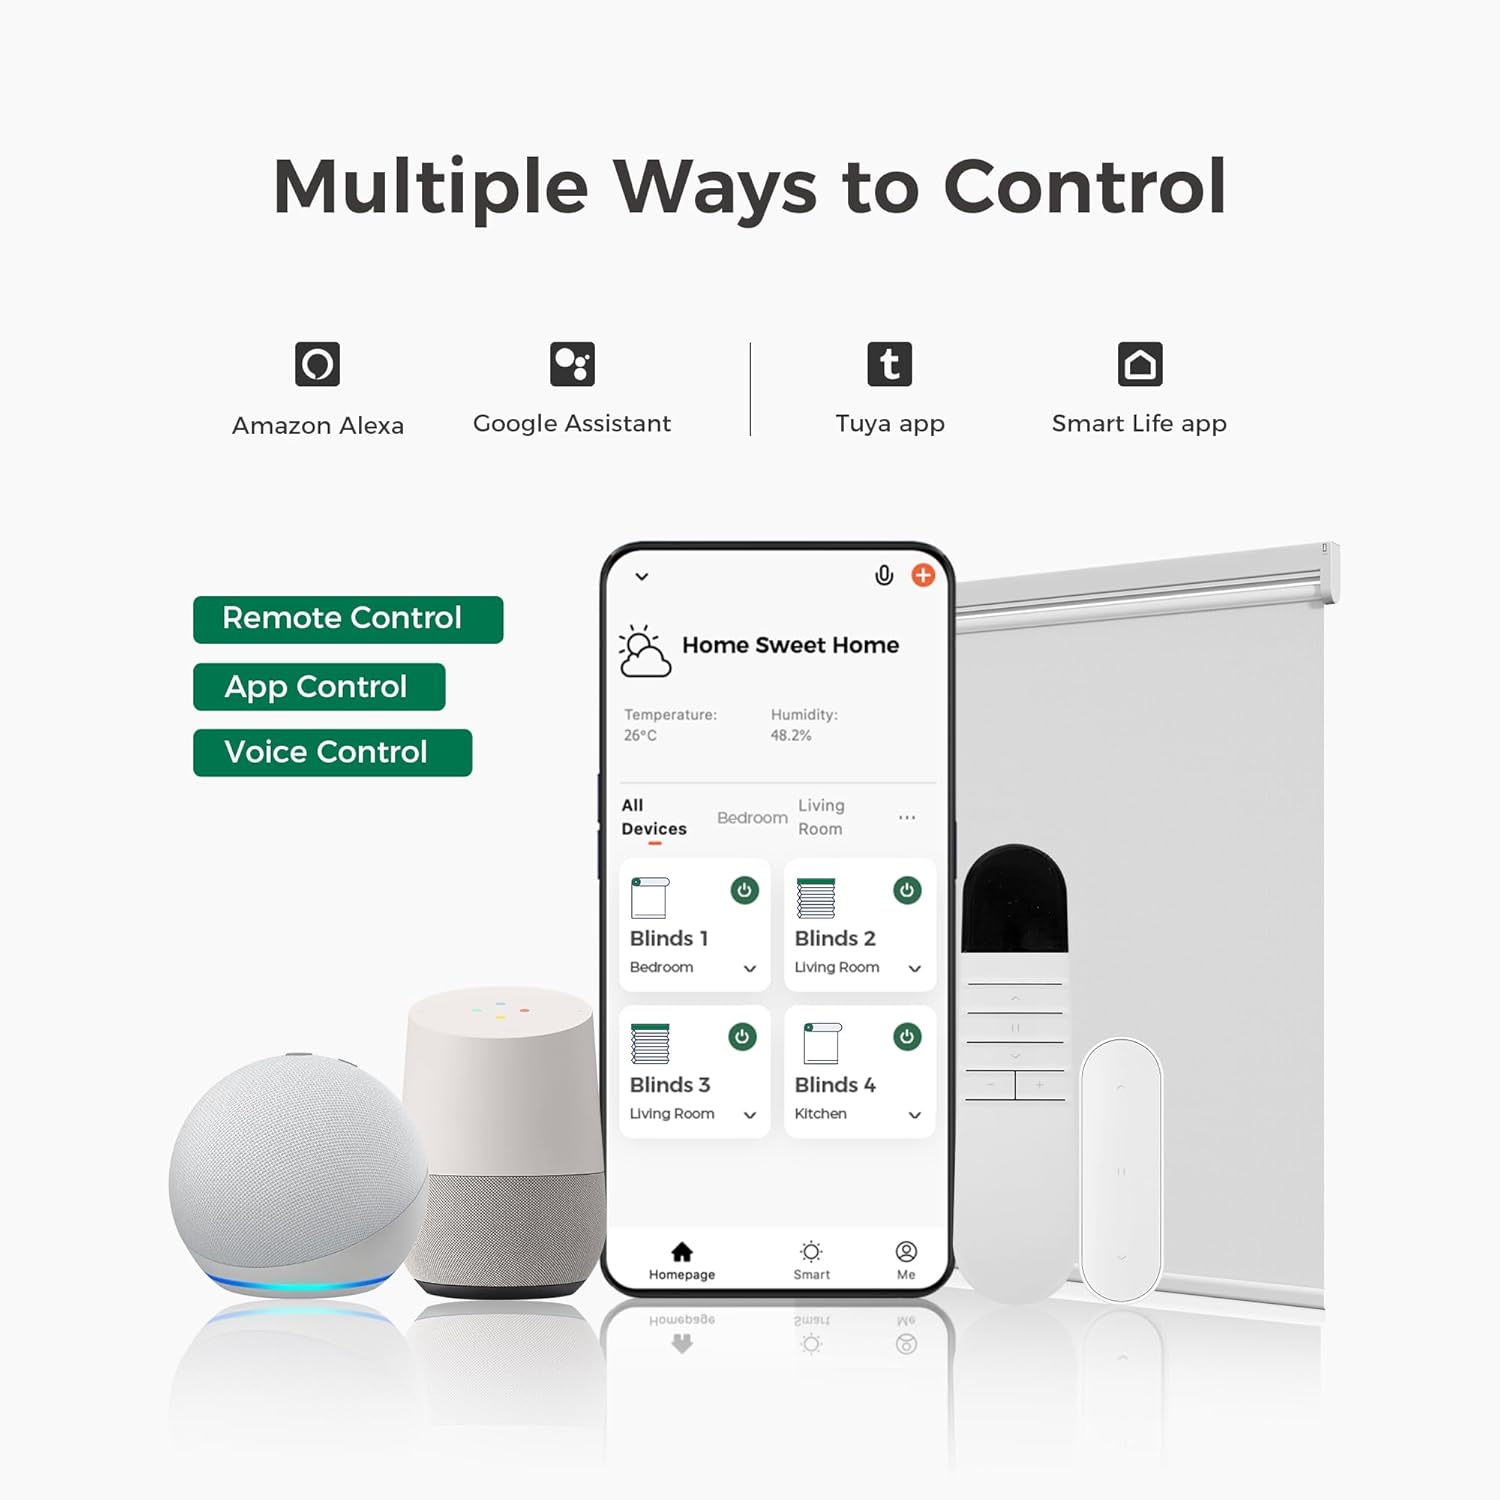
This image demonstrates the various ways to control the blind, including the standard remote control, and optional smart home integrations via app and voice commands.
- Up Button: Raises the blind.
- Down Button: Lowers the blind.
- Stop/Pause Button: Stops the blind at its current position.
6.2. Setting Upper and Lower Limits
To set the desired upper and lower stopping points for your blind, refer to the specific instructions provided with your remote control or visit the Allesin support website for detailed programming guides. This process typically involves pressing a combination of buttons on the remote and the motor unit.
6.3. Smart Control (Optional)
For smart home integration with Amazon Alexa, Google Assistant, or the Tuya/Smart Life app, additional accessories such as a USB converter or Smart Bridge are required (sold separately). These accessories enable app control and voice commands.

This image displays the optional USB converter and Smart Bridge, which allow for advanced control features such as app integration and voice commands with compatible smart home systems.
7. Maintenance
Proper maintenance ensures the longevity and optimal performance of your Allesin Motorized Blackout Roller Blind.
- Cleaning: The blackout fabric can be spot cleaned only. Use a soft, damp cloth with mild soap and water for small stains. Do not immerse the blind in water or use harsh chemicals.
- Battery Life: The included AA batteries typically last 3-6 months, depending on usage. Replace all 6 batteries simultaneously when performance degrades.
- Motor Care: The M100 motor system is designed for durability. Avoid applying excessive force to the blind when operating manually.
- Inspection: Periodically inspect the mounting brackets and screws for tightness. Ensure the fabric rolls smoothly without obstruction.
8. Troubleshooting
If you encounter issues with your roller blind, refer to the following common troubleshooting steps:
| Problem | Possible Cause | Solution |
|---|---|---|
| Blind does not move. | Dead batteries; Remote control not paired; Motor malfunction. | Replace batteries; Re-pair remote control (refer to remote manual); Contact support. |
| Blind moves erratically or stops mid-way. | Low batteries; Obstruction in path; Limits not set correctly. | Replace batteries; Check for obstructions; Reset and re-set limits. |
| Remote control not responding. | Remote batteries dead; Remote not paired; Interference. | Replace remote batteries; Re-pair remote; Reduce interference sources. |
| Blind makes unusual noise. | Obstruction; Misalignment; Internal motor issue. | Check for obstructions; Re-align blind in brackets; Contact support. |
If the problem persists after attempting these solutions, please contact Allesin customer support.
9. Specifications
Detailed specifications for the Allesin Motorized Blackout Roller Blind (Model: 3453890f-7a81-4076-b2d6-04e3d5da906a):
- Brand: Allesin
- Model Number: 3453890f-7a81-4076-b2d6-04e3d5da906a
- Color: White
- Size: 31"W x 72"H
- Product Dimensions: 72"L x 31"W
- Material: Polyester
- Opacity: Blackout (100% light blockage)
- Operation Mode: Automatic (Motorized)
- Control Type: Remote Control (RF)
- Power Source: 6 AA Batteries (included)
- Battery Life: Approximately 3-6 months (depending on usage)
- Mounting Type: Inside Mount, Outside Mount
- Special Features: Fade Resistant, Child Safe (Cordless Design)
- Product Care: Spot Clean Only
- Item Weight: 3.2 Pounds
10. Warranty and Support
For warranty information and customer support, please refer to the documentation included with your purchase or visit the official Allesin website. You may also contact Allesin customer service directly for assistance with product inquiries, troubleshooting, or replacement parts.
Manufacturer: Allesin
Date First Available: March 17, 2022