NZXT CM-H71FW-01
NZXT H7 Flow PC Case User Manual
Model: CM-H71FW-01
Product Overview
The NZXT H7 Flow is an ATX Mid Tower PC Gaming Case designed for optimal airflow and ease of build. It features a perforated top panel for enhanced thermal efficiency, quick-release tempered glass side panel, and a streamlined cable management system. This manual provides essential information for setting up, operating, maintaining, and troubleshooting your H7 Flow PC case.

Figure 1: Front-angled view of the NZXT H7 Flow PC case with its tempered glass side panel removed, highlighting the spacious interior and perforated front panel for airflow.
Setup and Installation
Follow these steps to properly set up your NZXT H7 Flow PC case and install your components.
1. Unboxing and Initial Inspection
Carefully remove the case from its packaging. Inspect for any signs of damage during transit. The case is protected by foam inserts and a plastic bag.
Video 1: A 360-degree view of the NZXT H7 Flow PC case, showcasing its exterior design and features from all angles.
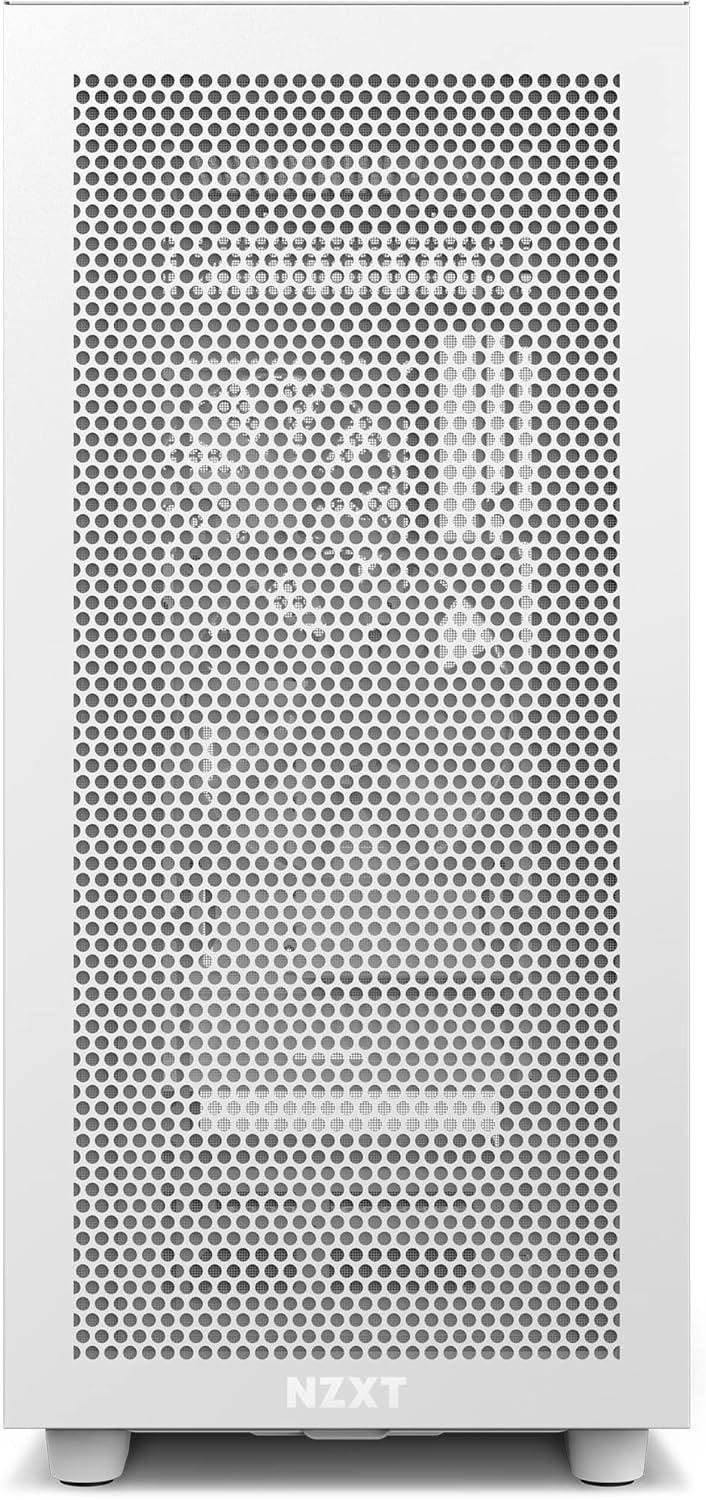
Figure 2: Direct front view of the NZXT H7 Flow PC case, highlighting the full perforated front panel designed for maximum airflow.
2. Accessing the Interior
The H7 Flow features a quick-release tempered glass side panel. Gently pull the panel to detach it. The top and front panels are also easily removable for installation and maintenance.
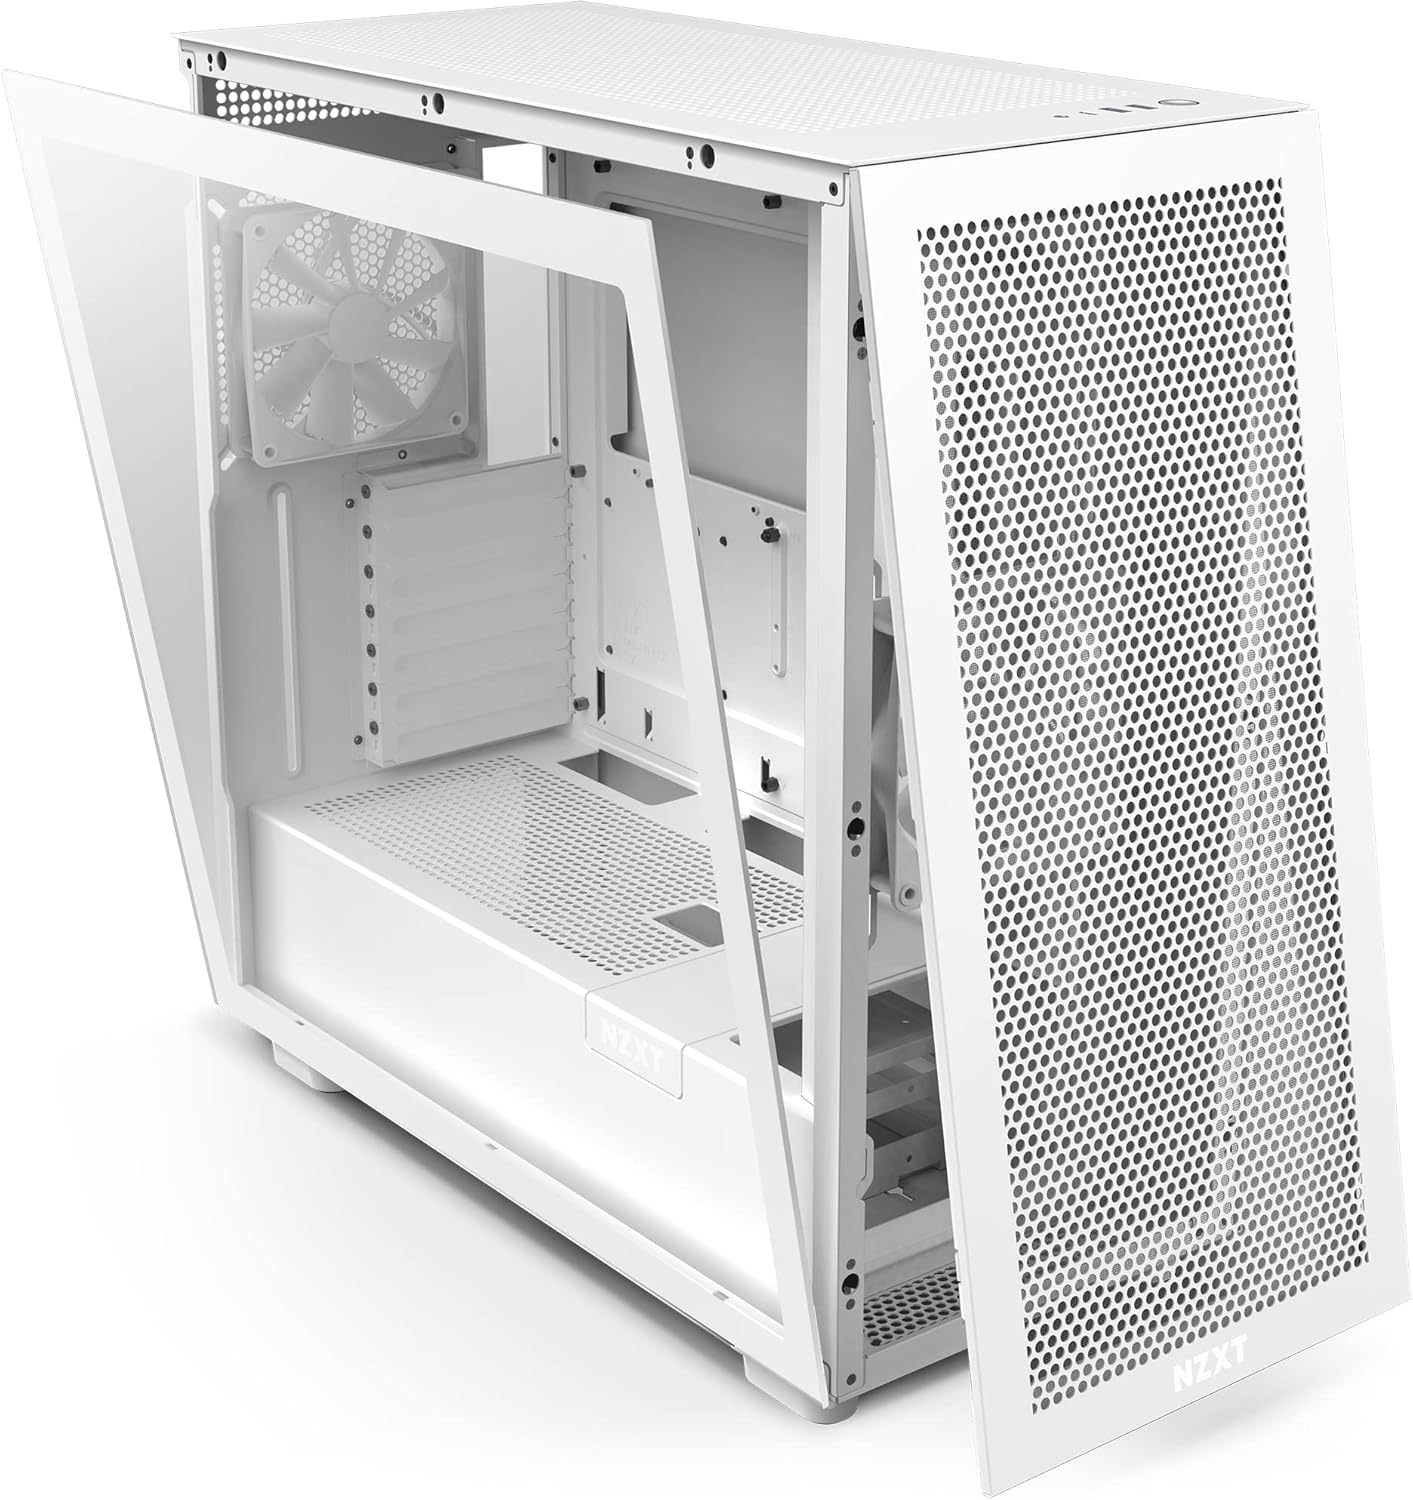
Figure 3: The tempered glass side panel of the NZXT H7 Flow PC case swung open, demonstrating its quick-release mechanism for easy access to the interior.
3. Motherboard and Component Installation
Install your ATX motherboard into the designated standoffs. The case offers ample space and clearance for various components, including large GPUs and radiators up to 360mm in the top and front.
- BETTER THERMALS: We've opened up the top panel to achieve even better thermal efficiency. The perforated panel provides improved ventilation as warm air flows through the top of the chassis.
- RADIATORS: The top and front of the case support radiators up to 360mm, while the front panel can accommodate three 140mm fans for maximum cooling.
- MORE SPACE: Ample space and clearance make the H7 a spacious chassis for ambitious builds.
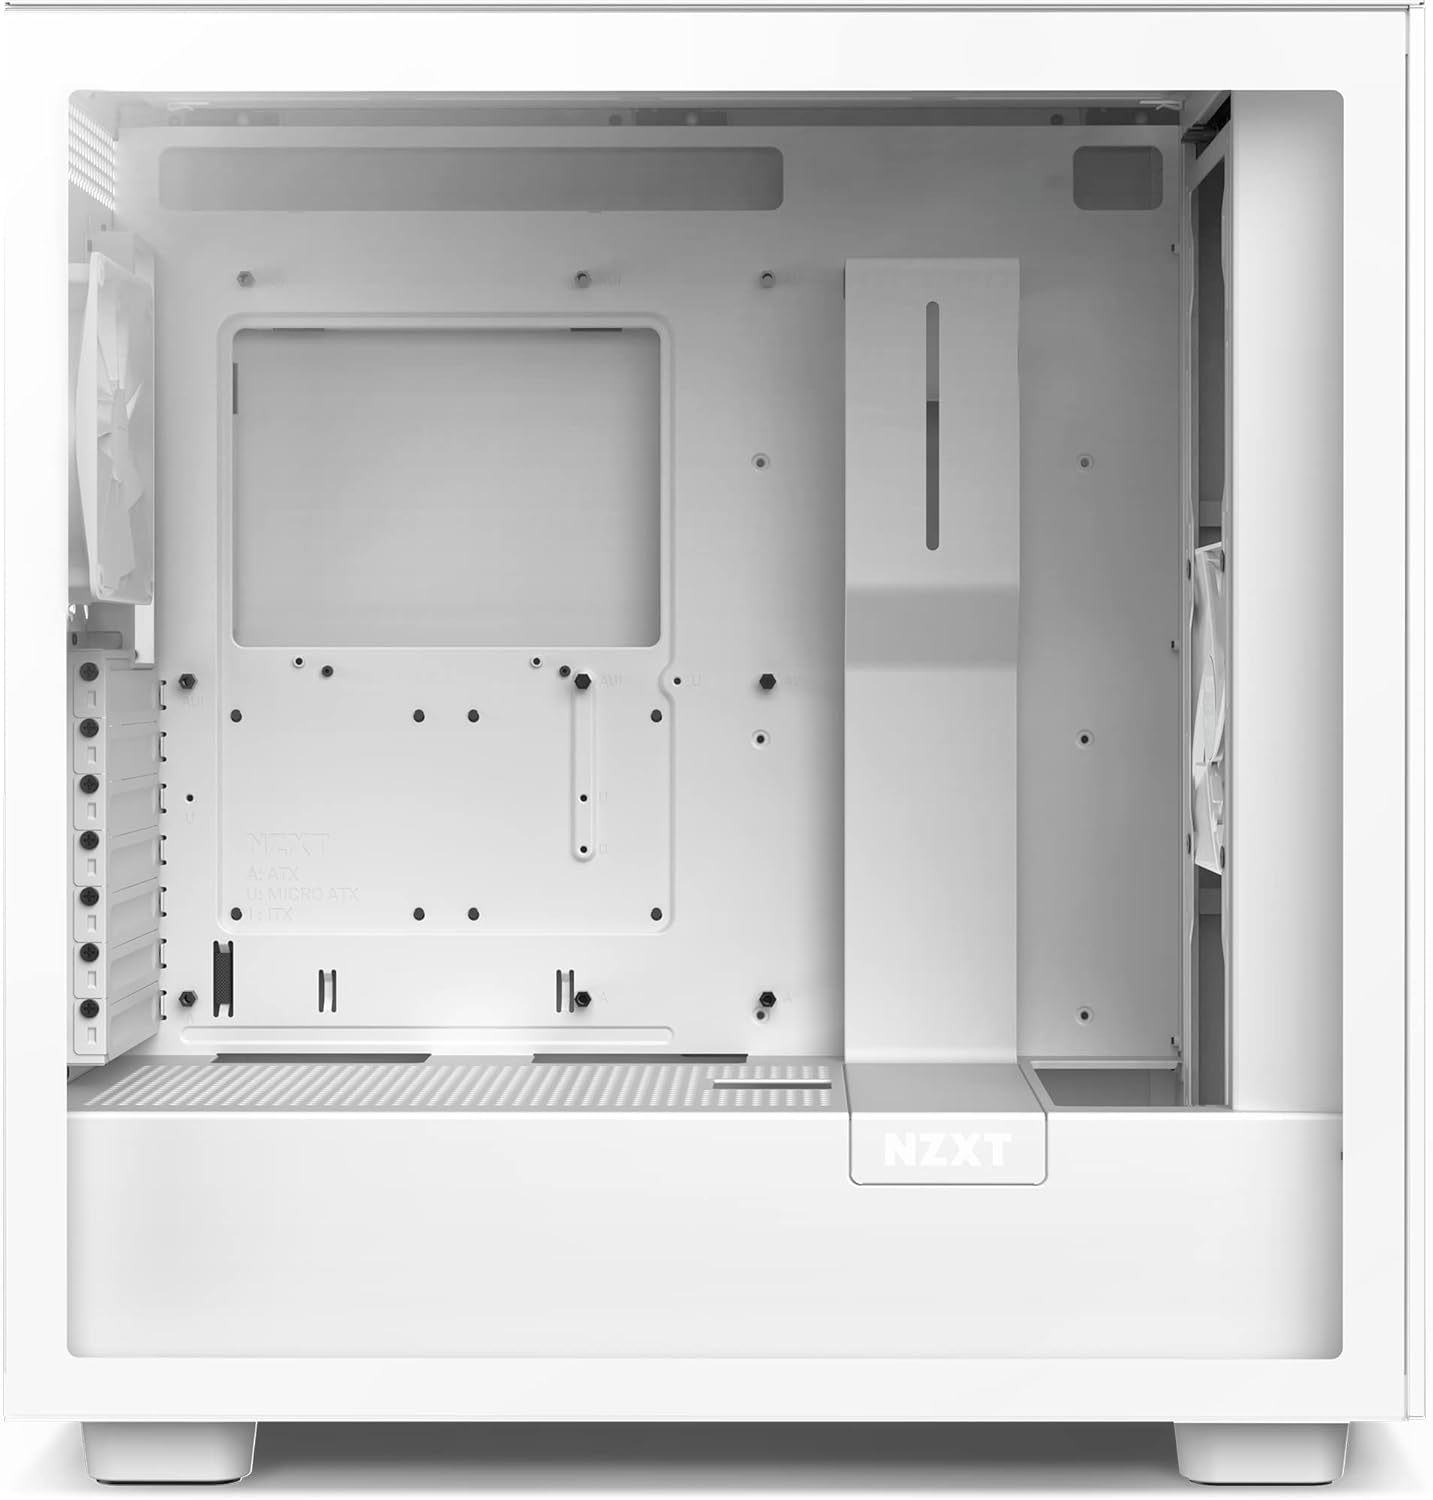
Figure 4: Interior view of the NZXT H7 Flow PC case from the front, showcasing the motherboard tray, fan mounting options, and overall internal layout.
4. Cable Management
Utilize the improved cable management system located behind the motherboard tray. Wider cable channels and integrated hooks help keep your build clean and organized, improving airflow.
- BUILDING SIMPLIFIED: Streamline the build process with an improved cable management system. Wider cable channels provide more room to easily route cables, while the addition of hooks add stability.
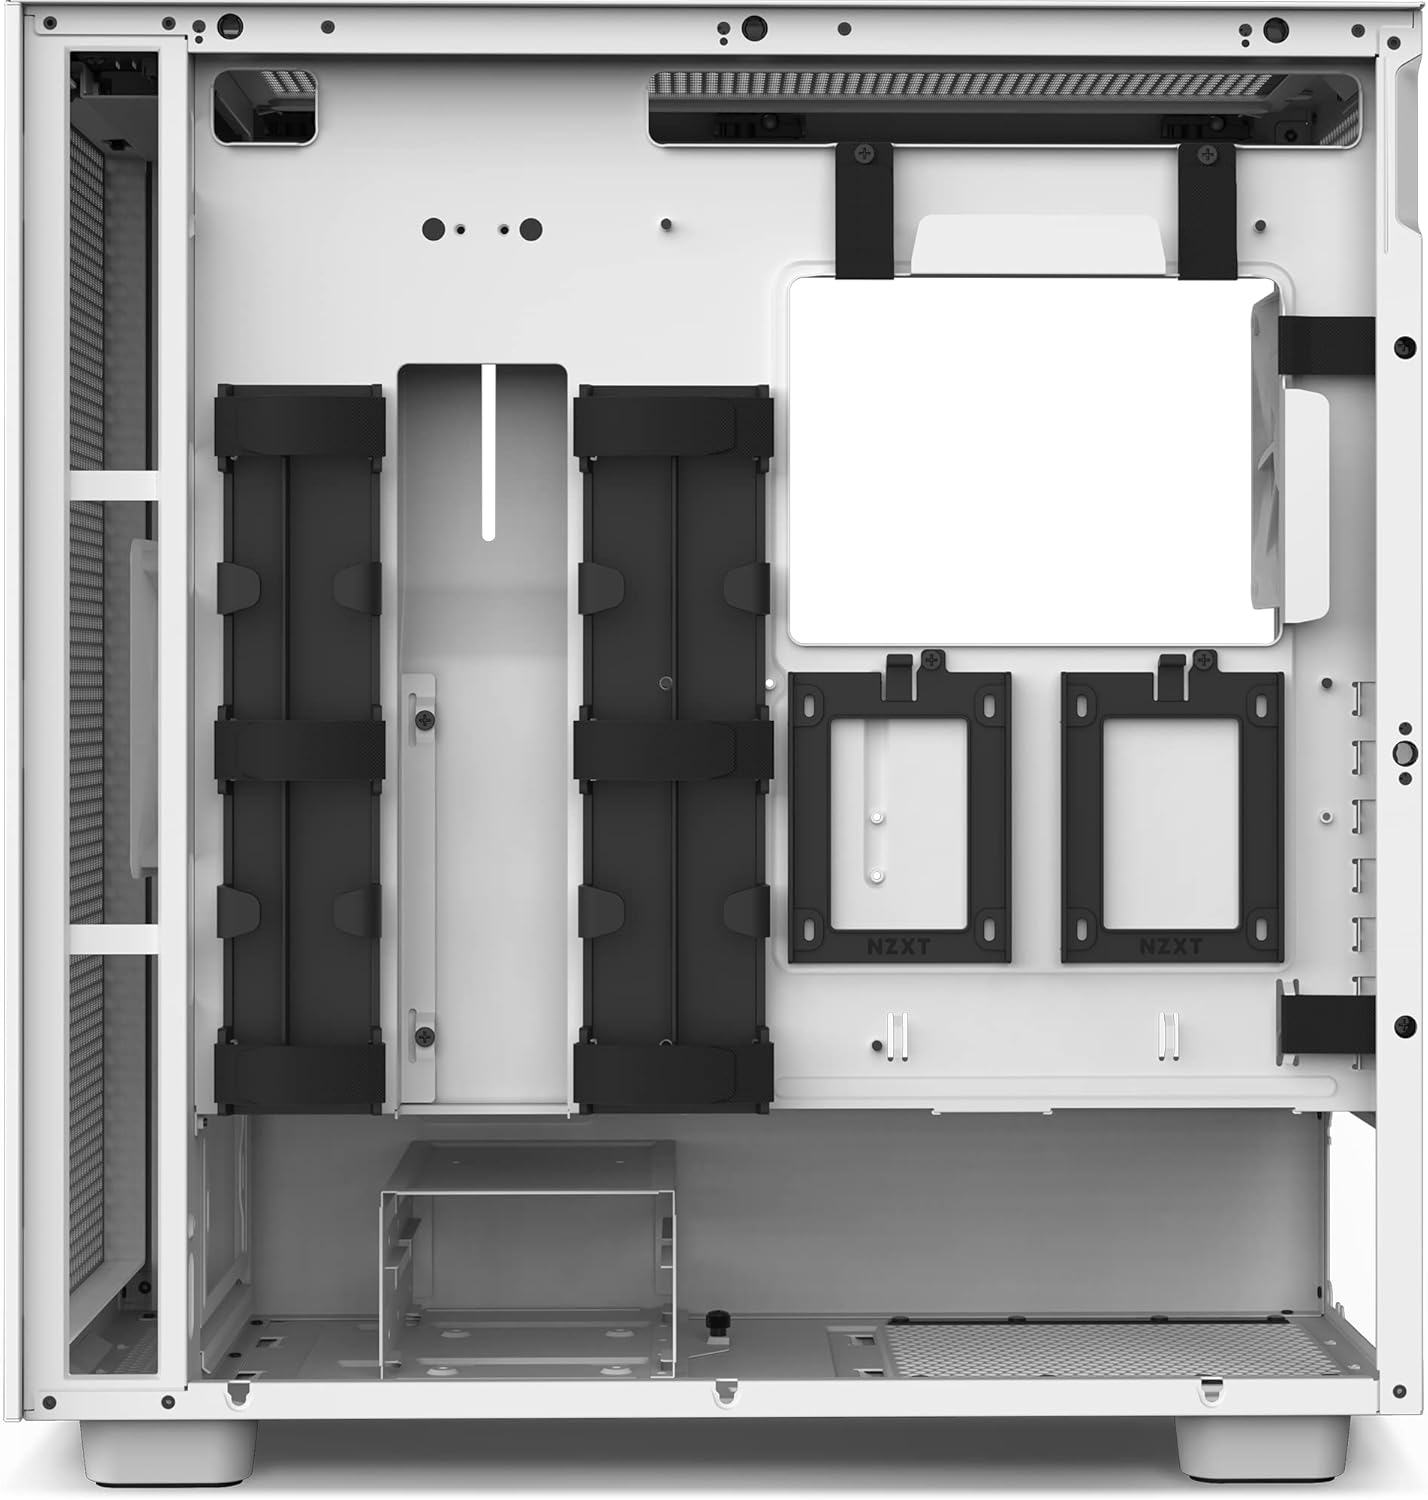
Figure 5: Rear interior view of the NZXT H7 Flow PC case, illustrating the dedicated cable management channels and Velcro straps for tidy wiring.
5. Connecting Front I/O
Connect the front I/O cables to your motherboard. The H7 Flow includes a front I/O USB Type-C port, USB 3.0 ports, and audio jacks for convenient connectivity.
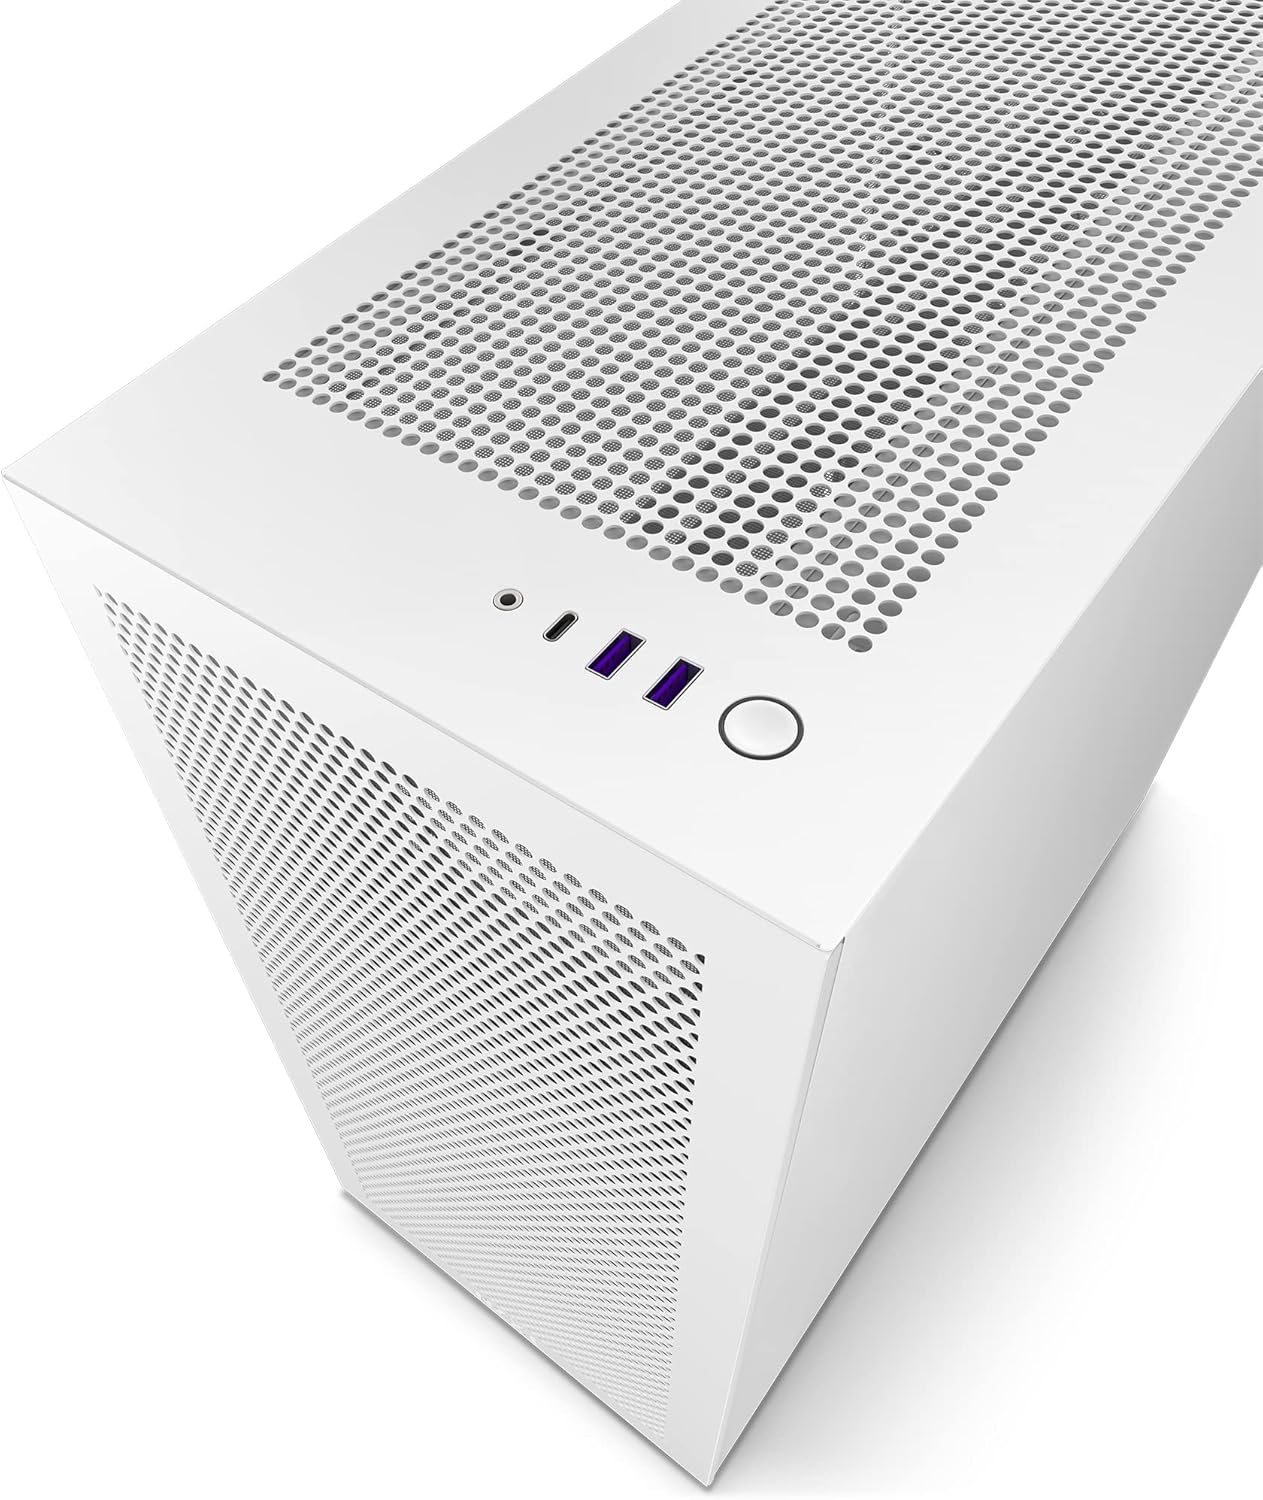
Figure 6: Top view of the NZXT H7 Flow PC case, detailing the accessible front I/O ports including USB Type-C, USB 3.0, and audio jacks.
Operating Instructions
Once all components are installed and connections are secure, you can power on your system. The H7 Flow is designed for optimal thermal performance, ensuring efficient cooling during operation.
Powering On
Press the power button located on the top panel of the case. Ensure all external peripherals (monitor, keyboard, mouse) are connected and powered on.
Airflow Optimization
The H7 Flow's design prioritizes airflow. Ensure proper fan configuration (intake/exhaust) to maximize cooling efficiency. The perforated panels allow for excellent air circulation.

Figure 7: Rear view of the NZXT H7 Flow PC case, displaying the rear exhaust fan mount and expansion slots for graphics cards and other add-in cards.
Maintenance
Regular maintenance ensures the longevity and optimal performance of your PC case and components.
Dust Cleaning
The perforated panels and fan mounts can accumulate dust over time. Regularly clean these areas using compressed air or a soft brush. The removable panels make this process easy.
Panel Removal for Cleaning
- Gently pull the tempered glass side panel to remove it.
- The front and top perforated panels can also be detached by pulling them away from the chassis.
- Clean dust filters (if applicable) and fan blades.
- Reattach panels by aligning them and pushing gently until they click into place.
Troubleshooting
This section addresses common issues you might encounter with your H7 Flow PC case.
| Problem | Possible Cause | Solution |
|---|---|---|
| PC not powering on. | Loose power connections, faulty power supply, motherboard issue. | Check all power cables (24-pin, CPU, GPU) are securely connected. Ensure front panel power switch cable is correctly attached to motherboard. Test power supply. |
| High component temperatures. | Insufficient airflow, dust buildup, incorrect fan orientation. | Ensure fans are configured for optimal intake/exhaust. Clean dust from all filters and fans. Verify CPU cooler and GPU fans are functioning correctly. |
| Front I/O ports not working. | Loose internal cable connections to motherboard. | Check USB 3.0, USB Type-C, and audio header cables are firmly connected to the motherboard. |
Specifications
- Model: CM-H71FW-01
- Case Type: Mid Tower
- Motherboard Compatibility: ATX
- Material: Tempered Glass, Steel
- Color: White
- Dimensions (LxWxH): 20.08 x 10.83 x 20 inches
- Item Weight: 18 pounds
- Front I/O Ports: 1x USB 2.0, 3x USB 3.0, 1x USB Type-C, 1x Audio Jack
- Radiator Support: Up to 360mm (Top & Front)
- Fan Support: Front: 3x 140mm, Top: 3x 120mm or 2x 140mm, Rear: 1x 120mm or 1x 140mm
- Power Supply Mounting Type: Bottom Mount
- Cooling Method: Air

Figure 8: Dimensional drawing of the NZXT H7 Flow PC case, indicating its height, width, and depth for compatibility planning.
Warranty and Support
For detailed warranty information and technical support, please refer to the official NZXT website or the comprehensive user manual provided with your product.
You can download the official User Manual (PDF) here.
For further assistance, visit the NZXT Store on Amazon.