
VIZOLINK VB10
VIZOLINK VB10 Baby Monitor User Manual
Model: VB10 | Brand: VIZOLINK
1. Introduction
Thank you for choosing the VIZOLINK VB10 Baby Monitor. This device is designed to provide a secure and reliable way to monitor your baby, elderly family members, or pets. It features a 5-inch 720p HD display, automatic night vision, two-way audio communication, remote pan, tilt, and zoom functions, temperature monitoring, and feeding reminders. This manual will guide you through the setup, operation, and maintenance of your baby monitor.
2. Important Safety Information
- Strangulation Hazard: Keep the camera unit and adapter cords out of reach of children (at least 1 meter / 3 feet away). Never place the camera or cords in or near the crib or playpen.
- Choking Hazard: This product contains small parts. Keep out of reach of children.
- Electric Shock Hazard: Do not expose the product to water or moisture. Do not open the casing of the monitor or camera.
- Battery Safety: Use only the provided power adapters. Do not use damaged cords or adapters. Do not short-circuit the battery terminals.
- Heat Exposure: Do not place the product near heat sources such as radiators, heat registers, stoves, or other appliances that produce heat.
- Interference: Keep the product away from other electronic devices that may cause interference.
- Ventilation: Ensure proper ventilation around the camera and monitor units. Do not cover them with blankets or other materials.
3. Package Contents
Carefully unpack the box and ensure all items are present and in good condition. If any items are missing or damaged, please contact customer support.
- Baby Monitor Unit (Parent Unit)
- Baby Camera Unit (Baby Unit)
- Power Adapter for Monitor
- Power Adapter for Camera
- USB Charging Cables (2)
- Wall Mounting Bracket
- Screws and Wall Plugs
- 32GB TF Card (pre-installed or included separately)
- User Manual (this document)

Image: Contents of the VIZOLINK VB10 Baby Monitor package, including the monitor, camera, adapters, cables, mounting bracket, and 32GB TF card.
4. Product Overview
4.1 Monitor Unit (Parent Unit)
- 5-inch 720p HD LCD screen
- Built-in 1500mAh rechargeable battery (up to 15 hours in VOX mode)
- Controls for pan, tilt, zoom, two-way talk, menu, volume, and lullabies
- Microphone and speaker
- Temperature display
- Feeding reminder settings
4.2 Camera Unit (Baby Unit)
- 1080p camera sensor with 110° wide-angle lens
- Remote controllable 355° horizontal pan and 90° vertical tilt
- 6x digital zoom
- Automatic infrared night vision
- Built-in 1000mAh rechargeable battery
- Microphone and speaker for two-way audio
- Temperature sensor
- TF card slot for local storage (supports up to 64GB, 32GB included)

Image: Dimensions of the VIZOLINK VB10 camera and monitor units, showing the compact design.
5. Setup Guide
5.1 Charging the Units
- Connect the power adapter to the camera unit and plug it into a power outlet.
- Connect the power adapter to the monitor unit and plug it into a power outlet.
- Charge both units fully before first use. The monitor's battery indicator will show charging status.
5.2 Positioning the Camera
- Place the camera unit on a flat surface or mount it to a wall/ceiling using the provided bracket.
- Ensure the camera is at least 1 meter (3 feet) away from the baby's crib or playpen to avoid strangulation hazards from the power cord.
- Position the camera to provide a clear view of the monitoring area. The remote pan/tilt/zoom functions will allow for fine adjustments later.
5.3 Powering On and Pairing
- Turn on the camera unit using its power switch.
- Turn on the monitor unit by pressing and holding the power button.
- The camera and monitor will automatically pair within a few seconds. A live video feed from the camera will appear on the monitor screen.
- If pairing fails, refer to the Troubleshooting section or manually pair by accessing the monitor's menu settings.
Note: The VIZOLINK VB10 uses a secure 2.4G RF wireless connection and does not require Wi-Fi or a smartphone application for operation, ensuring 100% privacy.
6. Operating Instructions
6.1 Remote Pan, Tilt, and Zoom
Use the directional buttons on the monitor unit to remotely adjust the camera's view.
- Press the Up/Down/Left/Right buttons to pan (horizontal movement up to 355°) and tilt (vertical movement up to 90°) the camera.
- Press the Zoom button (often labeled with a magnifying glass icon) to digitally zoom in (up to 6x) or out.

Image: Illustration of the remote pan, tilt, and 6x digital zoom capabilities of the camera, controlled from the monitor unit.
6.2 Two-Way Audio Communication
The monitor allows you to hear your baby and speak back to them.
- To speak, press and hold the Talk button (usually a microphone icon) on the monitor. Release the button to hear your baby again.
- Adjust the monitor's volume using the dedicated volume buttons.

Image: A user speaking into the monitor, demonstrating the two-way audio communication feature.
6.3 Automatic Night Vision
The camera automatically switches to infrared night vision in low-light conditions, providing a clear black and white image of the monitoring area.

Image: A baby sleeping in a crib, viewed through the monitor's clear automatic infrared night vision feature in a dark room.
6.4 VOX (Voice Operated eXchange) Mode
VOX mode conserves battery life by turning off the monitor screen when no sound is detected. The screen will automatically turn on when sound above a set sensitivity level is detected.
- Access the menu on the monitor to enable/disable VOX mode and adjust its sensitivity (low, medium, high).
- In VOX sleep mode, you can still hear audio even if the screen is off.

Image: A split image showing the monitor screen off in VOX sleep mode (left, with crying baby) and the screen on (right, with calm baby) when sound is detected.
6.5 Lullabies
The monitor includes 8 pre-programmed lullabies to help soothe your baby.
- Navigate to the Lullaby option in the monitor's menu to select and play a lullaby.
- You can also set a timer for how long the lullaby plays.
6.6 Temperature Monitoring
The camera unit has a built-in temperature sensor that displays the room temperature on the monitor screen.
- Monitor the temperature to ensure a comfortable environment for your baby.
- You can set temperature alerts in the menu if the room temperature goes above or below a certain range.
6.7 Feeding Reminders
Set reminders on the monitor to help you keep track of feeding times.
- Access the Feeding Reminder setting in the menu to set alarms for 2, 4, or 6-hour intervals.

Image: Visual representation of temperature monitoring, 32GB TF card storage, sound detection, and feeding time setting features.
6.8 Video Recording (TF Card)
The camera unit supports local video recording to a TF (microSD) card (32GB card included, supports up to 64GB).
- Insert the TF card into the designated slot on the camera unit.
- The camera will automatically record video. You can review recordings via the monitor's menu or by removing the card and viewing it on a computer.
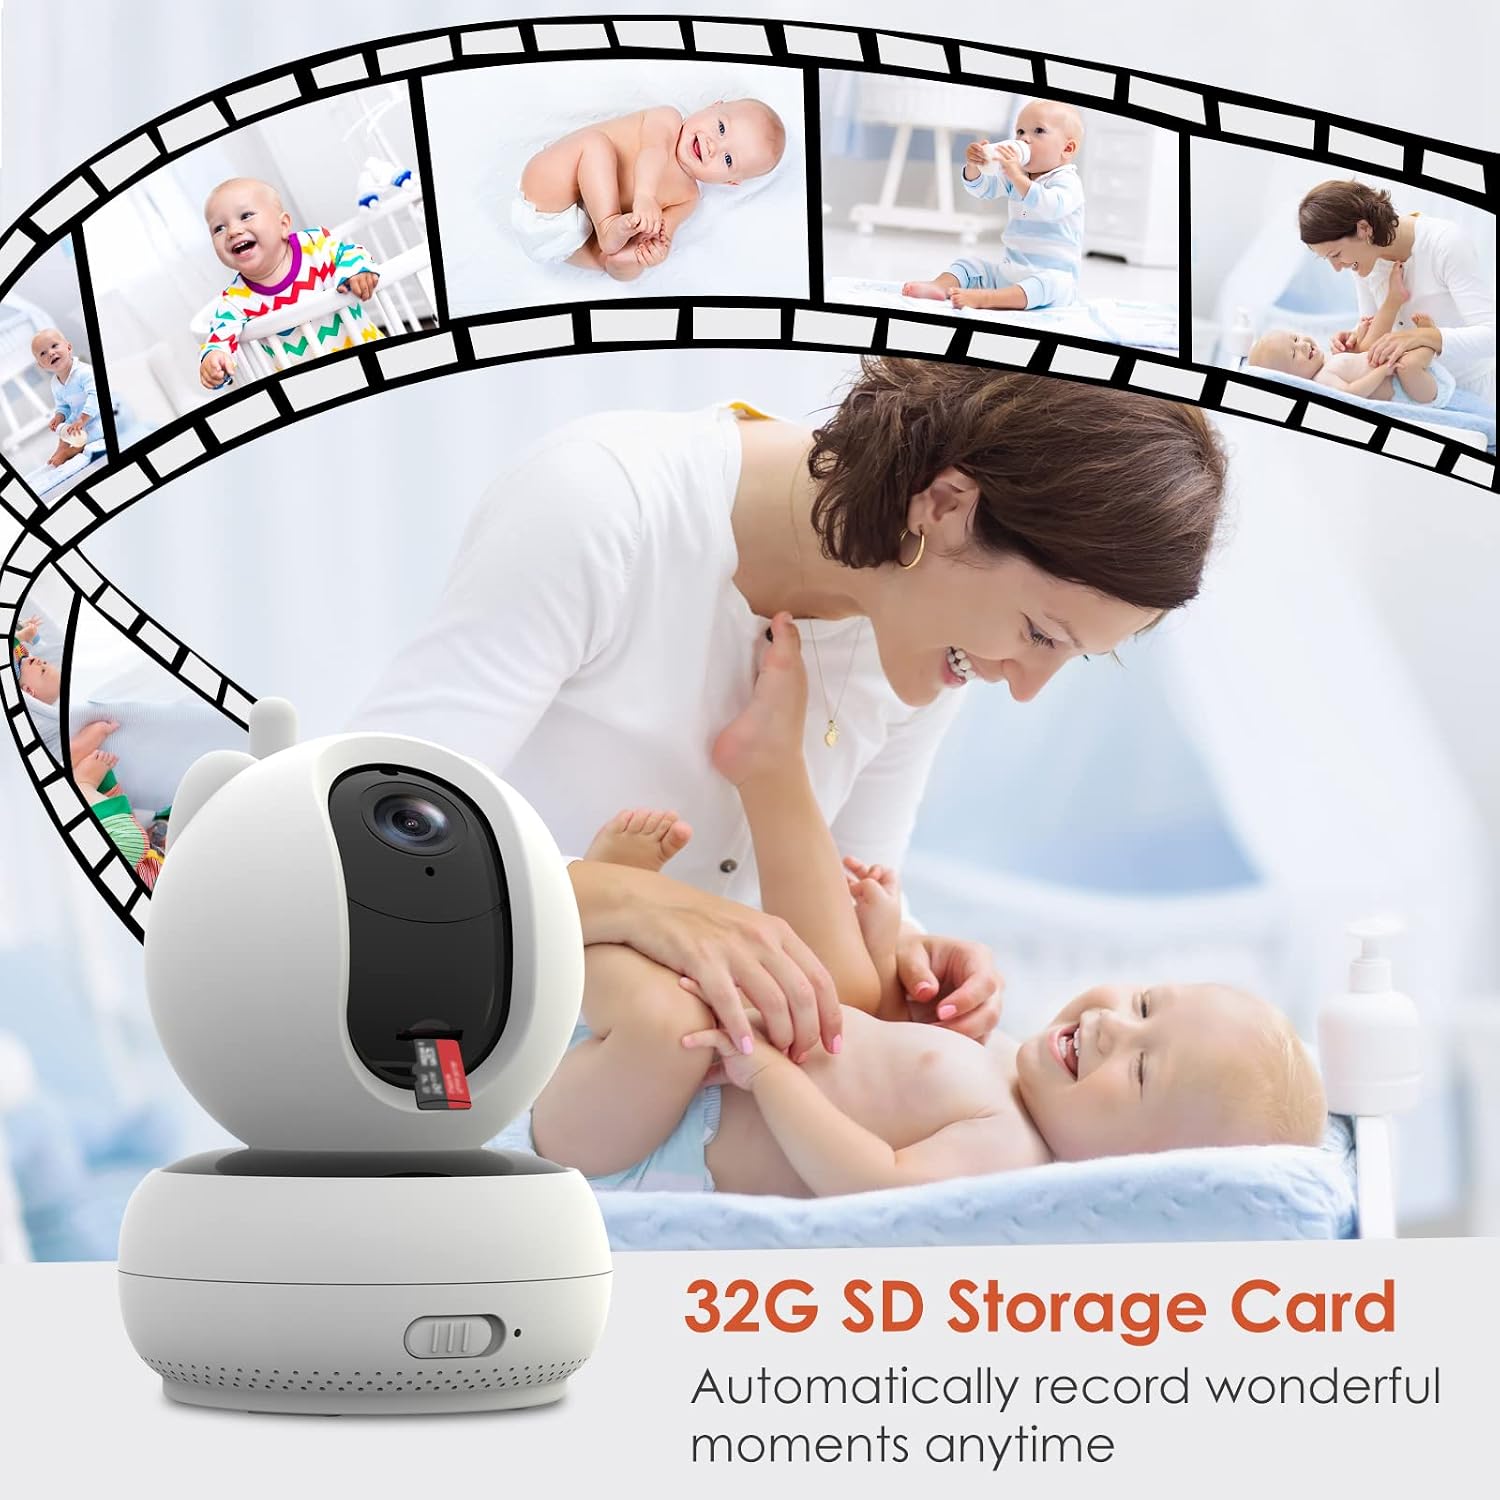
Image: The camera unit with a 32GB SD card inserted, illustrating its automatic video recording capability.
7. Maintenance
7.1 Cleaning
- Disconnect both units from power before cleaning.
- Use a soft, dry cloth to wipe the surfaces of the monitor and camera.
- For the screen, use a soft, lint-free cloth. Do not use abrasive cleaners or solvents.
7.2 Battery Care
- To prolong battery life, avoid fully discharging the units frequently.
- If storing the device for an extended period, charge the batteries to about 50% and store in a cool, dry place.
8. Troubleshooting
| Problem | Possible Cause | Solution |
|---|---|---|
| No image/sound on monitor |
|
|
| Poor image quality |
|
|
| Static or interference |
|
|
| VOX mode not working |
|
|
9. Specifications
| Feature | Detail |
|---|---|
| Model Number | VB10 |
| Screen Size | 5 inches |
| Display Resolution | 720p HD |
| Camera Resolution | 1080p sensor, 720p effective video |
| Connectivity Technology | 2.4 GHz RF Wireless (No Wi-Fi/App required) |
| Operating Range | Up to 300 meters (open space) |
| Camera Pan Angle | 355° horizontal |
| Camera Tilt Angle | 90° vertical |
| Digital Zoom | Up to 6x |
| Viewing Angle | 110° |
| Night Vision | Automatic Infrared |
| Monitor Battery | 1500mAh Lithium-ion (up to 15 hours in VOX mode) |
| Camera Battery | 1000mAh Lithium-ion |
| Storage | TF Card (supports up to 64GB, 32GB included) |
| Temperature Sensor | Yes |
| Two-Way Audio | Yes |
| Lullabies | 8 pre-programmed |
| Dimensions (Camera) | Approx. 9.1 x 9.1 x 12.1 cm |
| Dimensions (Monitor) | Approx. 15.8 x 9.1 x 1.8 cm |
| Weight | 1.1 kg (total package) |
| Material | Plastic |
| IP Rating | IP54 |
10. Warranty and Support
VIZOLINK products come with a standard manufacturer's warranty. Please refer to the warranty card included in your package or visit the official VIZOLINK website for detailed warranty terms and conditions.
For technical support, troubleshooting assistance, or to inquire about replacement parts, please contact VIZOLINK customer service through the contact information provided on your product packaging or the official website.
Related documentsVB10


Ask a question about this manual
Ask about setup, troubleshooting, compatibility, parts, safety, or missing instructions. Manuals+ will review the question and use this page’s manual context to help answer it.