1. Introduction
Thank you for purchasing the Muse MT-106 BT Stereo Turntable. This manual provides essential information for the safe and efficient operation of your new device. Please read it thoroughly before use and retain it for future reference.
The Muse MT-106 BT is a versatile 3-speed (33/45/78 RPM) stereo turntable featuring a Bluetooth receiver, a USB port for playback and encoding, and two integrated speakers. It is designed to play vinyl records and can also stream music from any Bluetooth-compatible device such as a tablet, smartphone, or laptop.
2. Safety Instructions
- Power Source: Ensure the power supply voltage matches the rating indicated on the unit.
- Water and Moisture: Do not expose the unit to rain, moisture, or dripping water. Do not place objects filled with liquids, such as vases, on the unit.
- Ventilation: Ensure adequate ventilation. Do not block ventilation openings.
- Heat: Keep the unit away from heat sources such as radiators, heat registers, stoves, or other heat-producing appliances.
- Cleaning: Unplug the unit from the wall outlet before cleaning. Use a soft, dry cloth. Do not use liquid cleaners or aerosol cleaners.
- Servicing: Do not attempt to service this product yourself. Refer all servicing to qualified service personnel.
- Placement: Place the unit on a stable, flat surface to prevent damage from falling.
3. Package Contents
Please check that the following items are included in your package:
- Muse MT-106 BT Stereo Turntable
- User Manual
- Power Adapter
- 45 RPM Adapter
4. Product Overview
Familiarize yourself with the components and controls of your Muse MT-106 BT Turntable.

Figure 4.1: Overall view of the Muse MT-106 BT Stereo Turntable. This image displays the turntable from an angled perspective, with its transparent dust cover lifted. The wooden base and integrated speakers are visible, along with the black platter, tonearm, and control knobs on the right side.
4.1 Front and Top Components
- Dust Cover: Protects the platter and tonearm from dust.
- Platter: The rotating platform where records are placed.
- Spindle: Holds the record in place on the platter.
- 45 RPM Adapter: Used for playing 7-inch records with large center holes.
- Tonearm: Holds the stylus and tracks the record grooves.
- Stylus (Needle): The part that reads the record grooves.
- Cue Lever: Lifts and lowers the tonearm.
- Speed Selector: Switch to select 33, 45, or 78 RPM.
- Integrated Speakers: Built-in speakers for audio output.

Figure 4.2: Control Panel. This image provides a detailed view of the control panel located on the right side of the turntable. It shows three rotary knobs for volume and function selection, along with several buttons for playback control and mode switching.
4.2 Control Panel
- Power/Volume Knob: Turns the unit on/off and adjusts the volume.
- Function Selector Knob: Switches between Phono, Bluetooth, USB, and Aux-in modes.
- Playback Control Buttons: Play/Pause, Skip Forward, Skip Backward (for USB mode).
- Auto Stop Switch: Enables or disables the automatic stop function for vinyl playback.
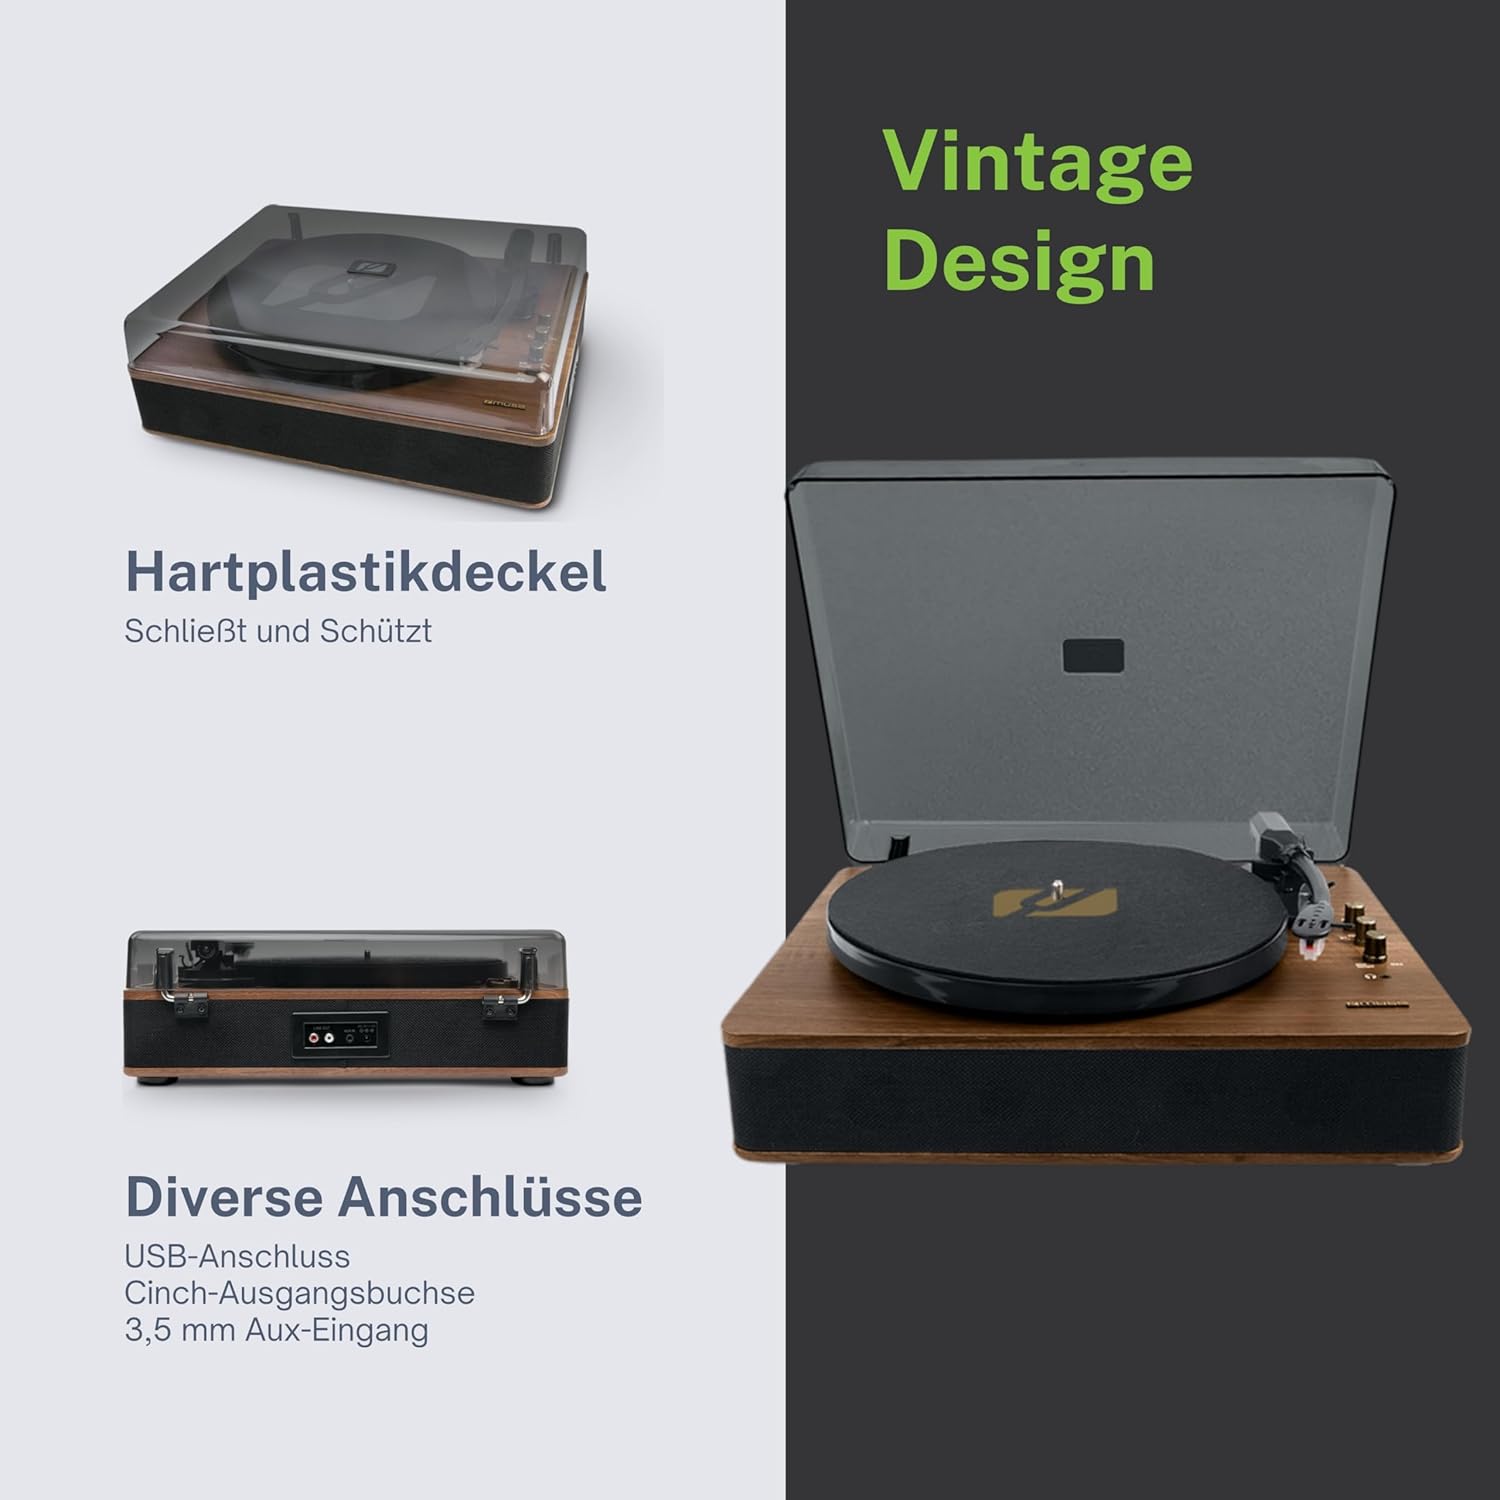
Figure 4.3: Rear Connections. The rear panel of the turntable is shown, featuring various connection ports including RCA audio outputs, a USB port, and an auxiliary input jack, allowing connection to external audio systems or devices.
4.3 Rear and Side Connections
- RCA Output Jacks (L/R): Connect to an external amplifier or powered speakers.
- USB Port: For playing MP3 files from a USB drive or encoding vinyl to USB.
- AUX IN Jack (3.5mm): Connect external audio devices.
- DC IN Jack: Connect the power adapter.
- Headphone Jack (3.5mm): For private listening.

Figure 4.4: Key Functions Overview. An illustrative graphic highlighting the key functions and connectivity options of the turntable. Icons represent features such as USB encoding, MP3 playback via USB, RCA output, auto-stop, integrated speakers, headphone jack, auxiliary input, and AC power input.
5. Setup
5.1 Unpacking
- Carefully remove the unit from its packaging.
- Remove all packing materials and protective films.
- Keep the packaging for future transport or storage.
5.2 Placement
- Place the turntable on a flat, stable, and level surface.
- Avoid placing it near strong magnetic fields, direct sunlight, or heat sources.
- Ensure there is enough space around the unit for proper ventilation.
5.3 Power Connection
- Connect the supplied power adapter to the DC IN jack on the rear of the turntable.
- Plug the power adapter into a suitable wall outlet.
5.4 Dust Cover Installation
- Carefully attach the dust cover to the hinges on the back of the turntable.
- The dust cover protects the unit when not in use. Remove it or lift it fully when playing records.
6. Operating Instructions
6.1 Playing Vinyl Records
- Lift the dust cover.
- Rotate the Power/Volume knob clockwise to turn on the unit.
- Set the Function Selector knob to 'Phono'.
- Place a record on the platter. If playing a 45 RPM single, place the 45 RPM adapter on the spindle first.
- Select the correct speed (33, 45, or 78 RPM) using the Speed Selector switch.
- Remove the stylus protector from the stylus.
- Lift the tonearm using the cue lever.
- Move the tonearm over the desired starting point of the record.
- Gently lower the tonearm onto the record using the cue lever. The music will begin to play.
- Adjust the volume using the Power/Volume knob.
- At the end of the record, if the Auto Stop switch is ON, the platter will stop rotating. If OFF, the platter will continue to rotate. Manually lift the tonearm and return it to its rest.
6.2 Bluetooth Mode
- Rotate the Power/Volume knob clockwise to turn on the unit.
- Set the Function Selector knob to 'BT' (Bluetooth). The Bluetooth indicator will flash, indicating pairing mode.
- Enable Bluetooth on your external device (smartphone, tablet, etc.) and search for available devices.
- Select 'MUSE MT-106 BT' from the list of devices. Once connected, the Bluetooth indicator will stop flashing and remain solid.
- You can now play music from your external device through the turntable's speakers. Adjust volume using both the turntable's knob and your external device.
6.3 USB Playback and Encoding
6.3.1 USB Playback
- Rotate the Power/Volume knob clockwise to turn on the unit.
- Set the Function Selector knob to 'USB'.
- Insert a USB flash drive into the USB port. The unit will automatically detect and begin playing MP3 files.
- Use the Playback Control Buttons (Play/Pause, Skip Forward, Skip Backward) to navigate tracks.
6.3.2 USB Encoding (Recording Vinyl to USB)
The MT-106 BT allows you to convert your vinyl records into digital MP3 files on a USB drive.
- Ensure a USB flash drive is inserted into the USB port.
- Set the Function Selector knob to 'Phono'.
- Start playing your vinyl record as described in section 6.1.
- Press the 'Record' button (refer to Figure 4.2 for button location, typically indicated by a circle or 'REC' label). The recording indicator will illuminate.
- To stop recording, press the 'Record' button again. The recording indicator will turn off.
- The recorded audio will be saved as an MP3 file on your USB drive.
6.4 Auxiliary Input (AUX IN)
- Rotate the Power/Volume knob clockwise to turn on the unit.
- Set the Function Selector knob to 'AUX'.
- Connect an external audio device (e.g., MP3 player, CD player) to the AUX IN jack (3.5mm) on the rear of the turntable using an audio cable (not supplied).
- Play audio from your external device. The sound will be output through the turntable's speakers.
6.5 RCA Output
To connect your turntable to an external amplifier or powered speakers:
- Ensure the turntable and the external audio system are turned off.
- Connect an RCA audio cable (not supplied) from the RCA Output Jacks (L/R) on the rear of the turntable to the corresponding audio input jacks on your amplifier or powered speakers.
- Turn on both the turntable and your external audio system.
- Select the appropriate input on your external audio system.
7. Maintenance
7.1 Cleaning the Stylus
- Use a soft brush, specifically designed for stylus cleaning, to gently brush the stylus from back to front.
- Do not use excessive force or brush from side to side, as this can damage the stylus.
- Replace the stylus approximately every 300-500 hours of playback, or if you notice a degradation in sound quality.
7.2 Cleaning the Unit
- Wipe the exterior of the turntable with a soft, dry, lint-free cloth.
- Do not use abrasive cleaners, waxes, or solvents as they can damage the finish.
- For the dust cover, use a soft cloth and a mild, non-abrasive cleaner if necessary.
8. Troubleshooting
If you experience issues with your turntable, please consult the following table before contacting support.
| Problem | Possible Cause | Solution |
|---|---|---|
| No power | Power adapter not connected or faulty outlet. | Ensure power adapter is securely connected and the outlet is functional. |
| No sound | Volume too low; incorrect function mode; external speakers not connected/powered. | Increase volume; select correct function (Phono, BT, USB, AUX); check external speaker connections and power. |
| Poor sound quality (vinyl) | Dirty or worn stylus; dirty record; incorrect speed selected. | Clean or replace stylus; clean record; select correct RPM. |
| Bluetooth not connecting | Turntable not in pairing mode; device too far; already connected to another device. | Ensure turntable is in BT mode and flashing; move device closer; disconnect from other devices. |
| USB playback not working | USB drive not inserted correctly; unsupported file format; USB drive faulty. | Reinsert USB drive; ensure files are MP3 format; try a different USB drive. |
9. Specifications
| Brand | MUSE |
| Model Name | MT-106 BT |
| Color | Wood |
| Material | Wood |
| Item Weight | 4.3 Kilograms |
| Rotation Speeds | 33, 45, 78 RPM |
| Connectivity | Bluetooth, USB, RCA Output, 3.5mm AUX Input, 3.5mm Headphone Jack |
| Special Features | Integrated Speaker, Dust Protection, Adjustable Speed, USB Encoding |
| Compatible Devices | Smartphone, Tablet |
| Power Source | AC Adapter (1 AAAA battery required for unspecified function, likely remote or internal clock) |
| Country of Origin | China |
10. Warranty and Support
This product is covered by a manufacturer's warranty. Please refer to the warranty card included with your purchase or visit the official MUSE website for detailed warranty terms and conditions.
For technical support, troubleshooting assistance, or inquiries regarding spare parts, please contact MUSE customer service through their official channels. Information regarding spare parts availability is currently not available.