BRIKSMAX 10298
BRIKSMAX LED Lighting Kit for LEGO Creator Vespa 125 (Model 10298)
User Instruction Manual
Introduction
This instruction manual provides detailed guidance for installing and operating your BRIKSMAX LED Lighting Kit, specifically designed for the LEGO Creator Vespa 125 (LEGO Model 10298). This lighting kit enhances the visual appeal of your LEGO model by illuminating key features, bringing it to life. Please note that this product includes only the LED lighting components; the LEGO set itself is not included.

Safety Information
Please read all safety warnings before beginning installation. This product contains small parts and is not suitable for children under 3 years of age due to choking hazards. Adult supervision is recommended during installation. Ensure all connections are secure and avoid excessive force when handling wires and components to prevent damage.
- Small Parts Warning: Choking hazard. Keep away from young children.
- Electrical Safety: Do not short-circuit components. Use only recommended power sources.
- Handling Wires: Wires are delicate. Avoid sharp bends or excessive pulling.
- Battery Safety: If using a battery holder, ensure batteries are inserted with correct polarity. Do not mix old and new batteries.
What's Included
Your BRIKSMAX LED Lighting Kit package contains the following components:

| Component | Quantity | Description |
|---|---|---|
| Warm White Dot Lights (15cm) | 1 | Small LED lights for detailed illumination. |
| Red Dot Lights (15cm) | 5 | Small red LED lights, typically for taillights. |
| Large Warm White Round Light (30cm) | 1 | Larger LED for broader illumination, e.g., headlight. |
| Warm White Strip Lights | 1 | Strip of LEDs for linear lighting effects. |
| 6-port Expansion Boards | 1 | Distributes power to multiple lights. |
| 12-port Expansion Boards | 1 | Larger expansion board for more connections. |
| Connecting Cables (15cm) | 1 | Short cables for connecting components. |
| Connecting Cables (30cm) | 1 | Longer cables for connecting components. |
| Building Block Type Battery Box (AAA battery) | 1 | Power source for the lights (batteries not included). |
| 30cm USB Power Cable | 1 | Alternative power source via USB. |
| Adhesive Squares | 1 | For securing components. |
| Block Part (Random Color) | 2 | Additional LEGO-compatible blocks for integration. |
Setup and Installation
Follow these steps carefully to install the lighting kit onto your LEGO Creator Vespa 125 model. It is recommended to have the LEGO model fully assembled before starting the light kit installation.
- Prepare the LEGO Model: Identify the areas on your LEGO Vespa 125 where lights will be installed. This often involves carefully detaching small sections of bricks to route wires.
- Install Headlight:
Locate the large warm white round light. Carefully integrate it into the headlight assembly of the Vespa. You may need to remove and reattach some LEGO bricks to secure the light and route its wire discreetly.
The main headlight of the Vespa model illuminated by the BRIKSMAX light kit. - Install Taillights:
Use the red dot lights for the rear taillight assembly. These small lights can be placed within or behind transparent red LEGO bricks to create a realistic effect. Route the wires along the underside or inside the model structure.

The rear taillight of the Vespa model illuminated by the BRIKSMAX light kit. - Interior and Accent Lighting:
Utilize the warm white dot lights and strip lights for interior areas, such as under the seat or within the engine compartment, and for accentuating other details like the flower basket. Carefully route wires to expansion boards.
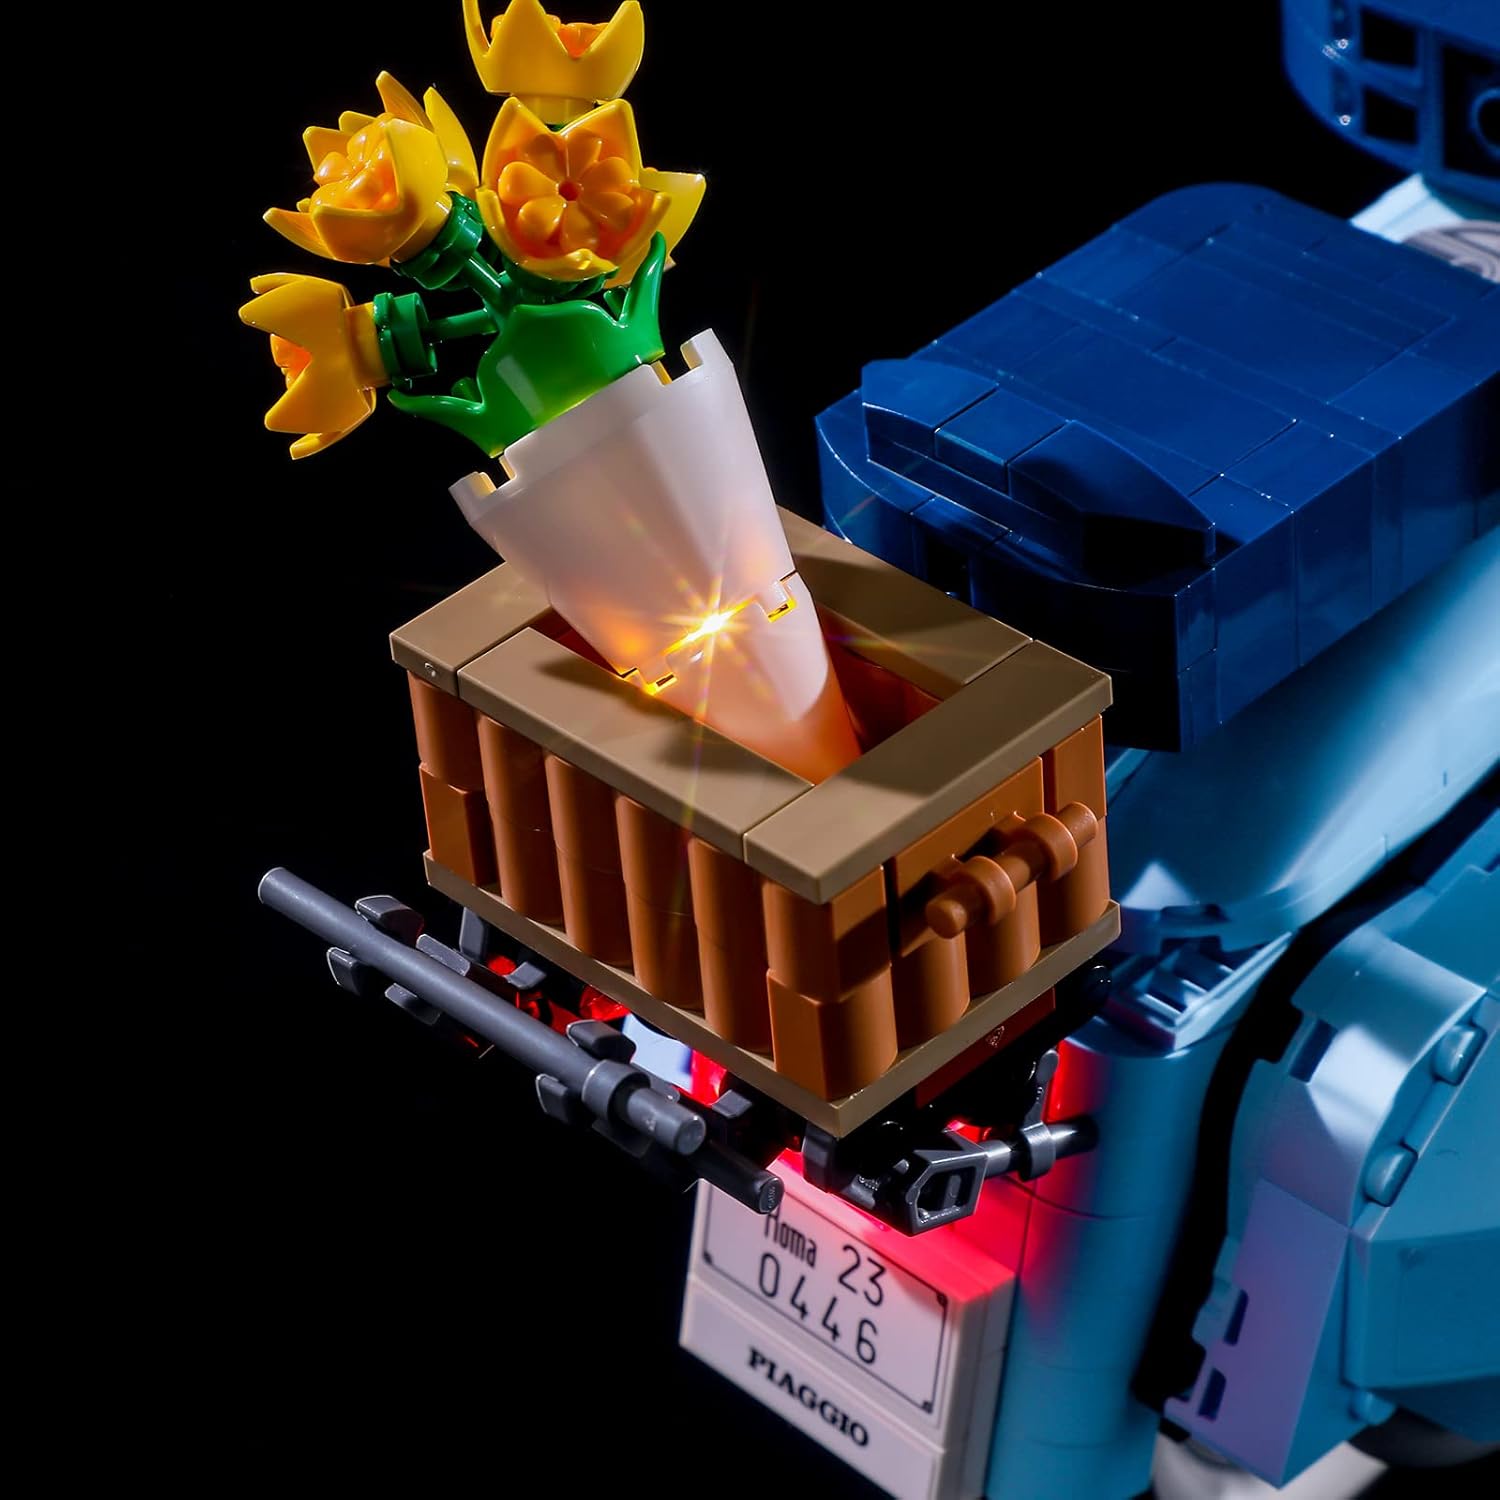
The flower basket accessory on the Vespa model, illuminated to highlight its details. - Connect to Expansion Boards:
Connect the wires from each light to the appropriate ports on the 6-port and 12-port expansion boards. Ensure connections are firm but do not force them. Use the provided connecting cables to extend reach if necessary.
- Power Source Connection:
Choose your preferred power source:
- Battery Box: Insert AAA batteries (not included) into the battery box, observing polarity. Connect the battery box to an available port on an expansion board.
- USB Power Cable: Connect the USB power cable to an expansion board and plug the other end into a 5V USB power adapter (not included) or a USB port on a computer/power bank.
- Secure Components: Use the adhesive squares to secure expansion boards and excess wiring within the LEGO model, ensuring they do not interfere with the model's stability or appearance.
Operating Instructions
Once the BRIKSMAX LED Lighting Kit is fully installed and connected to a power source, operating it is straightforward.
- Power On:
If using the battery box, ensure batteries are correctly installed and the switch on the battery box is set to the "ON" position. If using the USB cable, simply connect it to a powered USB port.
- Enjoy the Illumination:
The lights will immediately illuminate, enhancing your LEGO Vespa 125 model. There are no additional controls for brightness or patterns; the lights are designed for constant illumination when powered.

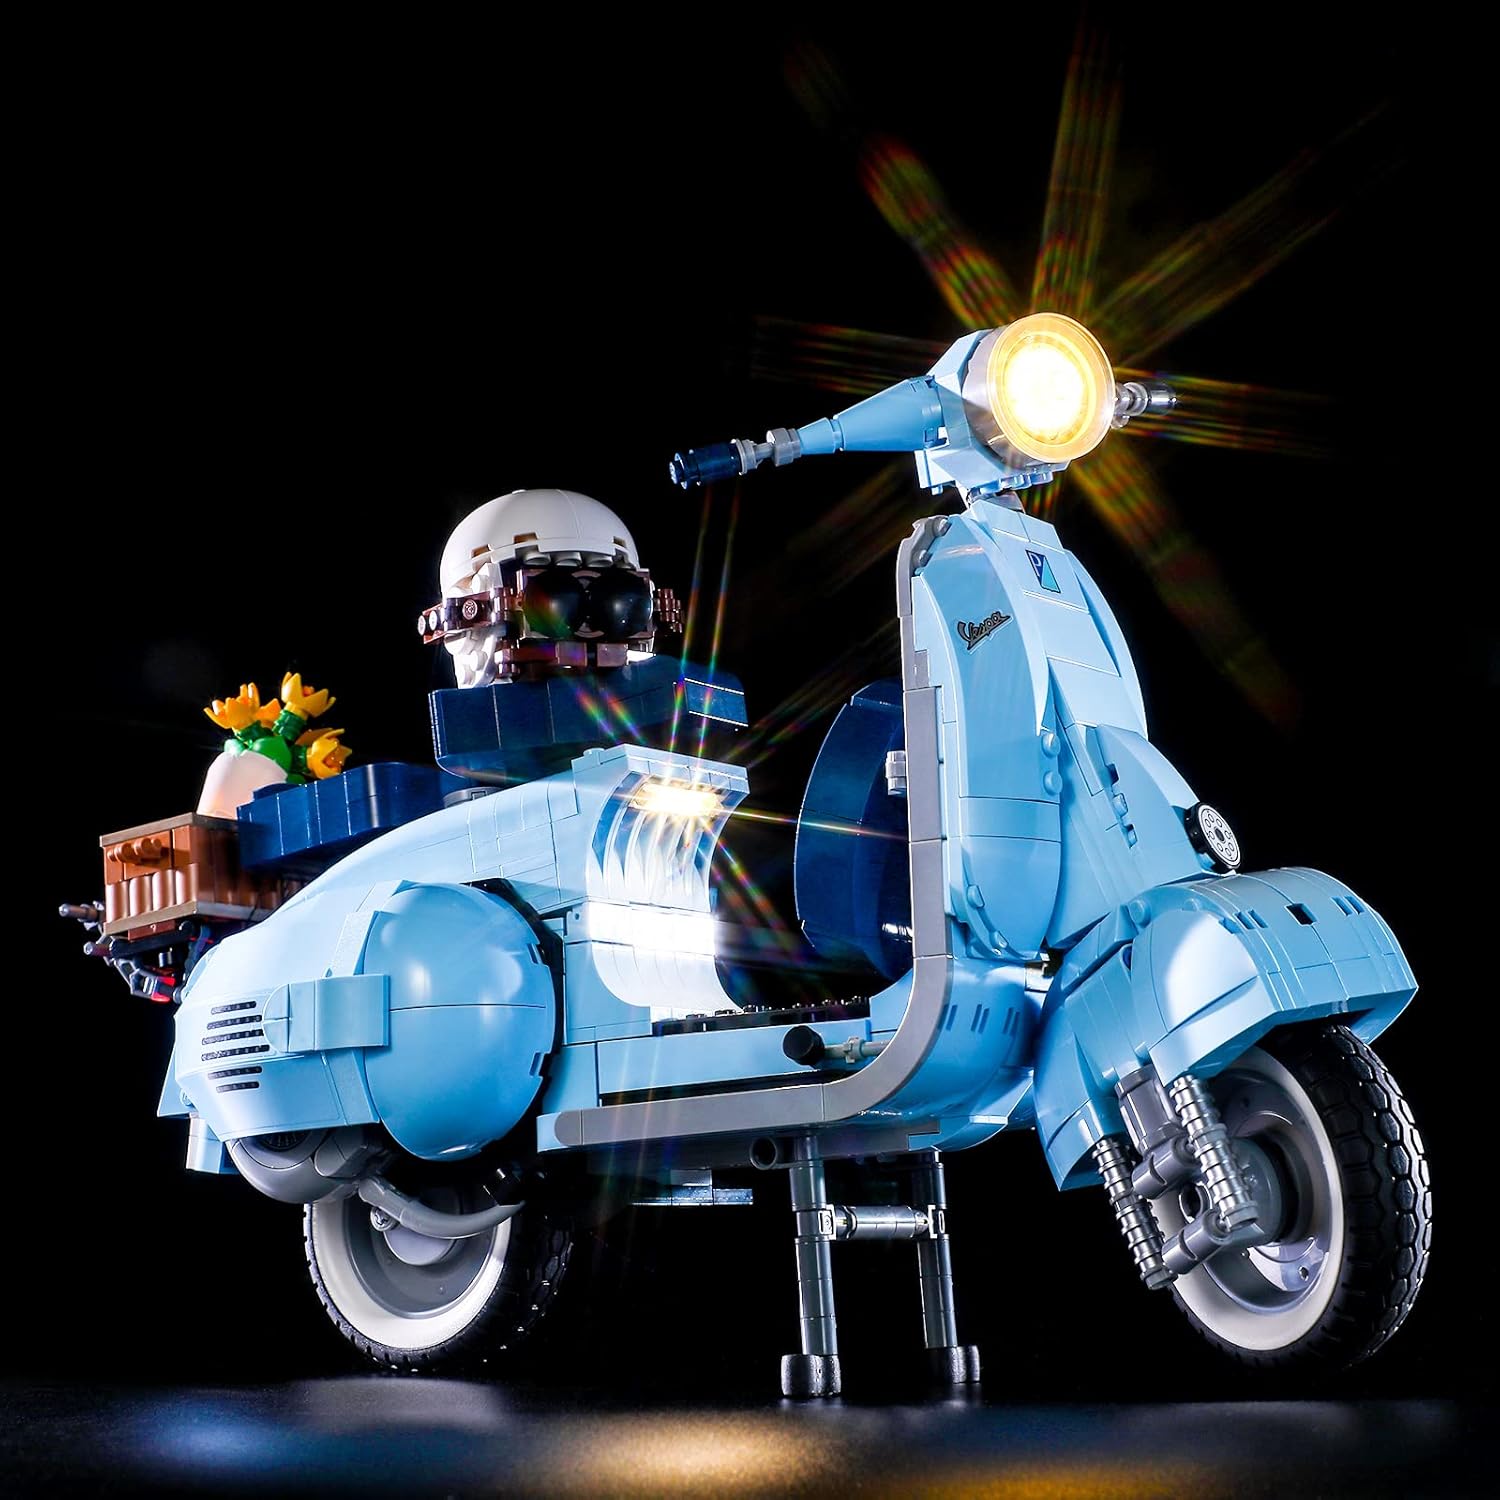
The LEGO Vespa 125 model fully illuminated by the BRIKSMAX LED Lighting Kit, viewed from the front. 
The LEGO Vespa 125 model fully illuminated by the BRIKSMAX LED Lighting Kit, viewed from the side. - Power Off:
To turn off the lights, switch the battery box to the "OFF" position or disconnect the USB power cable from its source.
Product Demonstration Video
Watch the official product video for a visual guide on the lighting kit's effects and installation process.
Maintenance
Proper maintenance ensures the longevity and optimal performance of your BRIKSMAX LED Lighting Kit.
- Cleaning: Use a soft, dry cloth to gently wipe dust from the lights and wires. Avoid using liquids or abrasive cleaners.
- Wire Management: Periodically check that all wires are securely routed and not pinched or exposed. Re-secure with adhesive squares if necessary.
- Battery Replacement: If using the battery box, replace all AAA batteries when the lights dim or cease to function. Always replace with new batteries of the same type.
- Storage: If storing the LEGO model for an extended period, disconnect the power source (remove batteries or unplug USB cable) to prevent battery drain or potential damage.
Troubleshooting
If you encounter any issues with your lighting kit, refer to the following common problems and solutions:
| Problem | Possible Cause | Solution |
|---|---|---|
| Lights do not turn on. | No power, loose connection, dead batteries. | Check power source (batteries or USB). Ensure all wires are securely connected to expansion boards and lights. Replace batteries if necessary. |
| Some lights are not working. | Loose connection to specific light, damaged wire/light. | Inspect connections for the non-working lights. Gently re-seat wires. If a light or wire appears damaged, contact customer support. |
| Lights are dim. | Low battery power, insufficient power from USB. | Replace batteries with fresh ones. If using USB, ensure the power adapter provides sufficient 5V output. |
| Wires are visible or not fitting. | Improper routing, LEGO bricks not fully seated. | Carefully re-route wires through gaps or under bricks. Ensure LEGO bricks are pressed firmly together after installation. |
Specifications
- Product Name: BRIKSMAX LED Lighting Kit for Creator Vespa 125
- Compatible LEGO Model: LEGO Creator Vespa 125 (Model 10298)
- Power Source: 3x AAA Batteries (not included) or 5V USB Power (USB cable included)
- Recommended Age: 8 years and up
- Product Dimensions (Packaging): 4.72 x 1.57 x 6.5 inches (approx.)
- Item Weight (Packaging): 6.6 ounces (approx.)
- Manufacturer: Briksmax
Warranty and Support
BRIKSMAX is committed to providing high-quality products and excellent customer service. If you have any difficulties with your product, including installation issues, missing parts, or defects, please do not hesitate to contact us.
Customer Support: For assistance, please send us an email. Our team is always ready to help.
While specific warranty details are not provided in this manual, BRIKSMAX typically offers support for product-related issues. Please retain your proof of purchase for any warranty claims.
You can also visit the official BRIKSMAX store for more information and resources: BRIKSMAX Amazon Store
Related Documents - 10298
 |
BRIKSMAX Loop Coaster 10303 LED Light Kit Installation Guide Detailed step-by-step instructions for installing the BRIKSMAX LED lighting kit for the LEGO Icons Loop Coaster 10303 model. This guide covers all wiring, component connections, and assembly steps to illuminate your roller coaster model. |
 |
Briksmax Light Kit for Airbus H175 Rescue Helicopter 42145 Instructions Step-by-step instructions for installing the Briksmax LED light kit (BX536) on the LEGO Creator Expert Airbus H175 Rescue Helicopter 42145 model. |
 |
Briksmax Light Kit for LEGO Galaxy Explorer 10497 Instructions Step-by-step instructions for installing the Briksmax LED light kit for the LEGO Creator Expert Galaxy Explorer 10497 set. Enhance your display with integrated lighting. |
 |
Briksmax Light Kit for LEGO Creator 3-in-1 Cozy House 31139 Instructions Official Briksmax instruction manual for installing LED lights in the LEGO Creator 3-in-1 Cozy House set 31139. This guide details the step-by-step process for enhancing the model with lighting. |
 |
BRIKSMAX LED Light Kit Installation Guide for LEGO Creator Expert Harley-Davidson Fat Boy 10269 (BX039) Detailed step-by-step instructions for installing the BRIKSMAX LED lighting kit into the LEGO Creator Expert Harley-Davidson Fat Boy 10269 model. Enhance your build with illuminated details. |
 |
BRIKSMAX LED Lighting Kit for LEGO Creator Expert Winter Village Fire Station 10263 Detailed instructions for installing the BRIKSMAX LED lighting kit to enhance the LEGO Creator Expert Winter Village Fire Station set (10263). This guide provides step-by-step visual instructions for a seamless installation, transforming the model with illumination. |
Ask a question about this manual
Ask about setup, troubleshooting, compatibility, parts, safety, or missing instructions. Manuals+ will review the question and use this page’s manual context to help answer it.