1. Introduction
This manual provides comprehensive instructions for the installation, operation, and maintenance of your new APSVE Headlight Assembly. Please read this manual thoroughly before beginning installation to ensure proper function and safety. This product is designed as a direct replacement for original equipment manufacturer (OEM) parts.
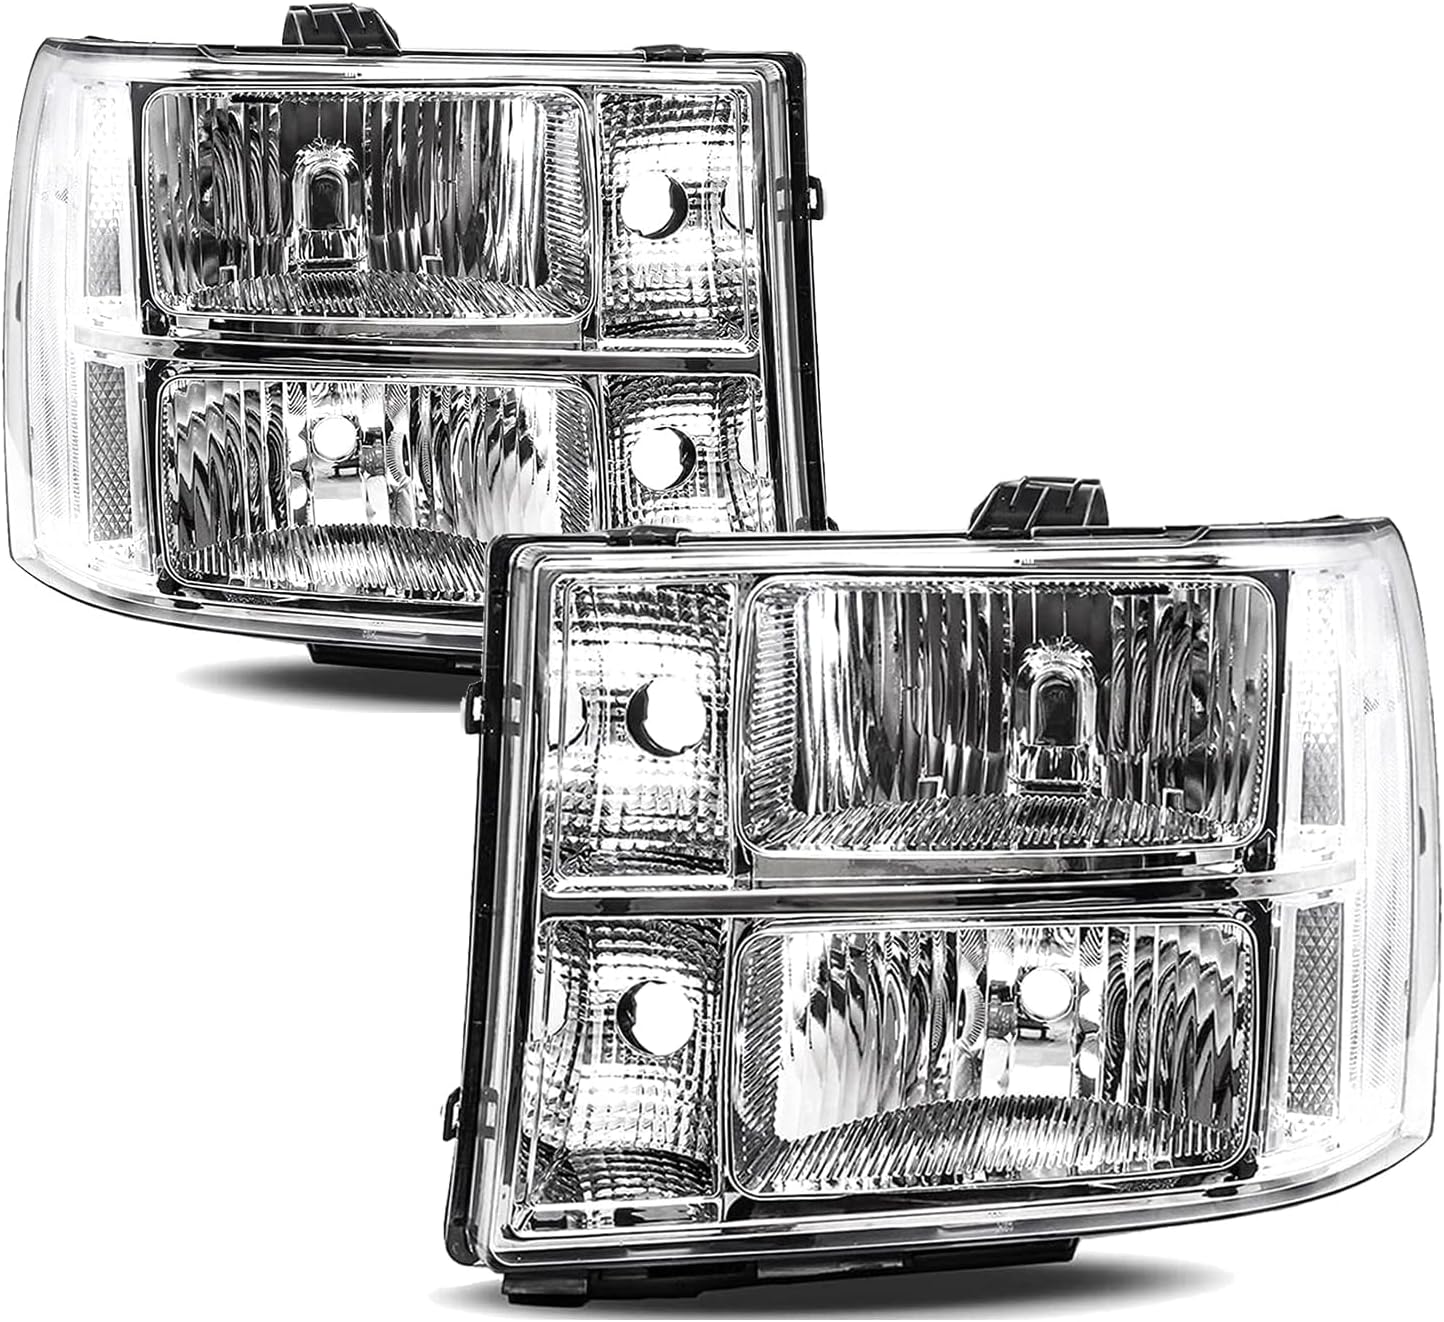
Image 1.1: APSVE Headlight Assembly, Chrome Clear
2. Product Overview and Compatibility
The APSVE Headlight Assembly is engineered for specific GMC Sierra models, offering a chrome housing with clear side markers for enhanced visibility and aesthetic appeal.
2.1 Vehicle Compatibility:
- 2007-2013 GMC Sierra 1500
- 2007-2014 GMC Sierra 2500 HD
- 2007-2014 GMC Sierra 3500 HD
Important Note: This headlight assembly is NOT compatible with 2007 Sierra Classic models (1500 Classic, 2500 HD Classic, and 3500 HD Classic).

Image 2.1: Headlight Assembly installed on a compatible GMC Sierra.
3. Package Contents
Upon opening the package, verify that all components are present and undamaged. The standard package includes:
- One (1) Driver Side Headlight Assembly
- One (1) Passenger Side Headlight Assembly
Bulbs are not included with this assembly. Please refer to Section 4.2 for required bulb types.
4. Setup and Installation
Installation of the APSVE Headlight Assembly is designed to be a direct bolt-on replacement for the stock unit, often referred to as 'plug-n-play' operation. While the process is generally straightforward, professional installation is recommended if you are unfamiliar with automotive electrical systems or body panel removal.
4.1 General Installation Steps:
- Safety First: Ensure the vehicle is turned off, the parking brake is engaged, and the battery's negative terminal is disconnected before starting any work.
- Access: Depending on your specific vehicle model, it may be necessary to partially remove the front bumper cover or grille to access the headlight mounting bolts. Online video tutorials can provide visual guidance for this step.
- Remove Old Headlight: Disconnect the electrical connectors from the existing headlight assembly. Unbolt and carefully remove the old headlight unit.
- Install New Headlight: Connect the electrical connectors to the new APSVE Headlight Assembly. Position the new assembly into place and secure it with the mounting bolts. Ensure a snug fit.
- Repeat for Other Side: Follow the same steps for the opposite headlight assembly.
- Reconnect Battery: Once both headlights are securely installed, reconnect the negative battery terminal.
- Test Functionality: Turn on the vehicle and test all headlight functions: low beams, high beams, turn signals, and parking lights.
- Aiming: After installation, it is crucial to properly aim your headlights to ensure optimal visibility and to avoid blinding oncoming traffic. Refer to your vehicle's service manual for specific aiming procedures or consult a professional.

Image 4.1: Rear view of the headlight assembly, illustrating bulb sockets and mounting points.
4.2 Required Bulb Types (Not Included):
The APSVE Headlight Assembly requires the following bulb types:
- High Beam: HB3
- Low Beam: H11
- Turn Signal Light: 3757A

Image 4.2: Illustration of required bulb types for the headlight assembly.
5. Operating Instructions
Once installed, the APSVE Headlight Assembly operates in conjunction with your vehicle's existing lighting controls. Refer to your vehicle's owner's manual for specific instructions on operating your headlights, high beams, turn signals, and parking lights.
- Low Beams: Provide standard illumination for general driving conditions.
- High Beams: Offer maximum illumination for unlit roads; use only when no oncoming traffic is present.
- Turn Signals: Indicate your intended direction of travel.
- Parking Lights: Used for increased visibility when parked or in low-light conditions.
6. Maintenance
Proper maintenance will extend the lifespan and maintain the clarity of your headlight assemblies.
- Regular Cleaning: Clean the exterior lens with a soft cloth and mild automotive soap or glass cleaner. Avoid abrasive materials that could scratch the plastic lens.
- UV Protection: Headlight lenses can degrade over time due to UV exposure, leading to hazing or yellowing. Applying a UV protector or sealant periodically can help prevent this. Follow the instructions provided with the UV protection product.
- Bulb Replacement: If a bulb burns out, replace it promptly with the correct type (HB3, H11, 3757A) to maintain proper lighting functionality.

Image 6.1: Close-up of the clear lens and chrome housing.
7. Troubleshooting
This section addresses common issues you might encounter with your headlight assembly.
7.1 Headlight Beam Adjustment:
If, after installation, the headlight beam appears misaligned (too high, too low, or off-center), adjustment may be necessary. Some users have reported that the beam adjustment mechanism might be positioned close to the upper core support, requiring careful access. Consult your vehicle's service manual for the exact location of the adjustment screws and the proper procedure for aiming headlights. Incorrectly aimed headlights can reduce visibility or cause glare for other drivers.
7.2 Lights Not Functioning:
- Check Connections: Ensure all electrical connectors are securely plugged into the headlight assembly and the vehicle's wiring harness.
- Check Bulbs: Verify that the bulbs are correctly installed and are not burnt out. Replace any faulty bulbs.
- Check Fuses: Consult your vehicle's owner's manual to locate the fuse box and check the fuses related to the headlights. Replace any blown fuses.
- Vehicle Wiring: If the issue persists, there may be a problem with the vehicle's wiring or electrical system. Professional diagnosis is recommended.
8. Specifications
Key specifications for the APSVE Headlight Assembly (Model B09TW6FZ5M):
| Feature | Specification |
|---|---|
| Brand | APSVE |
| Model | Sierra (ap030401) |
| Color | Chrome Clear |
| Specific Uses For Product | Head Lights |
| Vehicle Service Type | 2007-2013 GMC Sierra 1500, 2007-2014 GMC Sierra 2500 HD/3500 HD (Not for 2007 Classic models) |
| Auto Part Position | Front |
| Lens Color | Clear |
| Lens Material | Plastic |
| Special Feature | Chrome Housing, Clear Corner |
| Safety Rating | DOT Certified |
| Item Weight | 13.27 pounds (pair) |
| Package Dimensions | 16.8 x 13.9 x 13.6 inches |
| OEM Part Number | 22853029, 22853030 |
| ABPA Partslink Number | GM2502283, GM2503283 |
9. Warranty and Support
For information regarding product warranty, returns, or technical support, please contact the seller or manufacturer directly through the platform where the product was purchased. Keep your purchase receipt or order number handy for faster service.