1. Product Overview
The Practixx PX-RRM-600Wi Robot Lawn Mower is designed for efficient and autonomous lawn care in gardens up to 600 m². It features smart app control via WiFi or Bluetooth, allowing for convenient scheduling and monitoring. With its robust design, it can manage slopes up to 35% and offers adjustable cutting height for a perfectly manicured lawn.

Image 1.1: The Practixx PX-RRM-600Wi Robot Lawn Mower, showcasing its sleek design and robust wheels.
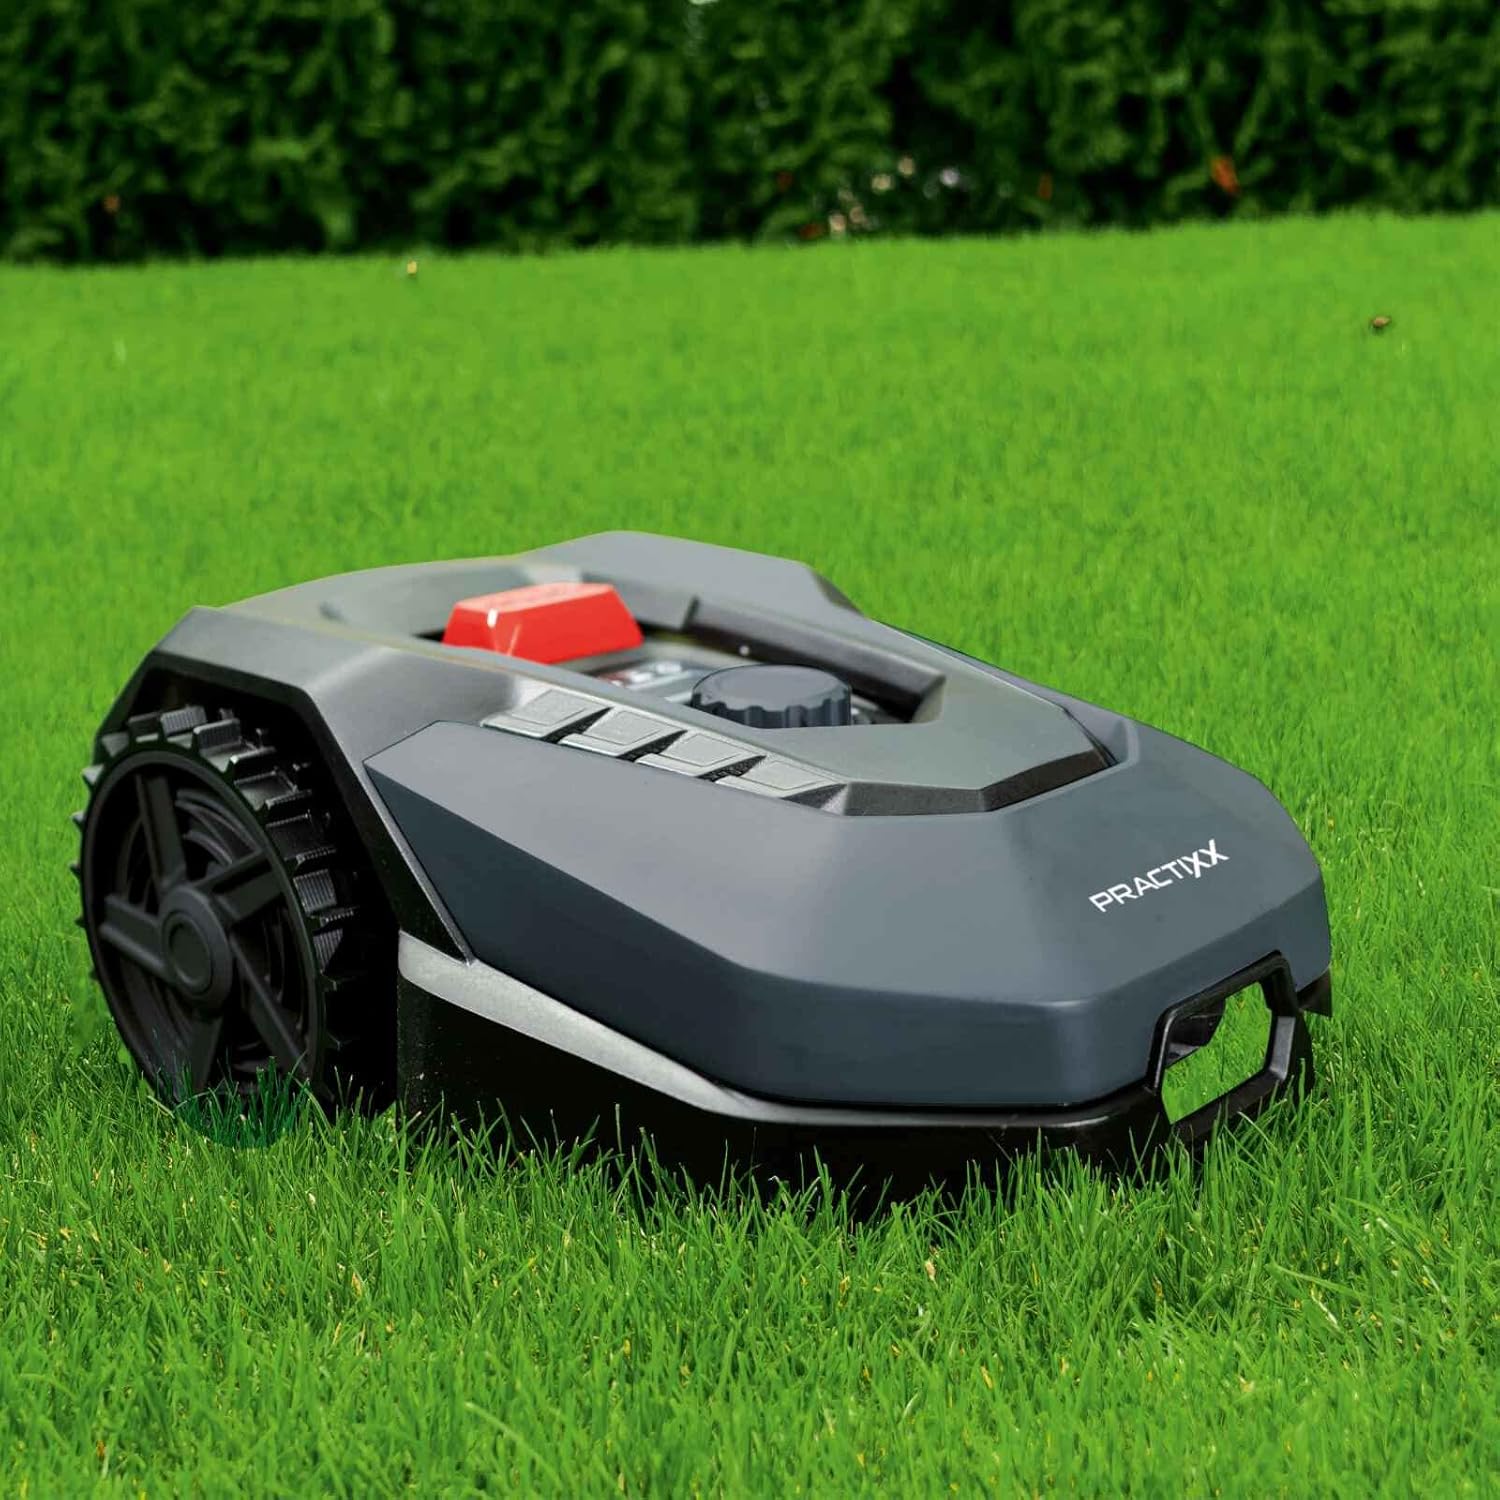
Image 1.2: The Practixx robot lawn mower actively cutting grass, demonstrating its compact size and ability to navigate a lawn.
2. Important Safety Information
Always read and understand all safety warnings and instructions before operating the robot lawn mower. Failure to follow the warnings and instructions may result in electric shock, fire, and/or serious injury.
- Keep hands and feet away from the cutting blades.
- Do not operate the mower in wet conditions or during rain. The mower is equipped with a rain sensor to prevent operation in such conditions.
- Ensure the boundary wire is correctly installed to prevent the mower from leaving the designated mowing area.
- Keep children and pets away from the mowing area when the robot is operating. The mower has sensitive obstacle sensors for protection.
- Turn off the mower and remove the safety key before performing any maintenance or cleaning.
- Only use original spare parts and accessories.
- Protect the charging station from direct sunlight and rain.
- In case of an emergency, press the large red STOP button on the mower immediately.
3. Box Contents
Carefully unpack all items and check against the list below. If any items are missing or damaged, contact customer support.
- Practixx Robot Lawn Mower
- Fast Charging Station
- 130 m Peripheral Cable (Boundary Wire)
- 180 Ground Anchors
- 3 Pre-assembled Blades
- 6 Spare Blades
- Power Adapter for Charging Station
- User Manual (this document)

Image 3.1: Contents of the Practixx PX-RRM-600Wi package, including the robot mower, charging station, boundary wire, ground anchors, and spare blades.
4. Setup and Installation
4.1 Charging Station Placement
Place the charging station on a flat, level surface in an area with good WiFi/Bluetooth signal, away from direct sunlight and rain. Ensure there is sufficient clear space around the station for the mower to dock easily.
4.2 Boundary Wire Installation
The peripheral cable defines the mowing area. It can be laid on the surface and secured with the provided ground anchors, or buried. Ensure the wire is laid at the recommended distance from obstacles and edges (approximately 20-22 cm for optimal edge mowing).
- Plan your mowing area, identifying obstacles and no-go zones.
- Lay the boundary wire around the perimeter, securing it with ground anchors every 70-100 cm.
- Connect the ends of the boundary wire to the charging station terminals as per the diagram in the full manual.
- Ensure the wire forms a continuous loop.
4.3 Initial Charging and PIN Code Setup
Once the charging station is powered and the boundary wire is connected, place the mower on the charging station. The mower will begin charging. During initial setup, you will be prompted to set a personal PIN code for anti-theft protection. Remember this code.
4.4 App Connection (WiFi & Bluetooth)
Download the Practixx app from your smartphone's app store. Follow the in-app instructions to connect your mower via WiFi or Bluetooth. This enables remote control, scheduling, and monitoring of the mower.
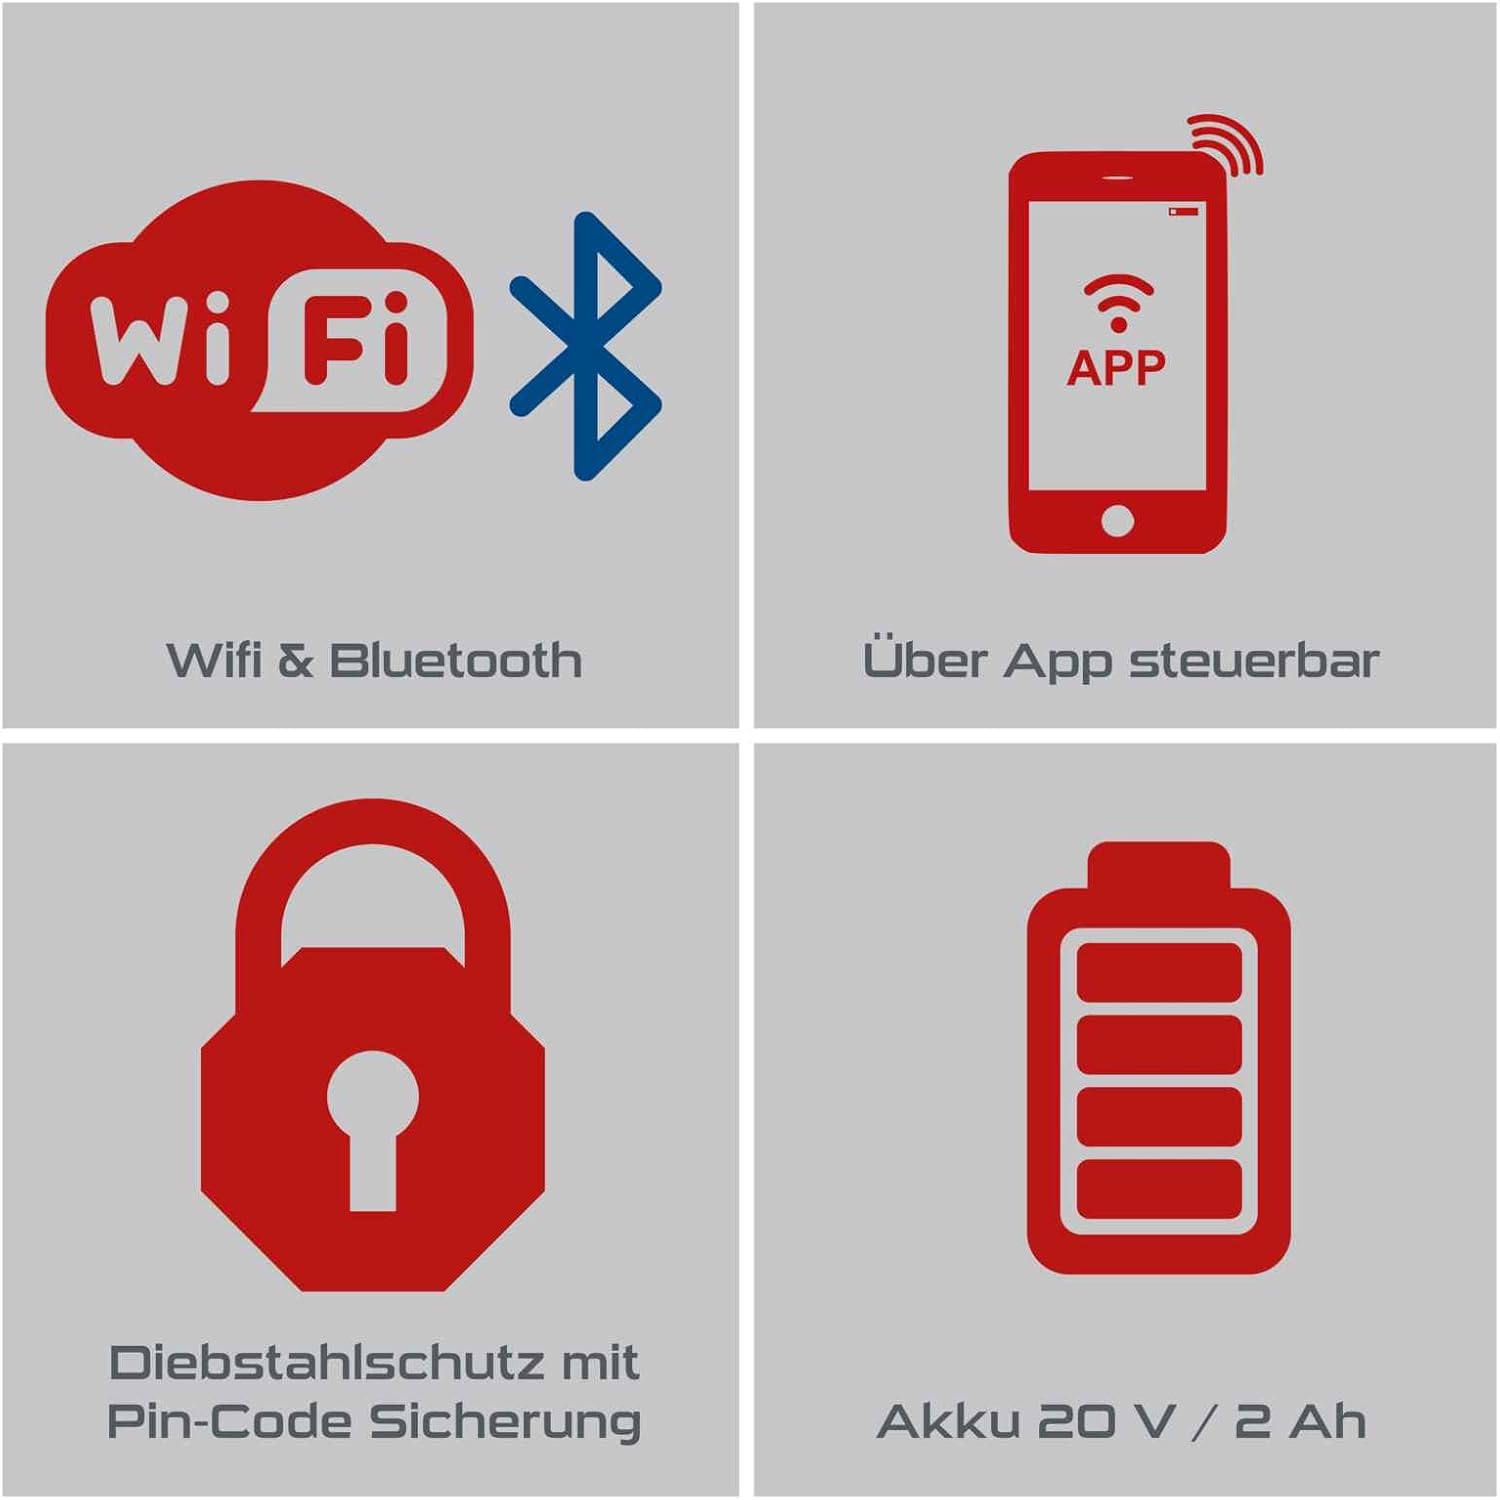
Image 4.1: Icons representing WiFi and Bluetooth connectivity, app control, PIN code security, and battery status, highlighting the mower's smart features.
5. Operation
5.1 Starting and Stopping Mowing
To start mowing, ensure the mower is within the boundary wire area and press the START button on the mower or via the app. To stop, press the STOP button on the mower or use the app. The mower will return to its charging station when its battery is low or when its schedule is complete.
5.2 Mowing Schedule and Zones
Use the Practixx app to set daily mowing times and define specific mowing zones. This allows for customized lawn care based on your garden's layout and your preferences.

Image 5.1: Visual representation of the smart app control features, including device status, mowing plan editing, edge cutting function, setting mowing zones, starting/stopping mowing, and return-to-charging-station function.
5.3 Cutting Height Adjustment
The cutting height can be adjusted from 20 mm to 60 mm using the dial on the top of the mower. Rotate the dial to your desired height setting. For best results, gradually reduce the cutting height over several mowing sessions if your grass is very long.
5.4 Edge Mowing Function
The mower is equipped with an edge mowing function to ensure clean lawn edges. Ensure your boundary wire is laid correctly to maximize the effectiveness of this feature.
5.5 Rain Sensor and Obstacle Detection
The integrated rain sensor detects precipitation and will send the mower back to its charging station to prevent operation in wet conditions. Sensitive obstacle sensors help the mower detect and avoid objects, protecting children, pets, and the mower itself.
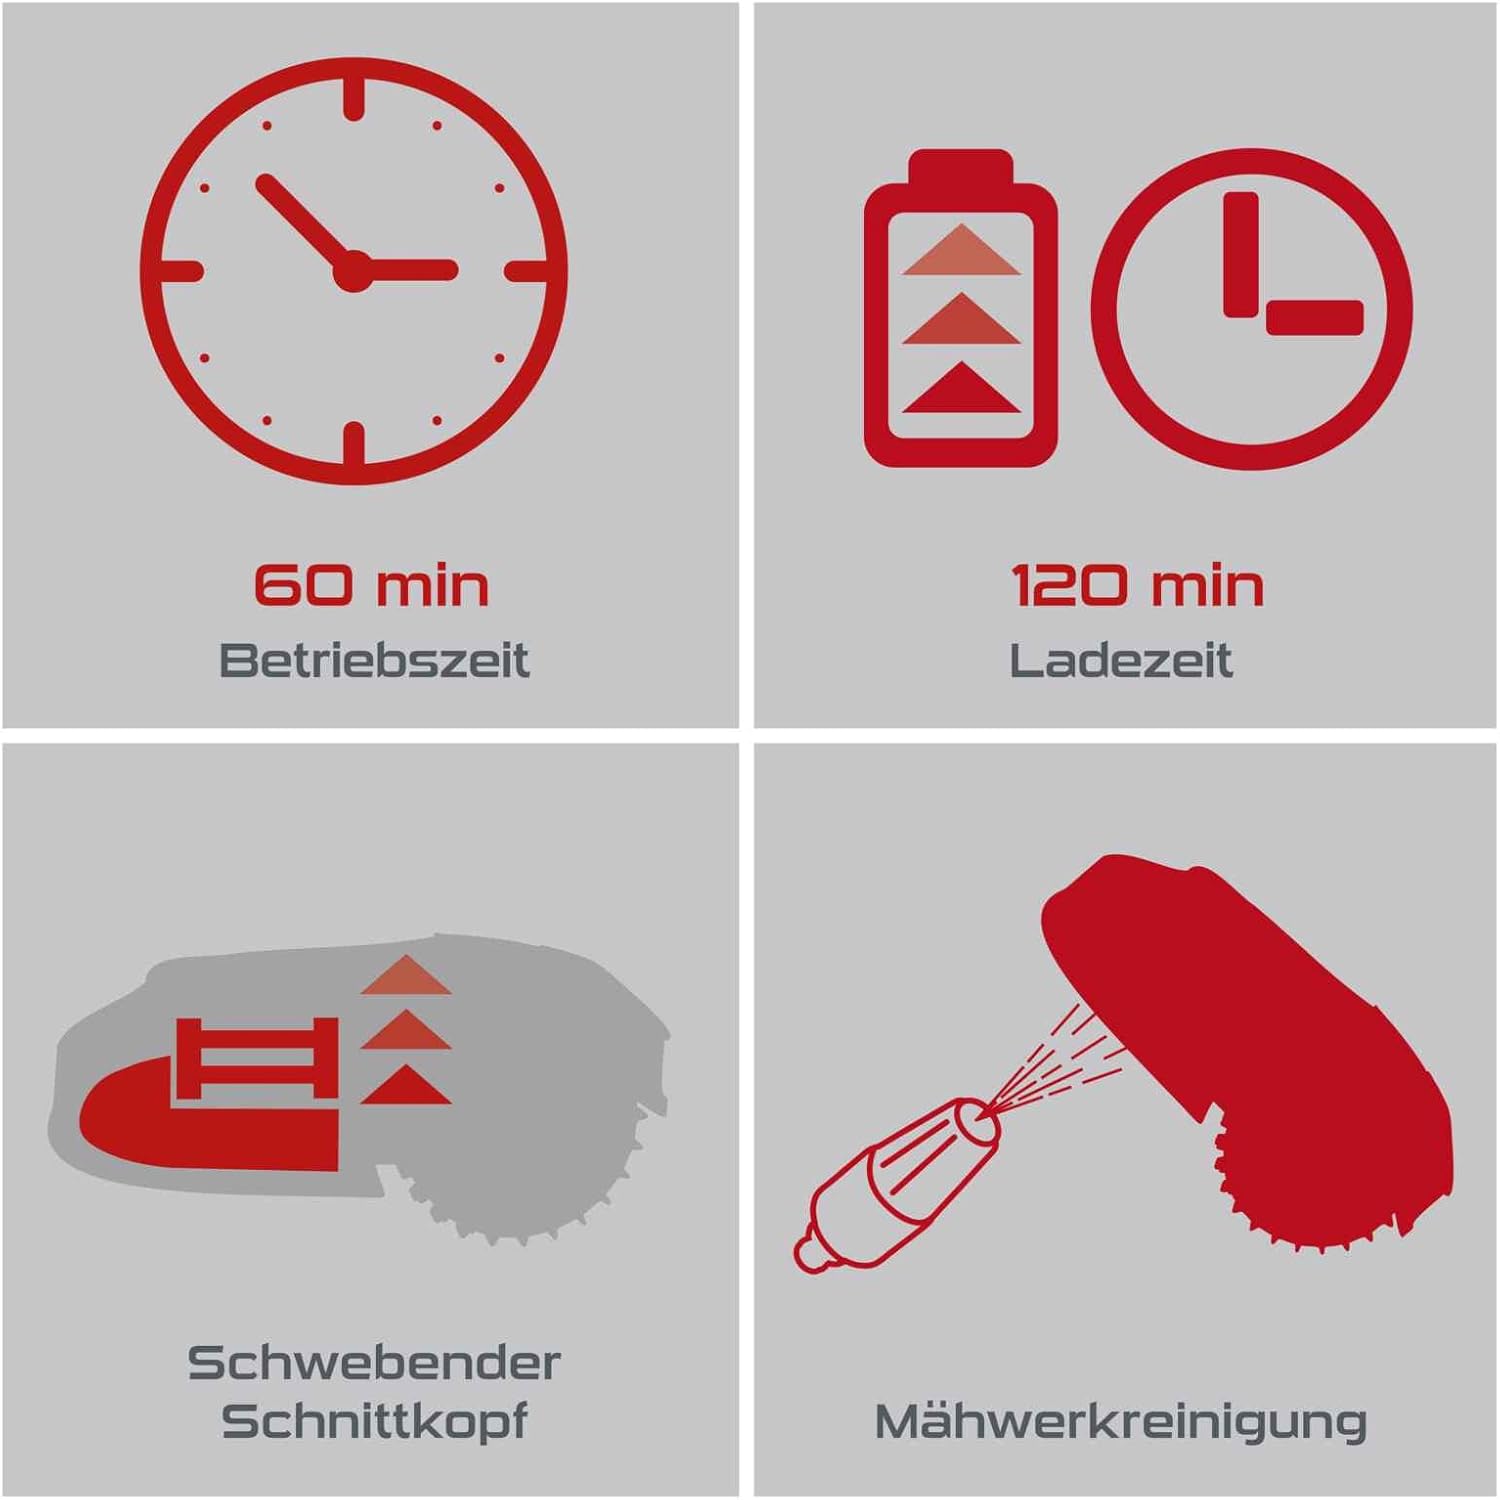
Image 5.2: Operational details including 60 minutes runtime, 120 minutes charging time, floating cutting head, and mowing unit cleaning.
6. Maintenance
Regular maintenance ensures optimal performance and extends the lifespan of your robot lawn mower. Always turn off the mower and remove the safety key before any maintenance.
6.1 Cleaning the Mower
Clean the mower regularly, especially the cutting deck and wheels, to prevent grass buildup. Use a brush or damp cloth. Do not use a high-pressure washer directly on the mower.
Image 6.1: Icon indicating the mowing unit cleaning process, suggesting regular cleaning for optimal performance.
6.2 Blade Replacement
For best cutting results, replace the blades regularly (e.g., every 1-3 months, depending on usage and grass type). Use the provided spare blades and ensure all three blades are replaced simultaneously for balanced operation.
- Turn off the mower and put on protective gloves.
- Carefully flip the mower over to access the cutting deck.
- Unscrew the old blades and replace them with new ones, ensuring they are securely fastened.
6.3 Battery Care and Winter Storage
Store the mower in a dry, frost-free environment during winter months. Ensure the battery is fully charged before storage and recharge it every few months to maintain battery health. Disconnect the charging station from power.
7. Troubleshooting
This section provides solutions to common issues you might encounter. For more complex problems, refer to the full manual or contact customer support.
| Problem | Possible Cause | Solution |
|---|---|---|
| Mower does not start. | Battery low; Safety key not inserted; STOP button pressed. | Charge battery; Insert safety key; Release STOP button. |
| Mower stays within charging station. | Rain sensor activated; Schedule not set. | Wait for rain to stop; Set a mowing schedule via the app. |
| Mower gets stuck frequently. | Obstacles in mowing path; Uneven terrain. | Clear mowing area; Adjust boundary wire; Level uneven areas. The floating cutting head helps with minor unevenness. |
| Poor cutting performance. | Dull blades; Grass buildup on cutting deck. | Replace blades; Clean cutting deck. |
| Mower does not return to charging station. | Boundary wire issue; Charging station blocked. | Check boundary wire connection and integrity; Ensure clear path to charging station. |
8. Technical Specifications
Detailed technical data for the Practixx PX-RRM-600Wi Robot Lawn Mower.
| Feature | Specification |
|---|---|
| Model Number | PX-RRM-600Wi (39130019969) |
| Recommended Lawn Area | Up to 600 m² |
| Max. Slope | 35% |
| Cutting Width | 180 mm (18 cm) |
| Cutting Height Adjustment | 20 - 60 mm |
| Noise Level (LpA) | 62 dB (A) |
| Battery Type | 18 V / 2.0 Ah Lithium-Ion |
| Typical Operating Time | Approx. 60 minutes |
| Typical Charging Time | Approx. 120 minutes |
| Connectivity | WiFi & Bluetooth (App Control) |
| Features | Rain Sensor, Obstacle Sensor, Edge Mowing, Floating Cutting Head, PIN Code Security |
| Dimensions (L x W x H) | 530 x 360 x 225 mm |
| Item Weight | 13.94 kg |

Image 8.1: Visual summary of key specifications including recommended area (600 m²), maximum slope (35%), cutting width (180 mm), cutting height range (20-60 mm), and rain sensor.

Image 8.2: Detailed product data and technical specifications table, providing dimensions, sound level, cutting width, cutting height adjustment, area, motor type, and battery information.

Image 8.3: Illustration of the floating cutting head feature, which reliably and quickly compensates for uneven ground.
9. Warranty and Customer Support
Practixx products come with a standard manufacturer's warranty. Please refer to the warranty card included in your package for specific terms and conditions. For technical assistance, spare parts, or warranty claims, please contact Practixx customer support through their official website or the contact information provided in your product documentation.
Always provide your model number (PX-RRM-600Wi) and serial number (if applicable) when contacting support to ensure efficient service.


