1. Introduction
This manual provides detailed instructions for the setup, operation, and maintenance of your NPET Automatic PET Feeder, model AF020-BK. Please read this manual thoroughly before using the device to ensure proper function and longevity.
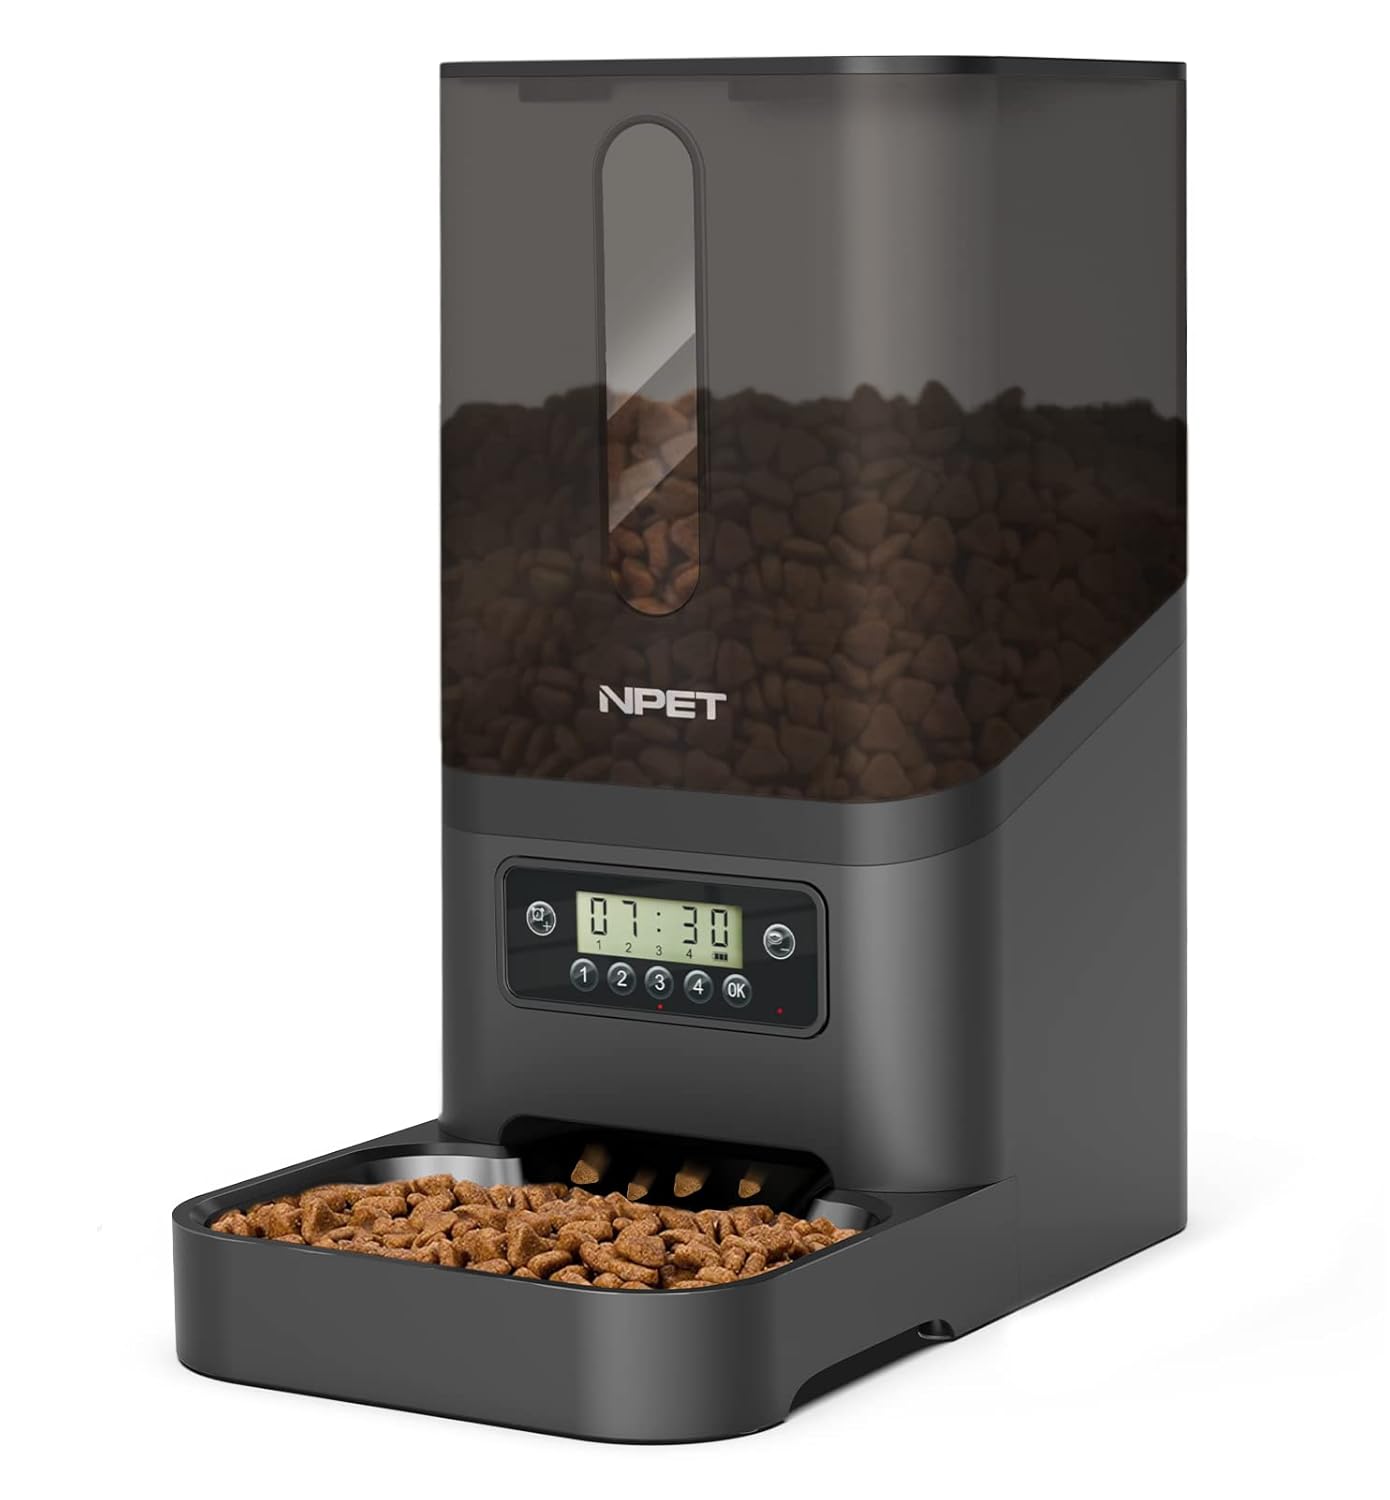
Image 1.1: Front view of the NPET Automatic PET Feeder AF020-BK, displaying the food reservoir filled with kibble and the control panel.
2. Product Overview
The NPET Automatic PET Feeder AF020-BK is designed to provide scheduled meals for your pets. It features a programmable timer and an anti-clog design to ensure consistent food delivery.
2.1 Components
- Main Feeder Unit (with food reservoir and control panel)
- Food Tray
- Power Adapter (USB cable included, adapter not always included)
- User Manual
2.2 Key Features
- Programmable Timer: Schedule up to 4 meals per day.
- Adjustable Portions: Dispense up to 39 portions per meal.
- Anti-Clog Design: Mechanism to prevent food blockages.
- Secure Lid: Press-lock lid to maintain food freshness and prevent spills.
- Dual Power Supply: Operates via power adapter or backup batteries (not included).

Image 2.1: Internal view illustrating the anti-clog design, which helps ensure smooth food dispensing.

Image 2.2: Close-up of the press-lock lid, designed to secure the food reservoir and maintain food freshness.
3. Setup
- Unpack: Carefully remove all components from the packaging.
- Assemble: Place the food tray securely at the base of the main feeder unit.
- Power Supply:
- Connect the USB power cable to the feeder and plug it into a suitable power adapter (not always included) and wall outlet.
- For backup power, insert 3 D-size batteries (not included) into the battery compartment at the bottom of the unit. This ensures operation during power outages.
- Fill Food Reservoir: Open the top lid and fill the reservoir with dry pet food. Ensure the lid is securely closed after filling to maintain freshness.
4. Operating Instructions
The control panel allows for precise scheduling of meal times and portion sizes.

Image 4.1: Detailed view of the control panel, indicating buttons for time setting, meal setting, and meal programming (1st, 2nd, 3rd, 4th meals).
4.1 Setting Current Time
- Press and hold the Time Setting button (usually represented by a clock icon) until the hour display flashes.
- Use the Up/Down buttons (often integrated with other buttons or separate) to adjust the hour.
- Press the Time Setting button again to move to the minute display, then adjust using the Up/Down buttons.
- Press the OK button to confirm and save the current time.
4.2 Programming Meal Times and Portions
The feeder supports up to 4 meals per day, with up to 39 portions per meal.
- Press the Meal Setting button (often represented by a food bowl icon) to enter meal programming mode. The display will show "1" for the first meal.
- Set Meal Time: Use the Up/Down buttons to set the desired hour for the first meal. Press Meal Setting again to set the minutes.
- Set Portion Size: After setting the time, the portion display will flash. Use the Up/Down buttons to select the number of portions (1-39). One portion is approximately 10 grams of dry food.
- Press the OK button to confirm the settings for the first meal.
- Repeat steps 1-4 for the 2nd, 3rd, and 4th meals as needed. If a meal is not required, set its portion size to "0".
- After programming all desired meals, press OK to exit programming mode.
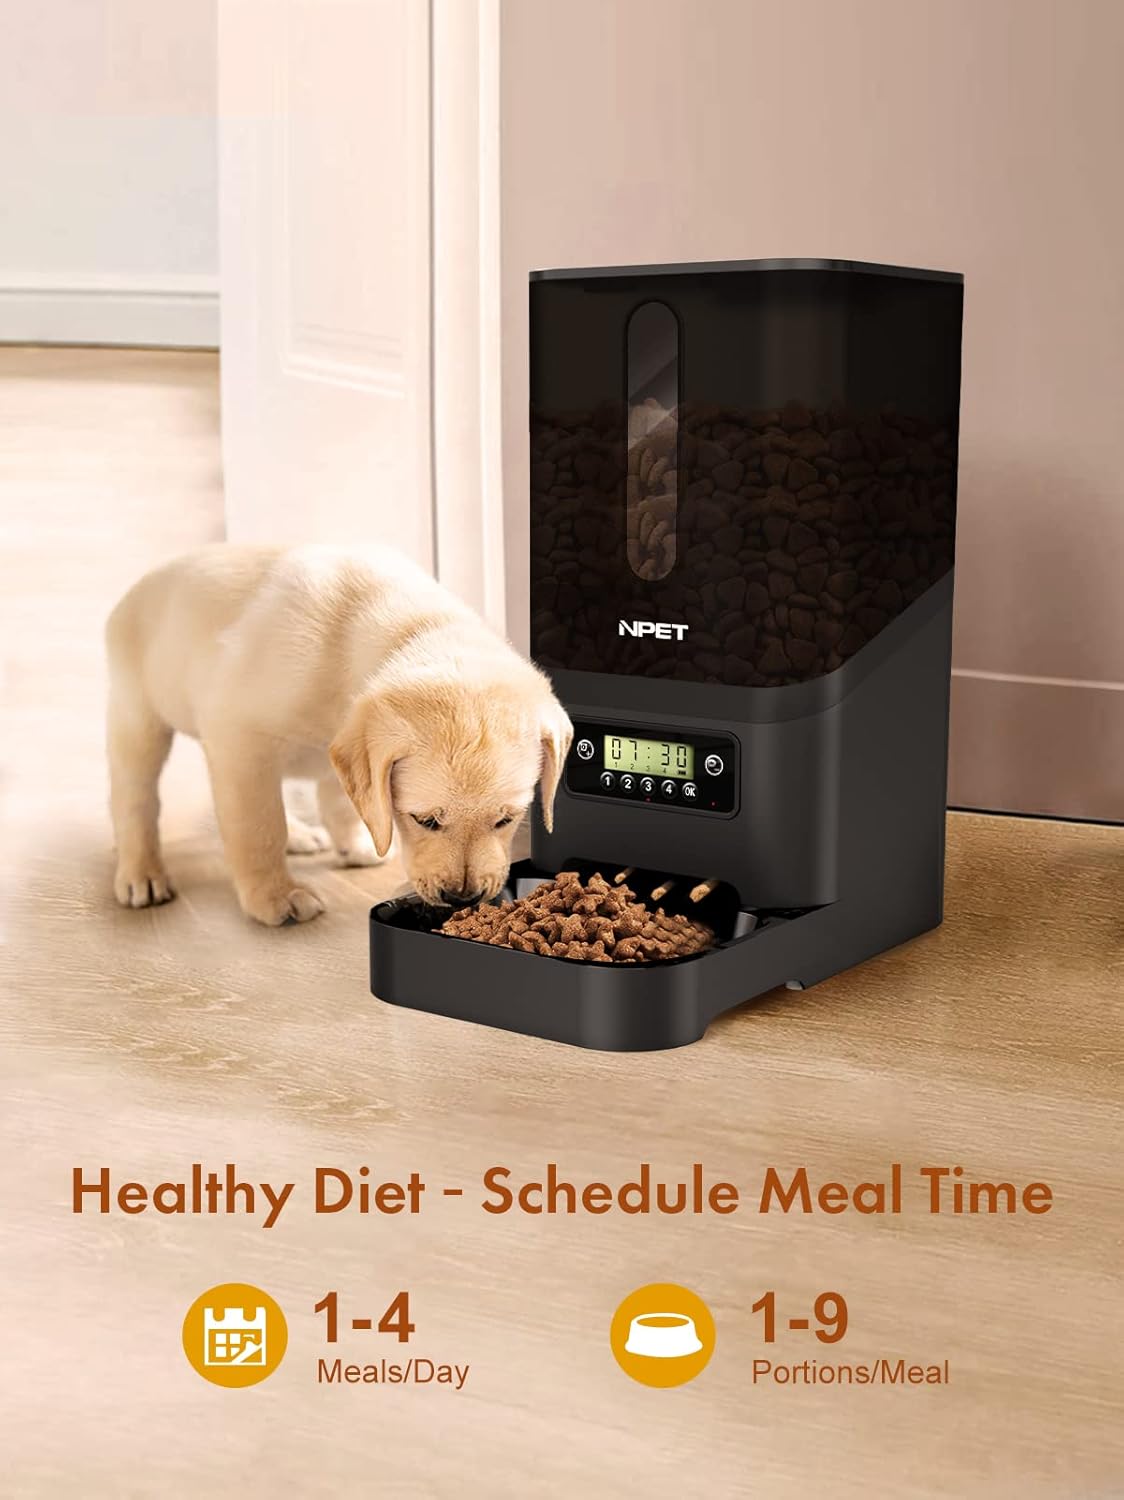
Image 4.2: The feeder in operation, demonstrating its ability to provide scheduled meals for pets, supporting a consistent feeding routine.
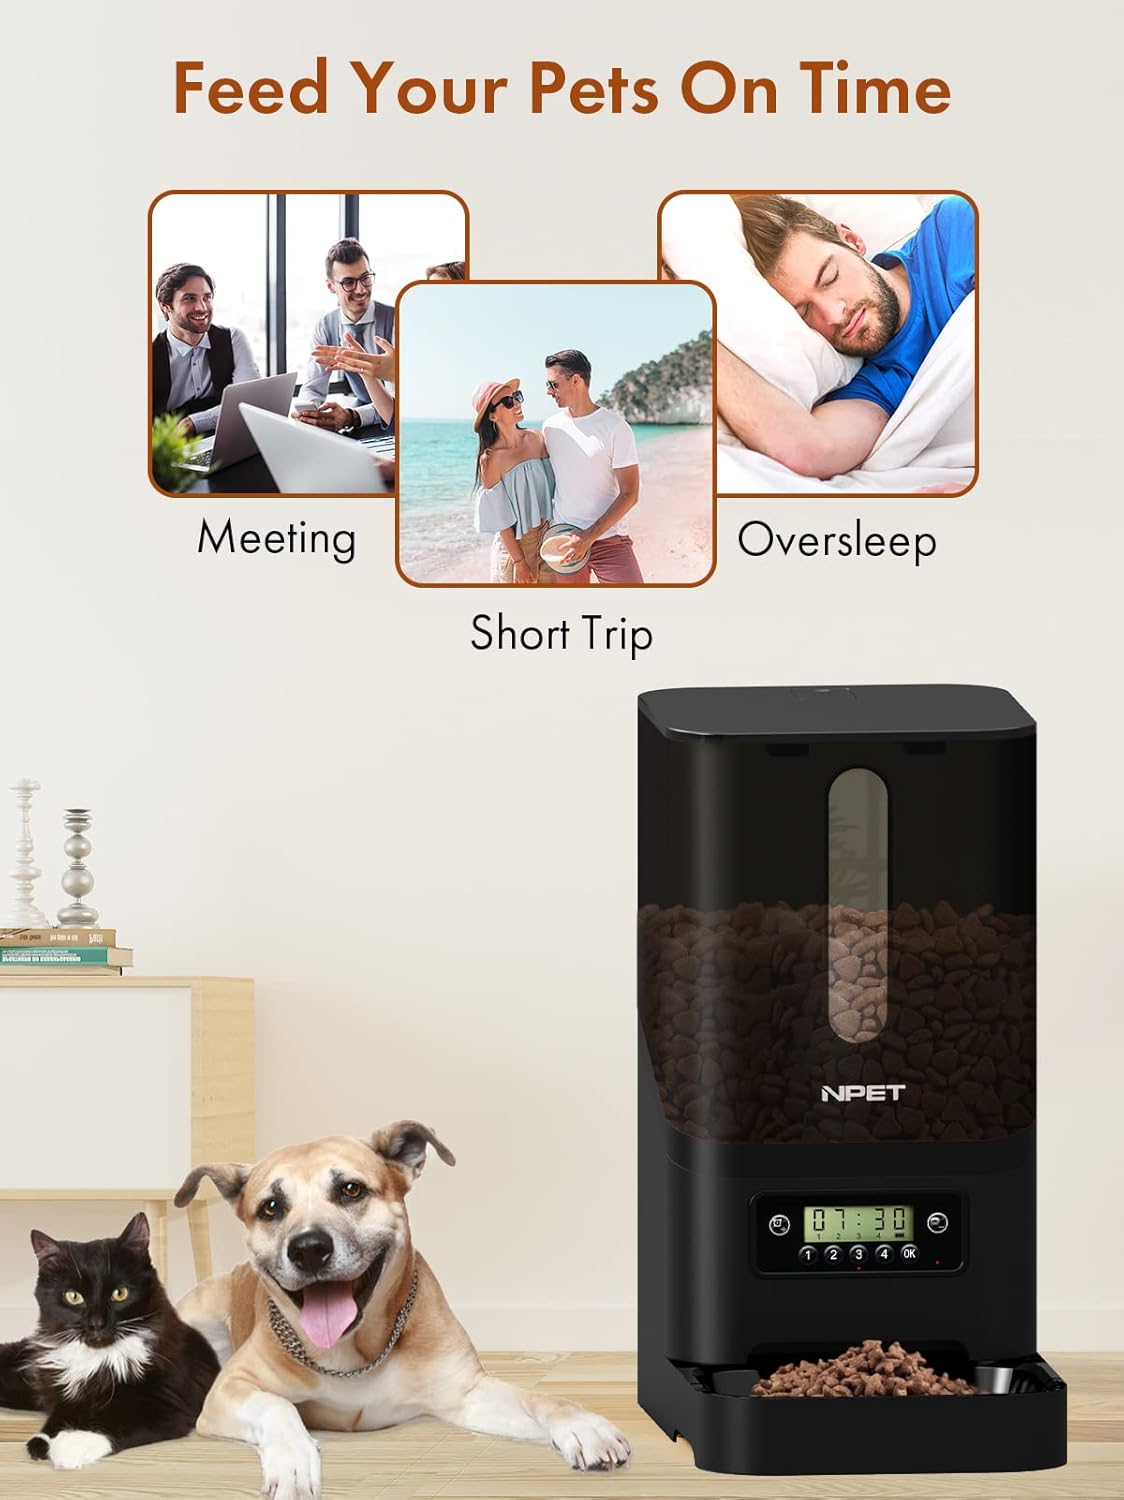
Image 4.3: The automatic feeder provides convenience for pet owners, ensuring pets are fed on time even when owners are occupied or away for short periods.
5. Maintenance
Regular cleaning ensures the hygiene and proper functioning of your pet feeder.
- Cleaning the Food Tray: The food tray can be detached and washed with mild soap and water. Ensure it is completely dry before reattaching.
- Cleaning the Food Reservoir: Wipe the inside of the food reservoir with a dry or slightly damp cloth. Do not immerse the main unit in water.
- General Care: Keep the feeder indoors and in a dry place. Avoid direct sunlight or high humidity.
- Food Type: Use only dry pet food. Do not use wet food, canned food, or treats that may clog the dispenser.
6. Troubleshooting
| Problem | Possible Cause | Solution |
|---|---|---|
| Feeder not dispensing food. |
|
|
| Display is off or not responding. |
|
|
| Portion size seems too small. |
|
|
7. Specifications
| Model | AF020-BK |
| Material | Acrylonitrile Butadiene Styrene (ABS) |
| Capacity | 6 Litres |
| Target Species | Cat, Dog |
| Operation Mode | Automatic |
| Special Feature | Timer |
| Product Dimensions | 86.3L x 48.3W x 10.2H Centimeters |
| Item Weight | 10 Grams (Note: This weight may be a data entry error; refer to product packaging for accurate weight.) |
| Power Supply | USB Power Adapter (main), 3 x D-size Batteries (backup, not included) |
8. Warranty and Support
Your NPET Automatic PET Feeder AF020-BK comes with a 1-Year Warranty from the date of purchase.
For warranty claims, technical support, or any inquiries regarding your product, please contact NPET customer service through the retailer's support channels or visit the official NPET website for contact information.
Please retain your proof of purchase for warranty validation.


