Introduction
This manual provides detailed instructions for the setup, operation, and maintenance of your Denver CPR-710 Alarm Clock Radio. Please read this manual thoroughly before using the device to ensure proper function and to prevent damage.
Safety Information
- Do not expose the unit to rain or moisture.
- Do not disassemble the unit. Refer all servicing to qualified personnel.
- Avoid placing the unit near heat sources or in direct sunlight.
- Ensure proper ventilation around the unit.
- Use only the specified power adapter.
Package Contents
- Denver CPR-710 Alarm Clock Radio
- Power Adapter
- User Manual (this document)
Product Overview
Familiarize yourself with the main components of your Denver CPR-710.
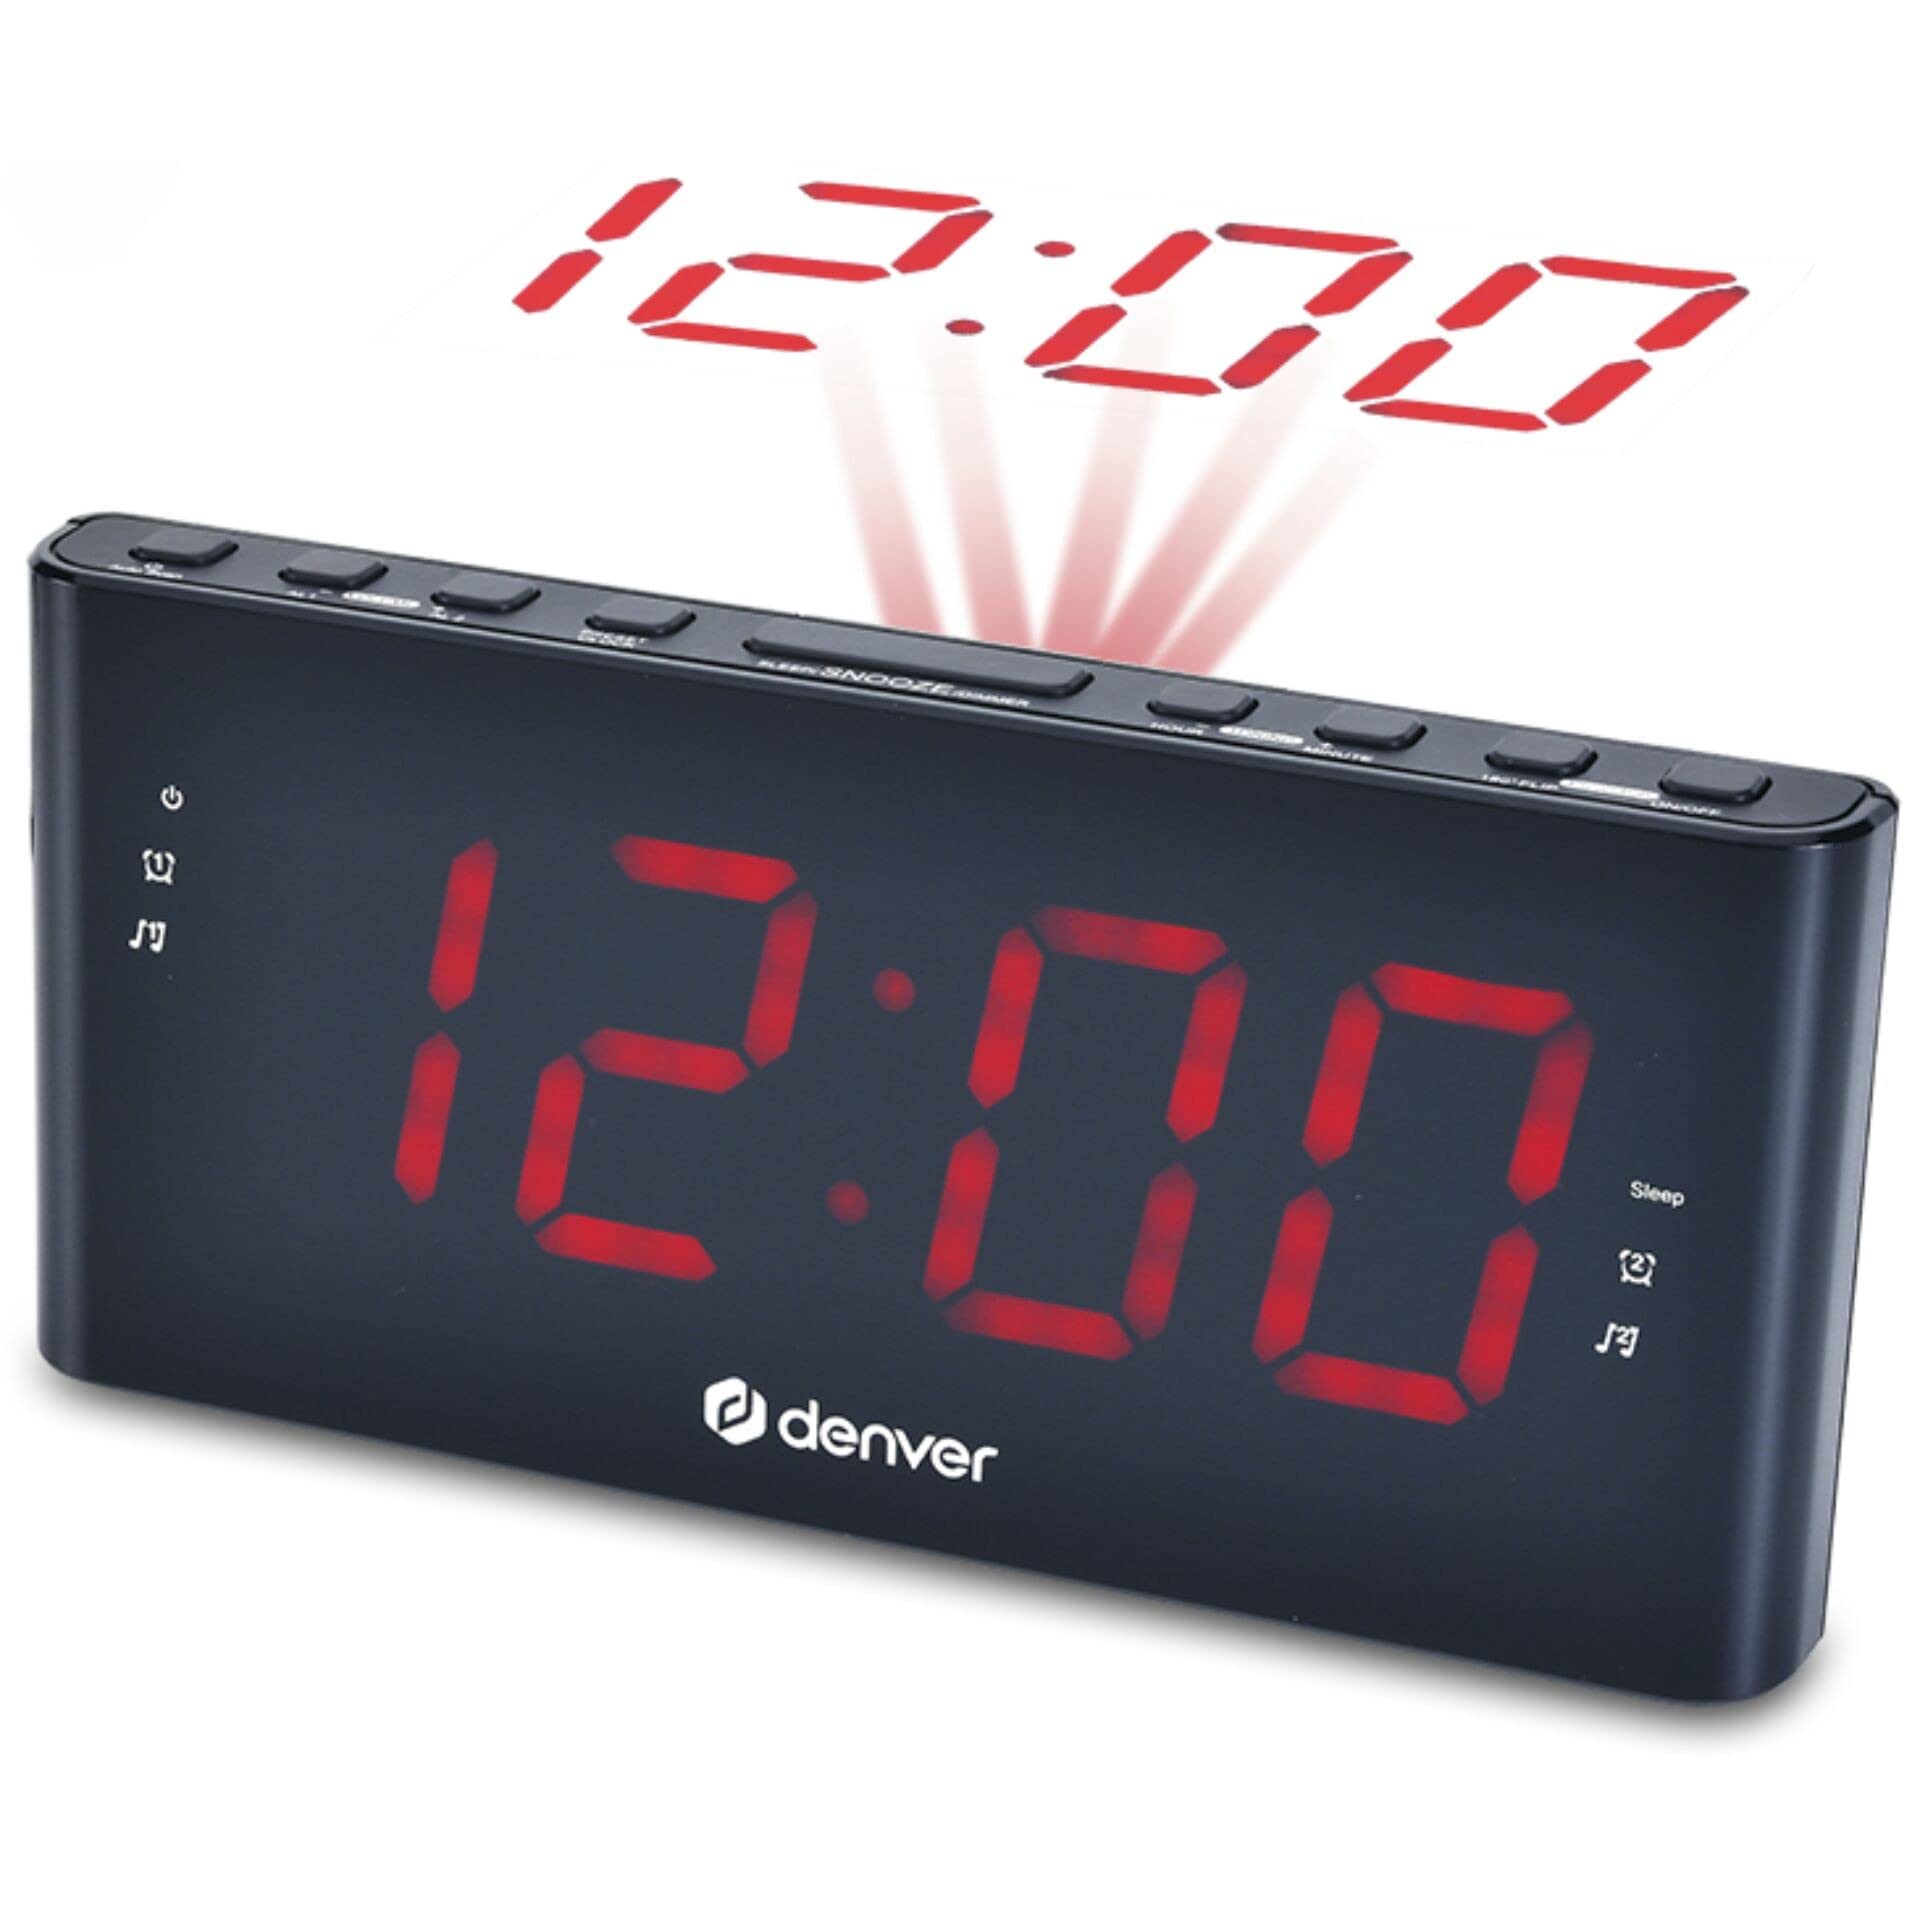
Image: Front view of the Denver CPR-710 Alarm Clock Radio. The image displays the digital display, speaker grille, and control buttons on the top panel.
Front Panel:
- Digital Display: Shows time, alarm status, and radio frequency.
- Speaker Grille: Audio output.
Top Panel Controls:
- TIME SET Button: Used to set the current time.
- ALARM 1/2 SET Buttons: Used to set Alarm 1 and Alarm 2.
- SNOOZE/SLEEP/DIMMER Button: Activates snooze, sets sleep timer, or adjusts display brightness.
- TUNING +/- Buttons: Adjusts radio frequency.
- VOLUME +/- Buttons: Adjusts audio volume.
- FM/AM Button: Selects FM radio band (AM not supported by this model, only FM).
- ON/OFF Button: Powers the unit on or off.
Rear Panel:
- DC IN Jack: Connects to the power adapter.
- FM Antenna: For improved FM reception.
Setup
1. Power Connection
- Connect the power adapter to the DC IN jack on the rear of the CPR-710.
- Plug the power adapter into a standard wall outlet. The unit will power on and the display will light up.
2. Setting the Time
- Press and hold the TIME SET button until the hour digits begin to flash.
- Use the TUNING + or TUNING - buttons to adjust the hour. Pay attention to the AM/PM indicator if using 12-hour format.
- Press the TIME SET button again to confirm the hour and move to the minute setting. The minute digits will flash.
- Use the TUNING + or TUNING - buttons to adjust the minutes.
- Press the TIME SET button one more time to save the time setting.
Operating Instructions
1. Radio Operation (FM)
- Press the ON/OFF button to turn on the radio.
- Press the FM/AM button to select the FM band. (This model supports FM only).
- Use the TUNING + or TUNING - buttons to manually tune to a desired frequency.
- To auto-scan for stations, press and hold the TUNING + or TUNING - button for a few seconds. The radio will scan and stop at the next strong station.
- Adjust the volume using the VOLUME + or VOLUME - buttons.
- To turn off the radio, press the ON/OFF button.
2. Setting Alarms (Alarm 1 and Alarm 2)
The CPR-710 features two independent alarms.
- Press and hold the ALARM 1 SET button (or ALARM 2 SET button) until the alarm hour digits flash.
- Use the TUNING + or TUNING - buttons to set the desired alarm hour.
- Press the ALARM 1 SET button again to confirm the hour and move to the minute setting. The alarm minute digits will flash.
- Use the TUNING + or TUNING - buttons to set the desired alarm minutes.
- Press the ALARM 1 SET button again to select the alarm source:
- BUZ: Buzzer sound.
- RAD: FM radio (will wake to the last tuned station).
- Press the ALARM 1 SET button one more time to save the alarm setting. The alarm indicator (AL1 or AL2) will appear on the display.
3. Deactivating/Activating Alarms
To turn an alarm on or off, briefly press the corresponding ALARM 1 SET or ALARM 2 SET button. The alarm indicator (AL1 or AL2) will appear when the alarm is active and disappear when it is off.
4. Snooze Function
When an alarm sounds, press the SNOOZE/SLEEP/DIMMER button to temporarily silence the alarm for approximately 9 minutes. The alarm will sound again after the snooze period.
5. Stopping the Alarm
To stop an alarm completely after it sounds, press the ON/OFF button. The alarm will reset for the next day.
6. Sleep Timer
The sleep timer allows the radio to play for a set duration before automatically turning off.
- While the radio is playing, repeatedly press the SNOOZE/SLEEP/DIMMER button to cycle through available sleep times (e.g., 90, 60, 30, 15 minutes, OFF).
- The display will show the selected sleep time. The radio will turn off automatically after the chosen duration.
7. Display Dimmer
To adjust the brightness of the display, briefly press the SNOOZE/SLEEP/DIMMER button when the radio is off and no alarm is sounding. Cycle through different brightness levels.
Maintenance
Cleaning:
- Always unplug the unit from the power outlet before cleaning.
- Use a soft, dry cloth to clean the exterior of the unit.
- Do not use abrasive cleaners, waxes, or solvents as they may damage the finish.
Care:
- Keep the unit away from extreme temperatures, direct sunlight, and dusty environments.
- Do not block the ventilation openings.
Troubleshooting
| Problem | Possible Cause | Solution |
|---|---|---|
| Unit does not power on. | Power adapter not connected or faulty. | Ensure the power adapter is securely connected to the unit and a working power outlet. |
| Poor FM reception. | FM antenna not extended or poor signal area. | Fully extend the FM antenna. Try repositioning the unit or the antenna for better reception. |
| Alarm does not sound. | Alarm not set or deactivated. Volume too low. | Verify that the alarm is set and activated (AL1/AL2 indicator visible). Check the volume level if the alarm source is radio. |
| Time display is incorrect. | Time not set correctly after power loss. | Reset the time following the "Setting the Time" instructions. |
Specifications
- Brand: Denver
- Model: CPR-710
- Model Number: 111131000560
- Tuning Technology: FM
- Item Weight: 551 Grams
- Power Source: AC/DC Adapter (specifics not provided, refer to adapter label)
- Origin: China
Warranty and Support
For warranty information and technical support, please refer to the warranty card included with your product or visit the official Denver website. Keep your purchase receipt as proof of purchase.
Manufacturer: Denver
Website: www.denver-electronics.com (Note: This is a generic placeholder for Denver's website, please verify the correct URL for support.)