Important Safety Information
Please read and understand all instructions before beginning installation. Failure to do so may result in electric shock, fire, or other injuries that could be hazardous or even fatal. Keep these instructions for future reference.
- All electrical connections must be in accordance with local codes, ordinances, or the National Electric Code (NEC). Contact a qualified electrician if you are unfamiliar with proper electrical wiring connections.
- To avoid possible electric shock, disconnect power at the main circuit breaker panel or main fuse box before beginning installation.
- Do not connect this fixture to an ungrounded electrical system.
- Ensure all connections are secure and properly insulated.
- This fixture is suitable for damp locations.
Package Contents
Verify that all components are present before discarding packaging materials.
- Fixture Assembly (Pendant Light)
- Mounting Hardware Kit (Canopy, Mounting Plate, Screws, Wire Nuts)
- Instruction Manual
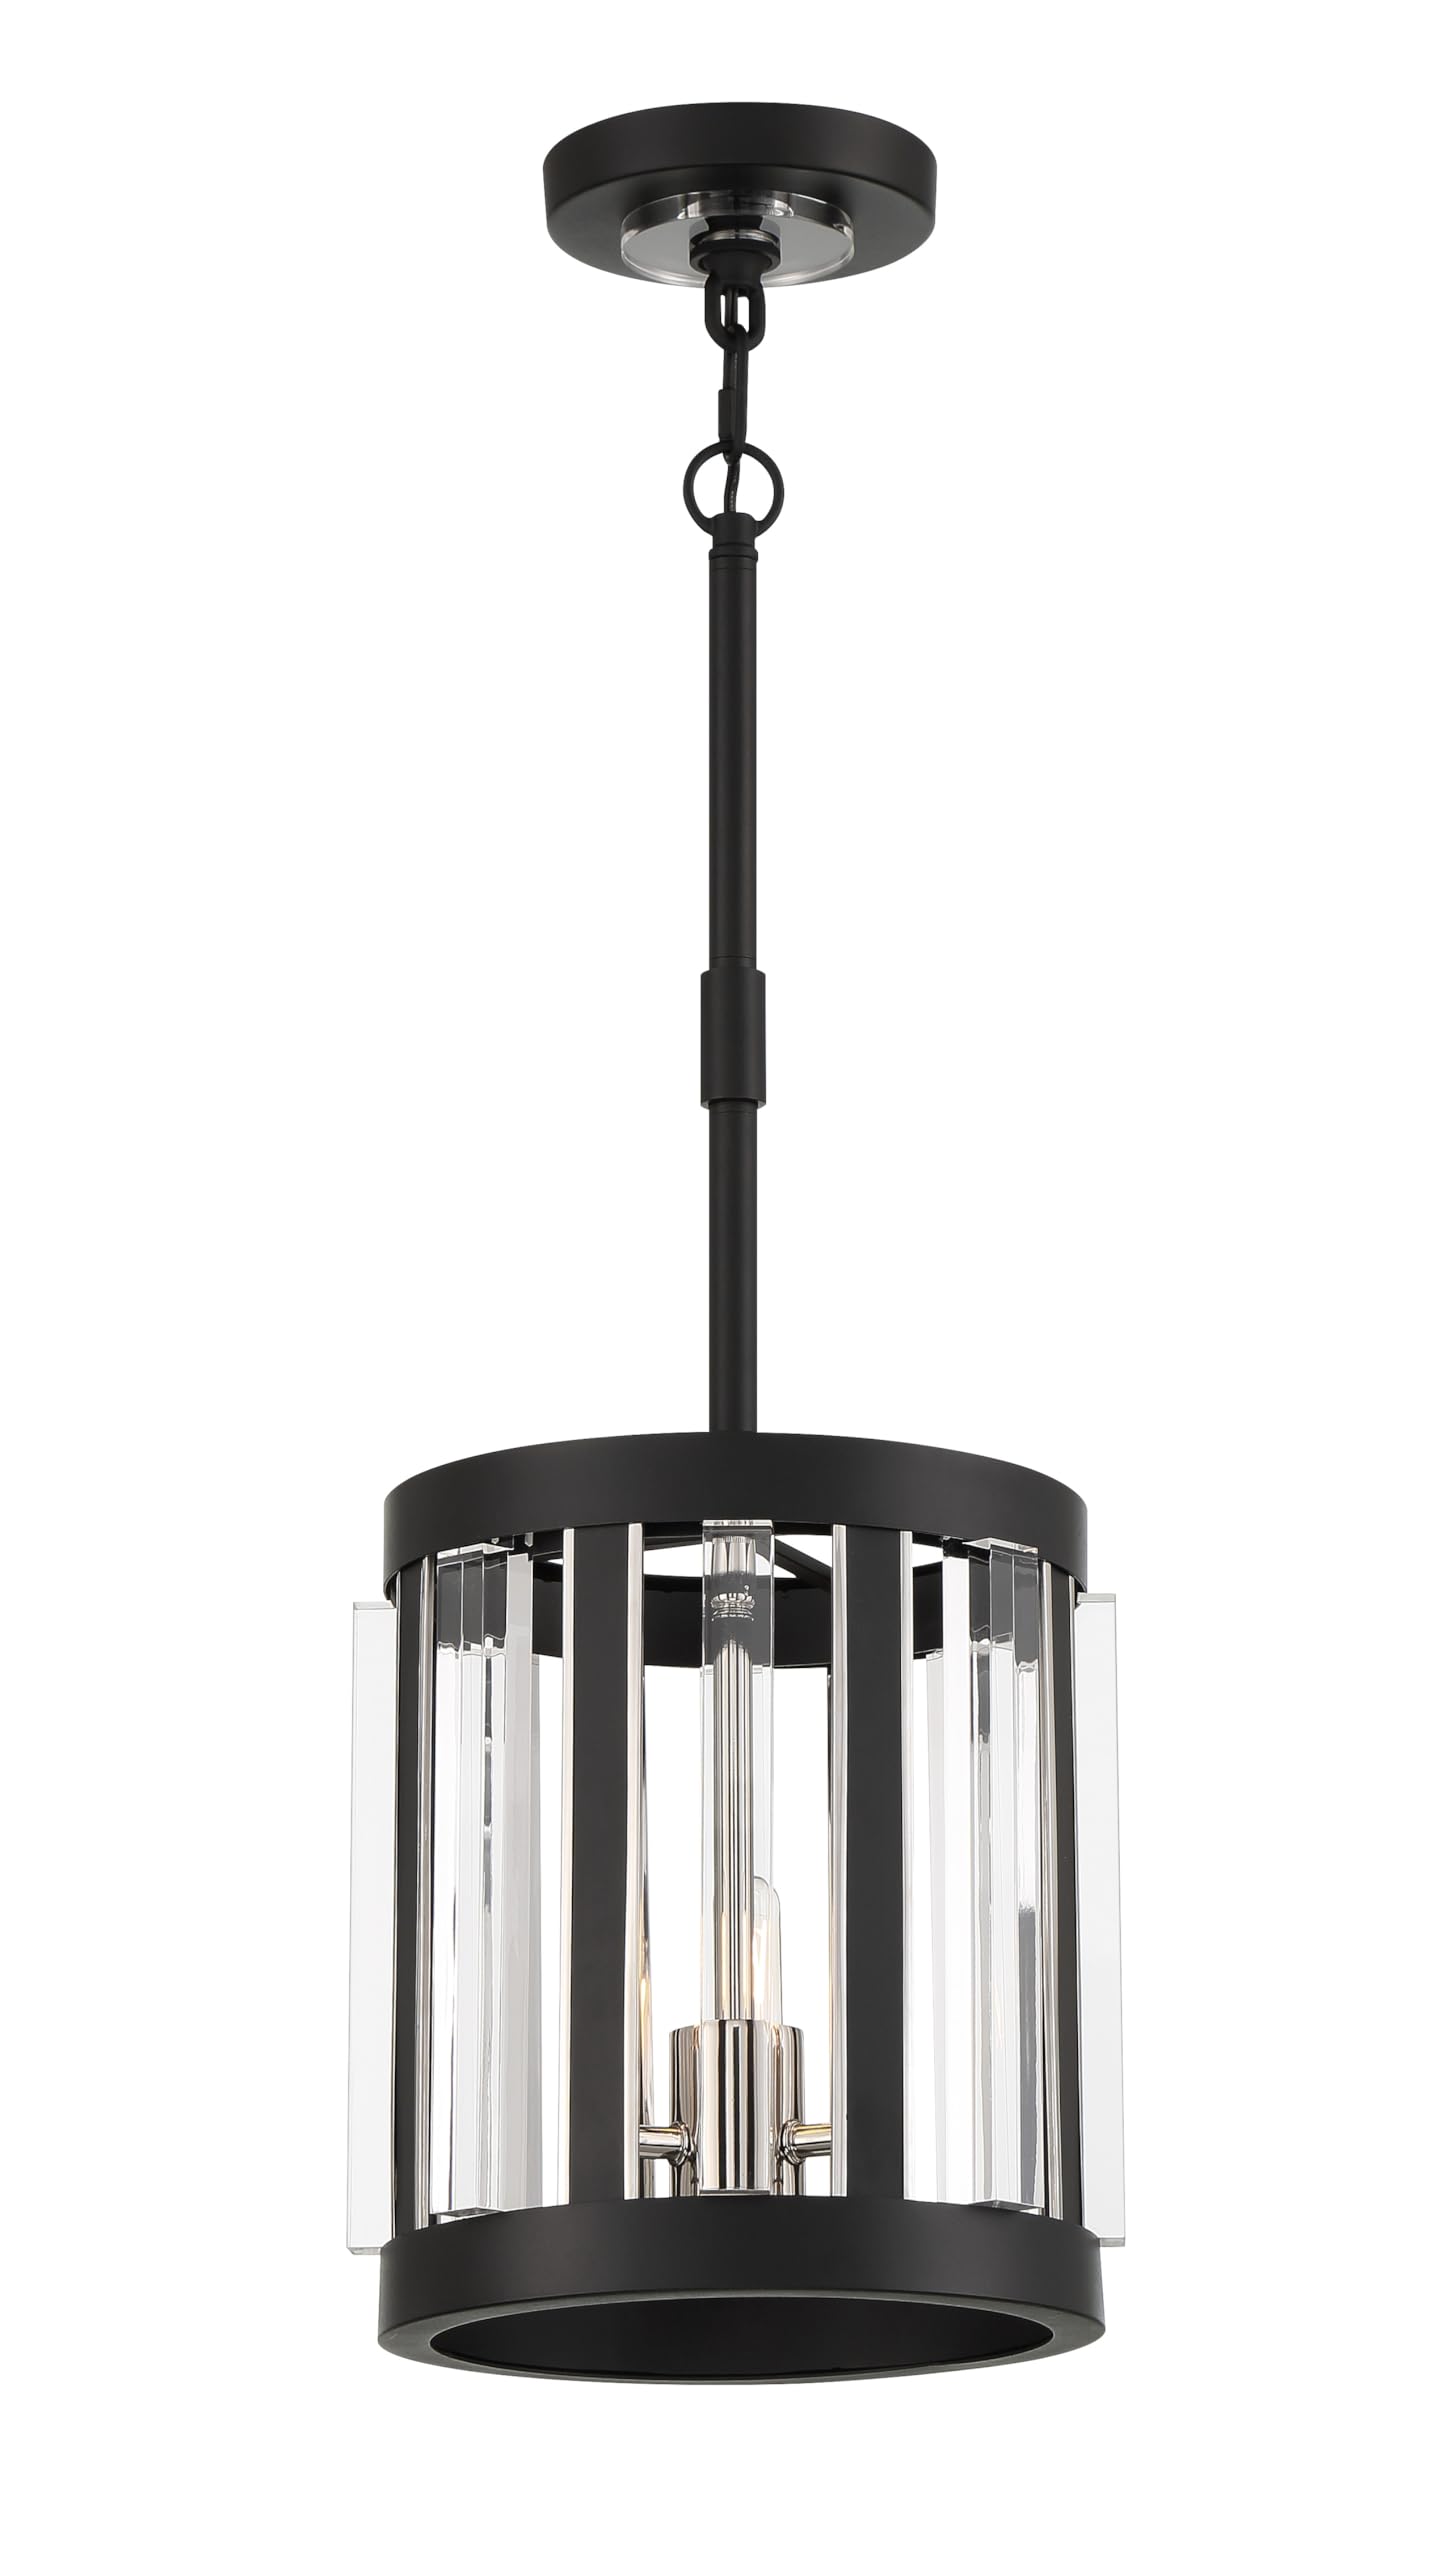
Image: Minka Lavery 5490-729 Majestic Splendor Pendant Light. This image displays the complete pendant light fixture, highlighting its drum shape, polished nickel finish, and clear acrylic strips.
Setup and Installation
Tools Required (Not Included):
- Phillips Head Screwdriver
- Flat Head Screwdriver
- Wire Strippers
- Electrical Tape
- Safety Glasses
- Ladder
Installation Steps:
- Turn Off Power: Before starting, ensure the power to the junction box is turned off at the circuit breaker or fuse box.
- Prepare Mounting Plate: Attach the mounting plate to the junction box using the provided screws. Ensure it is securely fastened.
- Adjust Fixture Height: Determine the desired hanging length for the pendant. Adjust the chain or rod length as necessary.
- Wire Connections:
- Connect the fixture's bare copper ground wire to the house ground wire (usually bare copper or green) using a wire nut.
- Connect the fixture's ribbed or white wire to the house neutral wire (usually white) using a wire nut.
- Connect the fixture's smooth or black wire to the house hot wire (usually black) using a wire nut.
- Wrap all wire connections with electrical tape for added security.
- Secure Canopy: Carefully push the wires into the junction box. Raise the fixture canopy to the ceiling and secure it to the mounting plate using the provided screws.
- Install Bulbs: Insert three (3) E12 base bulbs (not included). Do not exceed the maximum wattage of 60 watts per bulb (180 total watts). LED bulbs are recommended.
- Restore Power: Once installation is complete, restore power at the circuit breaker.

Image: Ceiling canopy and hanging mechanism. This image shows how the pendant light connects to the ceiling, illustrating the canopy and the chain link.
Operating Instructions
This Minka Lavery pendant light is designed for simple operation.
- Power On/Off: Control the light using a standard wall switch connected to the fixture's circuit.
- Dimming Function: This fixture is dimmable. To utilize the dimming feature, ensure you are using dimmable E12 base bulbs and a compatible dimmer switch (sold separately). Follow the dimmer switch manufacturer's instructions for installation and operation.
- Control Method: The light can be controlled via an app if connected to a smart home system with a compatible smart dimmer switch.
Maintenance
Regular maintenance will help preserve the appearance and functionality of your pendant light.
- Cleaning: Always turn off the power before cleaning. Use a soft, dry cloth to wipe the fixture. Do not use abrasive cleaners, solvents, or polishes as they may damage the finish.
- Bulb Replacement:
- Turn off power to the fixture at the circuit breaker.
- Allow bulbs to cool completely before touching.
- Carefully unscrew the old bulb from the socket.
- Screw in a new E12 base bulb, ensuring it does not exceed 60 watts.
- Restore power.
- Inspection: Periodically check all connections and mounting hardware for tightness.
Troubleshooting
If you experience issues with your pendant light, refer to the following common problems and solutions:
| Problem | Possible Cause | Solution |
|---|---|---|
| Light does not turn on. |
|
|
| Light flickers or dims improperly. |
|
|
| Fixture is loose. |
|
|
Specifications
| Feature | Detail |
|---|---|
| Model Number | 5490-729 |
| Dimensions (L x W x H) | 11"L x 11"W x 20.25"H |
| Weight | 19.84 pounds |
| Material | Acrylic, Iron |
| Finish | Polished Nickel / Sand Coal |
| Number of Lights | 3 |
| Max Wattage Per Bulb | 60 Watts |
| Total Wattage | 180 Watts |
| Bulb Base | E12 |
| Voltage | 120 Volts |
| Dimmable | Yes |
| Indoor/Outdoor Usage | Indoor (Suitable for damp locations) |
| Light Output | 2400 Lumens |
Warranty Information
This Minka Lavery product is covered by a 1-year manufacturer's warranty from the date of purchase. This warranty covers defects in materials and workmanship under normal use. It does not cover damage resulting from improper installation, accident, misuse, abuse, or normal wear and tear.
For warranty claims, please retain your proof of purchase and contact Minka Lavery customer support.
Customer Support
If you have any questions regarding the installation, operation, or maintenance of your Minka Lavery pendant light, please contact our customer support team.
For further assistance, please visit the official Minka Lavery website or contact their customer service department. Contact information is typically found on the product packaging or the manufacturer's website.
Online Resources: www.minkalavery.com