1. Introduction
This manual provides comprehensive instructions for the Time Berlin Montre SD, a stainless steel watch equipped with a discreet mini camera, microphone, and 4GB internal USB flash drive for video and audio recording. Please read this manual carefully before using the device to ensure proper operation and longevity.
2. Safety Information
- Do not expose the watch to extreme temperatures, as this can significantly affect battery life and performance.
- Avoid using non-original or low-quality charging cables and adapters, as they may damage the battery or pose safety risks.
- While the watch is water-resistant, it is not designed for submersion. Avoid prolonged exposure to water.
- Handle the watch with care to prevent physical damage to the camera lens or internal components.
3. Package Contents
The Time Berlin Montre SD package includes:
- Time Berlin Montre SD Watch
- USB Charging/Data Cable
4. Product Overview
The Time Berlin Montre SD features a classic watch design with integrated recording capabilities. The small dials on the watch face are decorative replicas and do not function as a chronograph.

Figure 1: Front view of the Time Berlin Montre SD watch, showcasing its black dial, silver casing, and black silicone strap.
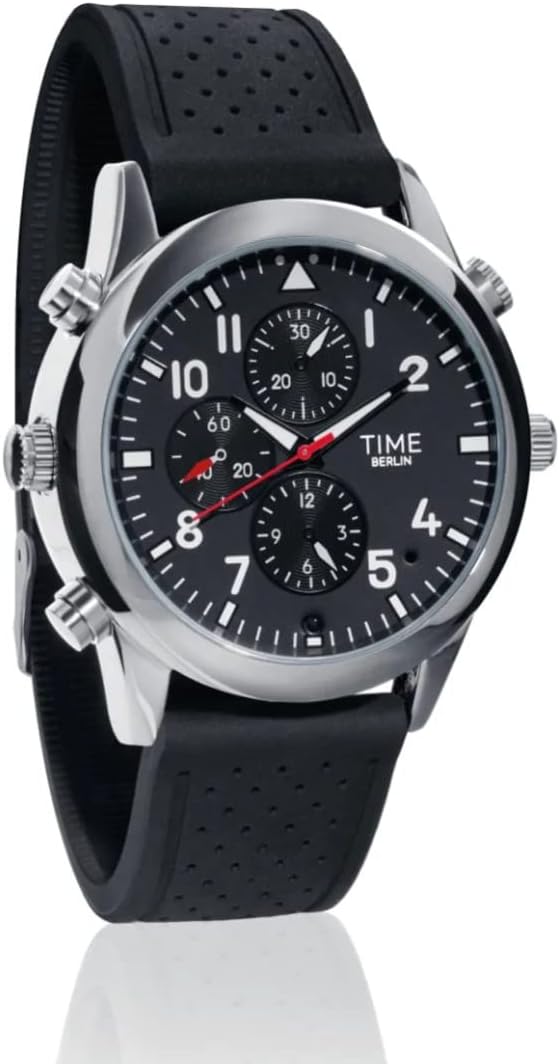
Figure 2: Angled view of the watch, highlighting the side buttons used for operation and the integrated camera lens.

Figure 3: Feature diagram indicating the 4GB internal memory, USB connectivity, camera, and microphone locations.
5. Setup
5.1 Charging the Watch
Before initial use, fully charge the watch. To ensure optimal battery performance:
- Connect the provided USB cable to the watch and a 5V 1A USB power adapter or a computer USB port.
- Turn off the watch during charging.
- Avoid charging the battery from 0% to 100% repeatedly. Partial charging at shorter intervals is recommended.
- Only use the original Time Berlin charging cable and a compatible 5V 1A adapter.
5.2 Initial Time Setting
The watch's time can be set by connecting it to a computer. The device will synchronize with the computer's time or allow for manual adjustment via a configuration file (refer to the 'Connecting to Computer' section).
6. Operating Instructions
6.1 Power On/Off
Refer to the specific button on the watch (usually one of the side buttons) for powering the device on or off. A small indicator light will typically confirm the power status.
6.2 Video Recording
To record video with audio:
- Ensure the watch is powered on.
- Locate the video recording button (refer to product diagrams if available).
- Press the button to start recording. An indicator light will change to confirm recording is active.
- Press the button again to stop recording. The video file will be saved to the internal 4GB memory.
6.3 Photo Capture
To take a photo:
- Ensure the watch is powered on.
- Locate the photo capture button.
- Press the button briefly to take a photo. An indicator light may flash to confirm capture. The image file will be saved to the internal 4GB memory.
6.4 Audio Recording
For optimal audio recording:
- Important: To enable sound recording, the small screw located at the top right of the watch must be slightly unscrewed to expose the microphone.
- Ensure the watch is powered on.
- Locate the audio recording button.
- Press the button to start recording. An indicator light will confirm recording is active.
- Press the button again to stop recording. The audio file will be saved to the internal 4GB memory.
6.5 Connecting to Computer and Accessing Files
The watch functions as a USB flash drive:
- Connect the watch to your PC or laptop using the provided USB cable.
- The computer will recognize the watch as a removable storage device (USB Flash Drive).
- Open the drive to access your recorded video, photo, and audio files.
- Files can be viewed, copied, or deleted directly from the watch. The device is compatible with both Windows and Mac operating systems.
7. Maintenance
7.1 Battery Care
- To prolong battery life, avoid fully discharging the battery (0%) or constantly charging to 100%.
- Charge the watch regularly for shorter durations rather than infrequent full charges.
- Always turn off the watch during charging. Using it while charging can slow down the process and potentially affect battery health.
- Avoid exposing the watch to high temperatures, as this can severely impact the battery's lifespan.
7.2 Cleaning and Storage
- Wipe the watch casing and strap with a soft, dry cloth. Do not use harsh chemicals or abrasive cleaners.
- Ensure the camera lens is clean for clear recordings.
- Store the watch in a cool, dry place away from direct sunlight and extreme temperatures when not in use.
8. Troubleshooting
- Watch hands not moving: Ensure the watch is fully charged. If the analog time display is not functioning, it may indicate a separate issue with the watch mechanism.
- Poor or no audio recording: Verify that the small screw at the top right of the watch has been slightly unscrewed to expose the microphone. If it remains screwed in, audio recording will be severely muffled or non-existent.
- Device not recognized by computer: Try a different USB port or computer. Ensure the USB cable is securely connected.
- Recording quality is low: Ensure the camera lens is clean and free from obstructions. Record in well-lit environments for best results.
- Battery not charging: Use the original Time Berlin USB cable and a 5V 1A adapter. Ensure the watch is turned off during charging.
9. Specifications
| Manufacturer | TIME BERLIN |
| Model Number | Classic TB |
| Dimensions (L x W x H) | 25 x 5 x 1.5 cm |
| Weight | 179 grams |
| Color | Black |
| Material | Stainless Steel, Silicone |
| Internal Memory | 4 GB (USB Flash Drive) |
| Video Quality | 720 x 480 at 30 fps |
| Photo Quality | 1280 x 1024 |
| Power Source | Battery Powered (Lithium-ion, included) |
| Battery Life (Estimated) | 1 year (for watch function) |
| Water Resistance | Water Resistant |
| Special Features | Integrated Mini Camera, Microphone, USB Flash Drive (Note: Chronograph dials are decorative) |


