1. Introduction
This manual provides essential information for the safe operation, maintenance, and troubleshooting of your RYOBI 18-Volt 3/8 Inch Drill/Driver, Model P209DCN. Please read these instructions thoroughly before using the tool to ensure proper function and to prevent injury.
The RYOBI P209DCN is an 18-volt cordless drill/driver designed for drilling into wood, plastic, and metal, as well as driving screws. This product is sold as a bare tool, meaning the battery and charger are not included and must be purchased separately.
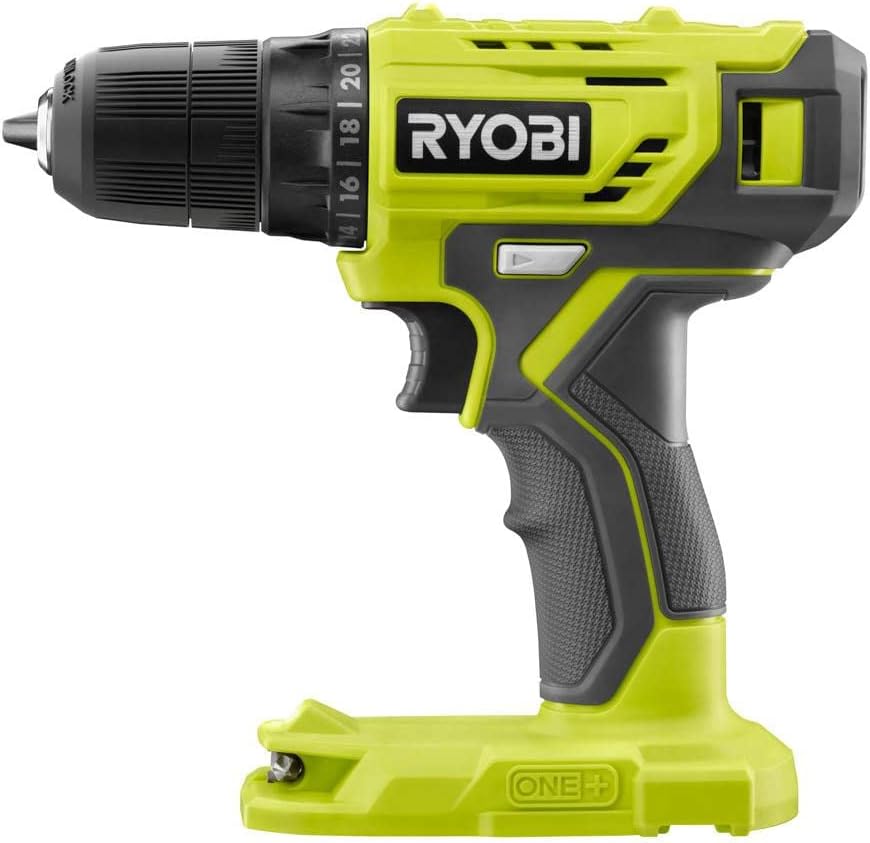
Image 1: The RYOBI 18-Volt 3/8 Inch Drill/Driver (P209DCN) tool.

Image 2: This image indicates that the battery and charger for the drill/driver are sold separately and are not included with the bare tool.
2. Safety Information
Always follow basic safety precautions when using power tools to reduce the risk of fire, electric shock, and personal injury.
- Work Area Safety: Keep your work area clean and well-lit. Cluttered or dark areas invite accidents. Do not operate power tools in explosive atmospheres, such as in the presence of flammable liquids, gases, or dust.
- Electrical Safety: Avoid body contact with earthed or grounded surfaces. Do not expose power tools to rain or wet conditions.
- Personal Safety: Always wear eye protection. Use hearing protection when operating for extended periods. Dress properly; avoid loose clothing or jewelry. Secure long hair.
- Tool Use and Care: Do not force the power tool. Use the correct power tool for your application. Disconnect the battery pack from the power tool before making any adjustments, changing accessories, or storing power tools.
- Battery Tool Use and Care: Use battery packs only with specifically designated power tools. Recharge only with the charger specified by the manufacturer.
3. Product Overview
The RYOBI P209DCN Drill/Driver features a compact design and is part of the RYOBI 18-Volt ONE+ system. Key components and features include:
- 3/8 Inch Keyless Chuck: For quick and easy bit changes.
- 24-Position Clutch: Allows precise torque adjustment for driving various fasteners without over-driving or damaging materials.
- Variable Speed Trigger: Provides control over drilling and driving speed, from 0 to 600 RPM.
- LED Light: Illuminates the work area for improved visibility.
- Forward/Reverse Switch: For changing rotation direction.

Image 3: The RYOBI 18-Volt 3/8 Inch Drill/Driver with a drill bit securely installed in the chuck.
4. Setup
4.1 Battery Installation
- Ensure the drill/driver is turned off and the forward/reverse switch is in the center (locked) position.
- Align the ribs on the battery pack with the grooves in the tool's handle.
- Slide the battery pack into the tool until it clicks securely into place.
- To remove, press the release latch on the battery pack and slide it out.
4.2 Installing and Removing Drill Bits/Accessories
- Ensure the battery pack is removed from the tool.
- Grasp the rear portion of the chuck with one hand and rotate the front portion counter-clockwise until the chuck jaws are open wide enough to accept the bit.
- Insert the drill bit or accessory into the chuck as far as it will go.
- Grasp the rear portion of the chuck and rotate the front portion clockwise to tighten the chuck jaws securely around the bit.
- To remove the bit, reverse the tightening procedure.
4.3 Adjusting the Clutch
The 24-position clutch allows you to select the appropriate torque setting for driving screws. Lower numbers provide less torque, suitable for smaller screws or softer materials. Higher numbers provide more torque, suitable for larger screws or harder materials. The drill symbol setting bypasses the clutch for maximum torque when drilling.
- Rotate the clutch adjustment collar to the desired setting.
- Start with a lower setting and increase as needed to prevent over-driving screws or stripping screw heads.
5. Operating Instructions
5.1 Starting and Stopping
To start the tool, depress the variable speed trigger. To stop the tool, release the trigger.
5.2 Variable Speed Control
The variable speed trigger allows you to control the speed of the drill. Pressing the trigger further increases the speed. This provides greater control for starting holes or driving screws.
5.3 Forward/Reverse Operation
The forward/reverse switch is located above the trigger. Push the switch to the left for forward rotation (drilling and driving). Push the switch to the right for reverse rotation (removing screws or backing out bits). When the switch is in the center position, the trigger is locked, preventing accidental starting.
5.4 LED Work Light
The integrated LED light automatically illuminates when the trigger is pressed, providing light to the work surface. It remains on for a short period after the trigger is released.
6. Maintenance
Regular maintenance ensures optimal performance and extends the life of your tool.
- Cleaning: Keep the tool's air vents clear and free of debris. Use a clean, dry cloth to wipe down the exterior. Do not use solvents or harsh chemicals.
- Inspection: Periodically inspect the chuck for wear or damage. Check the power cord (if applicable to charger) and battery pack for any signs of damage.
- Storage: Store the tool in a dry, secure location out of reach of children. Remove the battery pack before storing for extended periods.
7. Troubleshooting
| Problem | Possible Cause | Solution |
|---|---|---|
| Tool does not start | Battery not charged or improperly installed; Forward/reverse switch in center (locked) position. | Charge battery and ensure it is fully seated; Move forward/reverse switch to forward or reverse position. |
| Loss of power during operation | Battery charge is low. | Recharge the battery pack. |
| Screw head strips or material is damaged | Clutch setting is too high. | Adjust the clutch to a lower torque setting. |
| Bit wobbles in chuck | Bit not properly tightened or chuck jaws are worn. | Ensure bit is fully inserted and chuck is tightened securely. If problem persists, chuck may need replacement. |
8. Specifications
| Feature | Specification |
|---|---|
| Model Number | P209DCN |
| Brand | RYOBI |
| Power Source | Battery Powered (18-Volt) |
| Chuck Size | 3/8 Inch Keyless |
| Maximum Rotational Speed | 600 RPM |
| Amperage | 1.5 Amps |
| Clutch Settings | 24 Positions |
| Product Dimensions (L x W x H) | 7.5" x 3.2" x 7.3" |
| Item Weight | 2.14 pounds |
| Drilling Capacity (Wood/Metal) | 0.25 Inches |
| Batteries Included | No |
| Batteries Required | Yes (RYOBI 18-Volt ONE+ compatible) |
9. Warranty and Support
For warranty information, service, or technical support, please refer to the official RYOBI website or contact RYOBI customer service directly. Keep your purchase receipt as proof of purchase for warranty claims.
This product is typically sold in bulk packaging, which means it may not include retail packaging. This does not affect the functionality or warranty of the tool.

Image 4: This image clarifies that the product is supplied in bulk packaging, not standard retail packaging.