Aiwa MSBTU-500
Aiwa MSBTU-500 Micro Hi-Fi System User Manual
Model: MSBTU-500
Introduction
Thank you for purchasing the Aiwa MSBTU-500 Micro Hi-Fi System. This manual provides essential information for setting up, operating, and maintaining your new audio system. Please read this manual thoroughly before using the product to ensure proper operation and to prevent damage. Keep this manual for future reference.
Safety Precautions
- Do not expose the unit to rain or moisture.
- Do not block any ventilation openings.
- Ensure proper power supply voltage as indicated on the unit.
- Do not open the casing; refer all servicing to qualified personnel.
- Keep the unit away from direct sunlight, heat sources, and strong magnetic fields.
Package Contents
Verify that all items listed below are included in your package:
- Aiwa MSBTU-500 Main Unit
- Two (2) Stereo Speakers
- Remote Control
- FM Antenna
- AC Power Cord
- User Manual (this document)

Image: The Aiwa MSBTU-500 Micro Hi-Fi System, showing the central unit and two accompanying speakers.
Setup
1. Unpacking and Placement
- Carefully remove all components from the packaging.
- Place the main unit on a stable, flat surface with adequate ventilation.
- Position the speakers on either side of the main unit, ensuring they are at an equal distance for optimal stereo sound.
2. Speaker Connection
- Connect the speaker wires from each speaker to the corresponding speaker terminals on the rear of the main unit. Ensure correct polarity (+ to + and - to -) for each speaker.
3. FM Antenna Connection
- Connect the supplied FM antenna to the FM ANTENNA jack on the rear of the main unit. Extend the antenna fully for best reception.
4. Power Connection
- Plug the AC power cord into the AC IN socket on the rear of the main unit.
- Plug the other end of the power cord into a wall outlet.

Image: Rear panel of the Aiwa MSBTU-500, highlighting the speaker terminals, FM antenna input, and AC power input.
Operating Instructions
Front Panel Controls

Image: Close-up of the Aiwa MSBTU-500 front panel, showing the display, control buttons, and volume knob.
- STANDBY/ON Button: Powers the unit on or off.
- MODE Button: Switches between input sources (CD, Bluetooth, FM, USB, AUX).
- Navigation Buttons (BACK, PLAY/PAUSE, NEXT): Control playback and navigation within menus.
- STOP Button: Stops playback.
- VOLUME Knob: Adjusts the master volume level.
- CD EJECT Button: Opens/closes the CD tray.
- INPUT Jack: 3.5mm auxiliary input.
- PHONES Jack: 3.5mm headphone output.
- USB-MP3/Charging Port: For USB playback and device charging.
Remote Control Functions
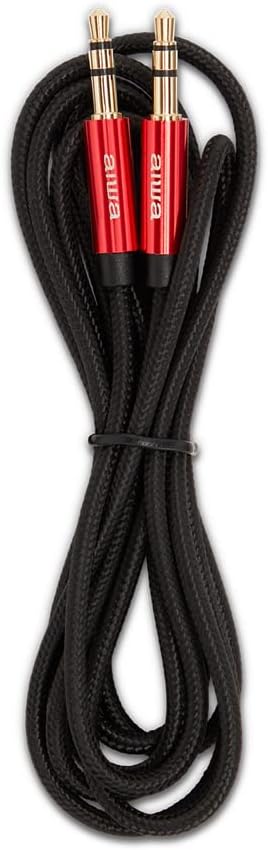
Image: The remote control for the Aiwa MSBTU-500, displaying various function buttons.
The remote control provides full functionality for the system. Refer to the button labels on the remote for specific operations.
CD Playback
- Press the STANDBY/ON button to power on the unit.
- Press the MODE button (or CD on remote) to select CD mode.
- Press the CD EJECT button to open the CD tray.
- Place a CD with the label side facing up into the tray.
- Press the CD EJECT button again to close the tray. The unit will begin playing automatically or display 'NO DISC' if no CD is detected.
- Use the PLAY/PAUSE, STOP, BACK, and NEXT buttons to control playback.
Bluetooth Pairing and Playback
- Press the MODE button (or BT on remote) to select Bluetooth mode. The display will show 'PAIRING' or 'BLUETOOTH'.
- Enable Bluetooth on your mobile device and search for available devices.
- Select 'AIWA MSBTU-500' from the list. Once connected, the display will show 'CONNECTED'.
- Play audio from your device. Use the system's controls or your device's controls to adjust volume and playback.
FM Radio Operation
- Press the MODE button (or FM on remote) to select FM radio mode.
- Press and hold the PLAY/PAUSE button (or SCAN on remote) to auto-scan and save available stations.
- Use the BACK and NEXT buttons (or CH- and CH+ on remote) to navigate through saved stations.
- For manual tuning, briefly press BACK or NEXT (or TUNE- and TUNE+ on remote).
USB Playback
- Insert a USB flash drive into the USB port on the front panel. Ensure the drive contains compatible audio files (e.g., MP3).
- Press the MODE button (or USB on remote) to select USB mode. The unit will automatically detect and begin playing audio files.
- Use the PLAY/PAUSE, STOP, BACK, and NEXT buttons to control playback.
- The USB port also supports charging for compatible devices.
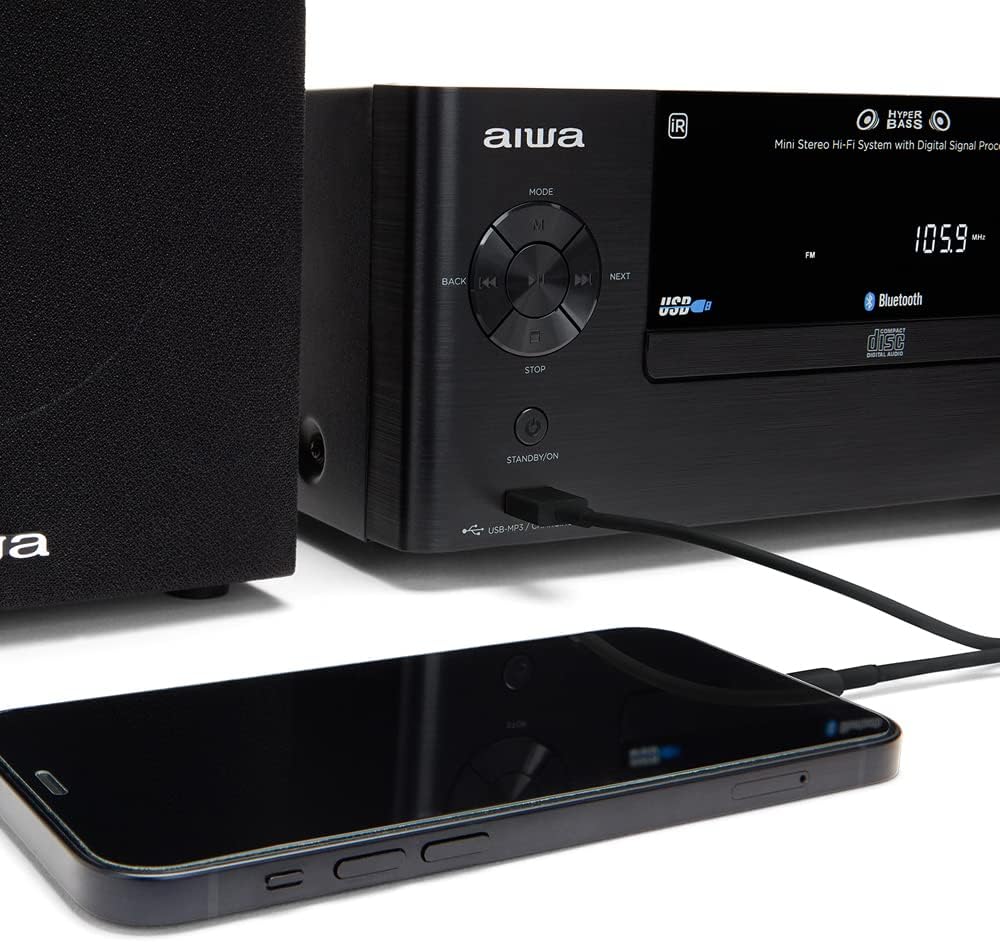
Image: A USB flash drive inserted into the front USB port of the Aiwa MSBTU-500.

Image: A smartphone connected to the Aiwa MSBTU-500 via its USB port, illustrating the charging capability.
AUX Input
- Connect an external audio device (e.g., smartphone, MP3 player) to the INPUT jack on the front panel using a 3.5mm audio cable.
- Press the MODE button (or AUX on remote) to select AUX mode.
- Play audio from your connected device. Adjust volume using the system's volume knob or your device's volume controls.
Headphone Use
- Plug 3.5mm headphones into the PHONES jack on the front panel. Audio will automatically switch from speakers to headphones.
- Adjust headphone volume using the main volume knob.
Equalizer Modes
The system features 4 EQ modes to optimize sound for different music genres. Press the EQ button on the remote control to cycle through the available modes (e.g., Flat, Rock, Pop, Classic).
Maintenance
Cleaning
- Wipe the unit's exterior with a soft, dry cloth.
- Do not use abrasive cleaners, waxes, or solvents as they may damage the finish.
- For stubborn stains, use a cloth lightly dampened with water and a mild detergent, then wipe dry immediately.
Storage
- If storing the unit for an extended period, disconnect it from the power outlet.
- Store in a cool, dry place away from direct sunlight and extreme temperatures.
Handling CDs
- Always handle CDs by their edges.
- Keep CDs clean and free from scratches. Wipe gently from the center outwards with a soft, lint-free cloth if cleaning is necessary.
Troubleshooting
Before contacting customer support, please refer to the following table for common issues and their solutions:
| Problem | Possible Cause | Solution |
|---|---|---|
| No power | Power cord not securely connected. | Check power cord connection to the unit and wall outlet. |
| No sound | Volume is too low or muted. Speakers not connected properly. Incorrect input source selected. | Increase volume. Check speaker connections. Select the correct input source (CD, BT, FM, USB, AUX). |
| CD not playing / 'NO DISC' | CD inserted incorrectly or is dirty/scratched. | Ensure CD is inserted label-side up. Clean or replace the CD. |
| Bluetooth pairing fails | Bluetooth not enabled on device. Unit not in pairing mode. Device too far from unit. | Enable Bluetooth on your device. Ensure unit is in Bluetooth mode and 'PAIRING' is displayed. Move device closer to the unit. |
| Poor FM reception | Antenna not extended or positioned correctly. | Extend and adjust the FM antenna for better signal. |
| USB playback issues | Incompatible file format or corrupted USB drive. | Ensure files are MP3 format. Try a different USB drive or reformat the current one. |
| Remote control not working | Batteries are dead or inserted incorrectly. Obstruction between remote and unit. | Replace remote control batteries. Ensure clear line of sight to the unit's IR sensor. |
Specifications
| Feature | Detail |
|---|---|
| Model Number | MSBTU-500 |
| Power Output | 50W |
| Connectivity | Bluetooth, USB, RCA (AUX), Headphone Jack |
| Media Playback | CD Player, FM Radio, USB (MP3) |
| Equalizer Modes | 4 preset EQ modes |
| Dimensions (Main Unit) | Approx. 11.81 x 0.47 x 0.59 inches (L x W x H) |
| Weight | Approx. 13.2 pounds |
| Color | Black |
Warranty and Support
Aiwa products are manufactured to the highest quality standards. For information regarding warranty coverage, technical support, or service inquiries, please refer to the warranty card included with your product or visit the official Aiwa website. Keep your proof of purchase for warranty claims.
For further assistance, you may also contact the retailer where you purchased the product.