1. Important Safety Instructions
Please read these instructions carefully and completely before using the appliance. Retain this manual for future reference.
- Always ensure the voltage indicated on the rating plate corresponds to your mains voltage.
- Do not immerse the iron, power cord, or plug in water or other liquids.
- Keep the iron out of reach of children and individuals with reduced physical, sensory, or mental capabilities.
- Never leave the iron unattended while it is connected to the power supply or cooling down.
- Always place the iron on a stable, heat-resistant surface.
- Unplug the iron from the mains socket before filling with water, emptying, or cleaning.
- Do not operate the iron if it has been dropped, if there are visible signs of damage, or if it is leaking.
- The soleplate can become extremely hot. Avoid direct contact with the soleplate.
2. Product Overview
The Braun TexStyle 1 Steam Iron SI1070PU is designed for efficient and effective ironing. Familiarize yourself with its components:
- A. Water Tank Inlet: For filling the water tank.
- B. Spray Nozzle: Emits a fine mist for dampening fabrics.
- C. Steam Shot Button: Provides an extra burst of steam.
- D. Spray Button: Activates the spray function.
- E. Steam Regulator: Adjusts continuous steam output.
- F. Temperature Dial: Selects the appropriate ironing temperature for different fabrics.
- G. Water Tank (220 ml capacity): Holds water for steam generation.
- H. Power Cord: Connects the iron to the electrical outlet.
- I. Soleplate: The heated surface that glides over fabrics.

Figure 1: Overview of the Braun TexStyle 1 Steam Iron SI1070PU, showcasing its design and key components.
3. Setup
3.1 First Use
Before first use, remove any protective film or stickers from the soleplate. It is recommended to iron an old piece of fabric to ensure no residue is transferred to your garments.
3.2 Filling the Water Tank
- Ensure the iron is unplugged from the power outlet.
- Open the water tank inlet (A).
- Fill the water tank (G) with tap water up to the 'MAX' mark. Do not overfill.
- Close the water tank inlet securely.

Figure 2: Demonstrates the process of filling the water tank of the steam iron.
3.3 Connecting to Power and Setting Temperature
- Plug the power cord (H) into a suitable electrical outlet.
- Turn the temperature dial (F) to the desired setting according to the fabric type. Refer to the fabric care labels on your garments.
- The indicator light will illuminate, indicating the iron is heating up. It will turn off when the selected temperature is reached.
4. Operating Instructions
4.1 Dry Ironing
For dry ironing, ensure the steam regulator (E) is set to the '0' (no steam) position. Select the appropriate temperature and wait for the iron to heat up. Iron the fabric without steam.
4.2 Steam Ironing
Steam ironing is suitable for most fabrics that can withstand high temperatures. Ensure the water tank is filled and the temperature dial is set to a steam-appropriate setting (usually indicated by steam symbols on the dial).
- Once the iron reaches the set temperature, adjust the steam regulator (E) to the desired steam output.
- Glide the iron over the fabric.
4.3 Steam Shot Function
The steam shot (C) provides an extra burst of steam for stubborn creases. Press the steam shot button briefly. Wait a few seconds between shots to allow the iron to reheat and produce optimal steam.
4.4 Spray Function
The spray function (D) can be used to dampen fabrics before ironing, which helps in removing creases. Press the spray button to emit a fine mist from the spray nozzle (B).
4.5 Vertical Steaming
The steam shot function can also be used for vertical steaming of hanging garments or curtains. Hold the iron vertically a few centimeters away from the fabric and press the steam shot button (C).
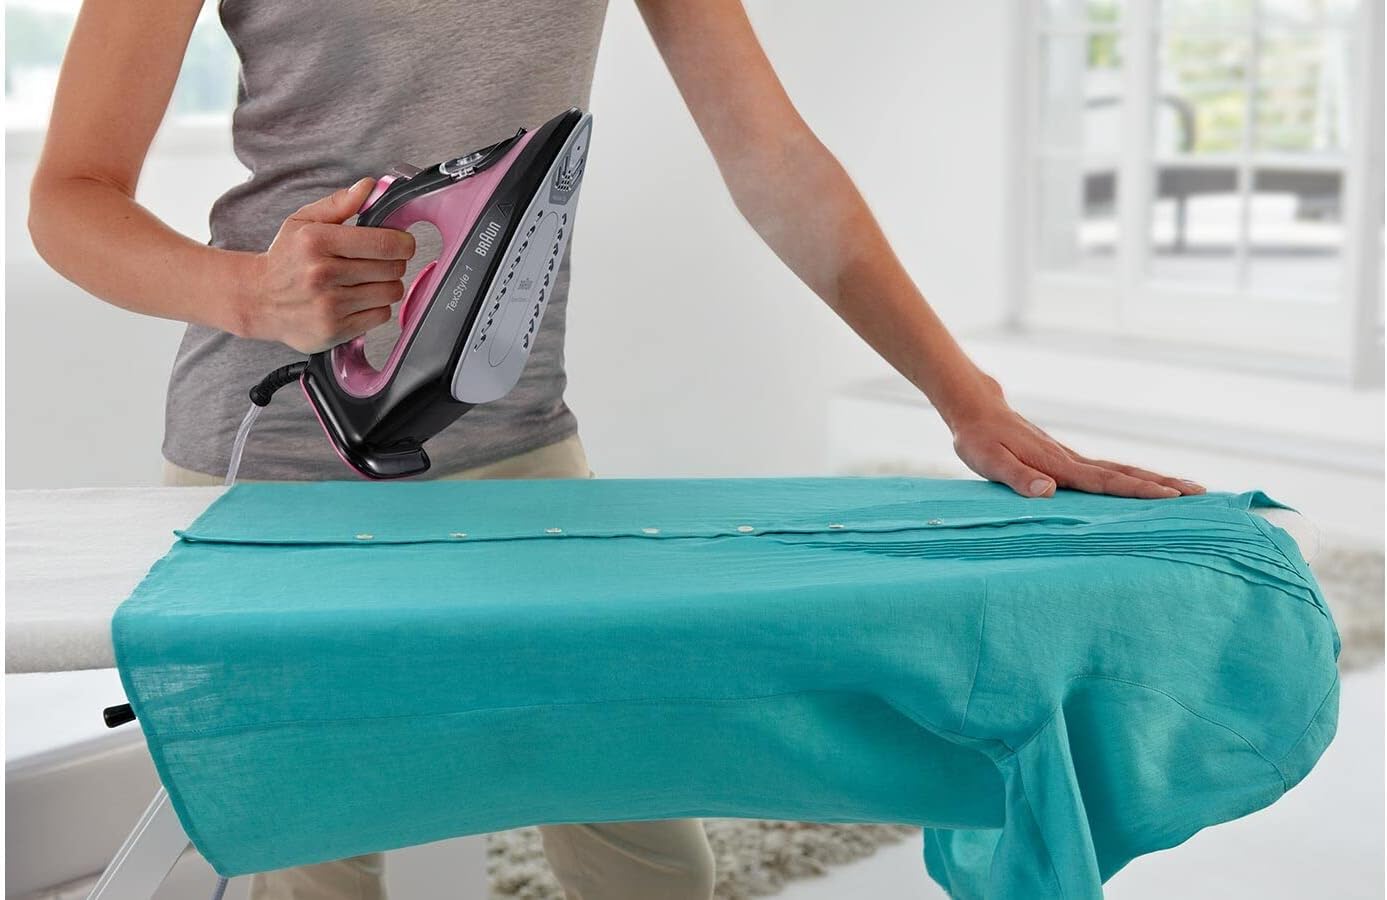
Figure 3: An individual demonstrating the use of the Braun TexStyle 1 Steam Iron on a garment.
5. Maintenance and Cleaning
5.1 After Each Use
- Unplug the iron and allow it to cool down completely.
- Empty any remaining water from the tank to prevent mineral buildup.
5.2 Cleaning the Soleplate
To clean the soleplate (I), wipe it with a damp cloth after it has cooled down. For stubborn stains, use a non-abrasive liquid cleaner specifically designed for iron soleplates. Do not use abrasive pads or harsh chemicals.
5.3 Descaling
Regular descaling helps maintain optimal steam performance. If you notice reduced steam output or white flakes, descale the iron according to the manufacturer's recommendations. Consult the Braun website for specific descaling instructions for your model.
5.4 Storage
Store the cooled iron in an upright position to protect the soleplate. Wrap the power cord loosely around the heel rest.
6. Troubleshooting
| Problem | Possible Cause | Solution |
|---|---|---|
| Iron does not heat up. | Not plugged in; power outlet faulty; temperature dial set to 'Min'. | Check power connection; try a different outlet; set temperature dial to desired heat. |
| No steam or insufficient steam. | Water tank empty; temperature too low for steam; steam regulator set to '0'; mineral buildup. | Fill water tank; set temperature to steam-appropriate level; adjust steam regulator; descale the iron. |
| Water leaks from soleplate. | Temperature too low for steam; water tank overfilled; steam regulator not fully closed for dry ironing. | Increase temperature; do not overfill water tank; ensure steam regulator is at '0' for dry ironing. |
| Soleplate is dirty. | Residue from fabrics or starch. | Clean the soleplate with a damp cloth or specialized cleaner after cooling. |
7. Specifications
| Feature | Detail |
|---|---|
| Brand | Braun |
| Model Number | SI1070PU |
| Power | 2000 Watts |
| Voltage | 240 Volts |
| Water Tank Capacity | 220 Milliliters |
| Continuous Steam Rate | 25 g/min |
| Soleplate Material | Stainless Steel 18/8 |
| Dimensions (L x W x H) | 28 x 12 x 14 cm |
| Item Weight | 1.27 Kilograms |
| Automatic Shut-off | Yes |
8. Warranty and Support
Braun products are known for their reliability and quality. This product comes with 5 years of support. For detailed warranty information, service, or spare parts availability, please visit the official Braun website or contact their customer service.

Figure 4: The Braun TexStyle 1 Steam Iron, highlighting the 5-year support commitment.